When to use this flow
Use this flow when you already have a workbook template that should become the starting point for a reusable Workpaper Agent SOP.
Ask the support agent
Just ask a direct question or search related articles from the Knowledge Base.
Support Center / Workpaper Agent / Studio
Upload an existing workbook template and supporting input files so Workpaper Agent can build a reusable SOP from your current workbook structure.
Step 1
Start from the main Truewind navigation so you can access the Workpaper Agent template library.

Step 2
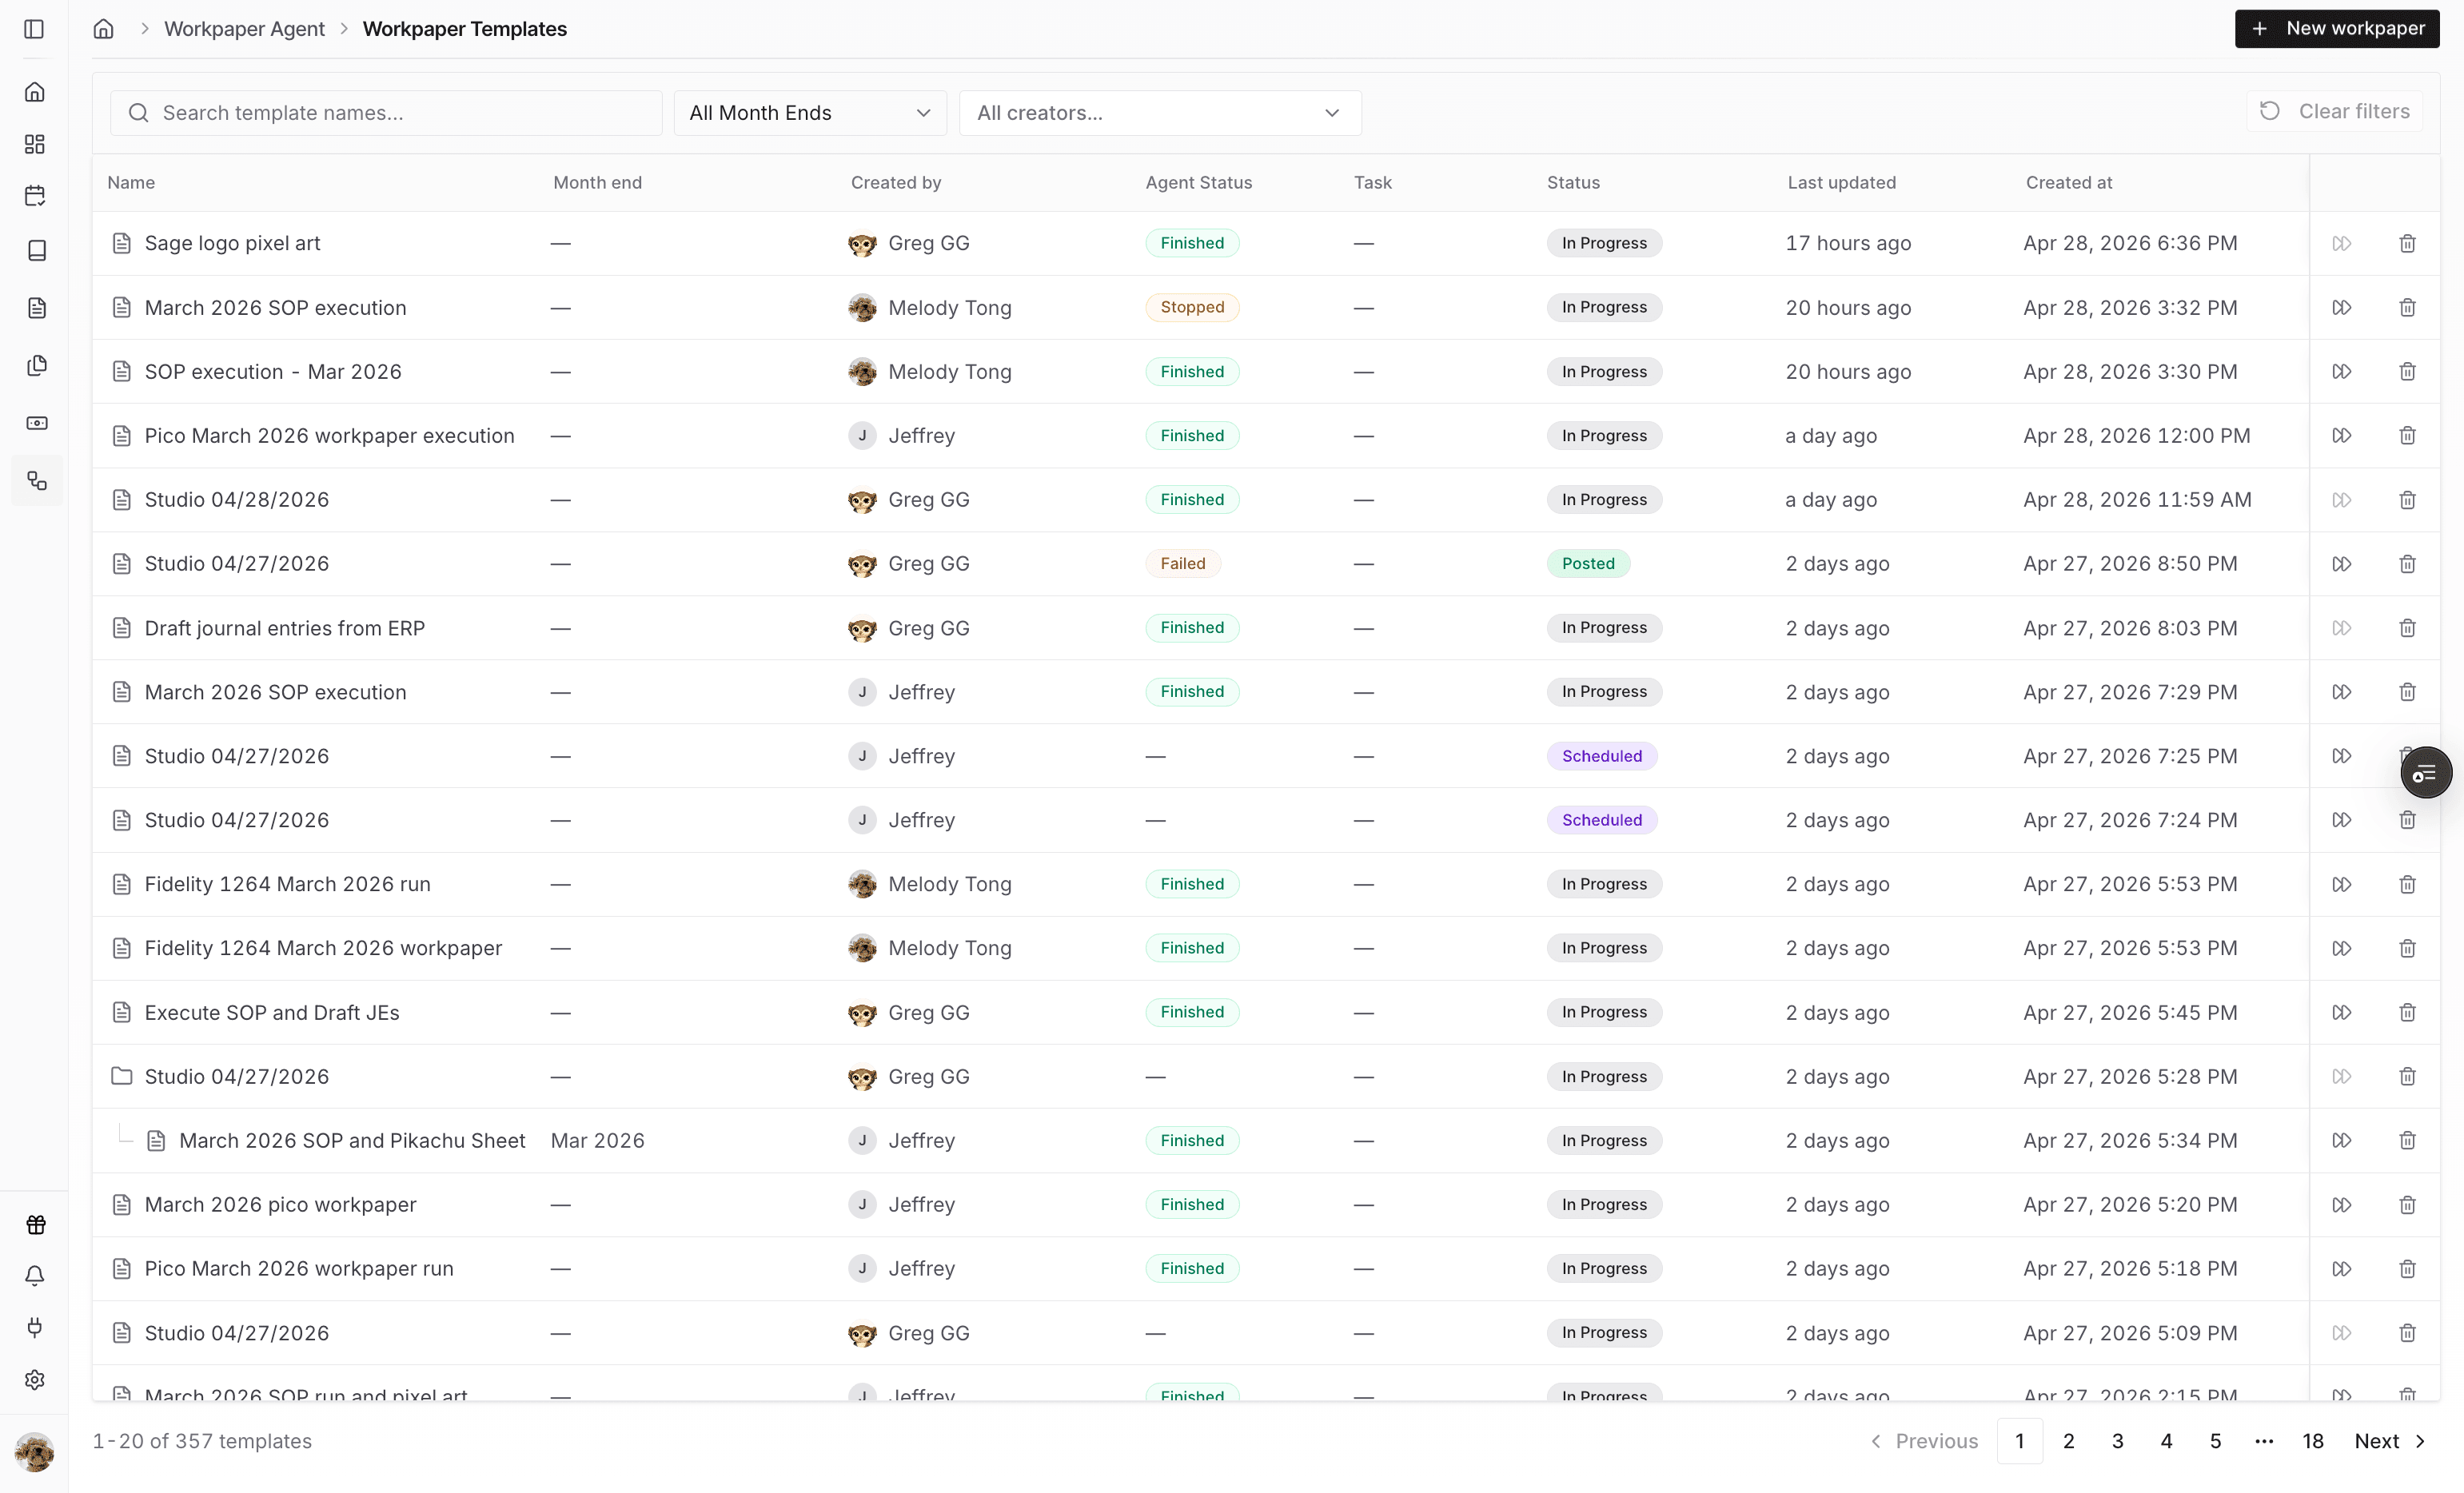
Use the Templates area when you want to create a new workbook-backed SOP.

Step 3
Start a new workpaper from the template library before uploading your own workbook.
Step 4
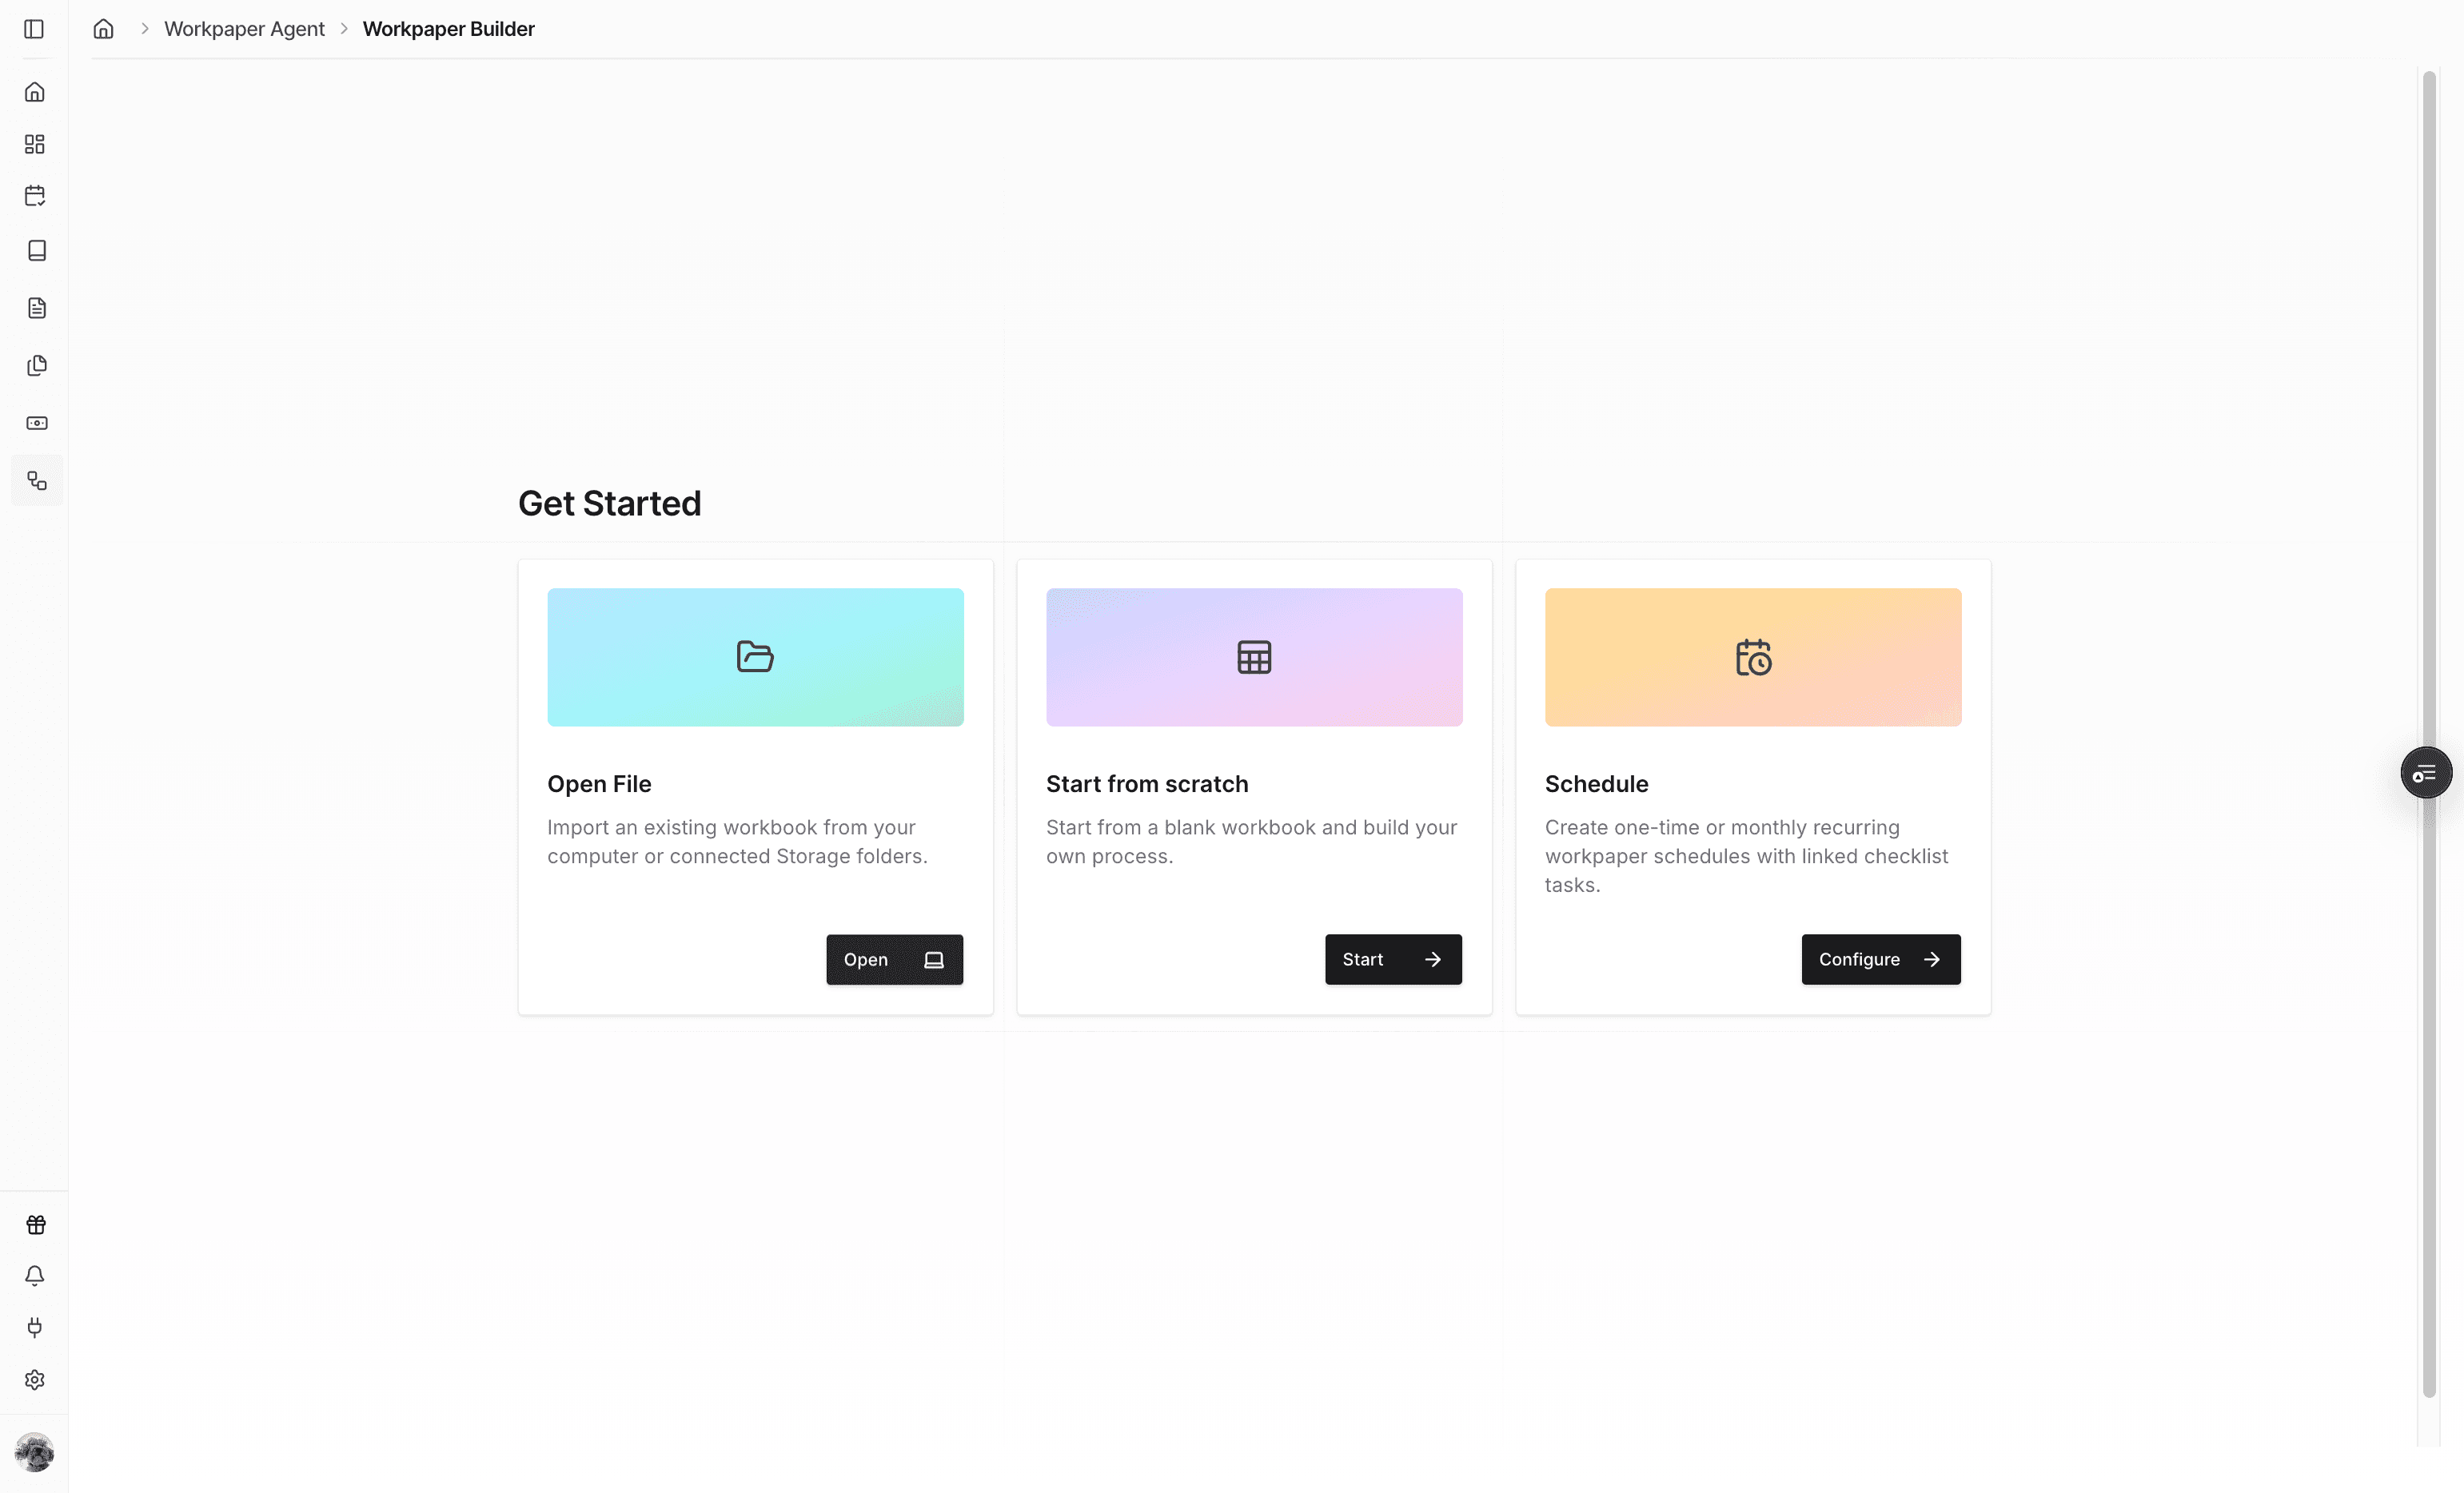
Continue into the new workpaper setup flow so the upload controls become available.
Step 5
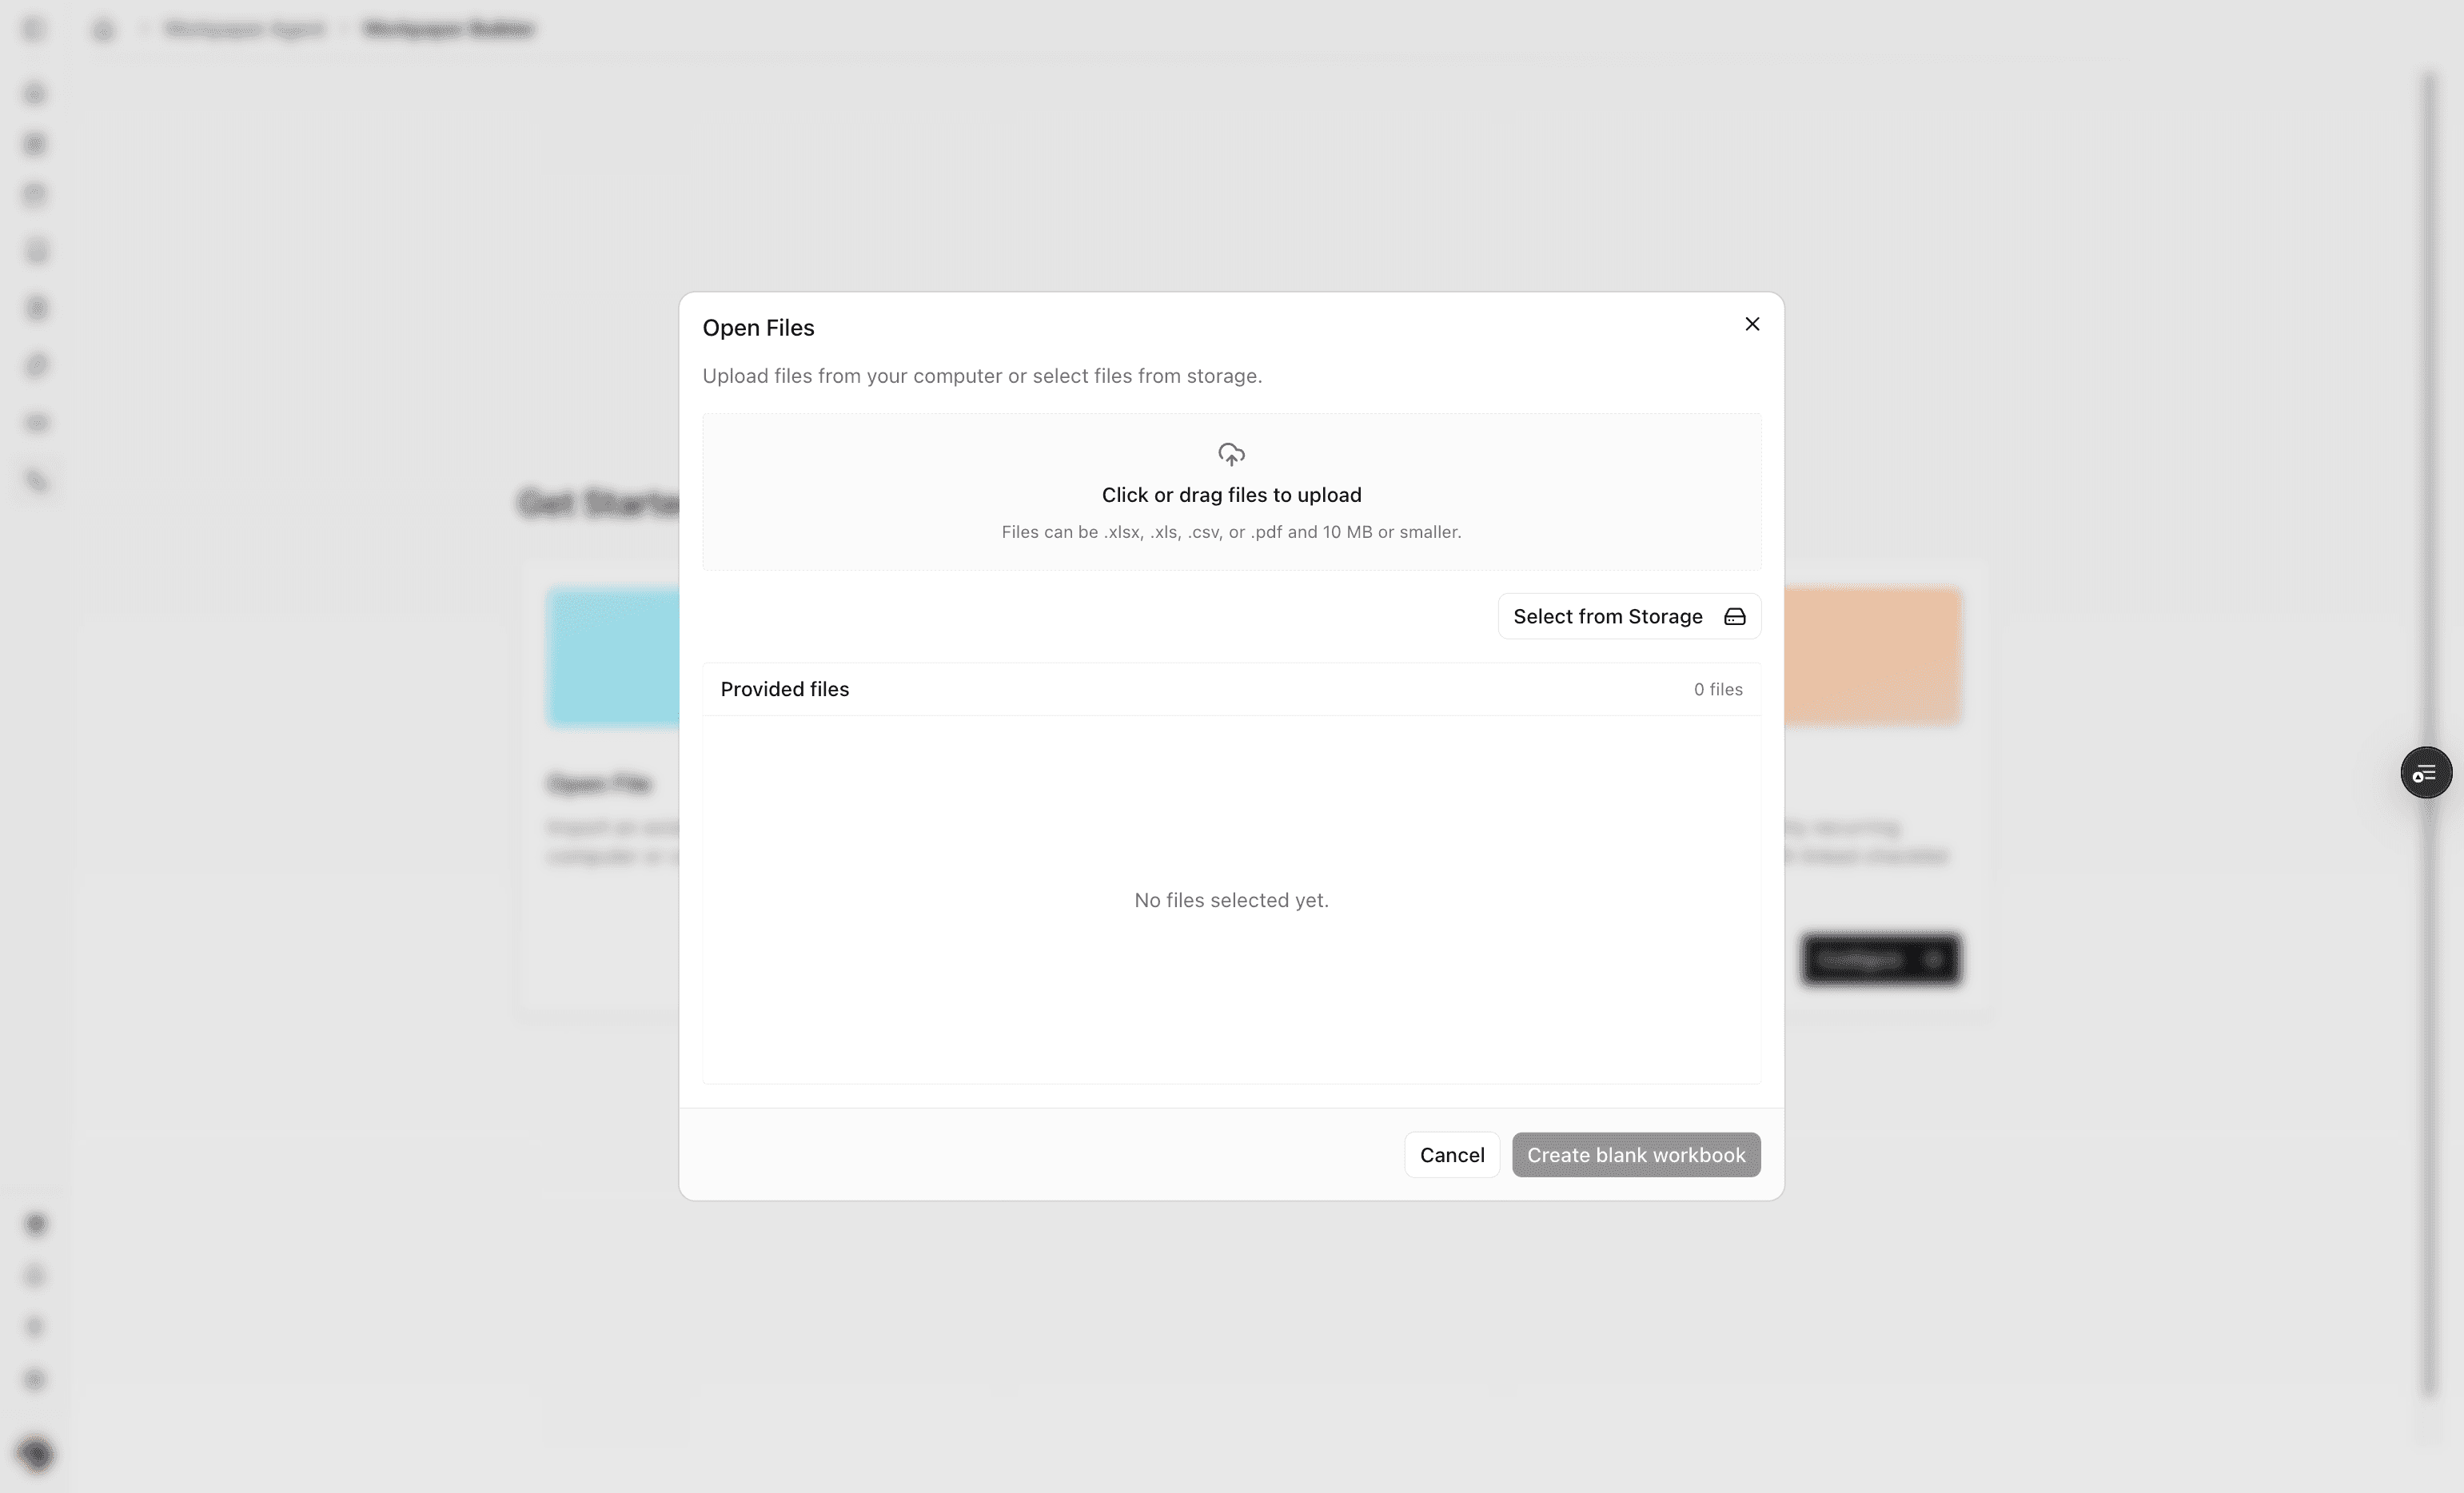
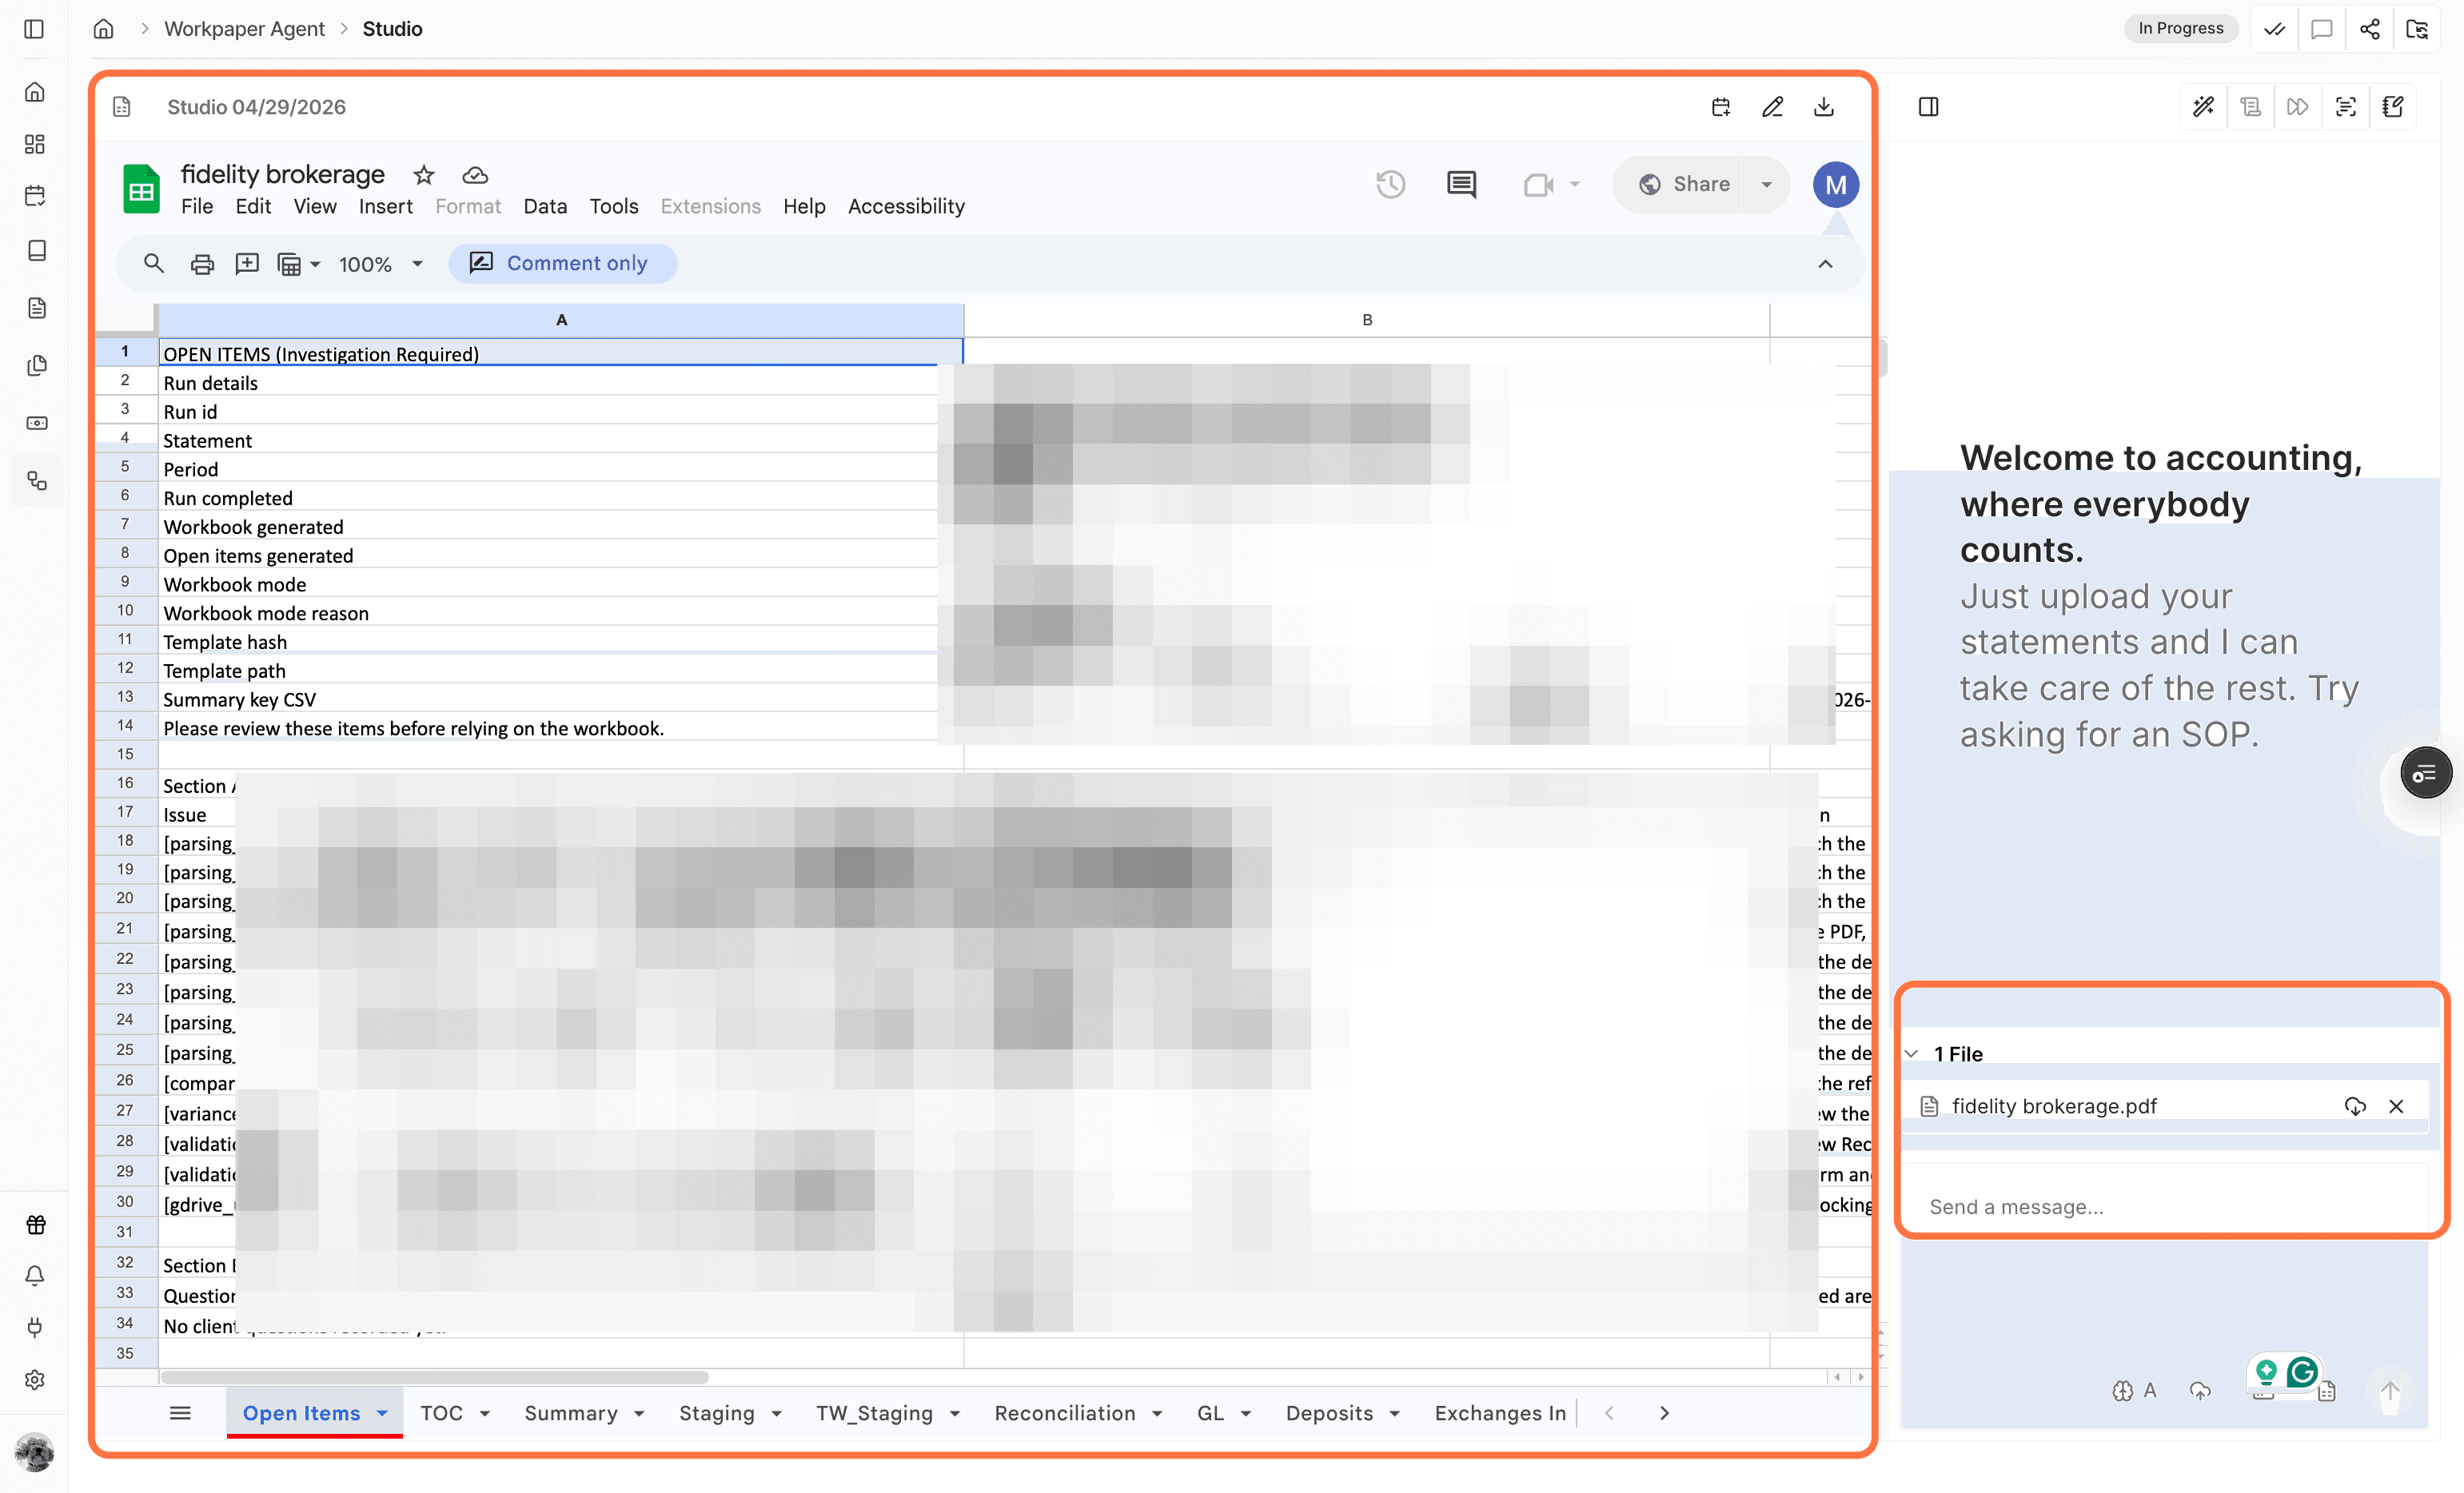
Select or drag in the workbook template and any supporting input files the agent should use.
Step 6
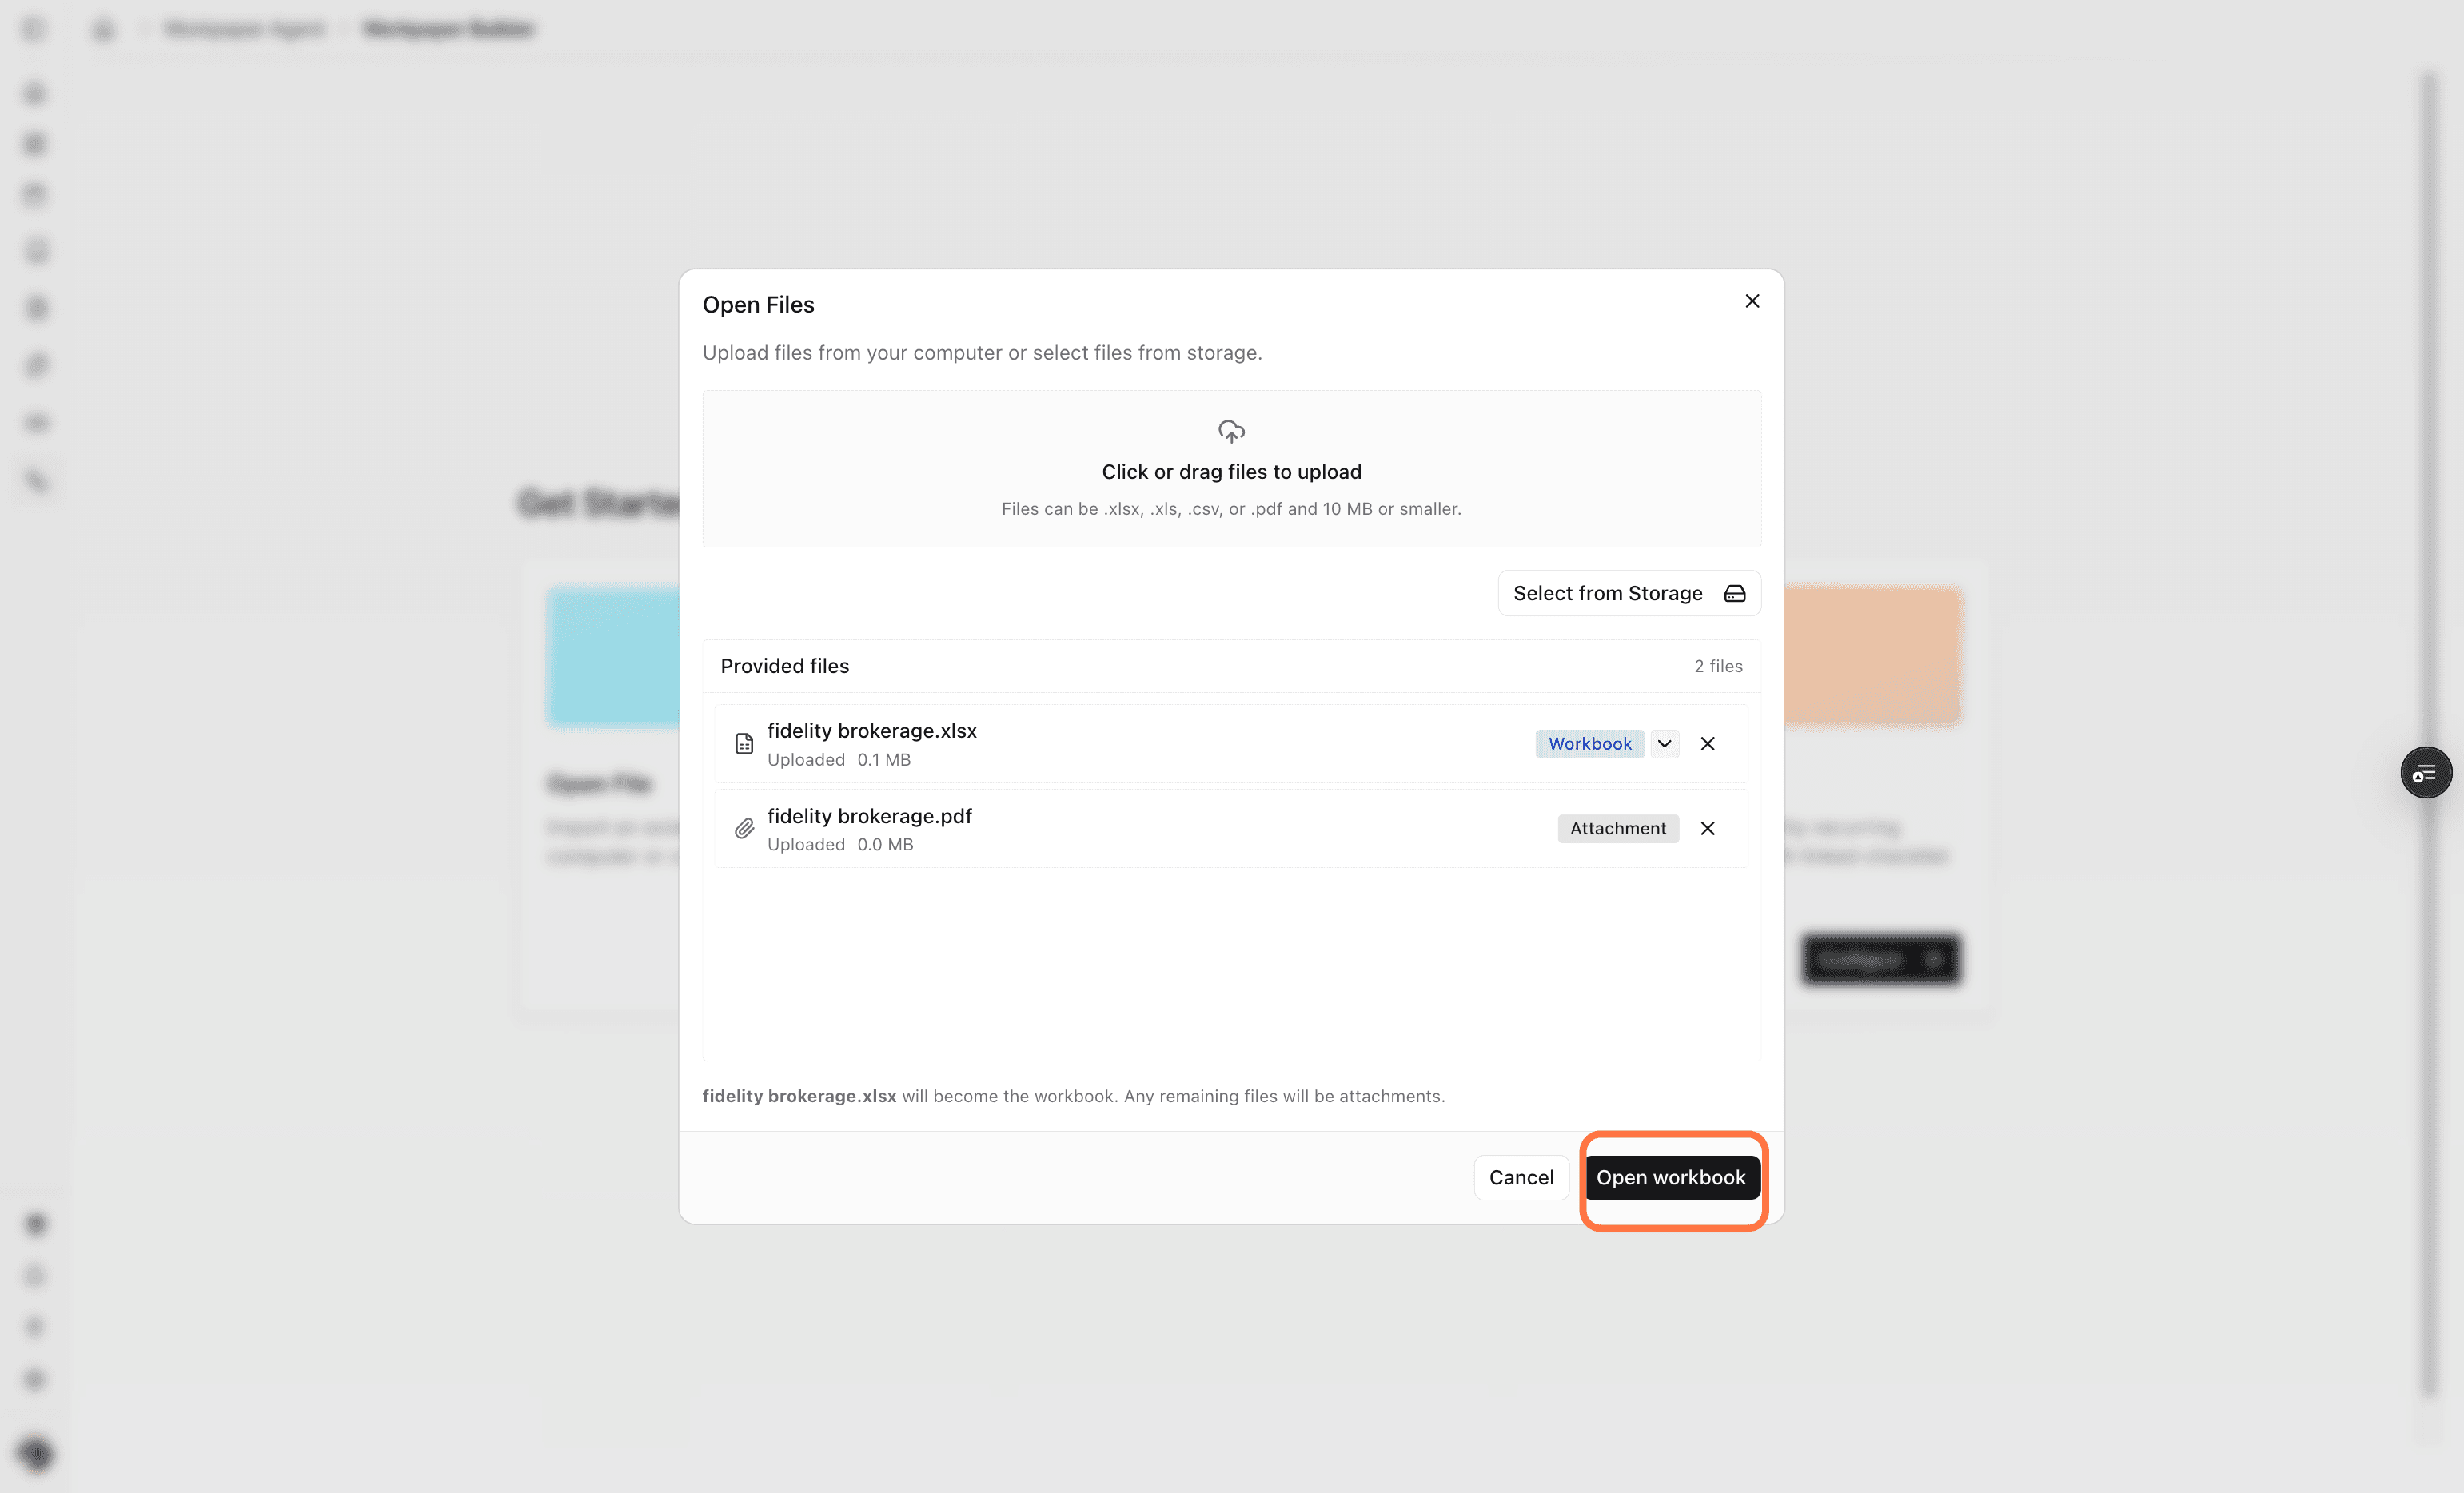
Review each uploaded file type because Excel files default to workbook and PDFs default to attachment, but the dropdown can change the classification.
Step 7
After the workbook opens, confirm the template appears on the left and the input area appears on the right.
Step 8
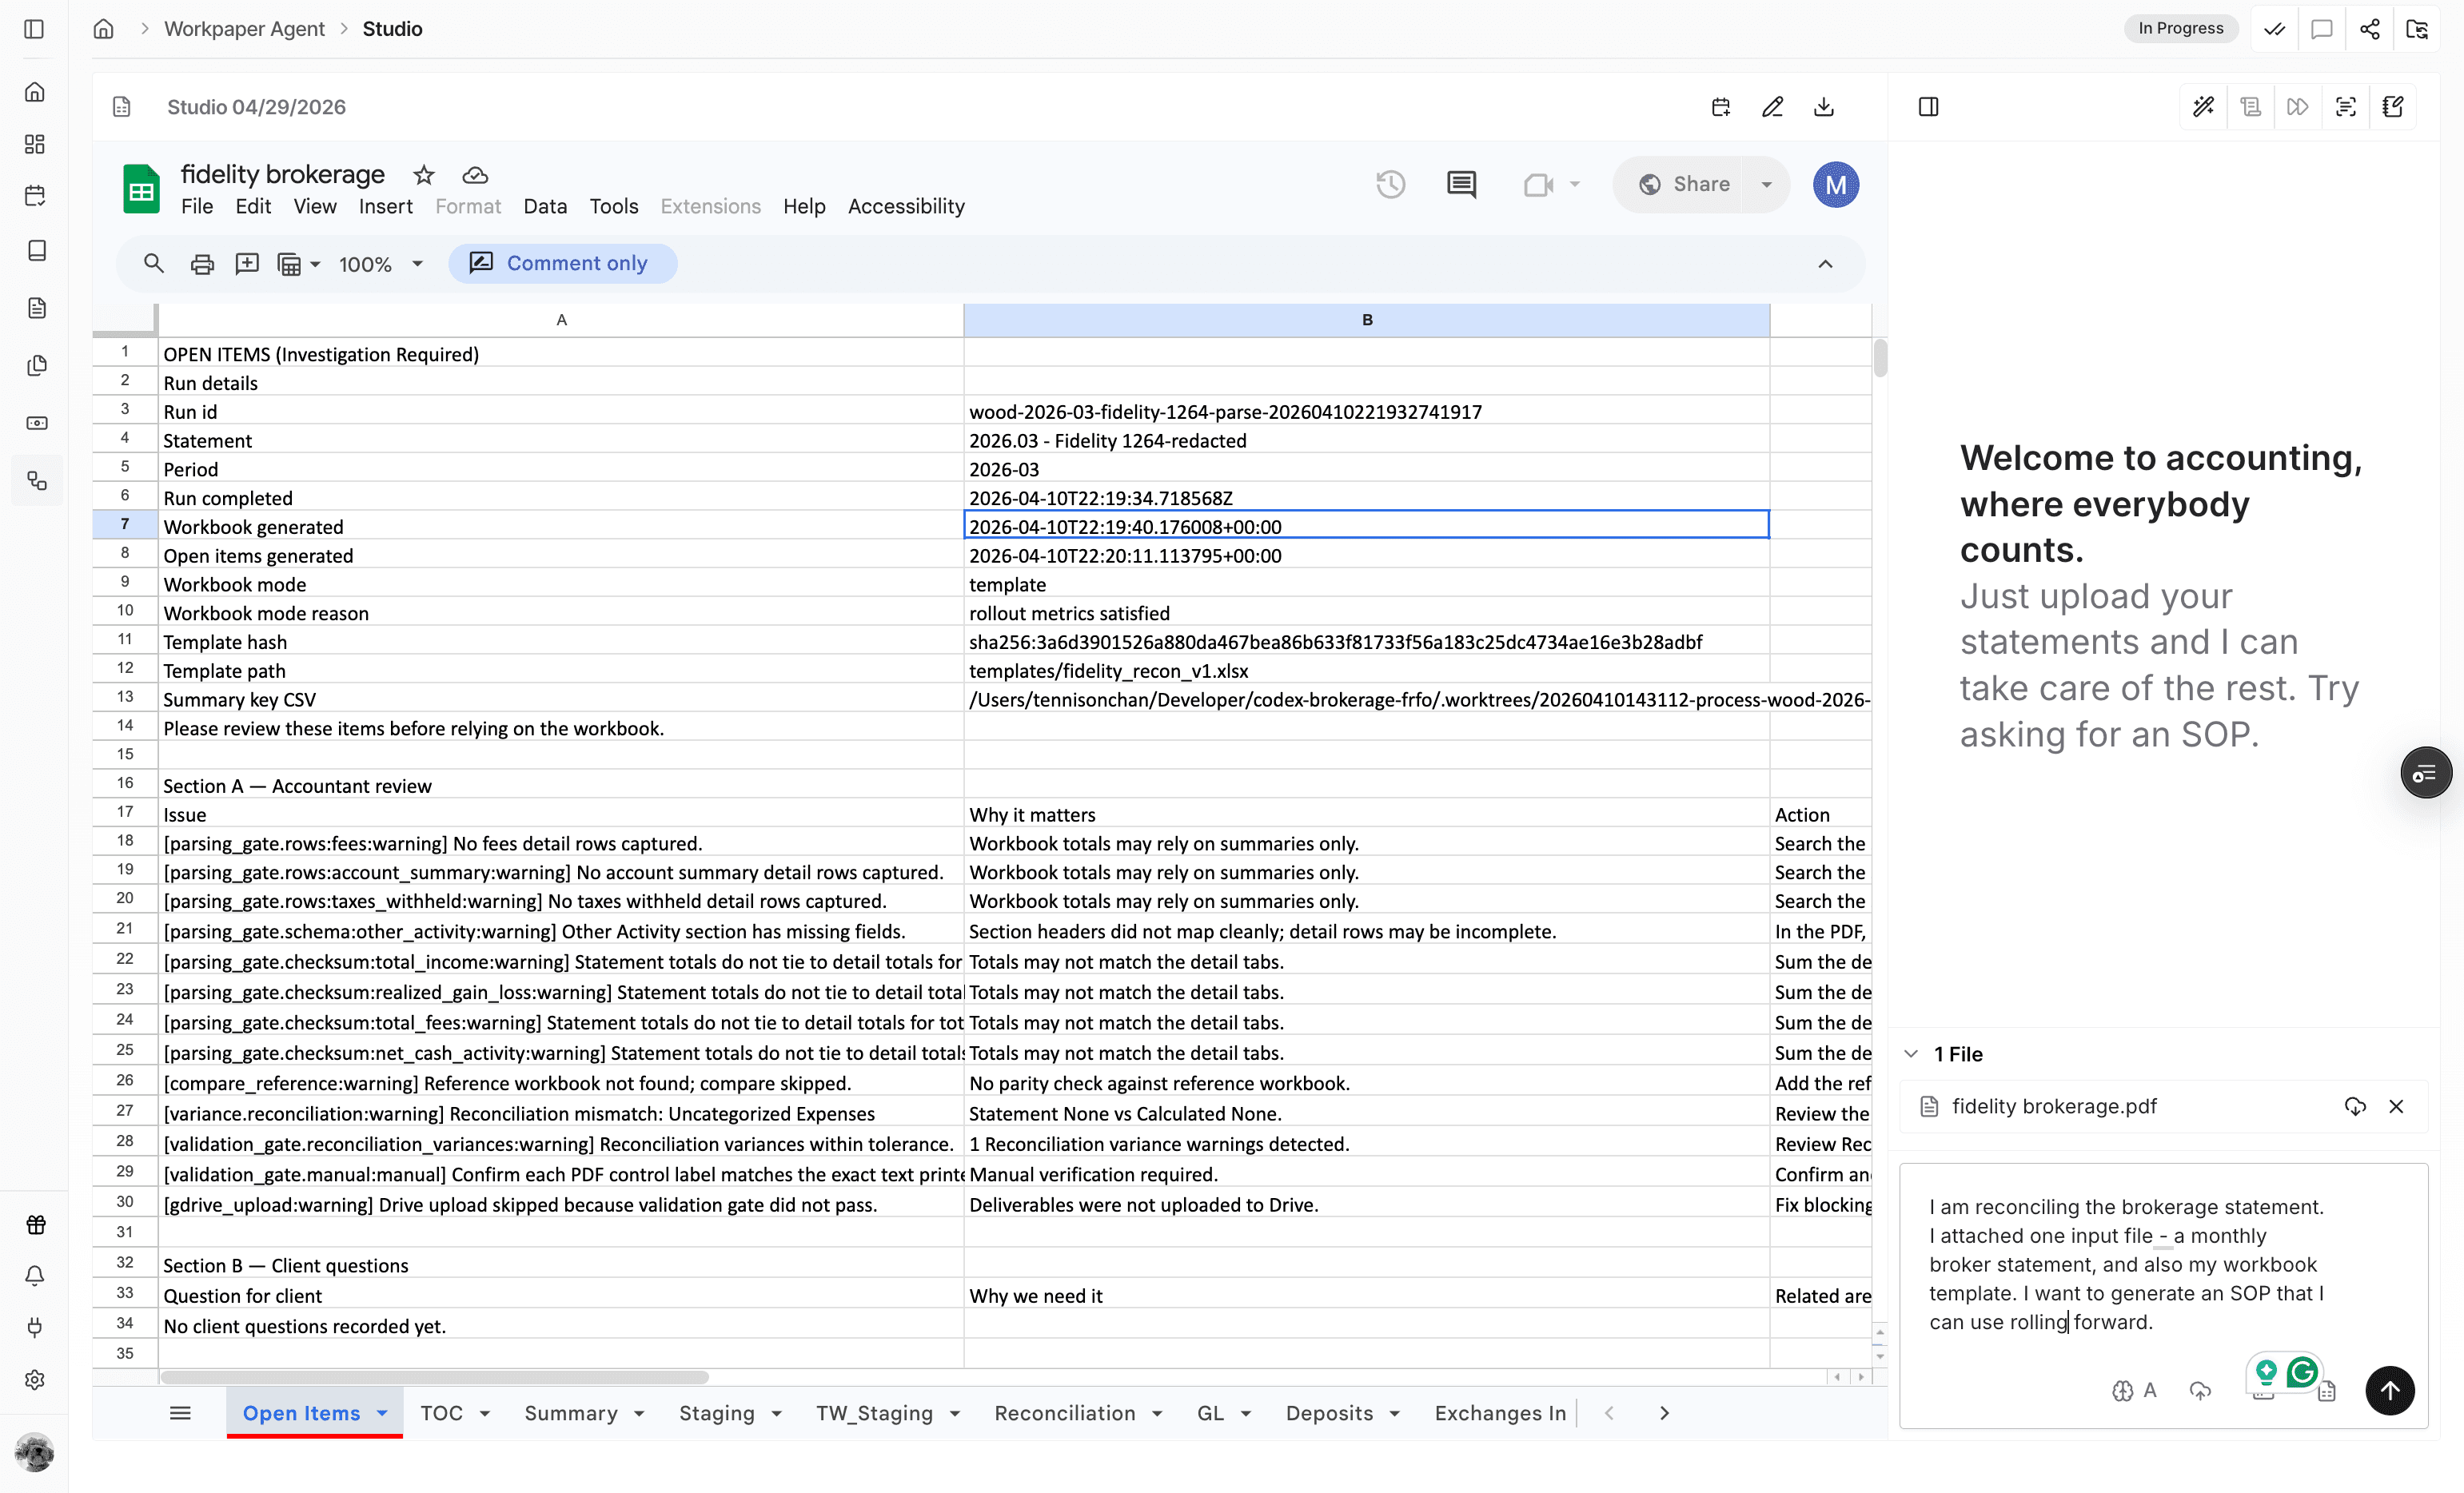
Explain what the workbook does and include the requirements the agent should follow when creating the SOP.
Step 9
Send the prompt only after the workbook, input files, and instructions are ready for processing.

Step 10
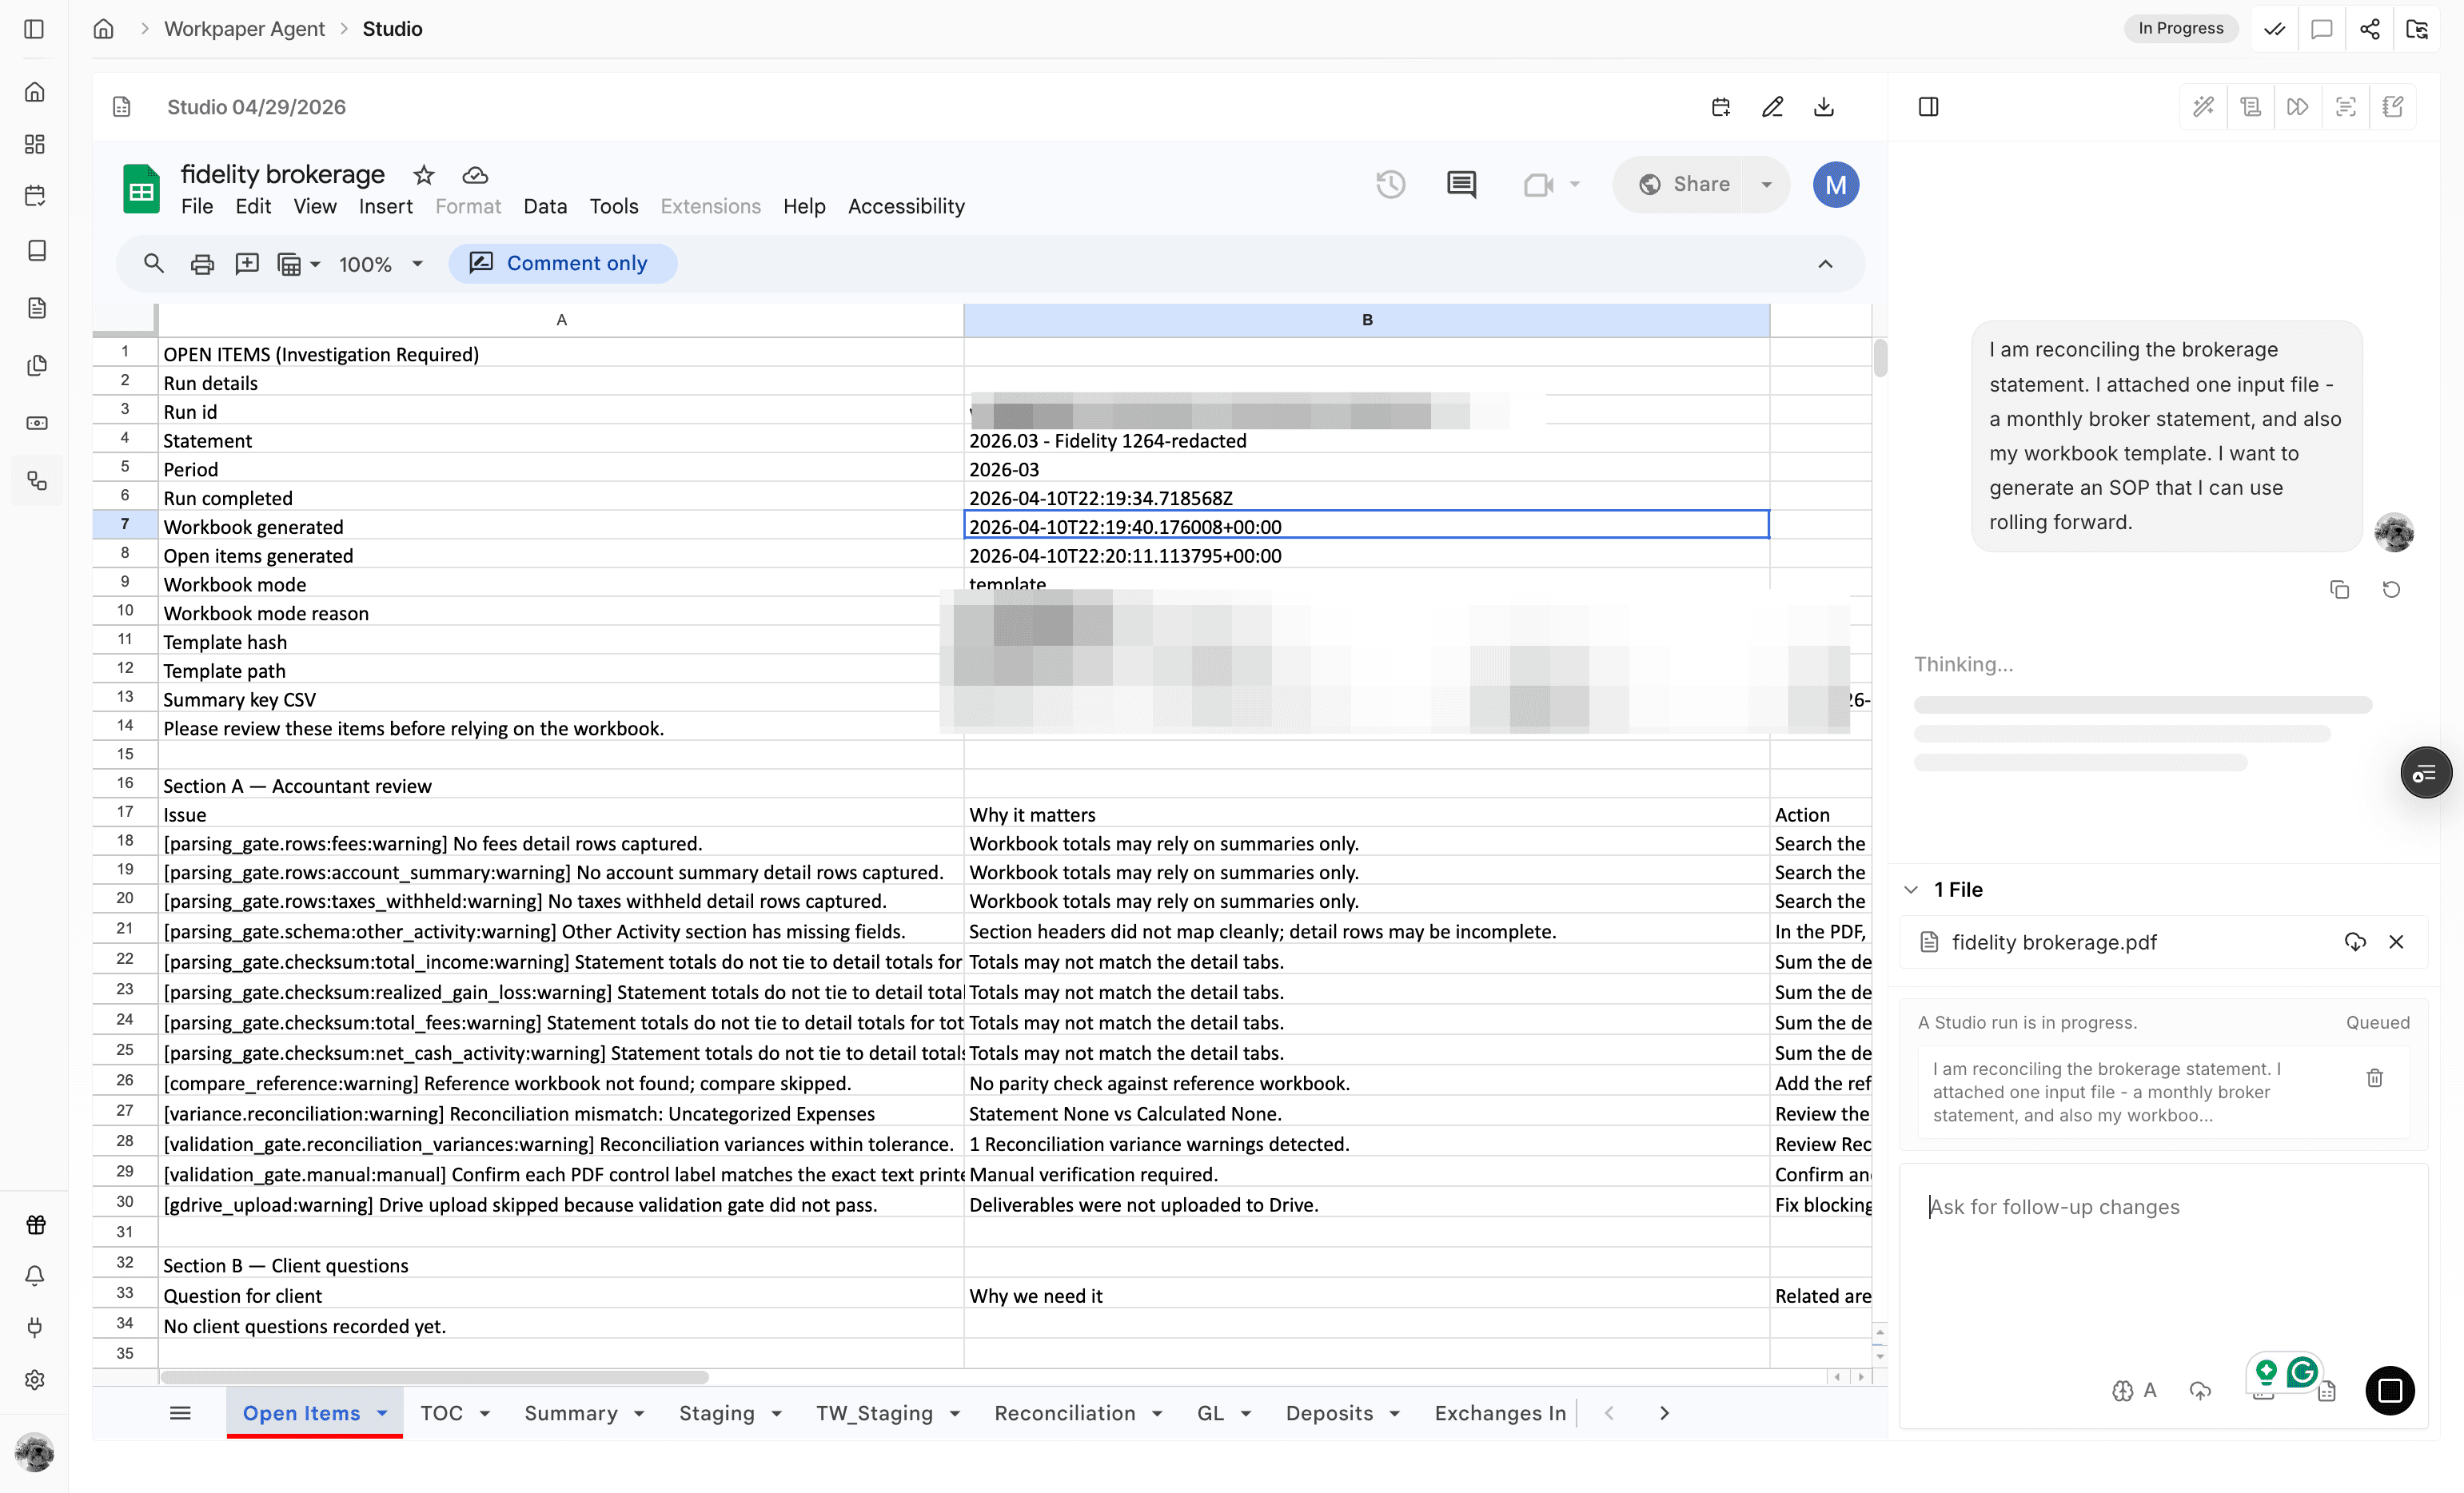
Give Workpaper Agent a few minutes to process the prompt and generate the SOP.
Step 11
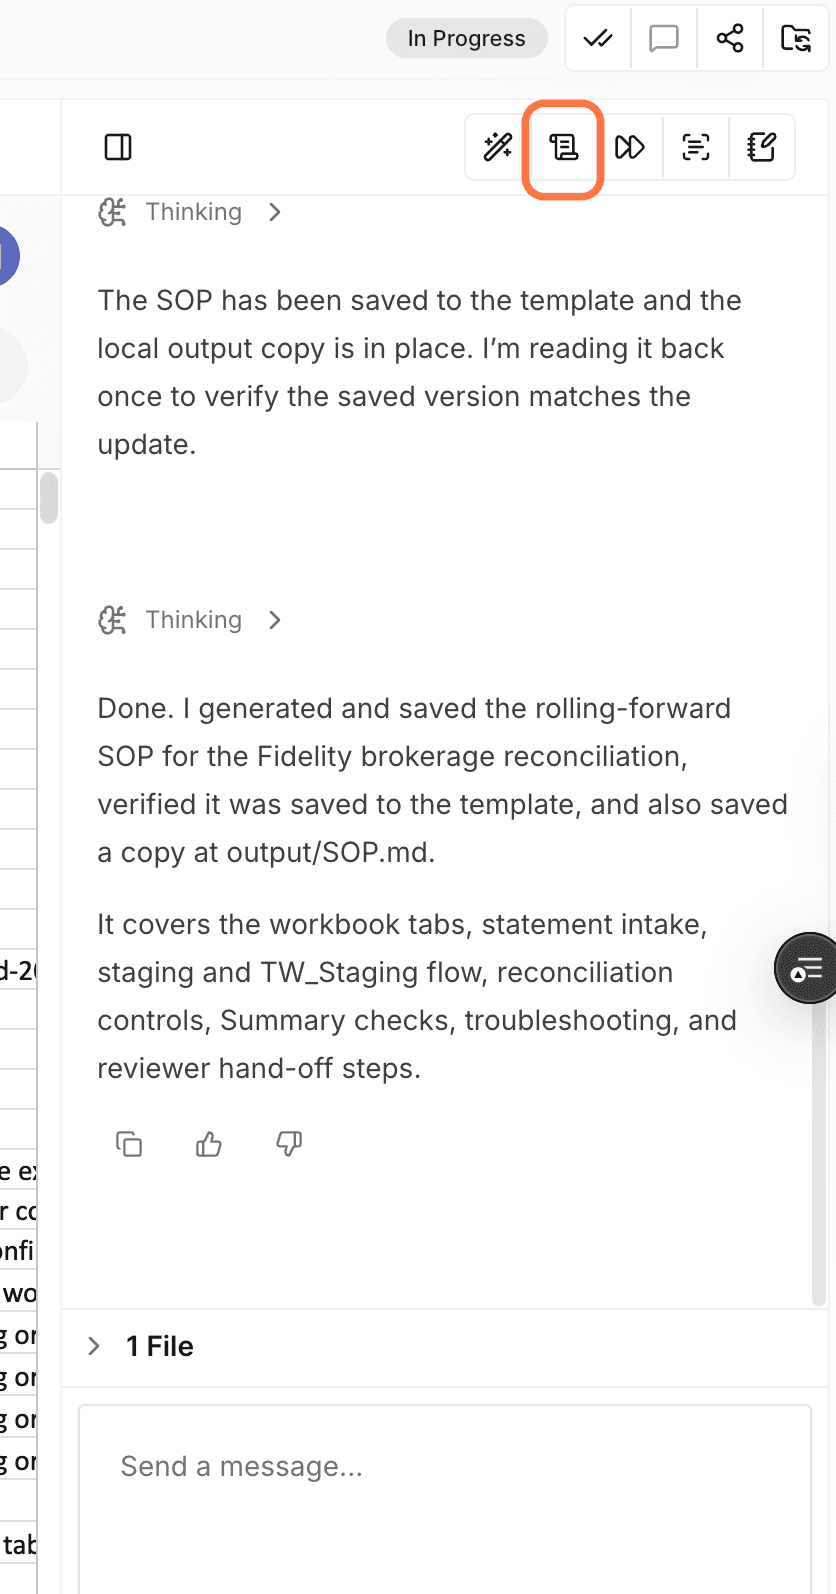
When the agent says the run is done, use View SOP to inspect the generated reusable workflow.
Use this flow when you already have a workbook template that should become the starting point for a reusable Workpaper Agent SOP.
Mark the Excel template you want Workpaper Agent to build from as the workbook. Supporting files such as PDFs should stay classified as attachments unless the workflow requires a different role.
Workpaper Agent uses the workbook and attachment classifications when it interprets the run, so confirm the file types before submitting the prompt.
Use the file type dropdown during setup to switch the file to workbook or attachment before submitting the prompt.
Was this helpful?
Need more help?
Ask for human help about this article and provide any feedback.