Before you push
Make sure the workbook in Studio is the version you actually want to send downstream, because the current push flow exports the current Studio workbook state.
Ask the support agent
Just ask a direct question or search related articles from the Knowledge Base.
Support Center / Workpaper Agent / Storage
Push a Studio workbook to SharePoint when the final export needs to land in downstream storage, resulting in the workbook uploaded to the selected SharePoint destination.
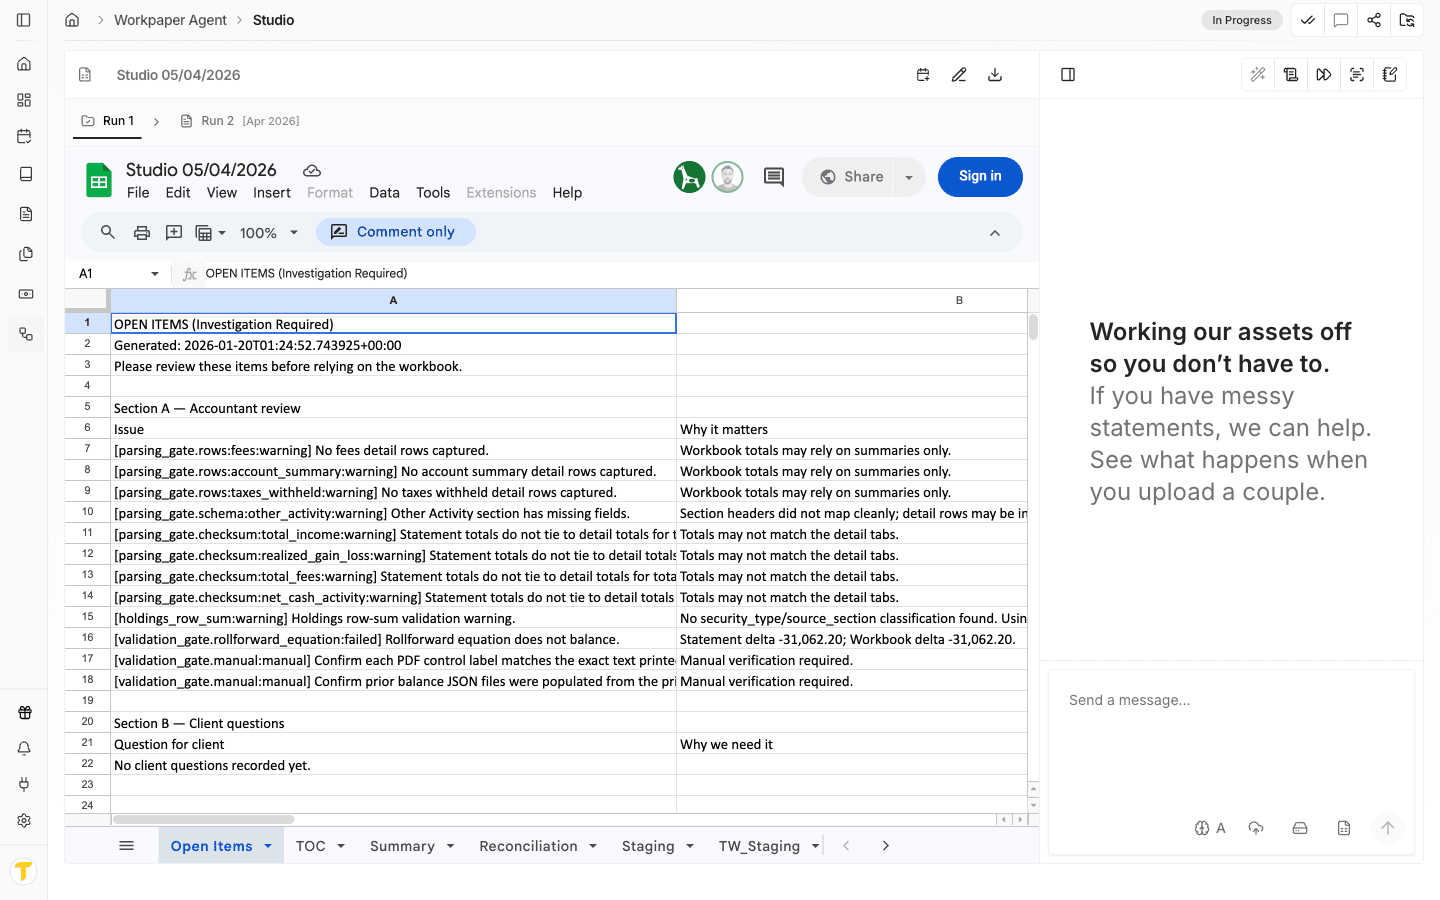
Step 1
Start in Truewind on Workpaper Agent template. Open the exact workpaper page you want to push to SharePoint. Ensure the correct storage connection and root folder are configured.
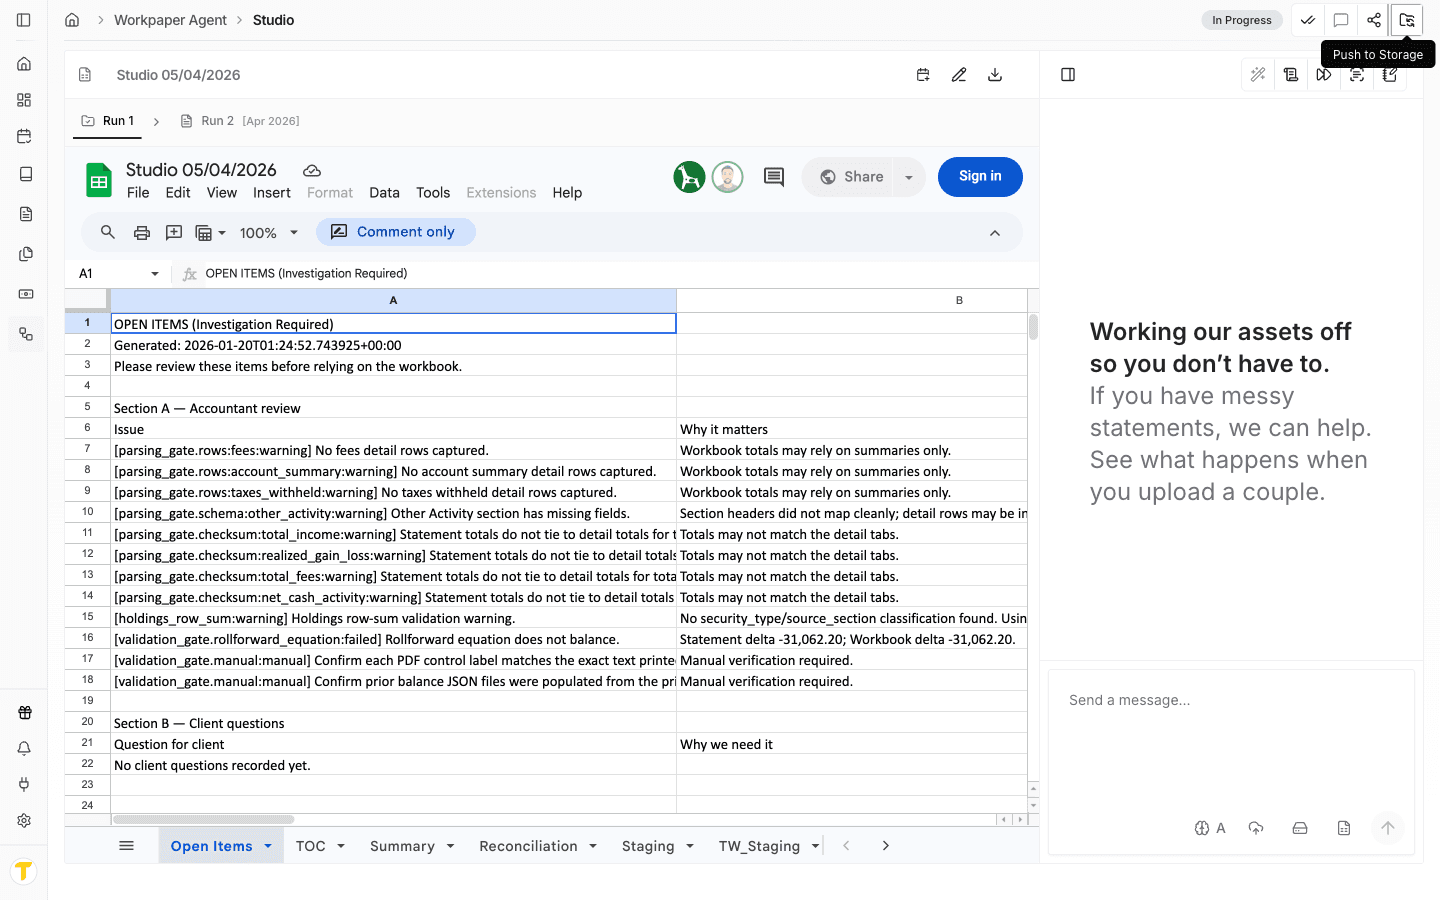
Step 2
This uses the Push to Storage action in the Studio toolbar to open the current destination picker dialog.
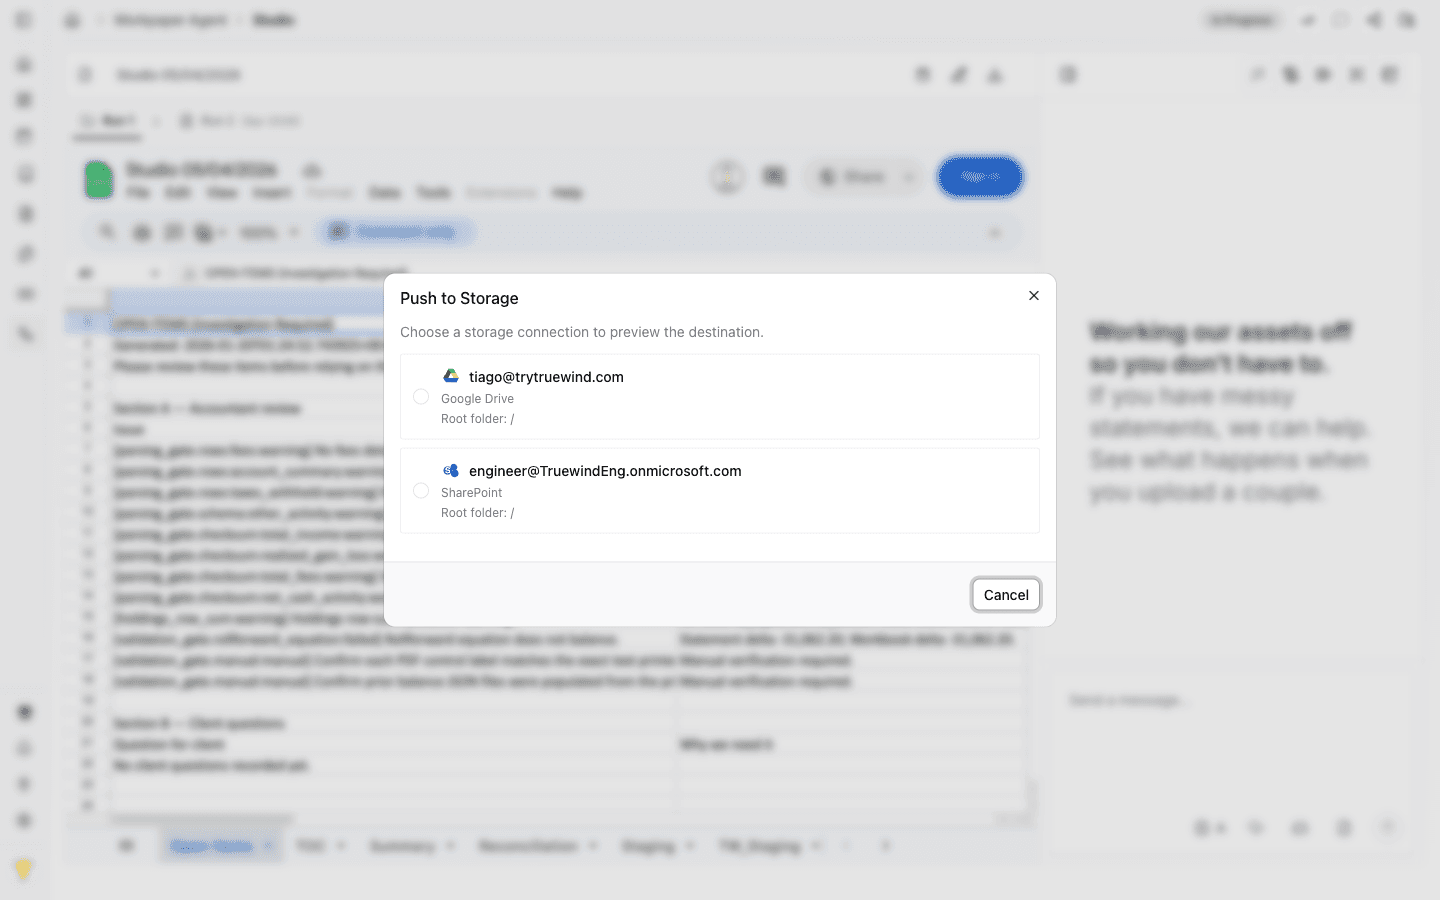
Step 3
Pick the SharePoint option that matches the client setup because that choice controls the destination path.
Step 4
Browse to the exact SharePoint destination folder beneath the saved root before confirming the push.
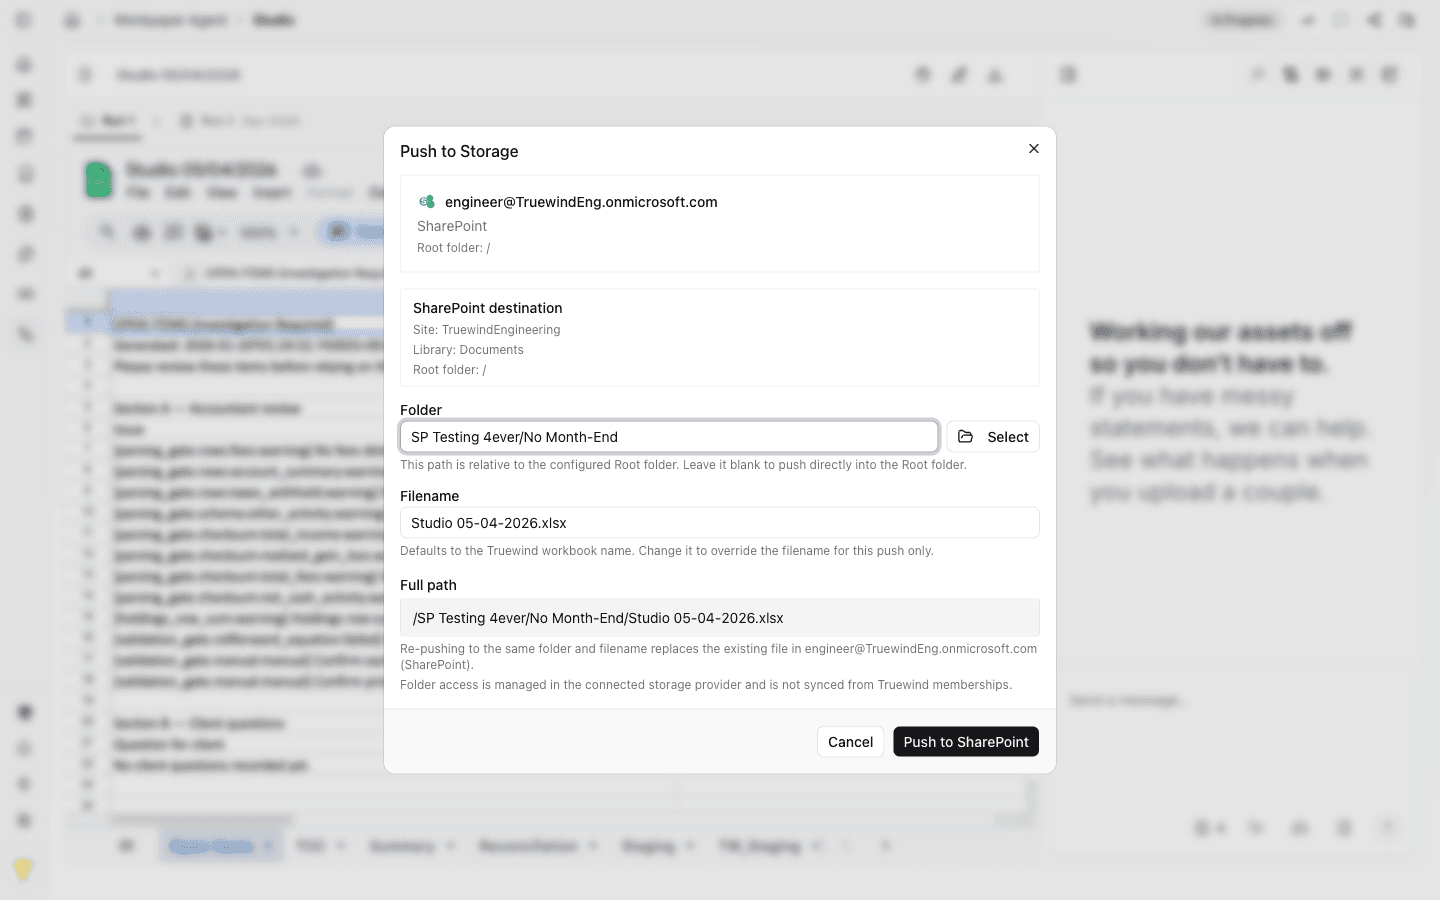
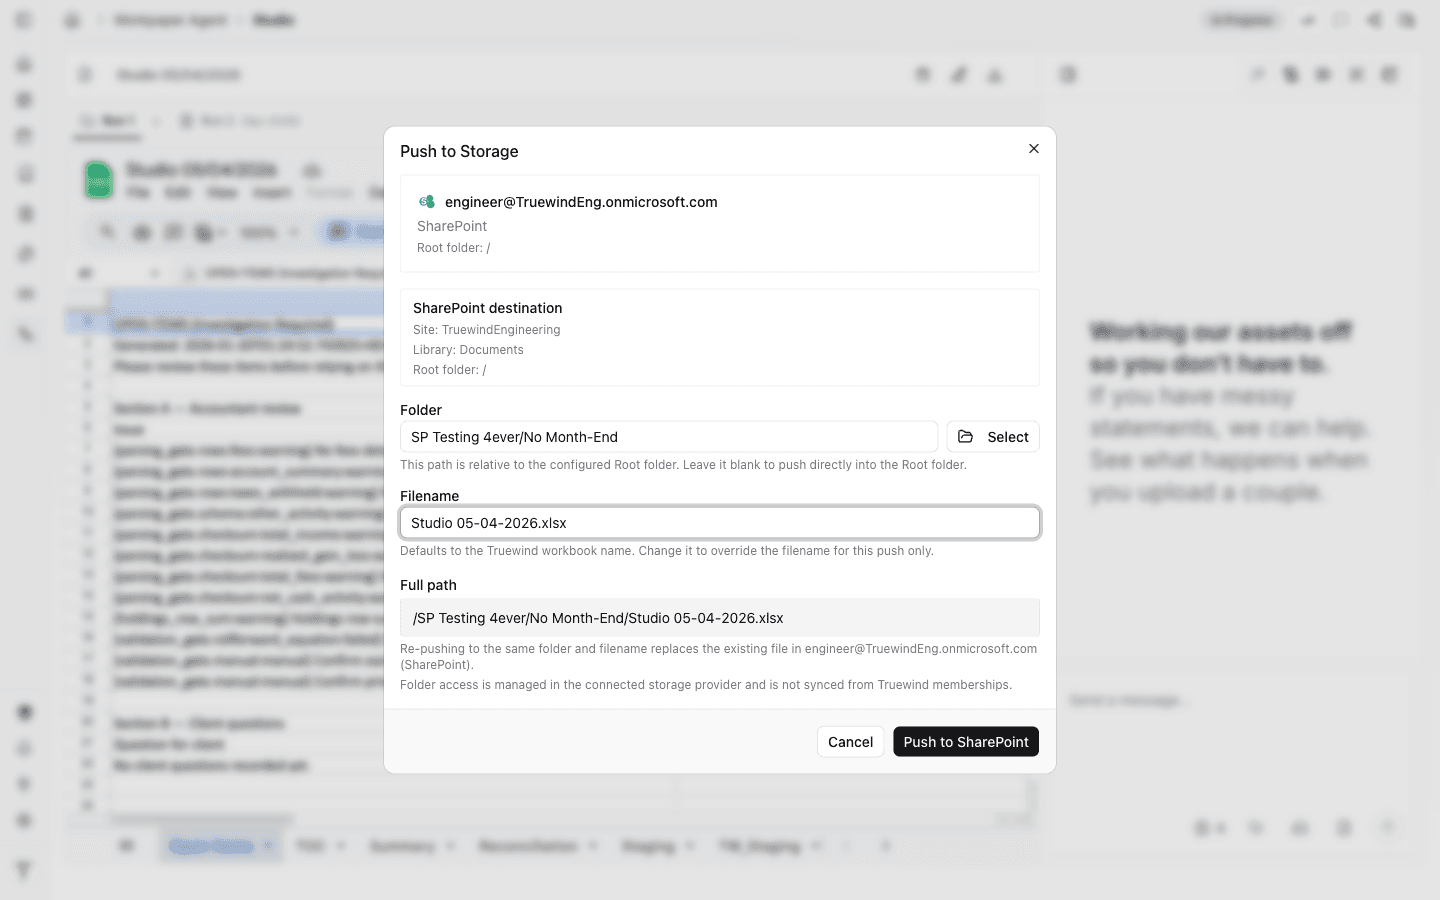
Step 5
Review or edit the proposed workbook filename. Once ready, press Push to SharePoint.
Make sure the workbook in Studio is the version you actually want to send downstream, because the current push flow exports the current Studio workbook state.
Studio only pushes to SharePoint destinations that were already connected and configured in Connections.
Studio exports the current workbook state at the time you push, so you should confirm the workbook is in the right state before sending it downstream.
Studio cannot complete the push flow until the SharePoint provider, saved root folder, and connection are already set up in Connections.
Confirm SharePoint is connected in Connections and that no push is already in progress for the current workpaper.
Reopen the destination picker and verify the selected SharePoint connection, folder under the saved root, and output filename before pushing again.
Was this helpful?
Need more help?
Ask for human help about this article and provide any feedback.