
Ask the support agent

Just ask a direct question or search related articles from the Knowledge Base.

Support Center / Bank Transactions / Overview

Bank Transactions overview

Review Bank Transactions when you need to import, categorize, sync, or reconcile activity, resulting in a clear path from raw transactions to completed ledger work.

Workflow

Step 1

Click Bank Transactions

Start in Truewind on Bookkeeping > Bank Transactions, then click on Bank Transactions.

Screenshot showing Click Bank Transactions

Step 2

Open Transactions

This opens the relevant page or panel so the bulk update changes only the intended field across the selected transactions.

Screenshot showing Select Transactions

Step 3

Open More Transactions

This opens the relevant page or panel so the bulk update changes only the intended field across the selected transactions.

Screenshot showing Select More Transactions

Step 4

Open the menu

Use the row menu to launch the bulk-update action for the selected transactions.

Screenshot showing Click dropdown trigger

Step 5

Open Bulk update

This opens the bulk-update panel where you choose which field to change across the selected transactions.

Screenshot showing Click Bulk update

Step 6

You can bulk-update only one field at a time while keeping the values of other fields unchanged. By default, all fields remain unchanged until you select a new value from the dropdown for bulk update

Complete this action so the bulk update changes only the intended field across the selected transactions.

Screenshot showing You can bulk-update only one field at a time while keeping the values of other fields unchanged. By default, all fields remain unchanged until you select a new value from the dropdown for bulk update

Step 7

Enable ledger updates

Turn this on only for the fields or permissions you want Truewind to use so the bulk update changes only the intended field across the selected transactions.

Step 8

Clear the current value

Complete this action so the bulk update changes only the intended field across the selected transactions.

Screenshot showing Clear the value using the eraser button on the right

Step 9

Choose the new ledger account

Pick the option that matches the client setup; that choice controls what happens next so the bulk update changes only the intended field across the selected transactions.

Screenshot showing Select New Ledger Account from the Dropdown

Step 10

Enable payee updates

Turn this on only for the fields or permissions you want Truewind to use so the bulk update changes only the intended field across the selected transactions.

Screenshot showing Uncheck Keep payee unchanged

Step 11

Choose the new payee

Pick the option that matches the client setup; that choice controls what happens next so the bulk update changes only the intended field across the selected transactions.

Screenshot showing Select from the Dropdown

Step 12

Choose the new class

Pick the class that should replace the existing value on every selected transaction.

Screenshot showing Click Gleam

Step 13

Enable class updates

Turn this on only for the fields or permissions you want Truewind to use so the bulk update changes only the intended field across the selected transactions.

Screenshot showing Uncheck Keep class unchanged

Step 14

Choose the new value

Pick the option that matches the client setup; that choice controls what happens next so the bulk update changes only the intended field across the selected transactions.

Screenshot showing Select New Value from Dropdown

Step 15

Choose the new department

Pick the department value you want the bulk update to apply to the selected transactions.

Screenshot showing Click Sand Life, LLC

Step 16

Enable department updates

Turn this on only for the fields or permissions you want Truewind to use so the bulk update changes only the intended field across the selected transactions.

Screenshot showing Uncheck Keep department unchanged

Step 17

Choose the new value

Pick the option that matches the client setup; that choice controls what happens next so the bulk update changes only the intended field across the selected transactions.

Screenshot showing Select New Value from Dropdown

Step 18

Choose the new type

Pick the transaction type that should replace the current value for every selected row.

Screenshot showing Click G&A

Step 19

Set the transaction type

Complete this action so the bulk update changes only the intended field across the selected transactions.

Screenshot showing Uncheck Keep transaction type unchanged and select from dropdown

Step 20

Save the bulk update

Apply the selected field changes only after you confirm the preview looks correct.

Screenshot showing Click Save

Step 21

Confirm the bulk update

Check for the expected result before moving on so the bulk update changes only the intended field across the selected transactions.

Screenshot showing You will see a notification saying transactions have been updated. You will find the bulk-updated values in each field

Step 22

Review uncategorized bulk updates

Use this checkpoint to verify the current state so the bulk update changes only the intended field across the selected transactions.

Screenshot showing You can also bulk-update uncategorized transactions

Step 23

Open the menu

Use the row menu again when you want to bulk update uncategorized transactions.

Screenshot showing Click dropdown trigger

Step 24

Open Bulk update

This reopens the bulk-update panel for the uncategorized transaction selection.

Screenshot showing Click Bulk update

Step 25

Enable the field update

Turn this on only for the fields or permissions you want Truewind to use so the bulk update changes only the intended field across the selected transactions.

Screenshot showing Uncheck the "Keep unchanged"

Step 26

Choose the new values

Pick the option that matches the client setup; that choice controls what happens next so the bulk update changes only the intended field across the selected transactions.

Screenshot showing Select New Values from the Dropdowns

Step 27

Review the required field

Use this checkpoint to verify the current state so the bulk update changes only the intended field across the selected transactions.

Screenshot showing For uncategorized transactions, transaction type is a mandatory field

Step 28

Save the bulk update

Apply the uncategorized transaction changes only after the required fields are filled in.

Screenshot showing Click Save

What this workflow covers

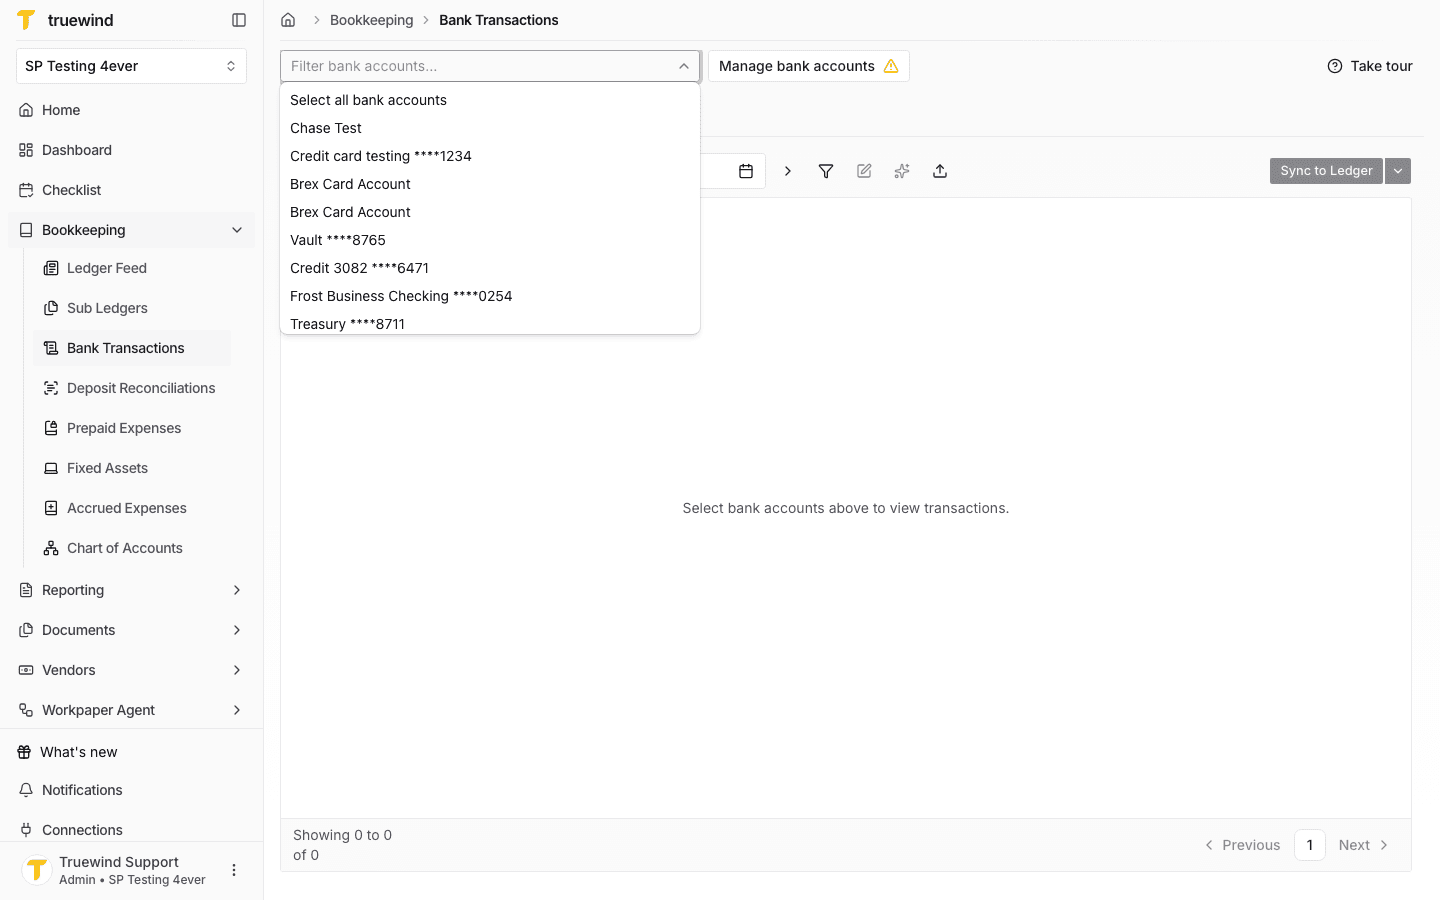
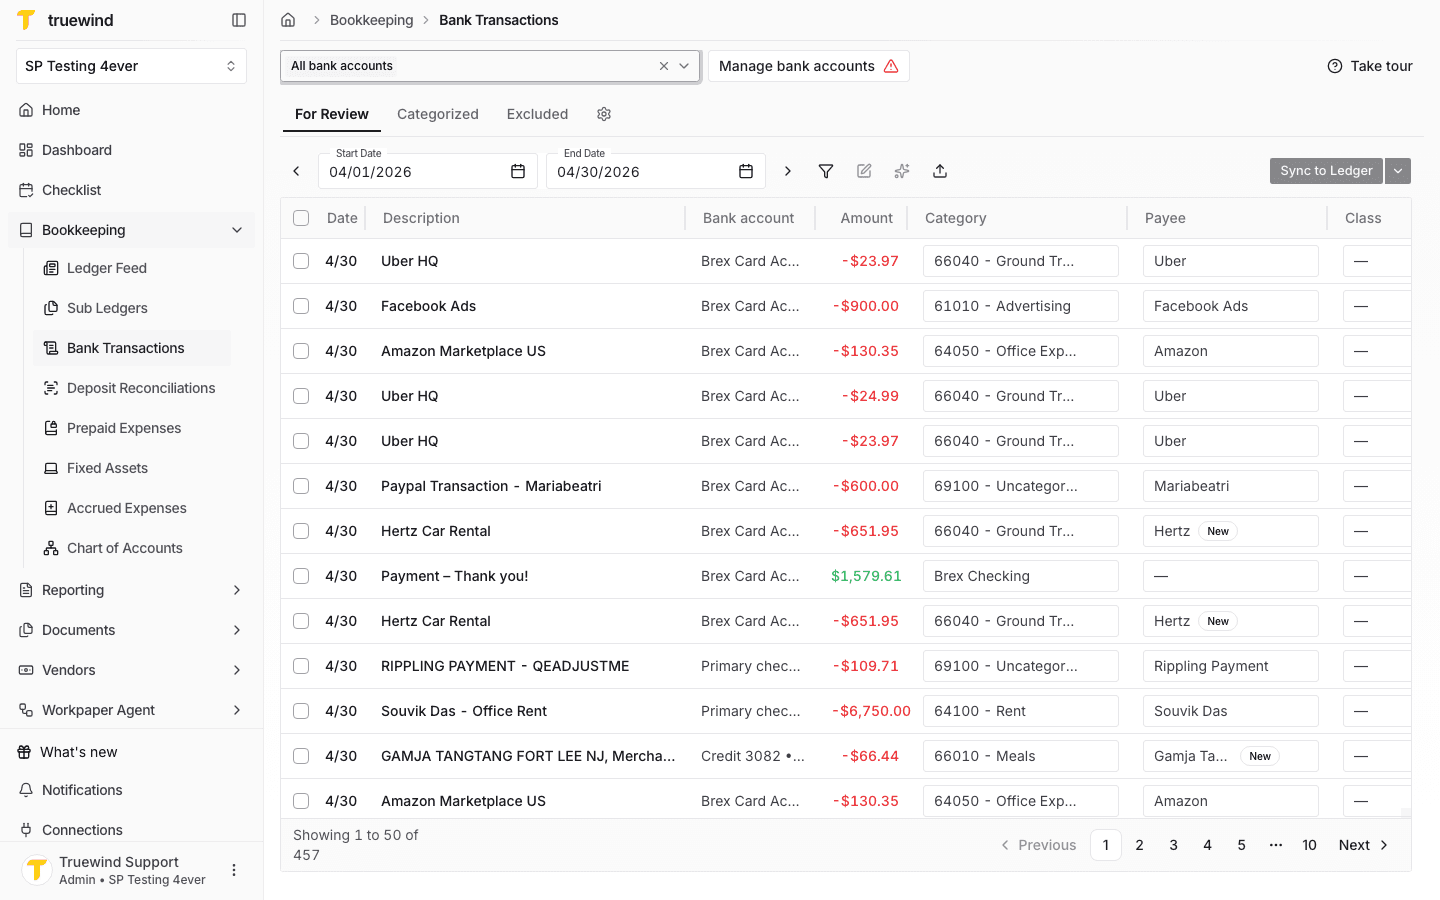
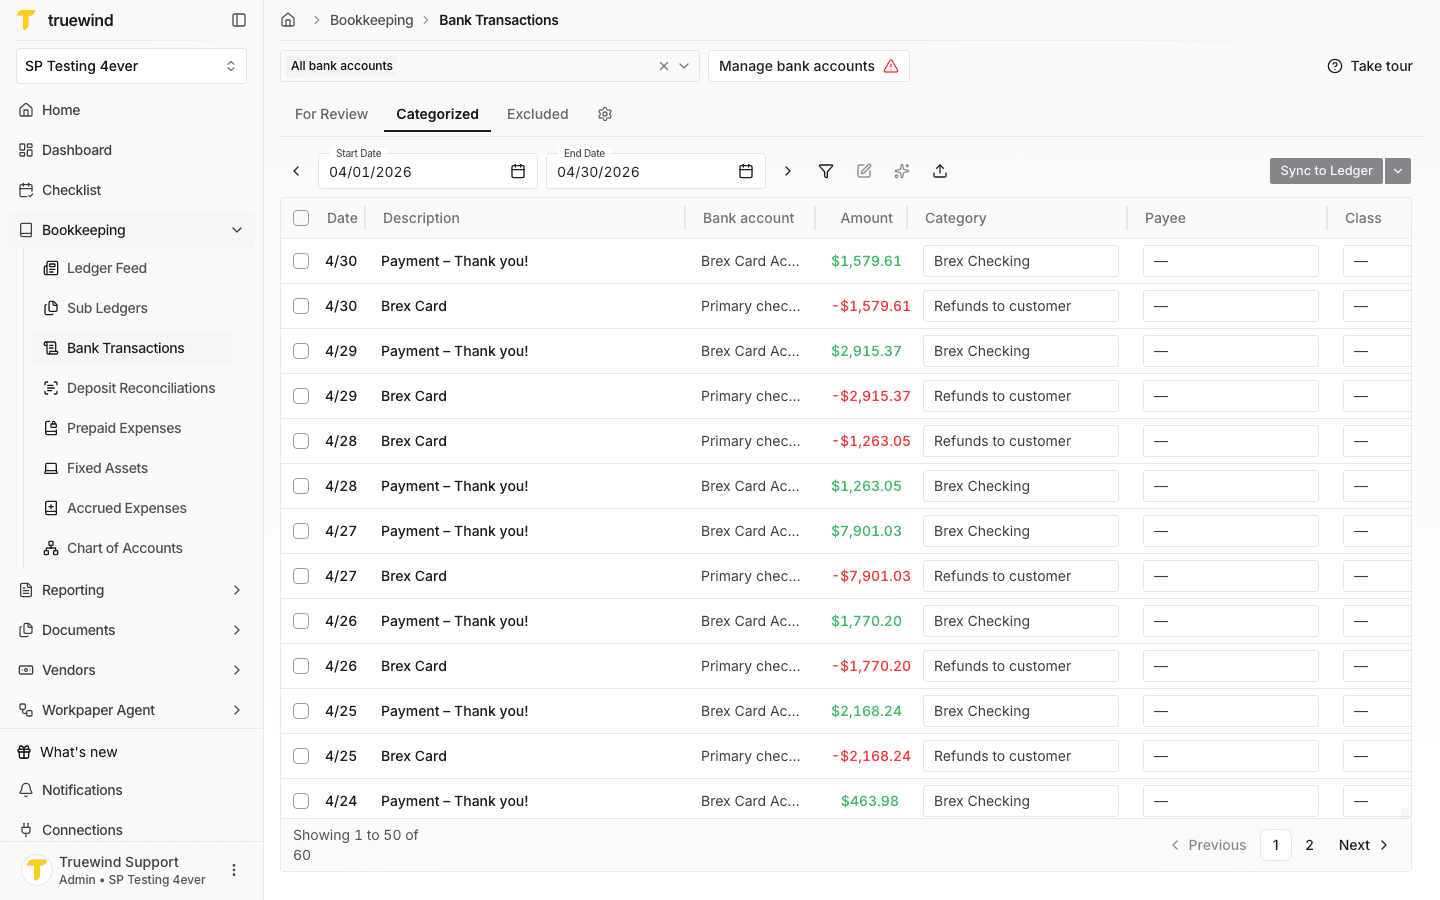
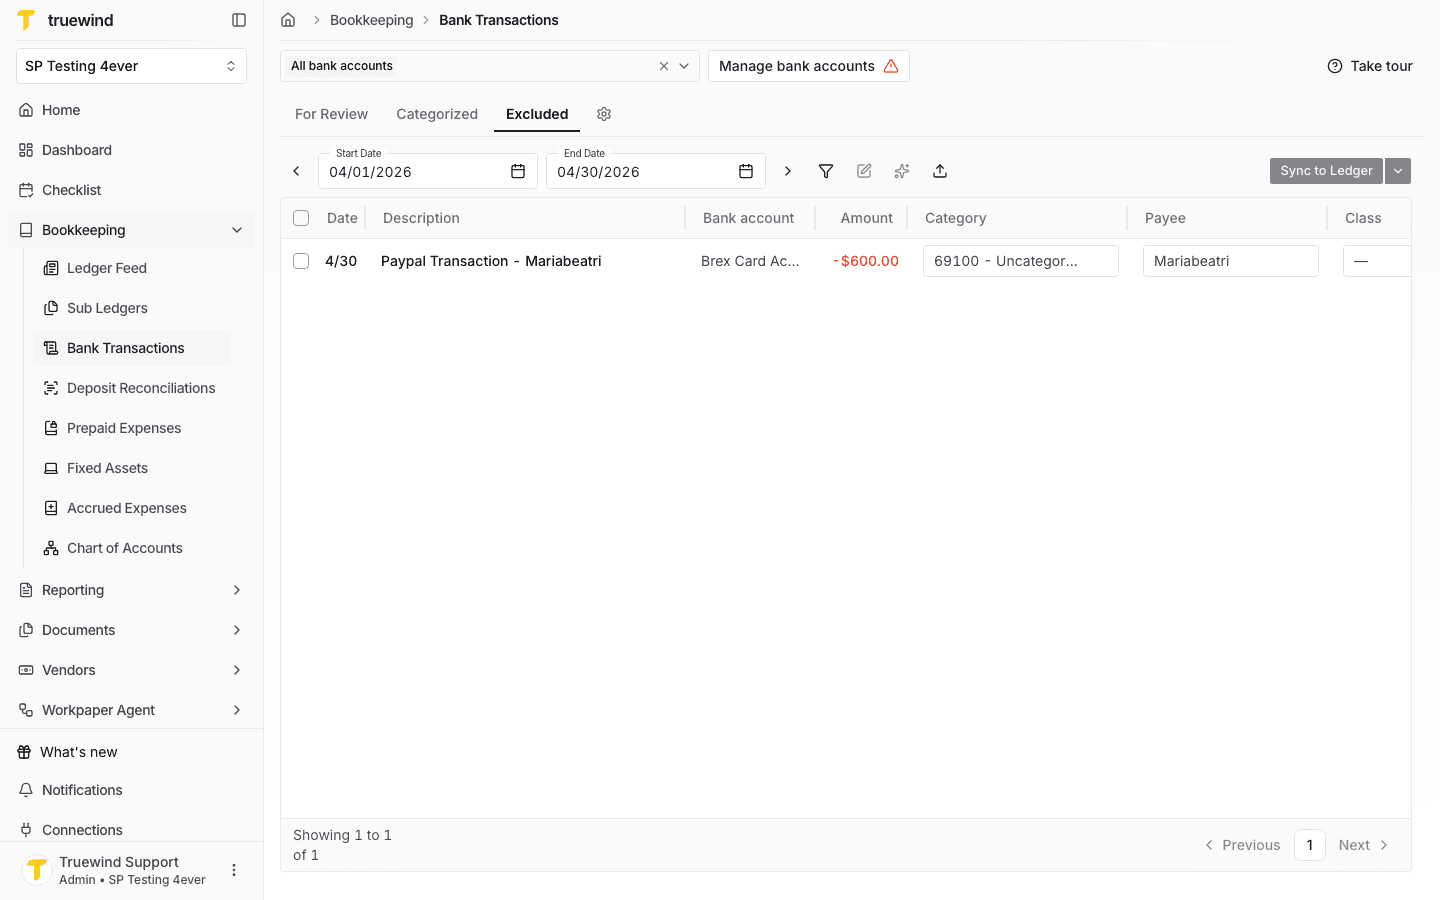
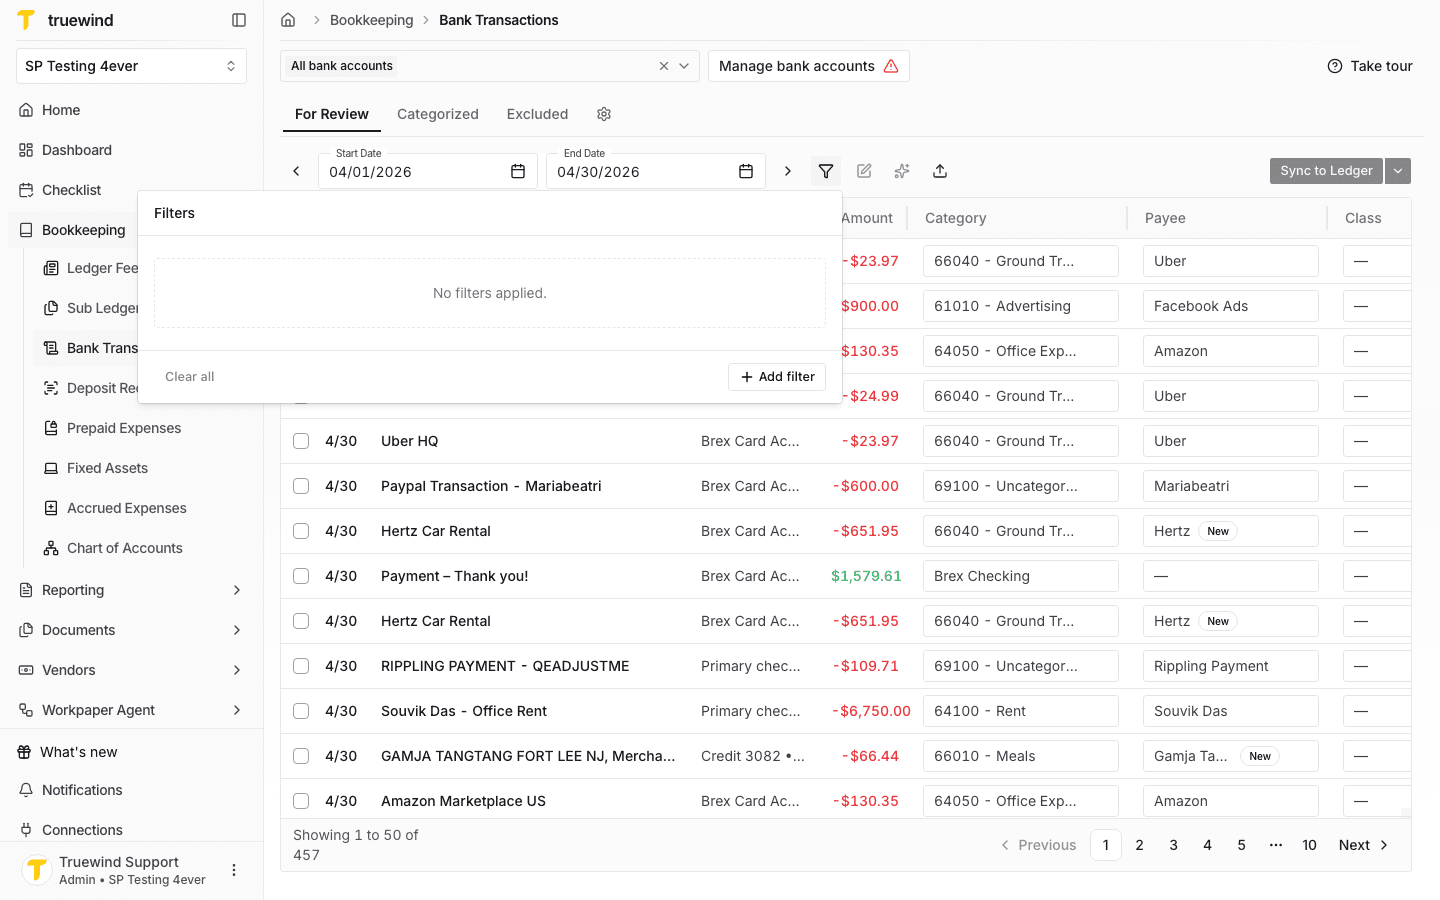
Bank Transactions is the main area for reviewing imported transaction activity, validating categorization, and working through reconciliation-related tasks.

Best place to start

If you are new to the workflow, start with the import guide and then move into the reconciliation guide once transactions are available.

FAQ

What are the main jobs I can do from Bank Transactions?

Import transactions, review categorization, reconcile activity, and investigate exceptions.

Limitations

Some workflows depend on connected data sources

If the bank or ERP connection is incomplete, parts of the transaction workflow may be unavailable or show partial data.

Troubleshooting

Transactions are missing or out of date.

Check the connection status, run the relevant sync action, and confirm the source data is available.

Was this helpful?

Need more help?

Ask for human help about this article and provide any feedback.