What this workflow does
This workflow moves a Workpaper Agent workbook through reviewer sign-off, checklist tracking, optional client approval, and the final Ready to Post status before posting.
Ask the support agent
Just ask a direct question or search related articles from the Knowledge Base.
Support Center / Workpaper Agent / Overview
Move a workpaper through review and approval when another reviewer or client needs to sign off before posting, resulting in the correct review status and next action for the preparer.
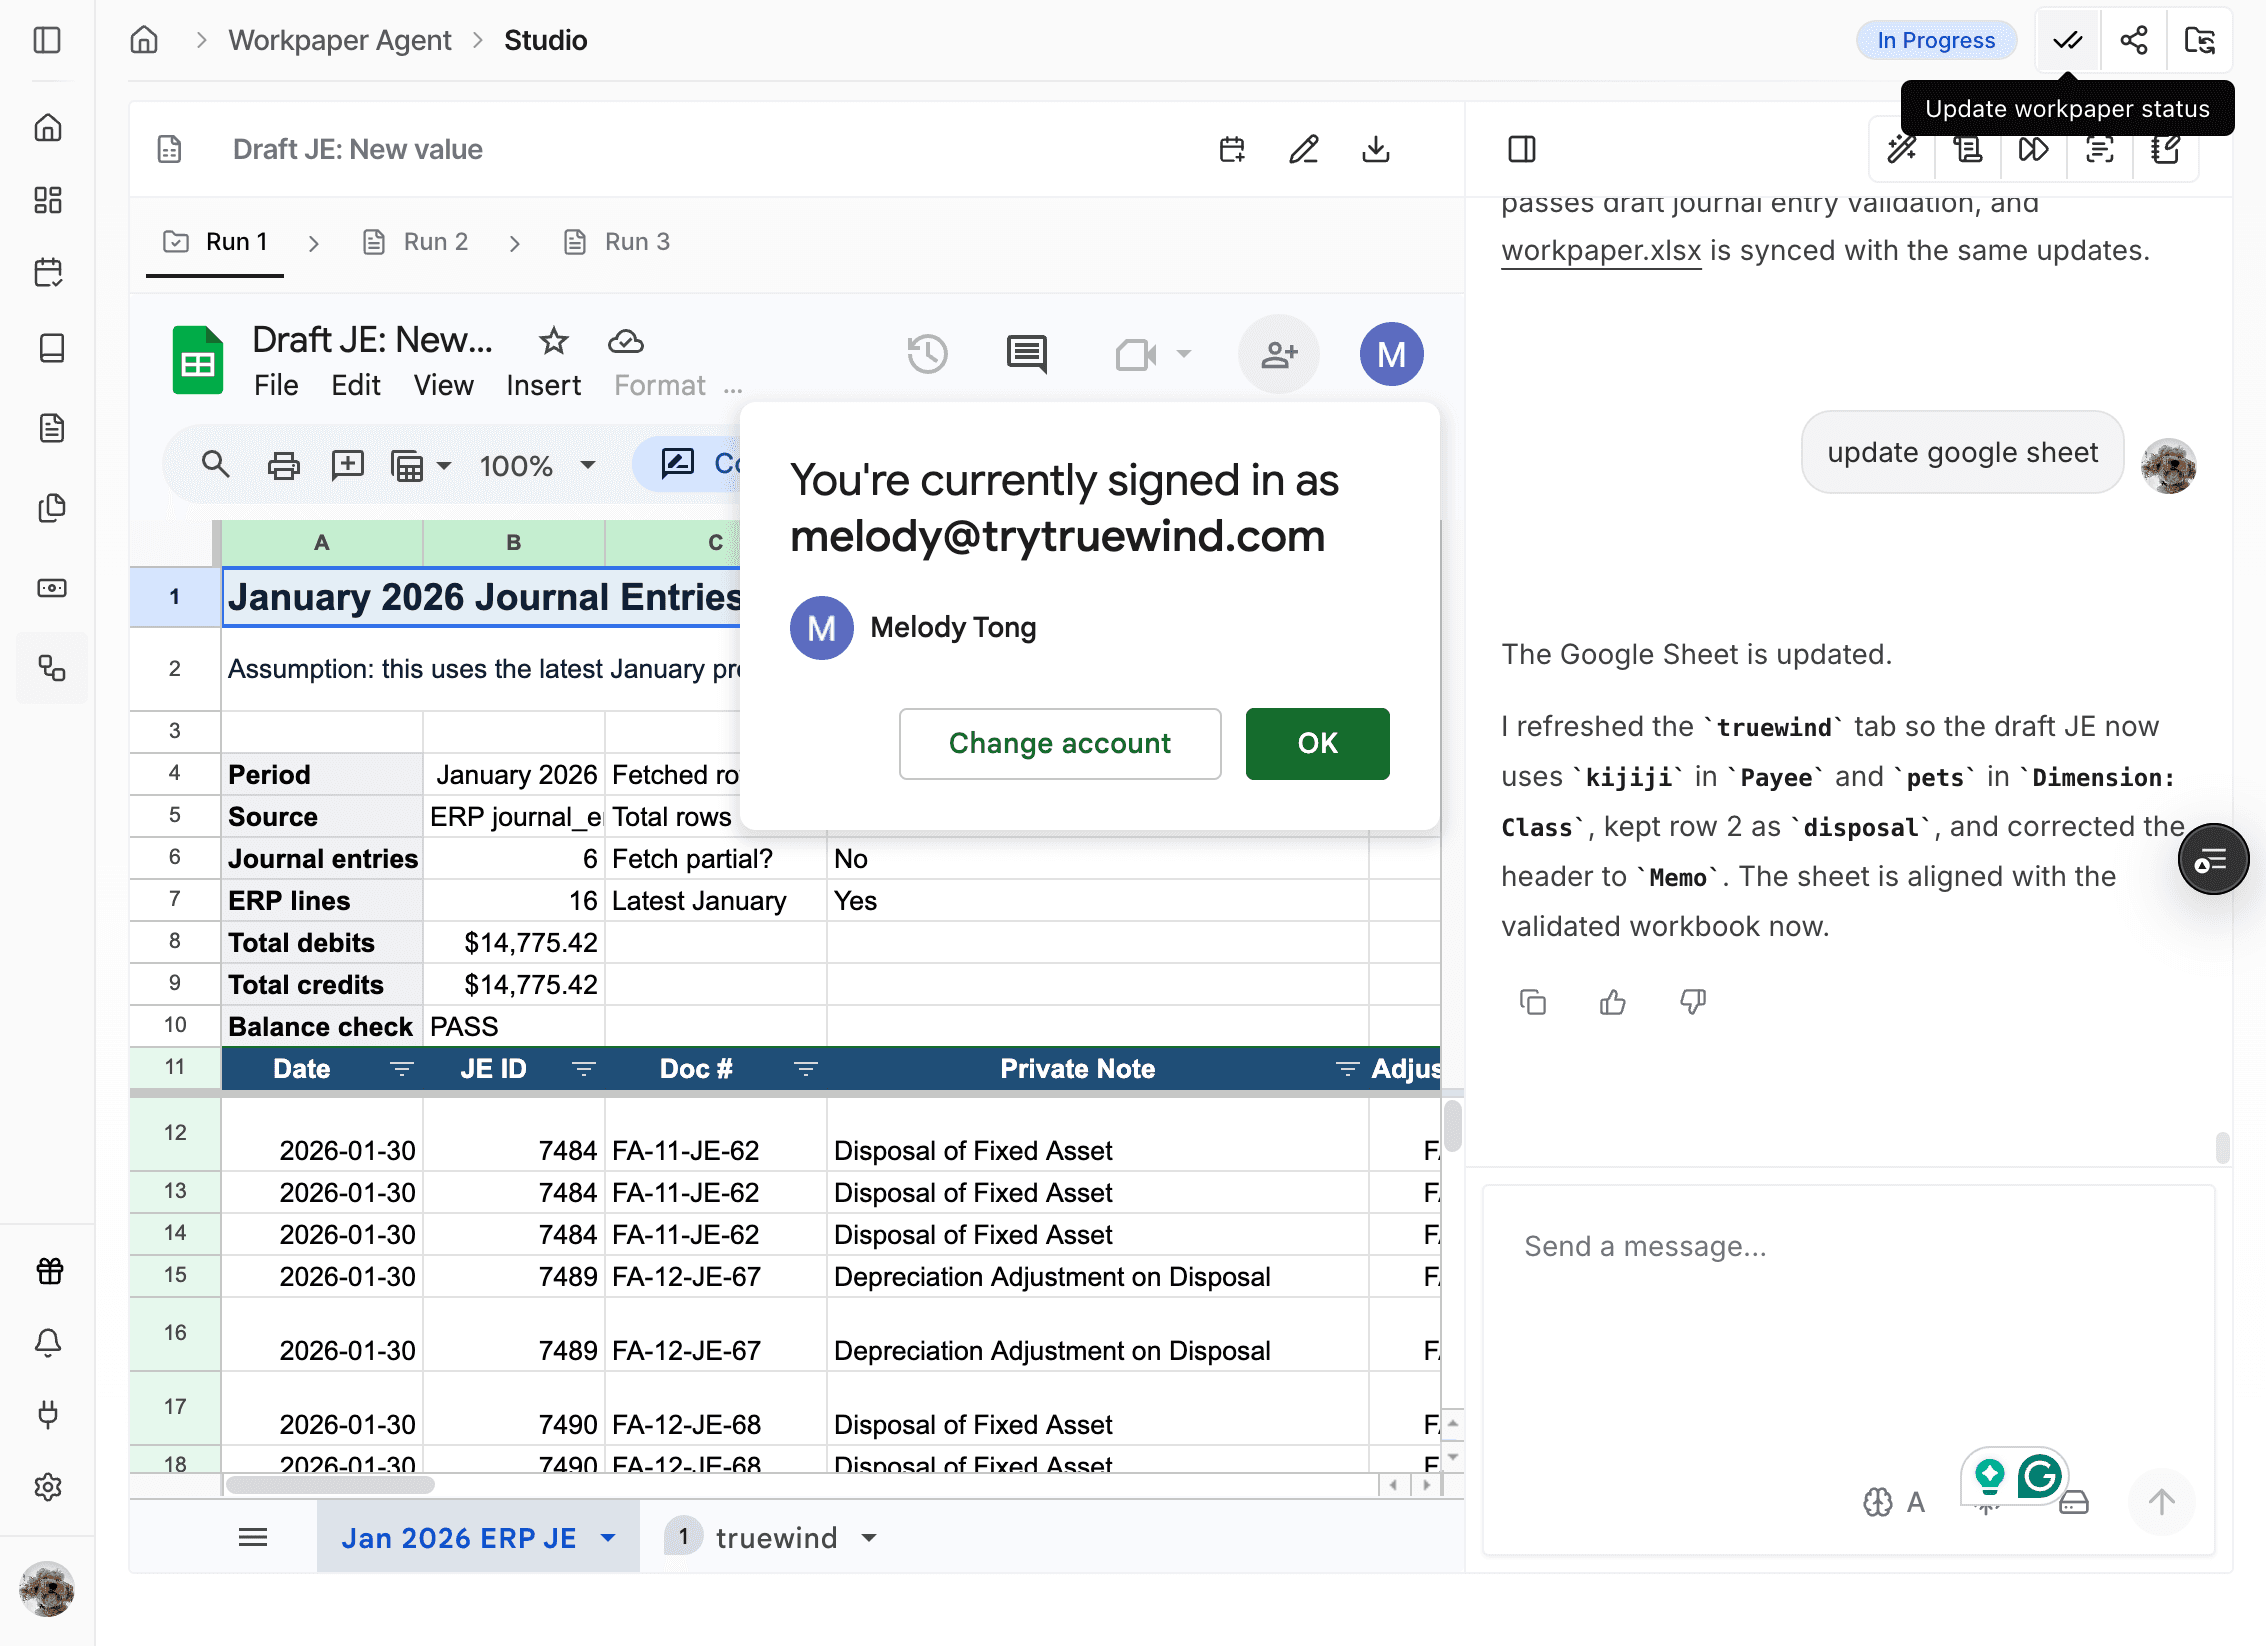
Step 1
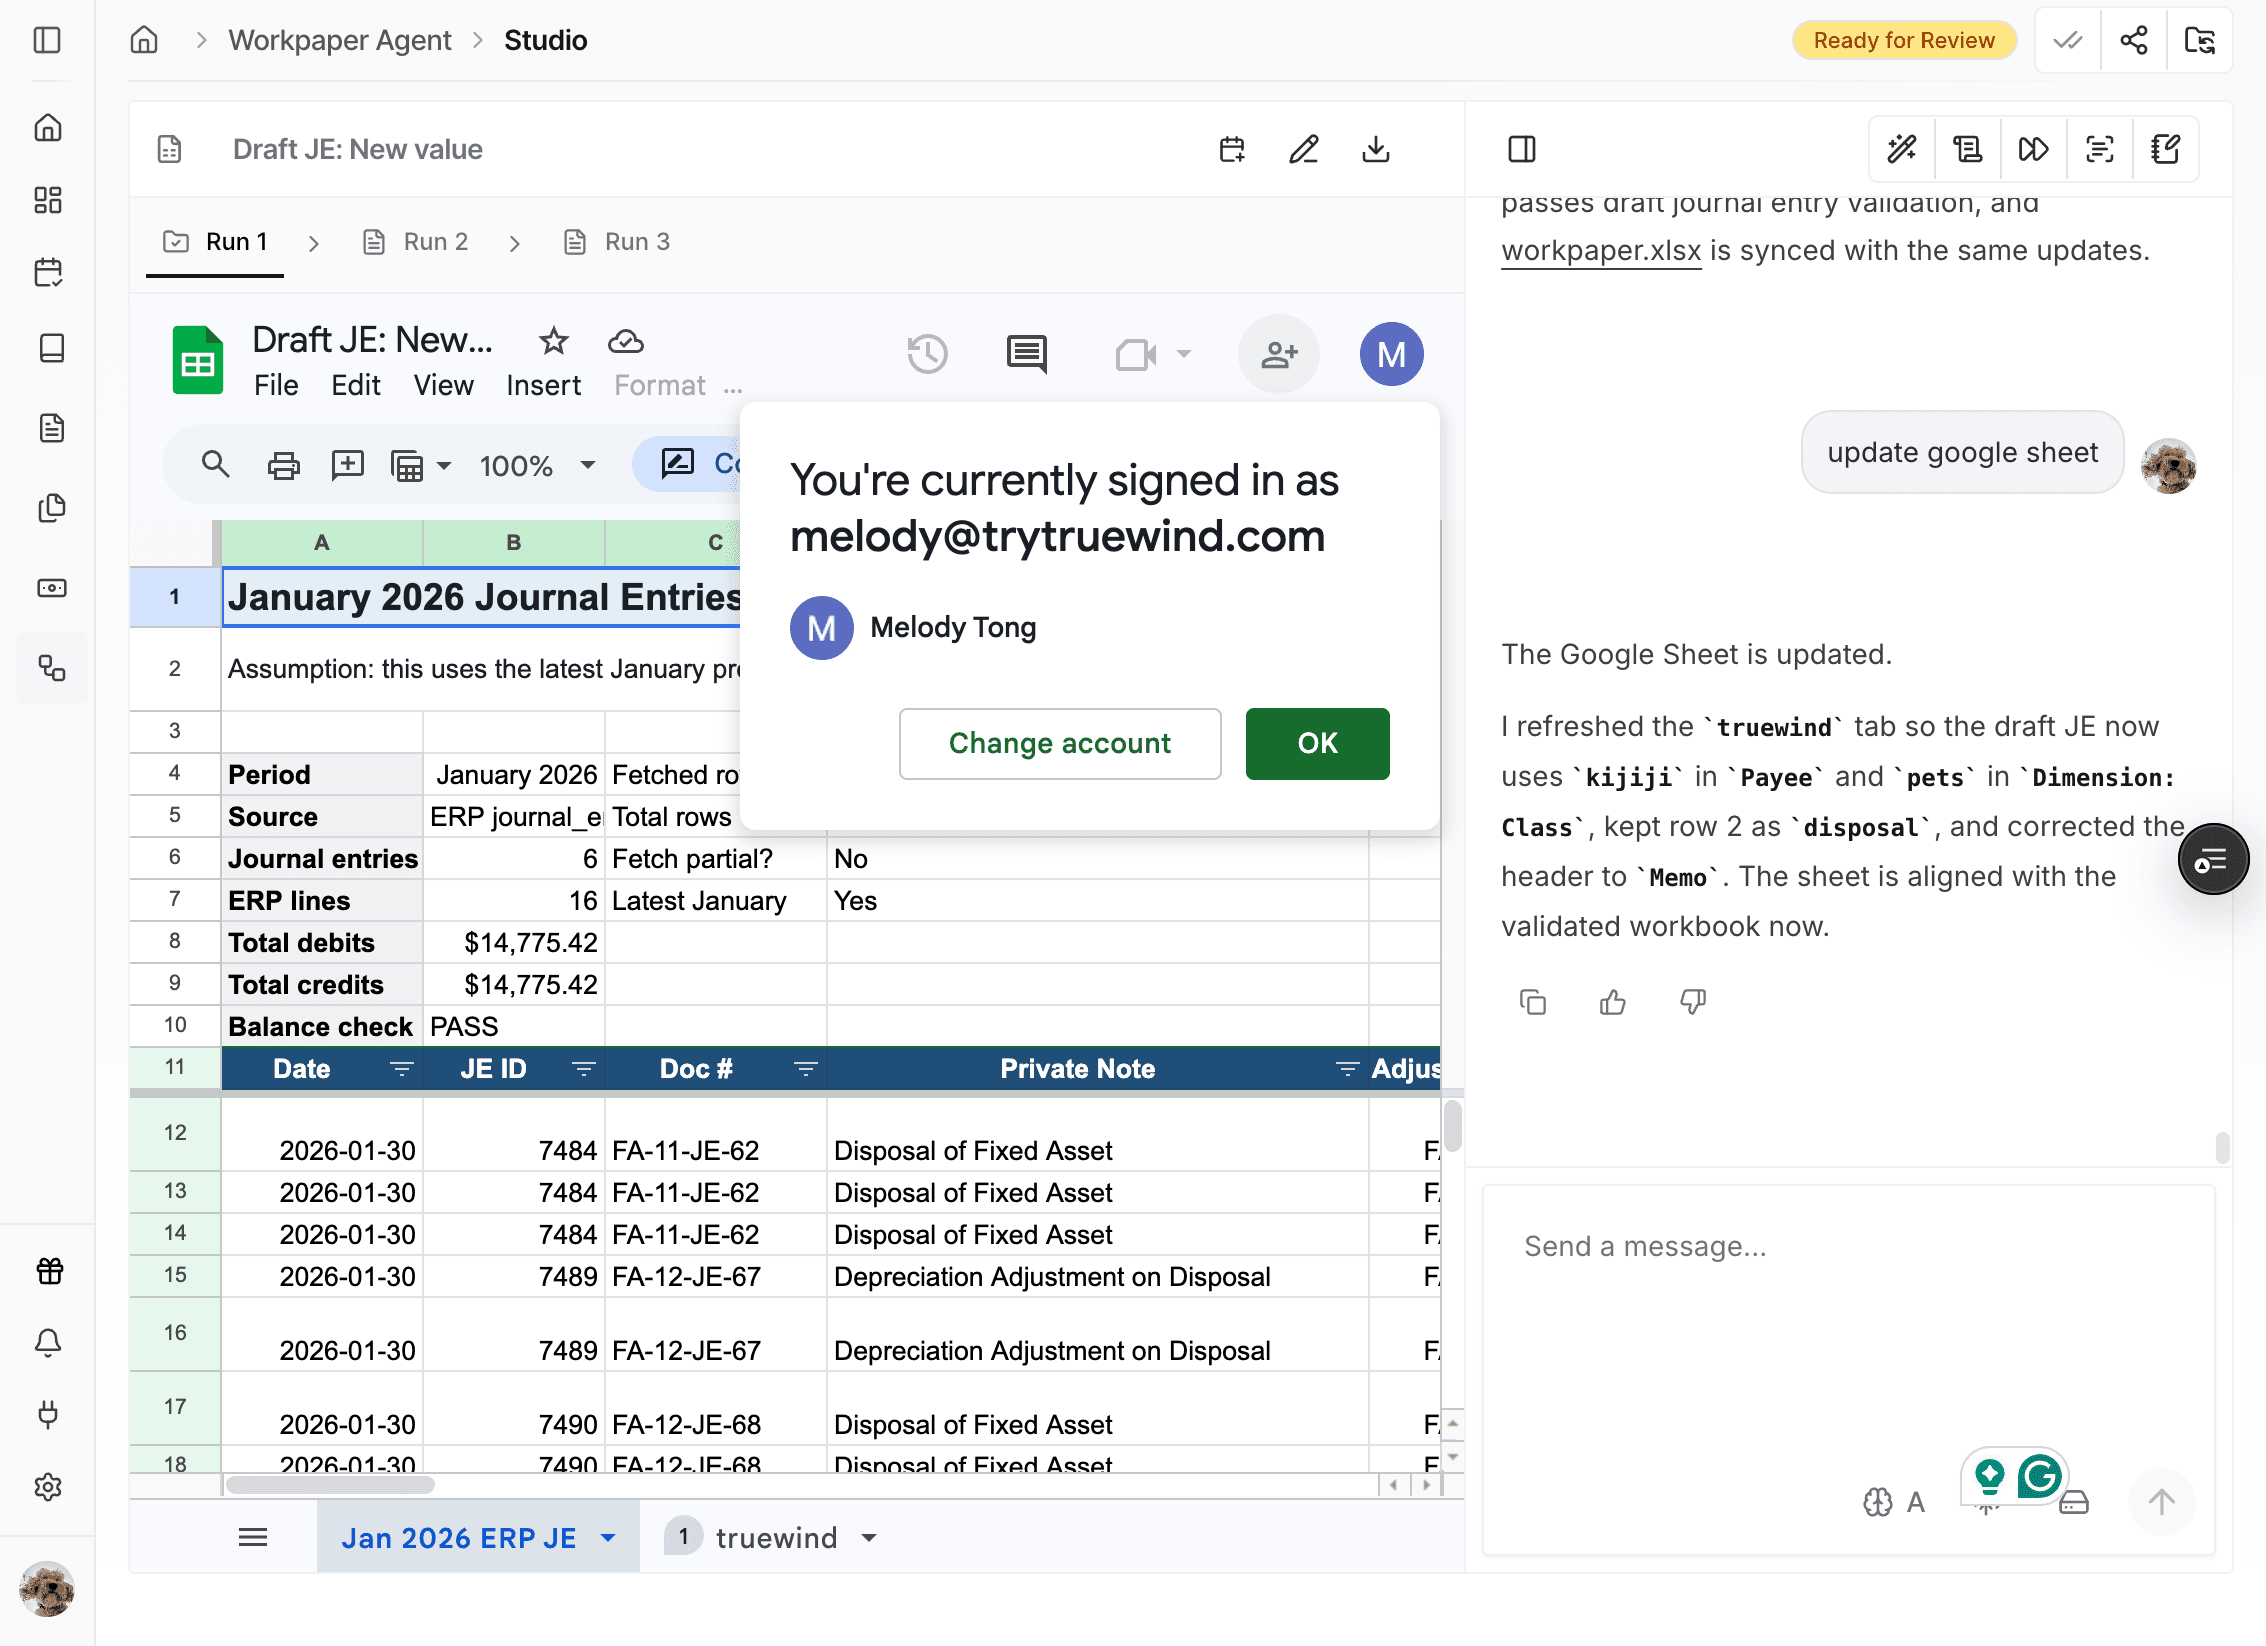
Start in Truewind on Workpaper Agent > Studio, then use the check-mark action when the workbook is ready for review.
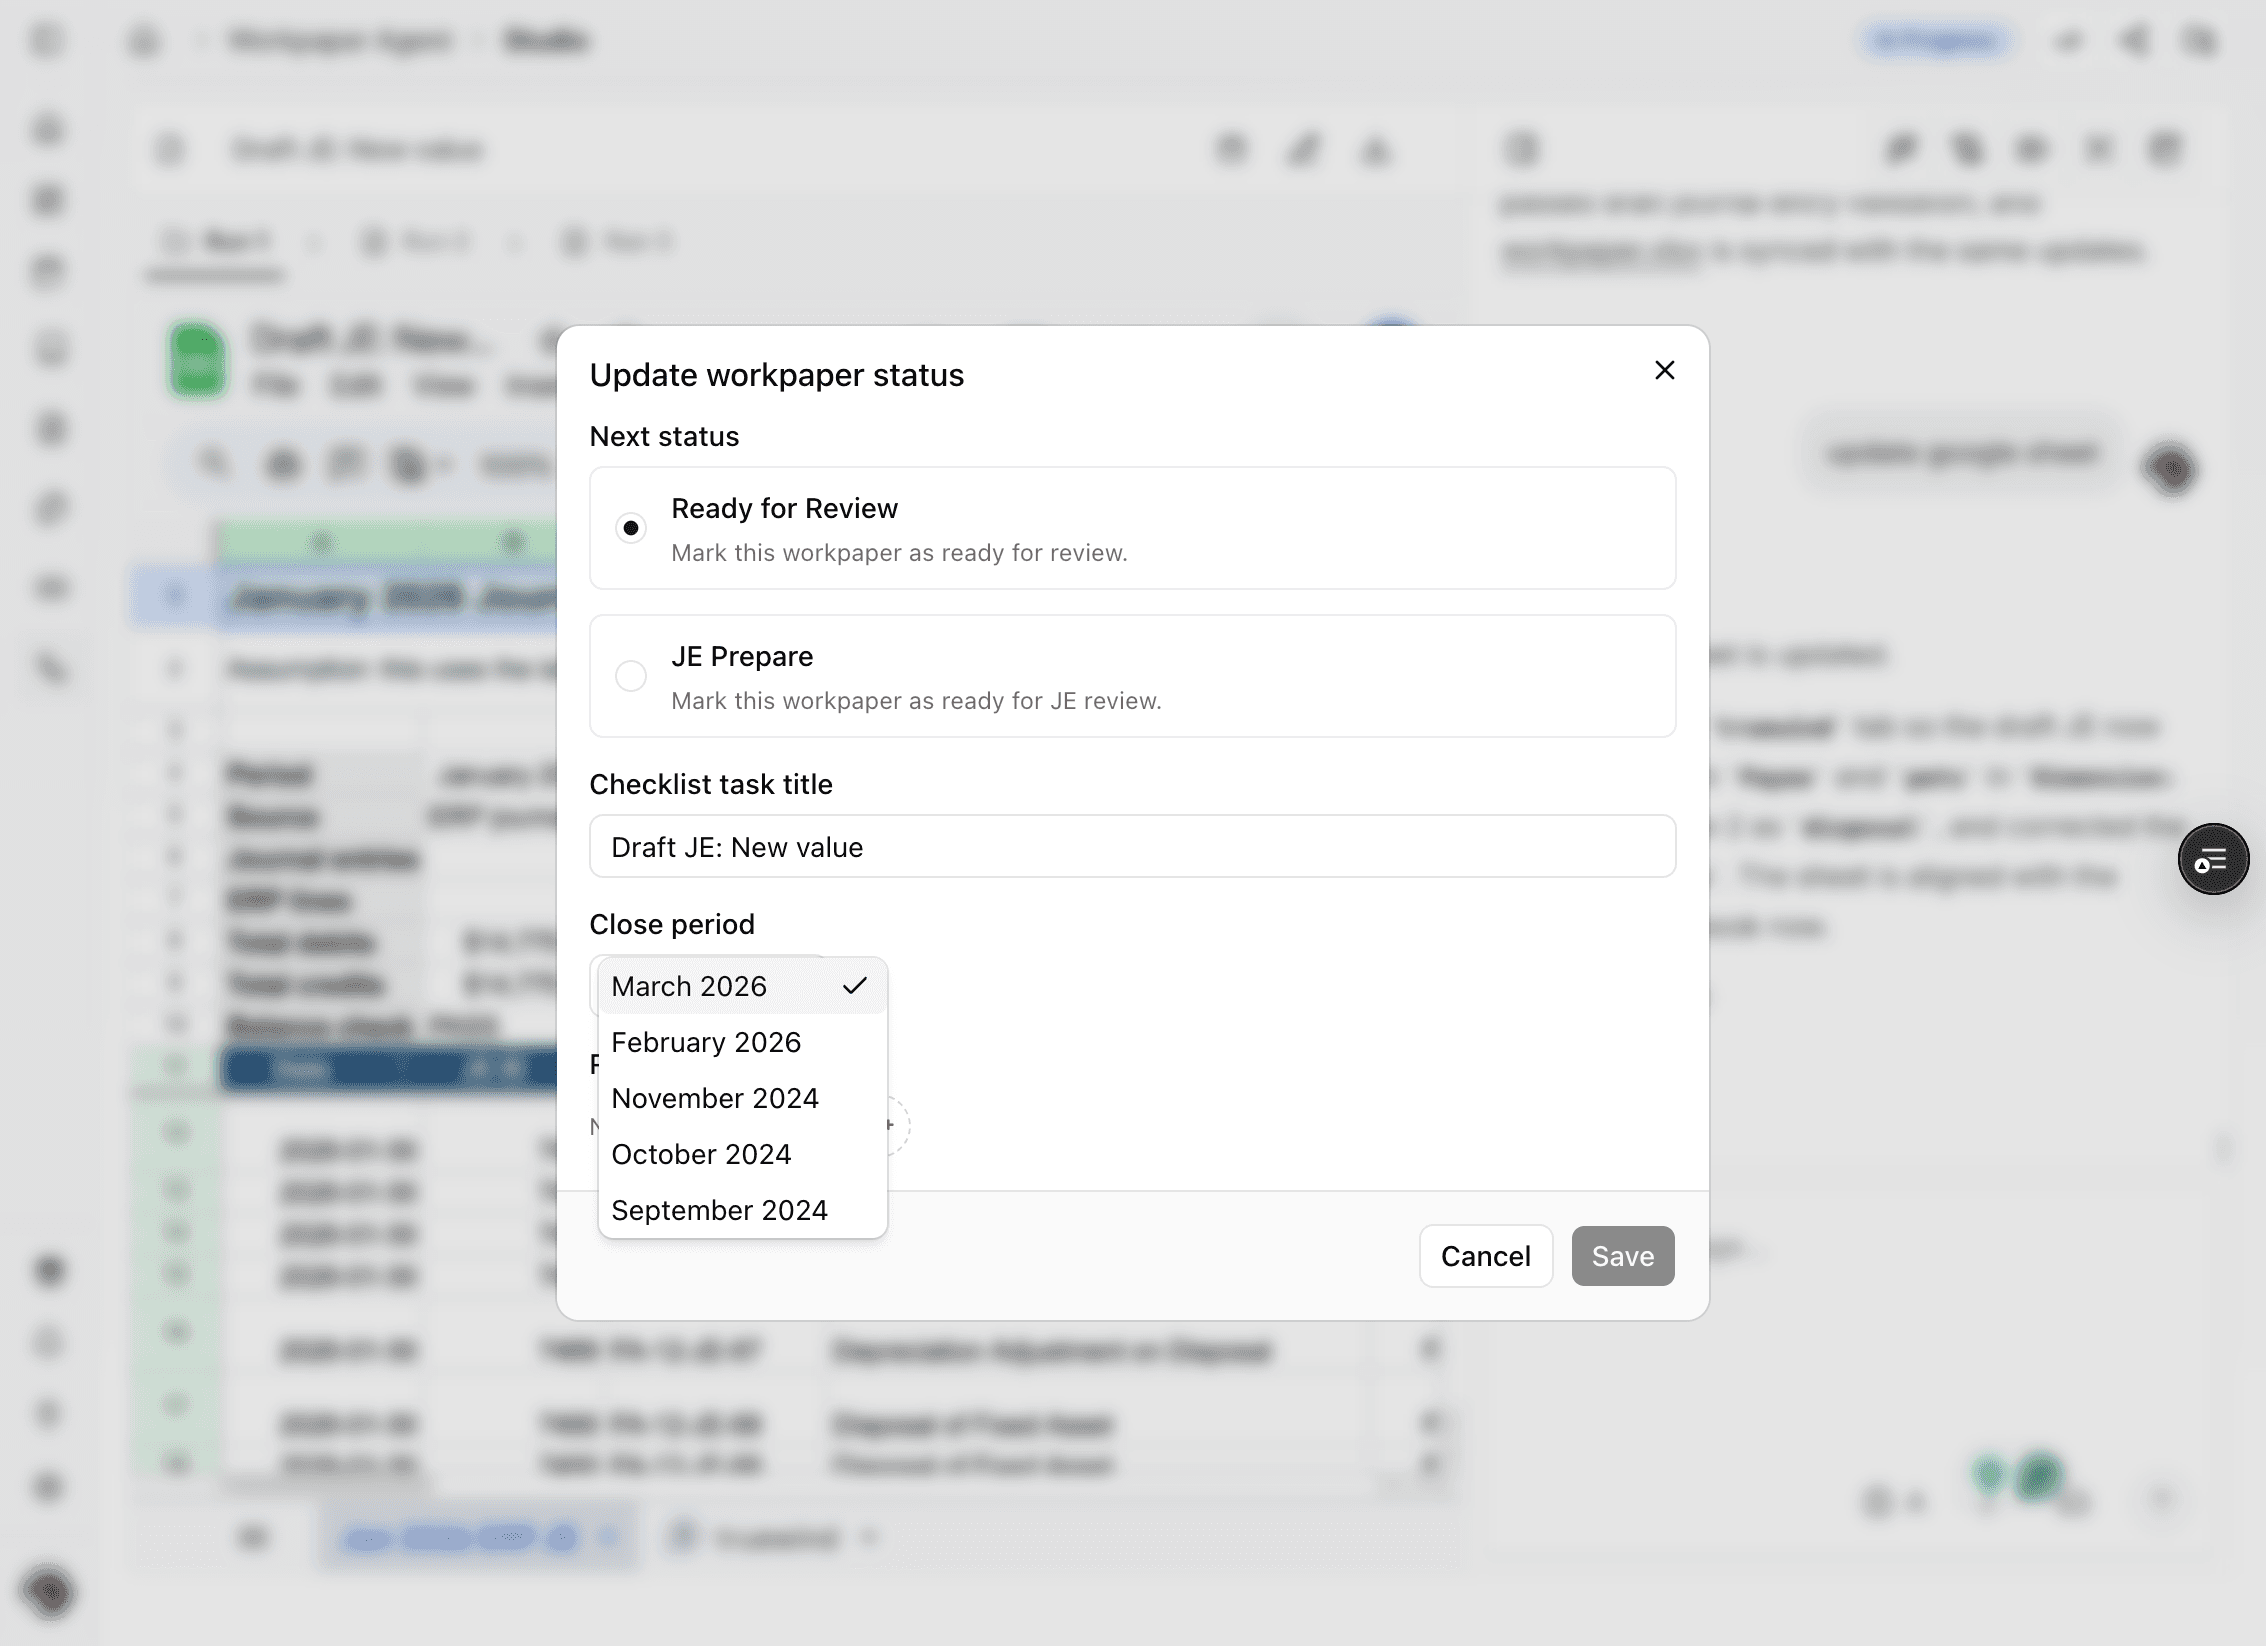
Step 2
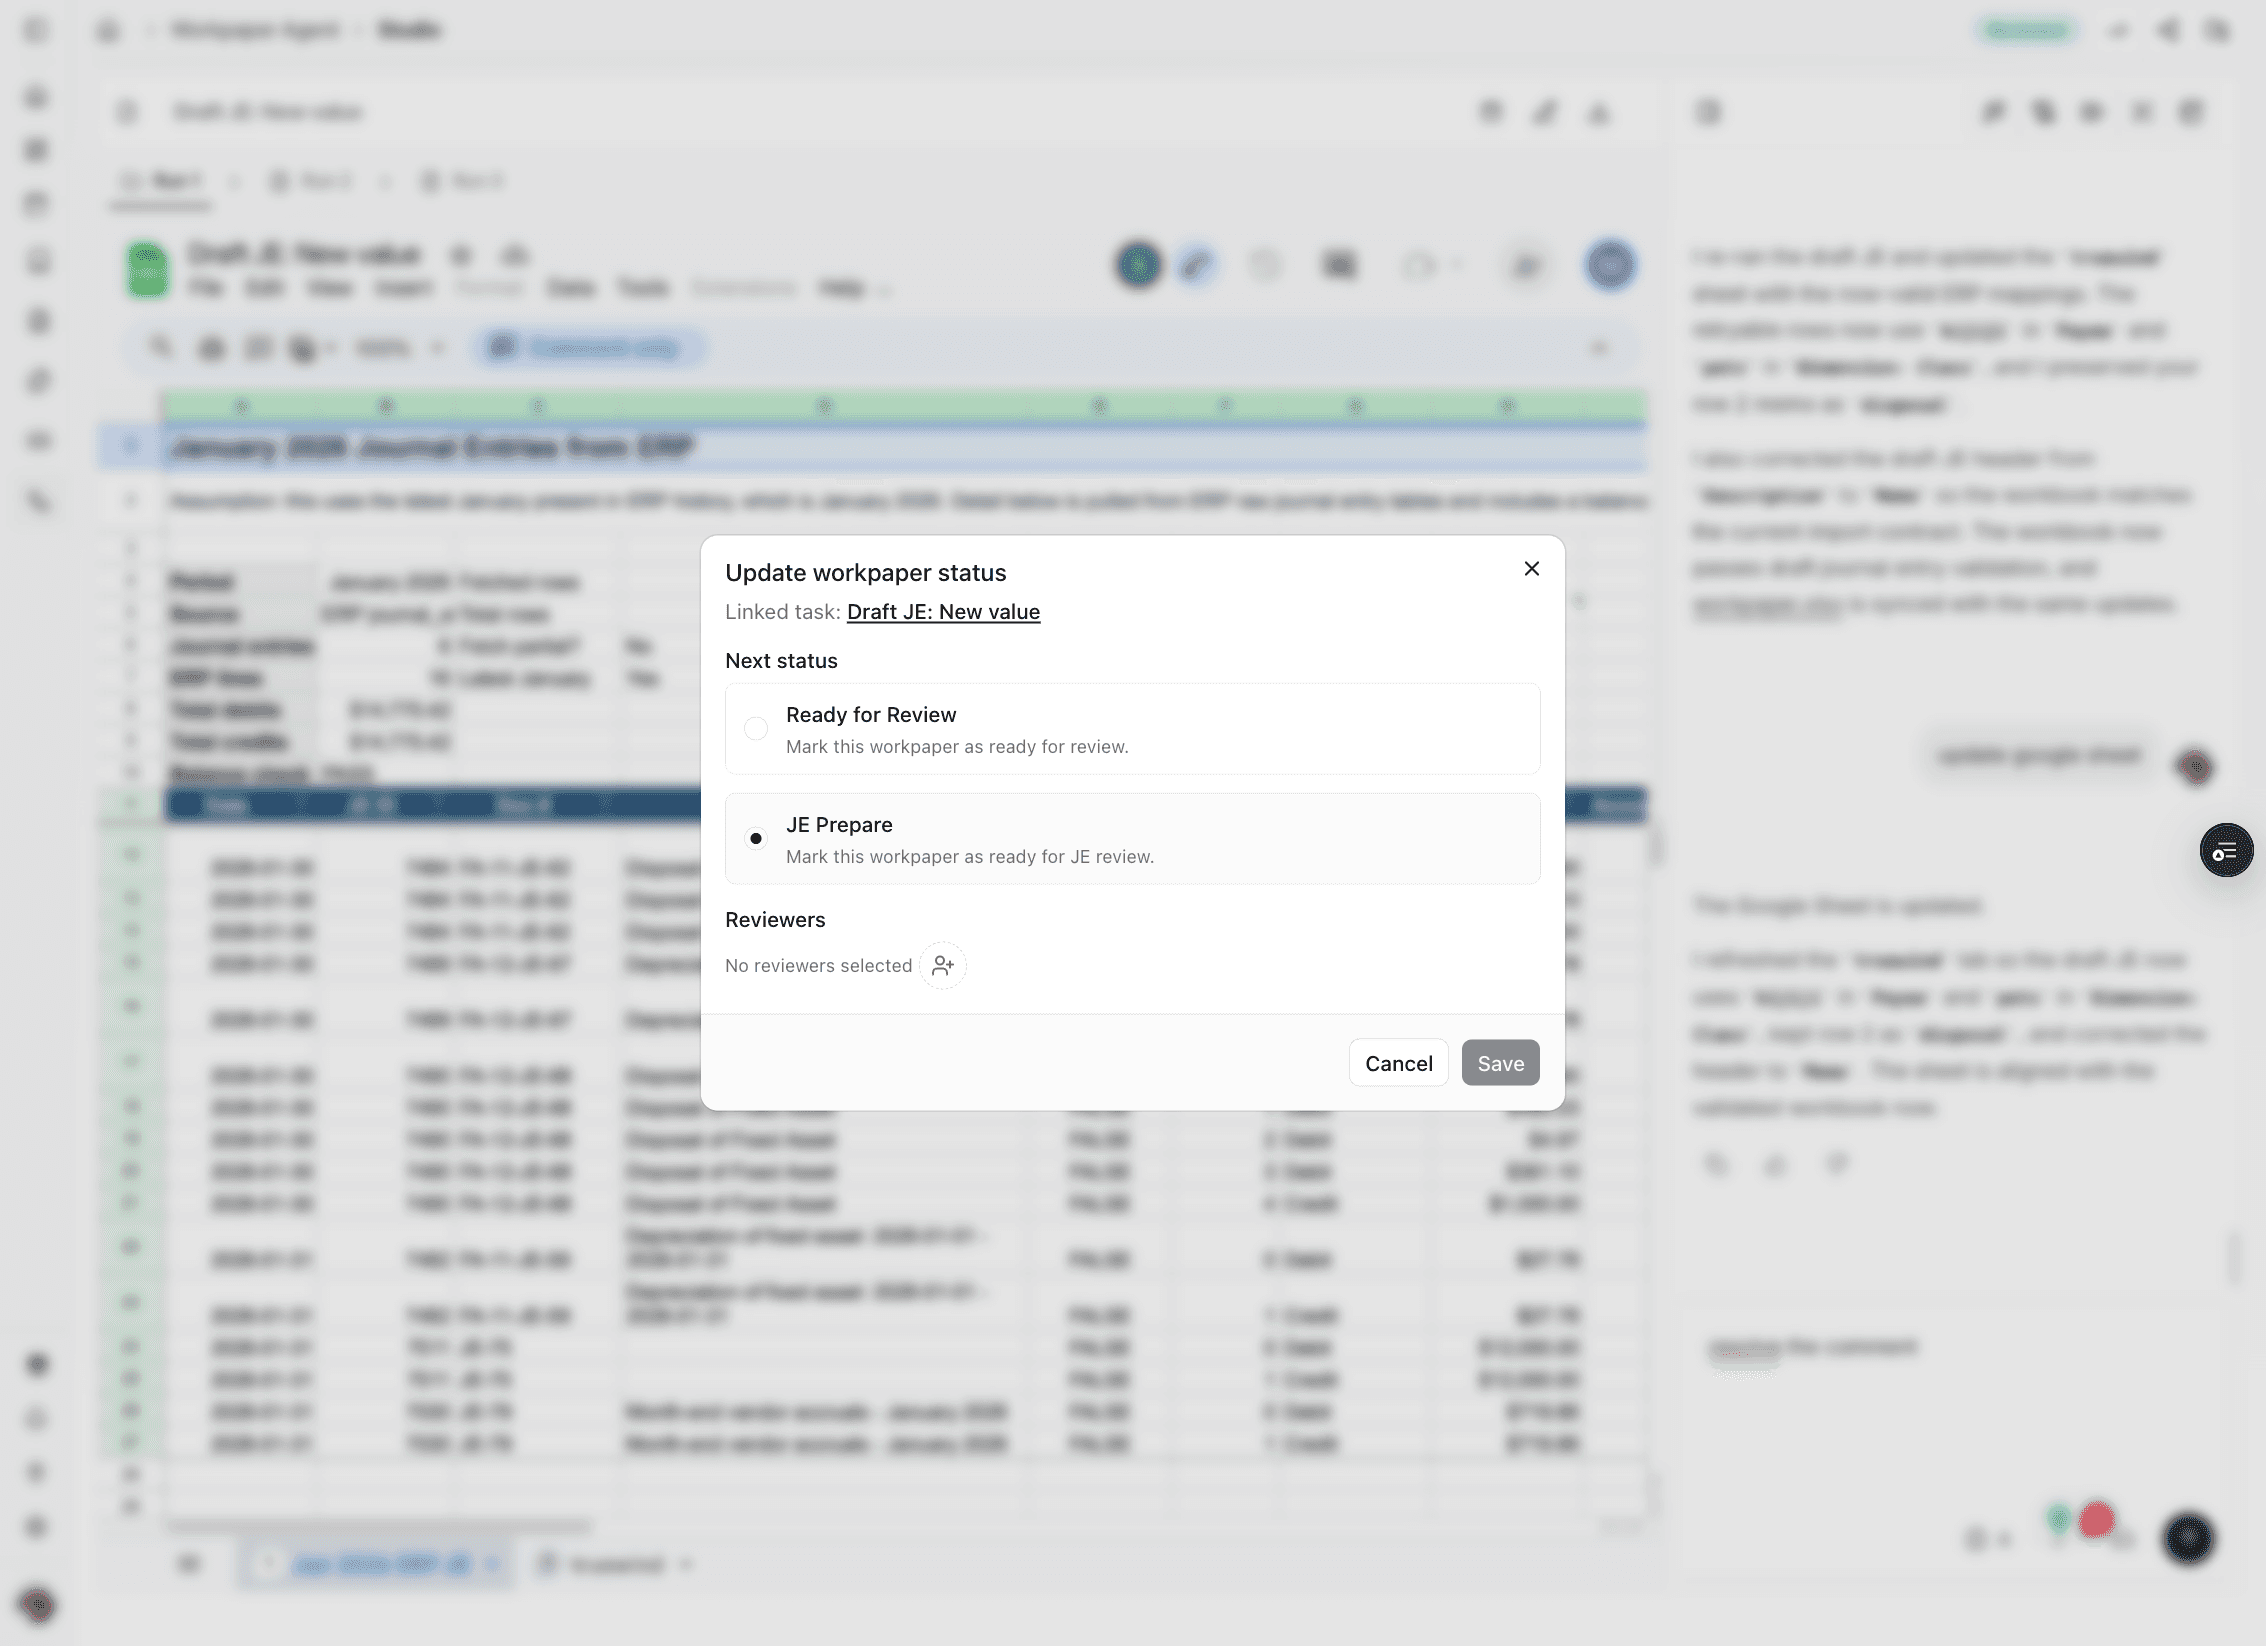
Select the review option that matches the current workbook state so the checklist and reviewer flow move to the correct next step.

Step 3
Update the task title if the reviewer needs clearer context before the review request is sent.

Step 4
Make sure the workbook is linked to the correct close period before you assign reviewers or request approval.
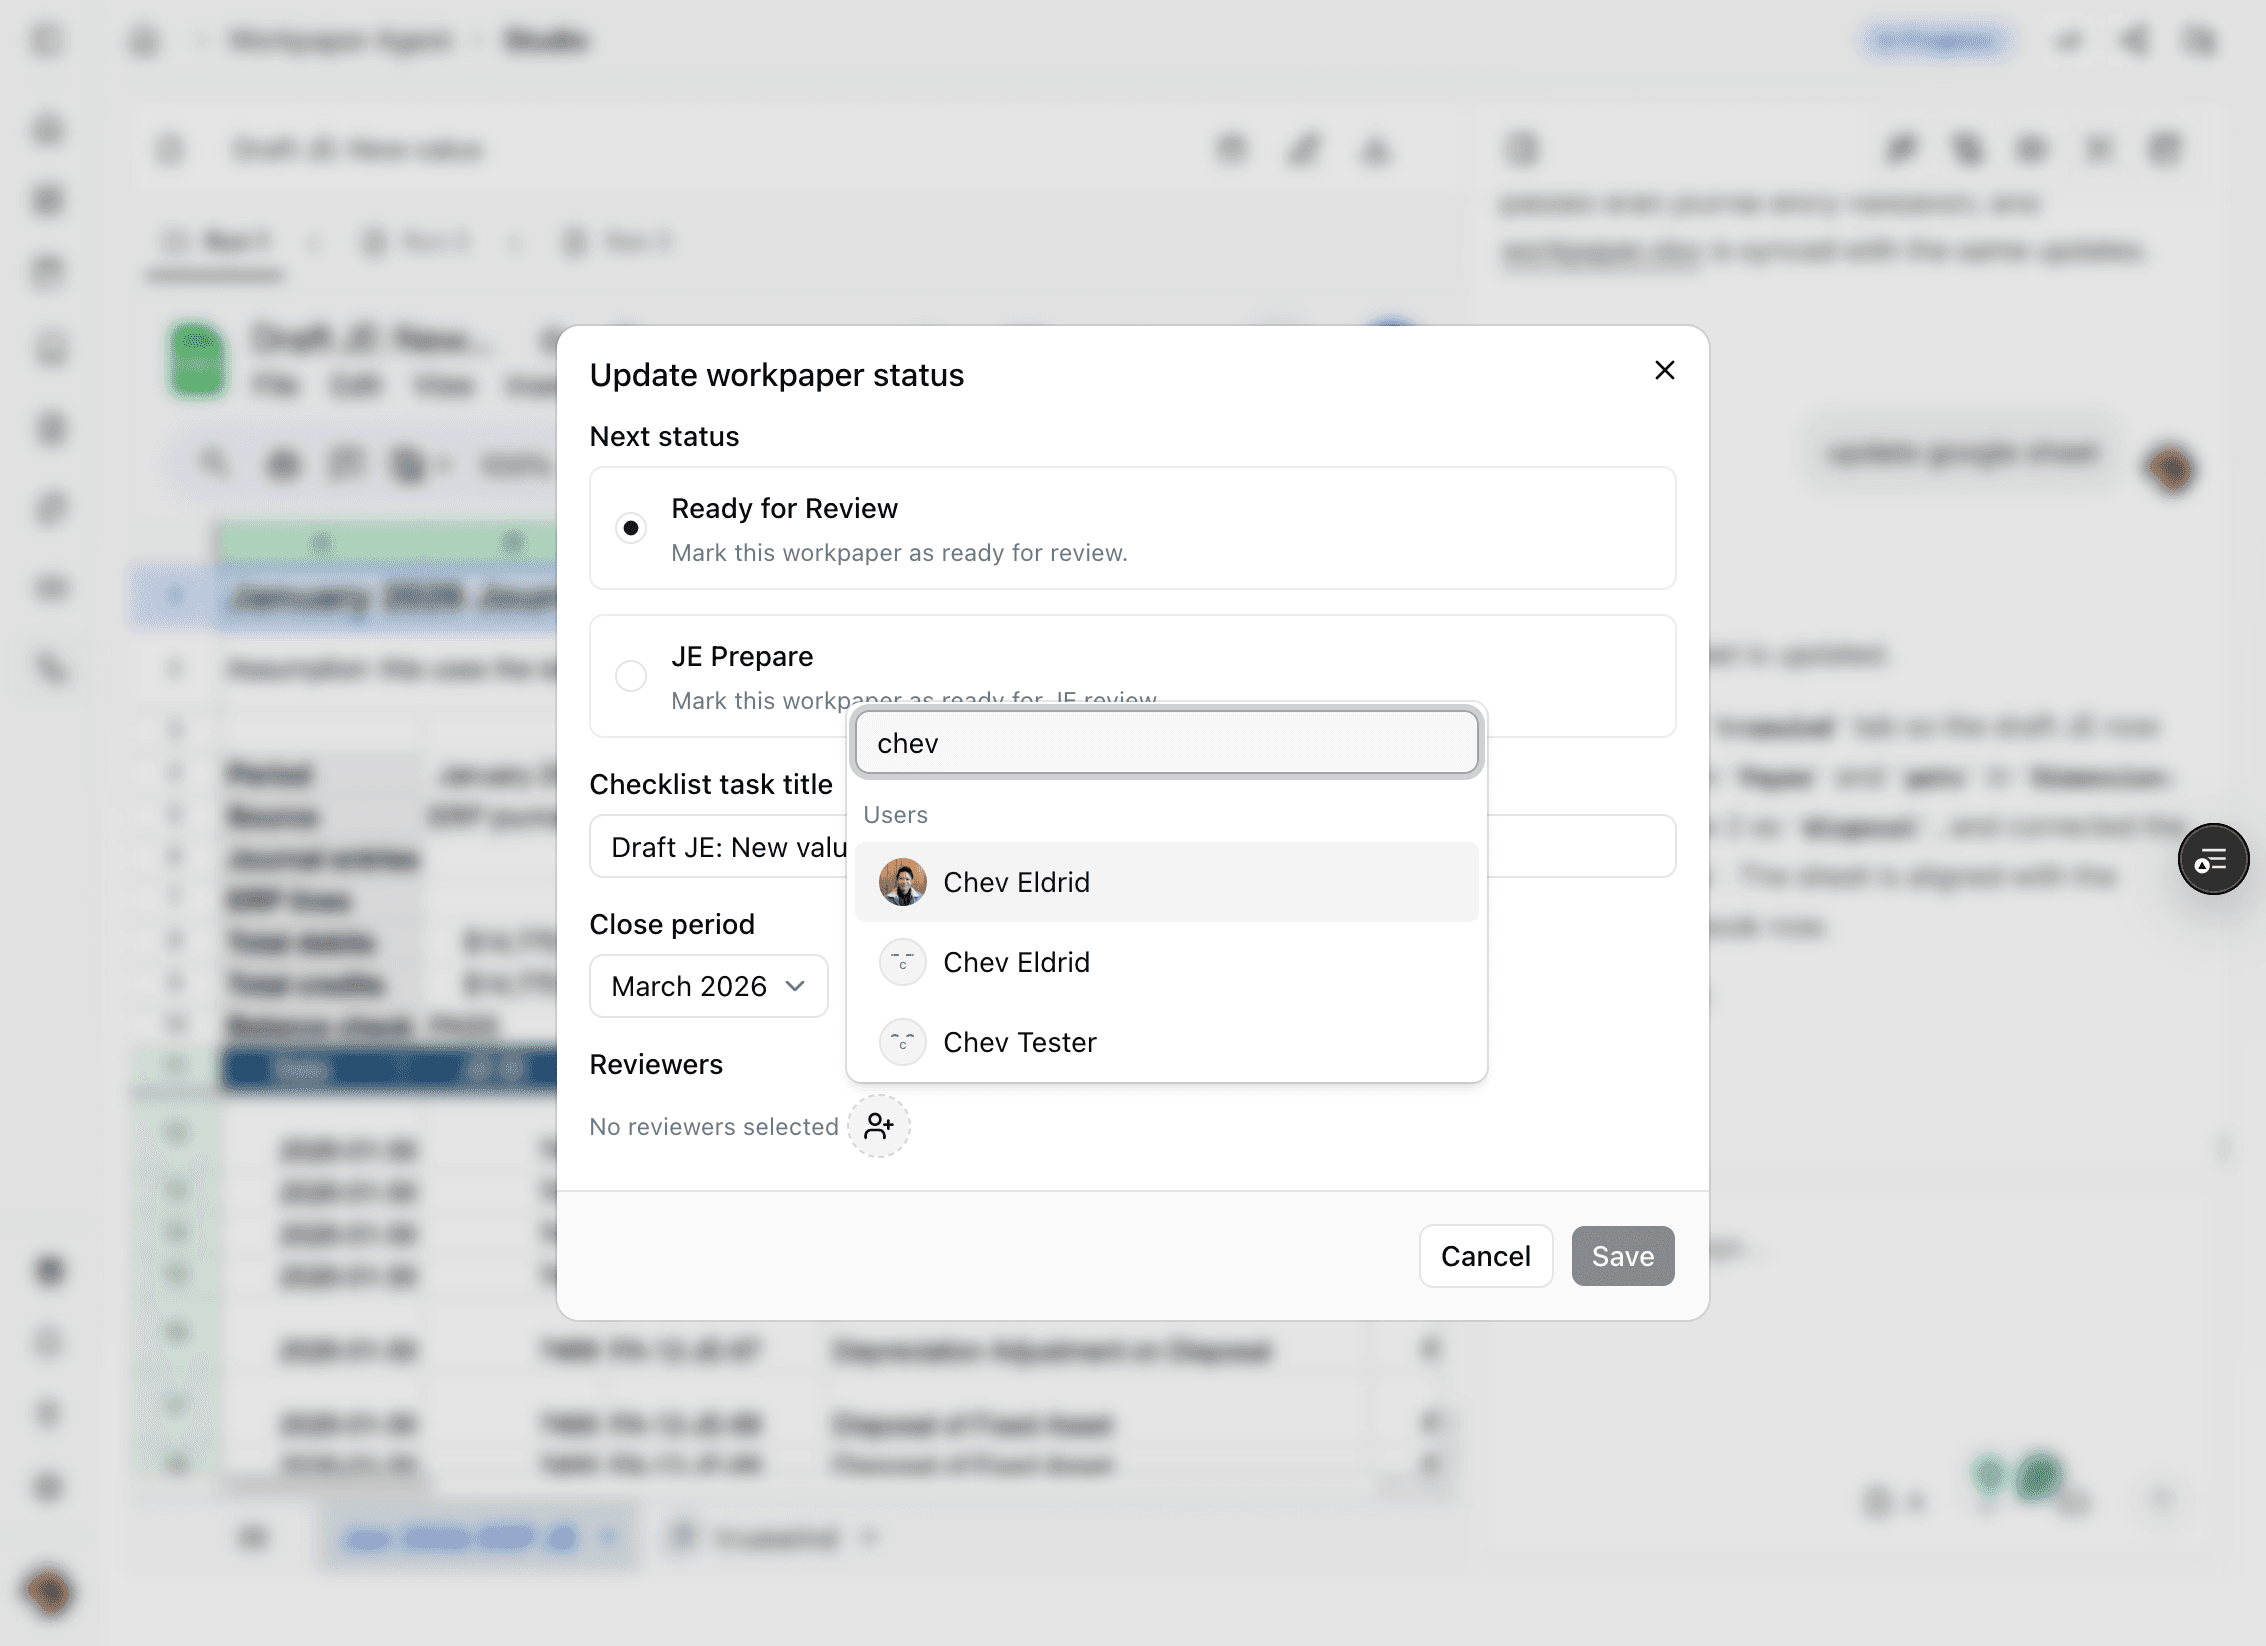
Step 5
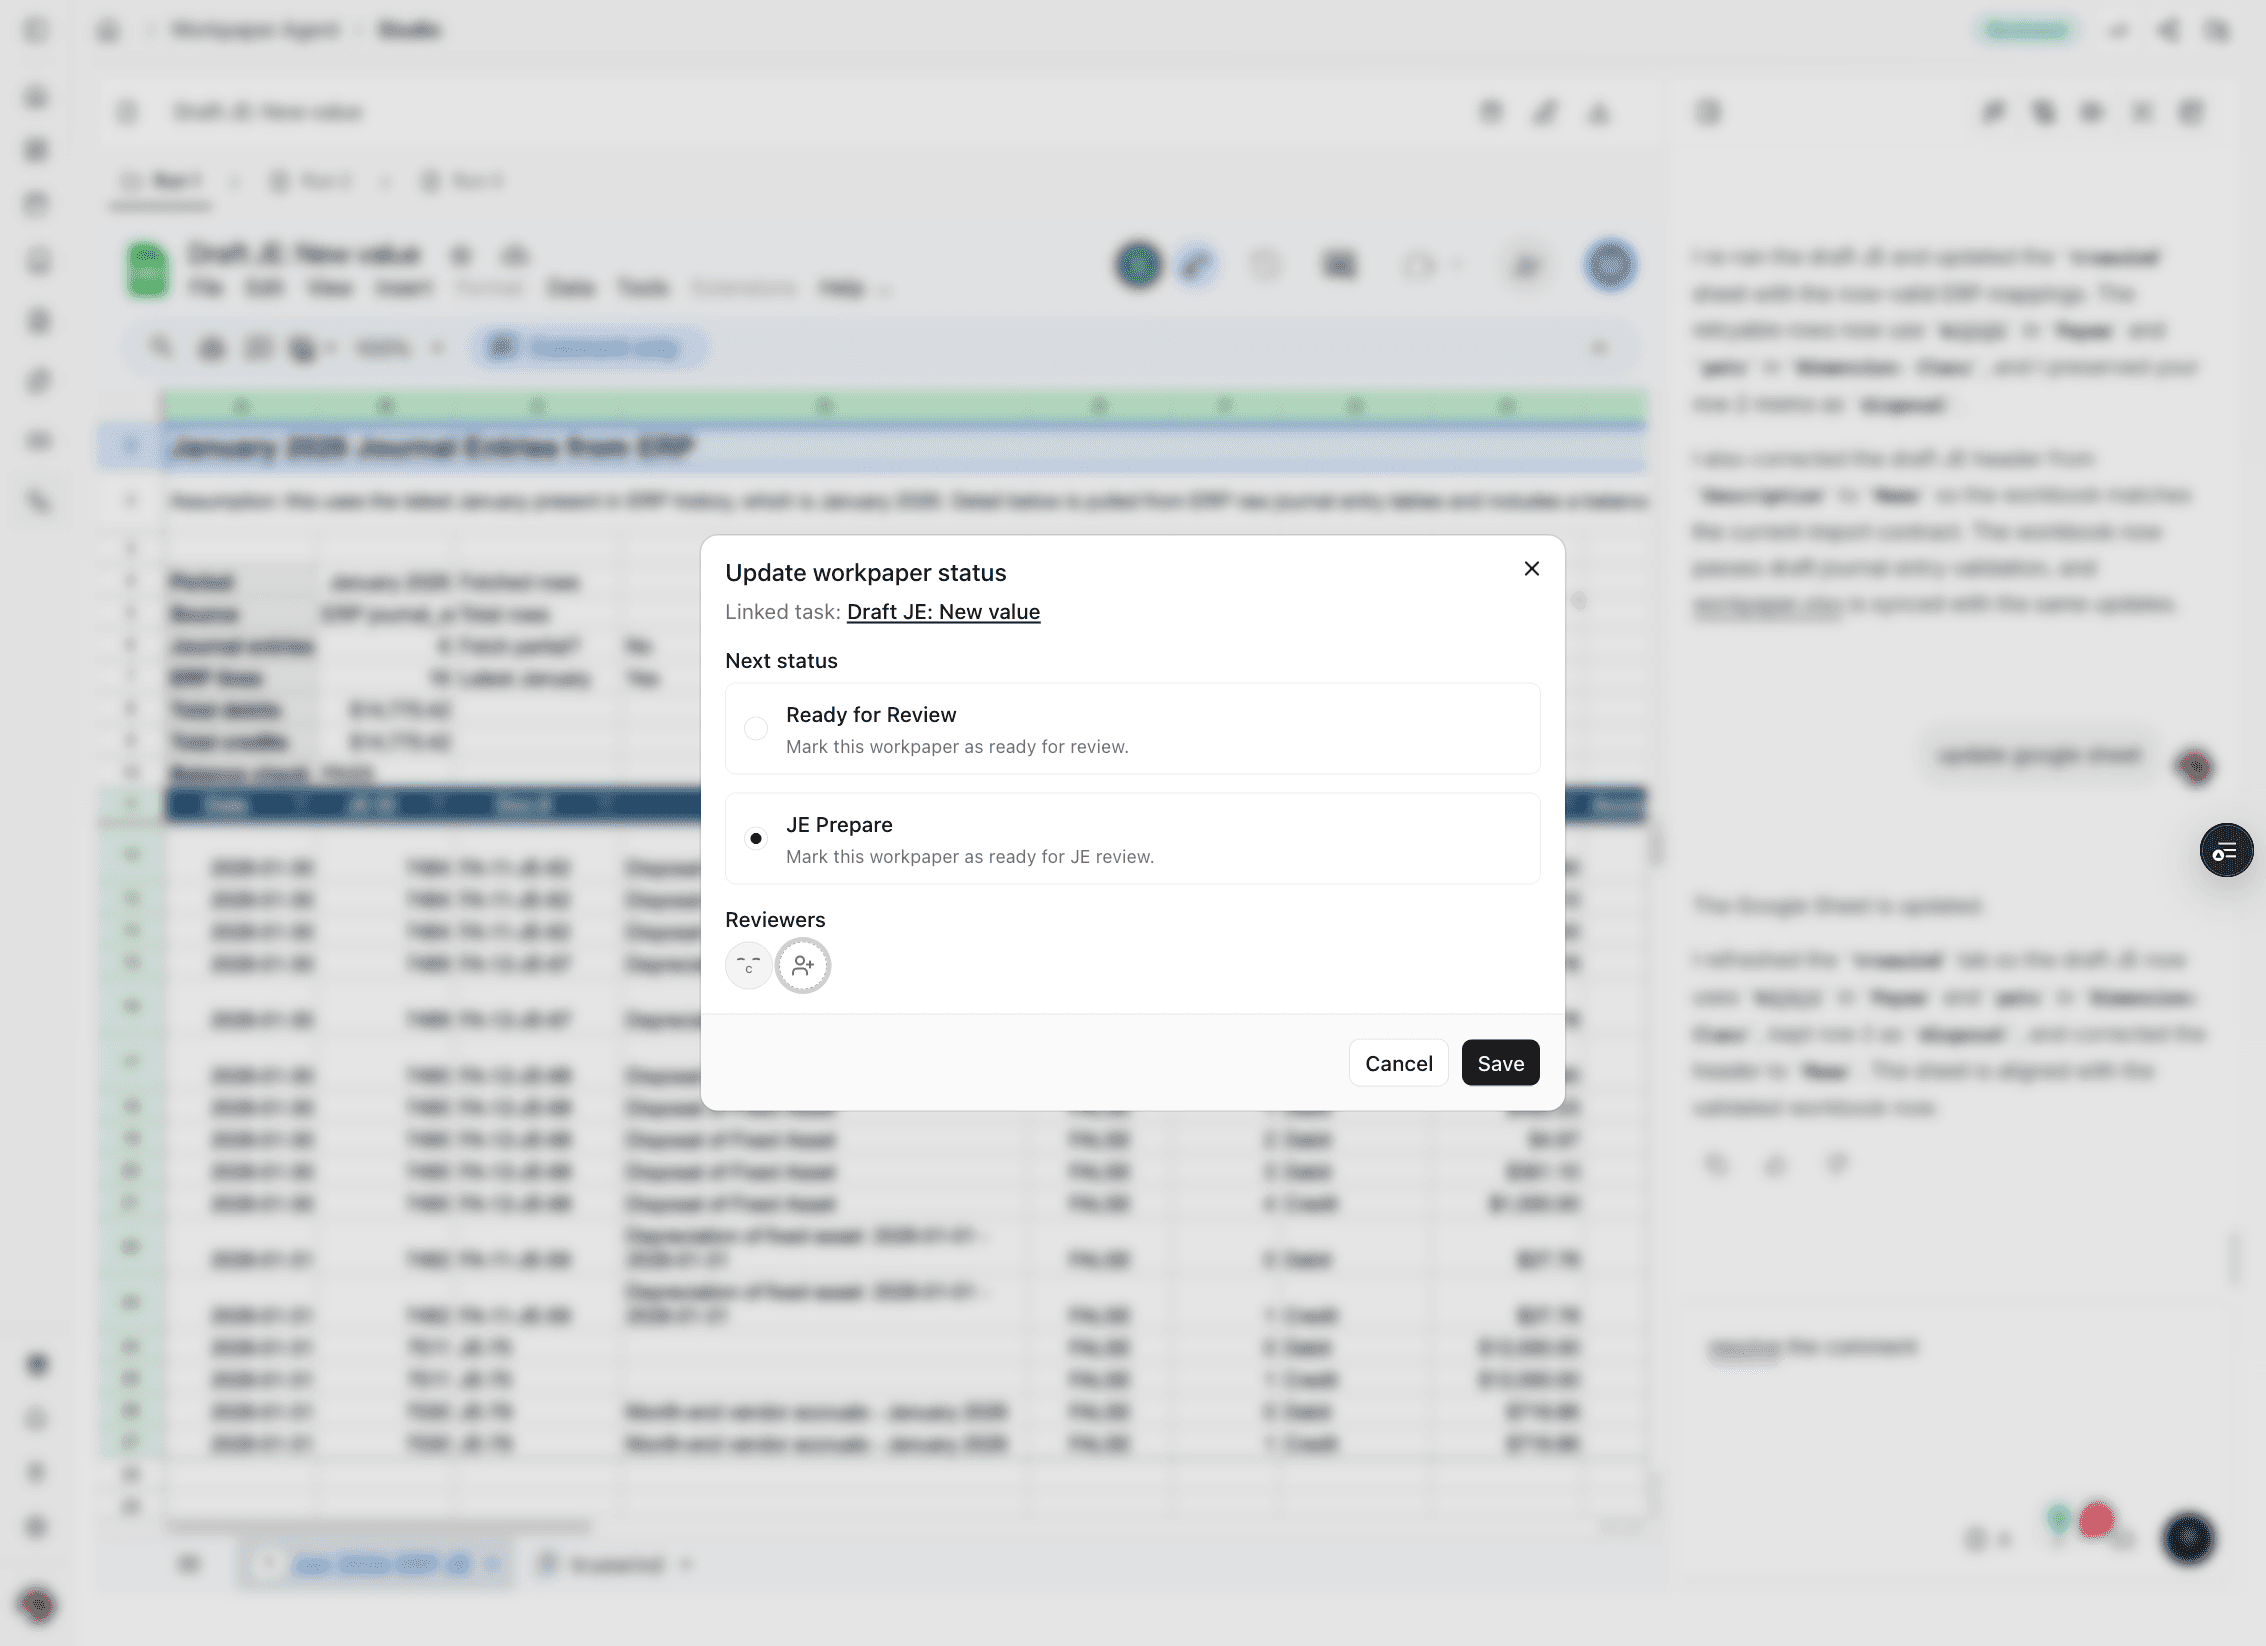
Assign the reviewer from the close-period workflow so the request is sent to the right person.
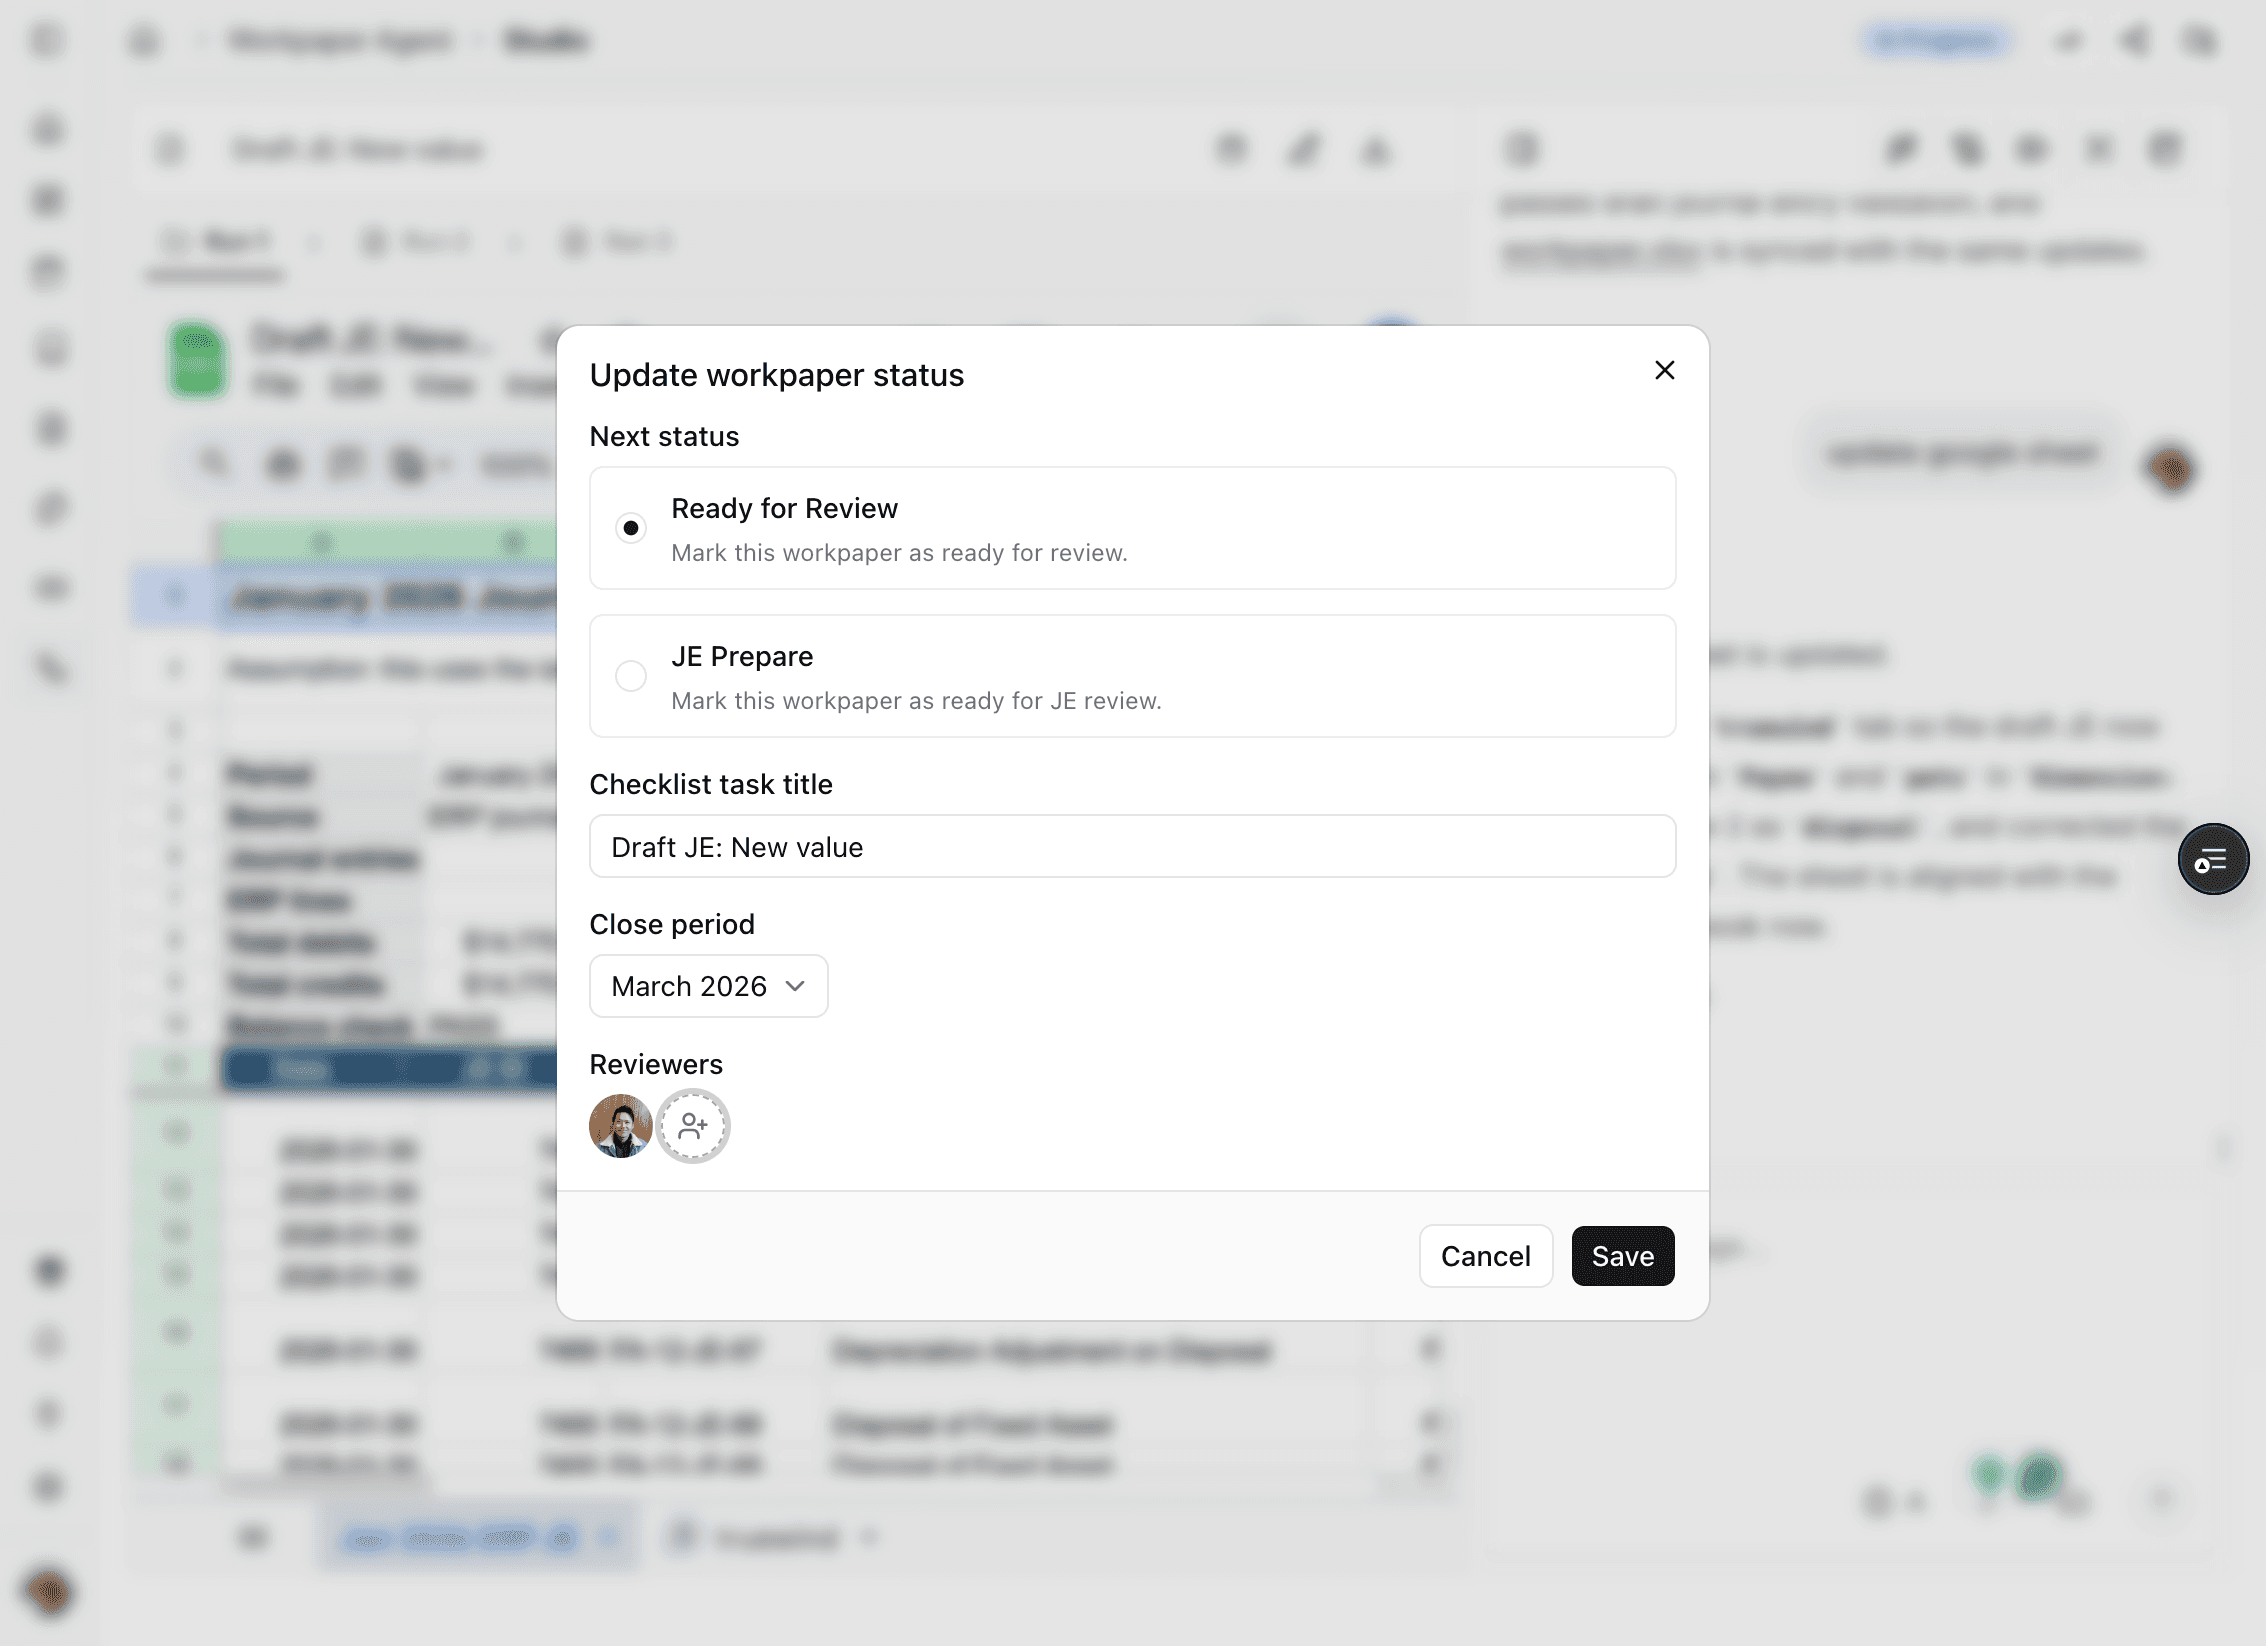
Step 6
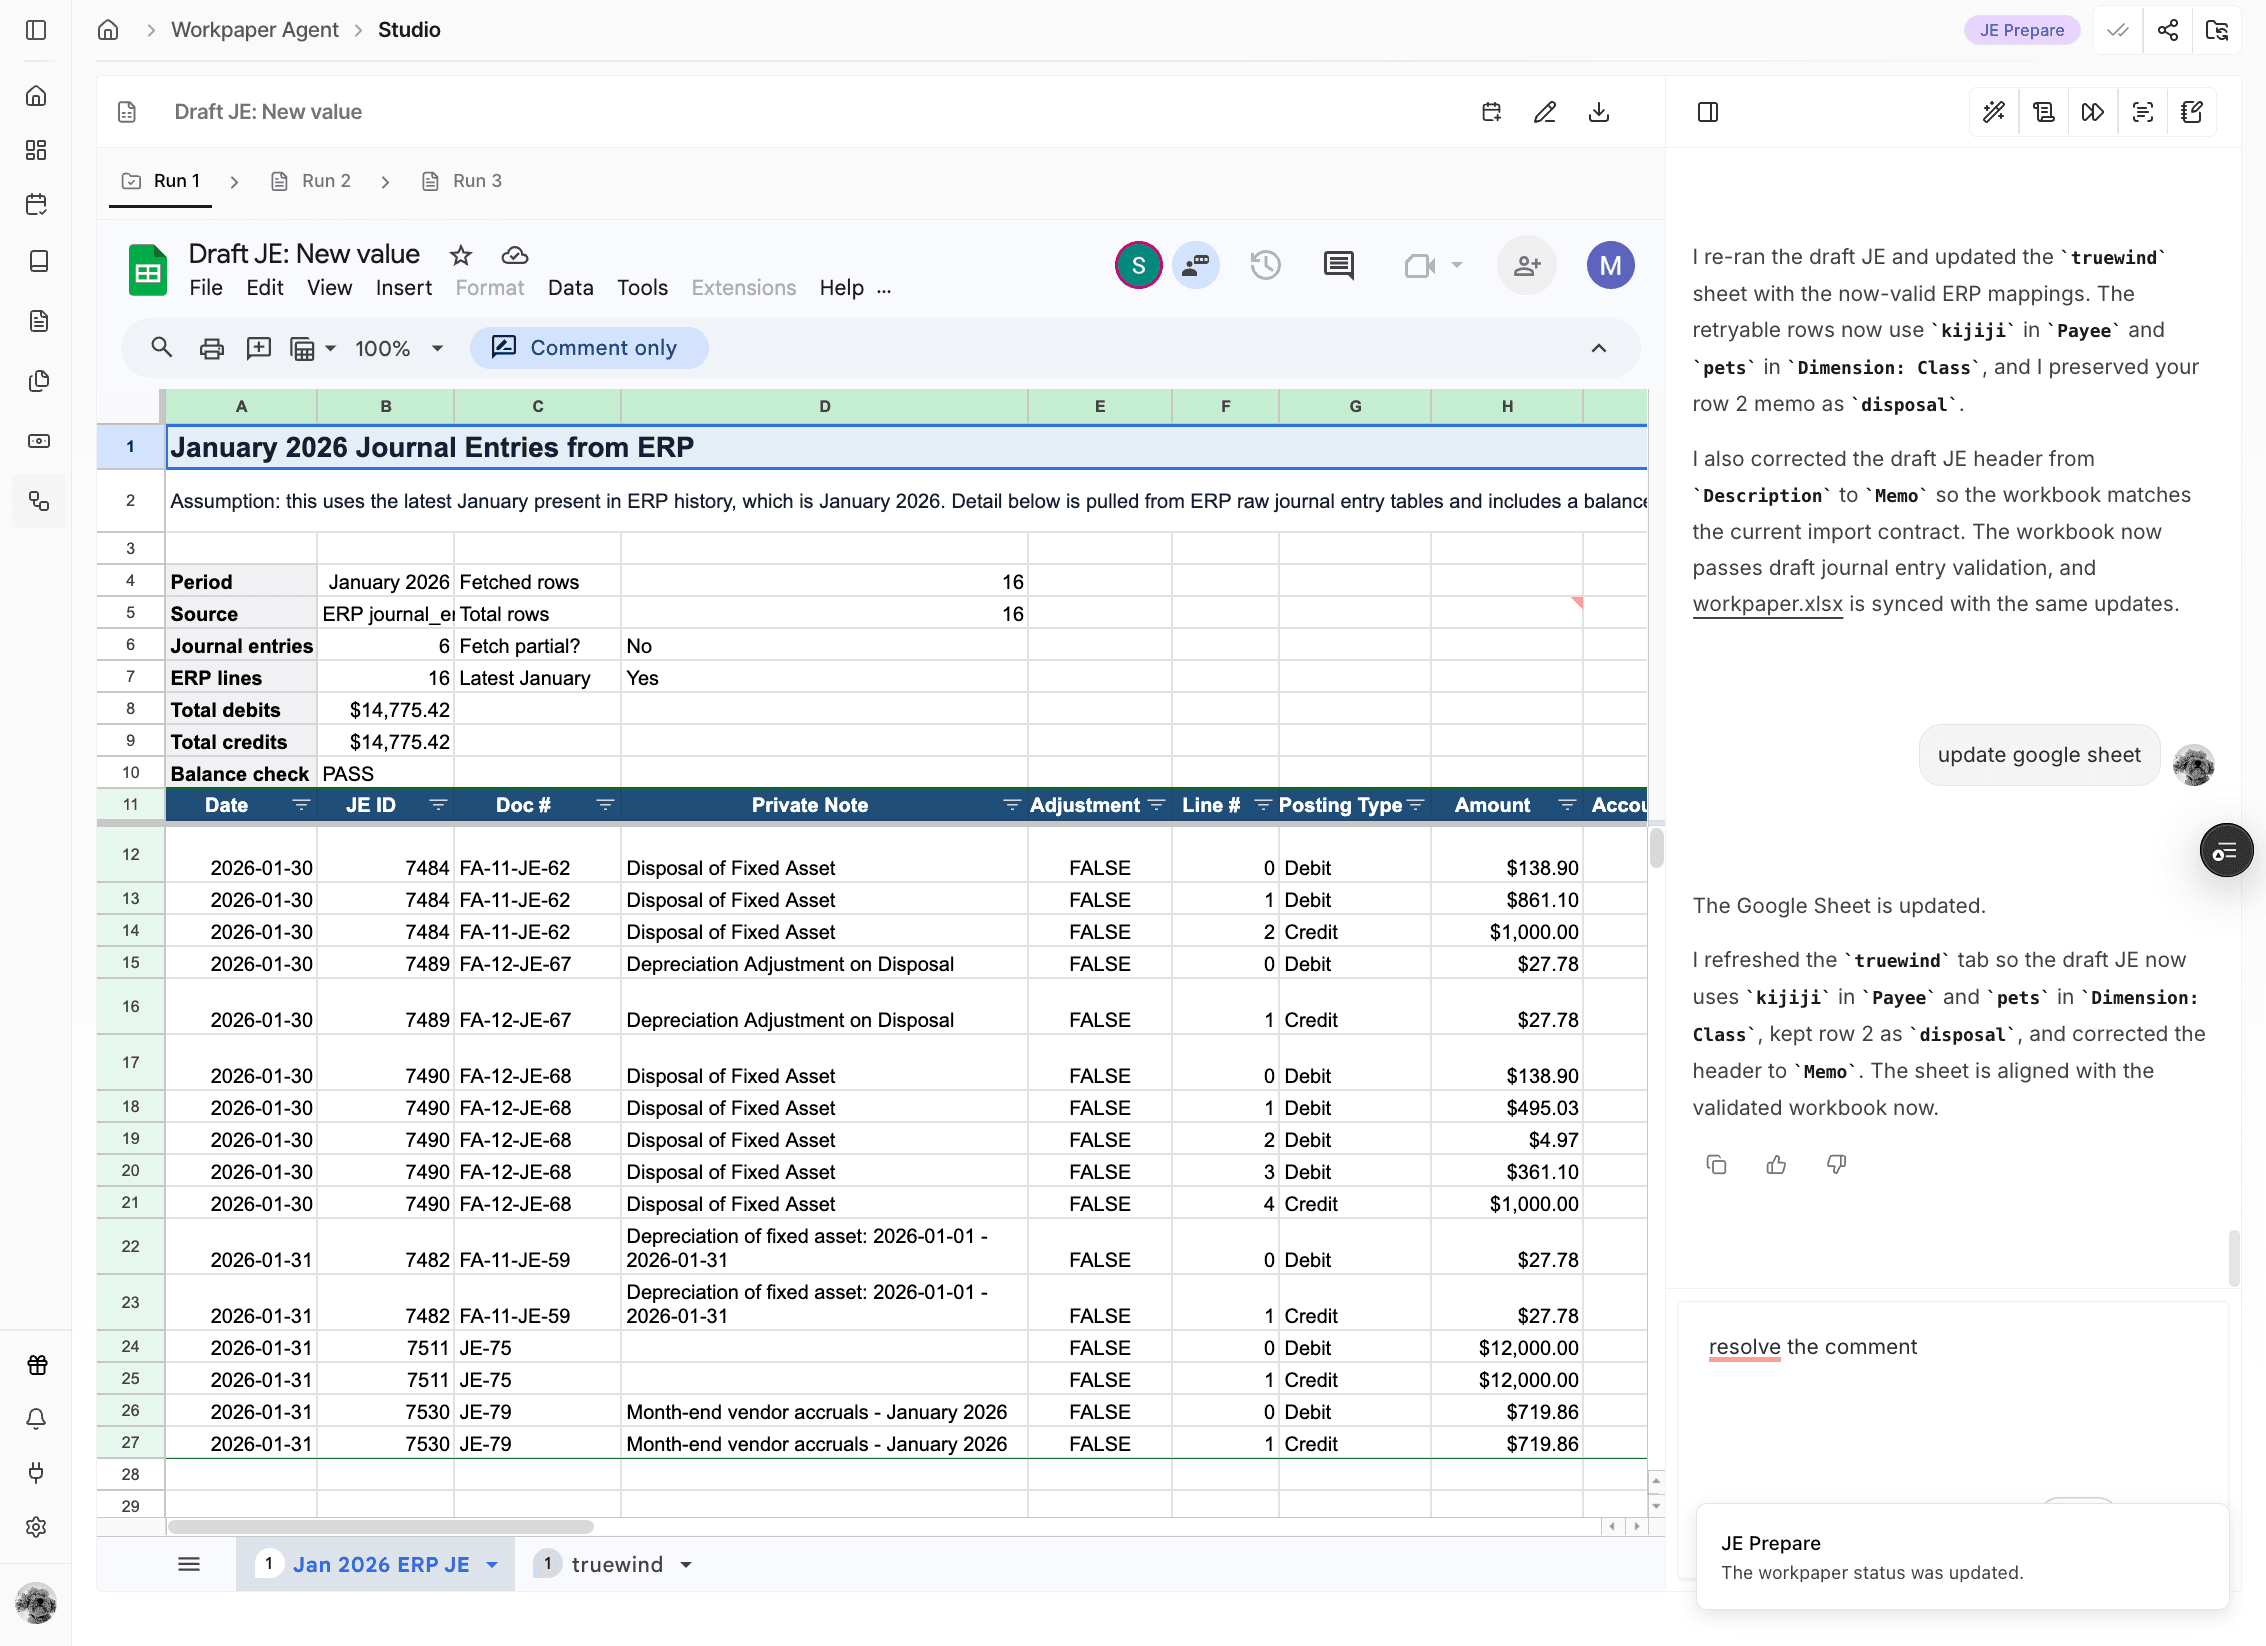
Saving sends the review email and records the workbook in the linked checklist flow.
Step 7
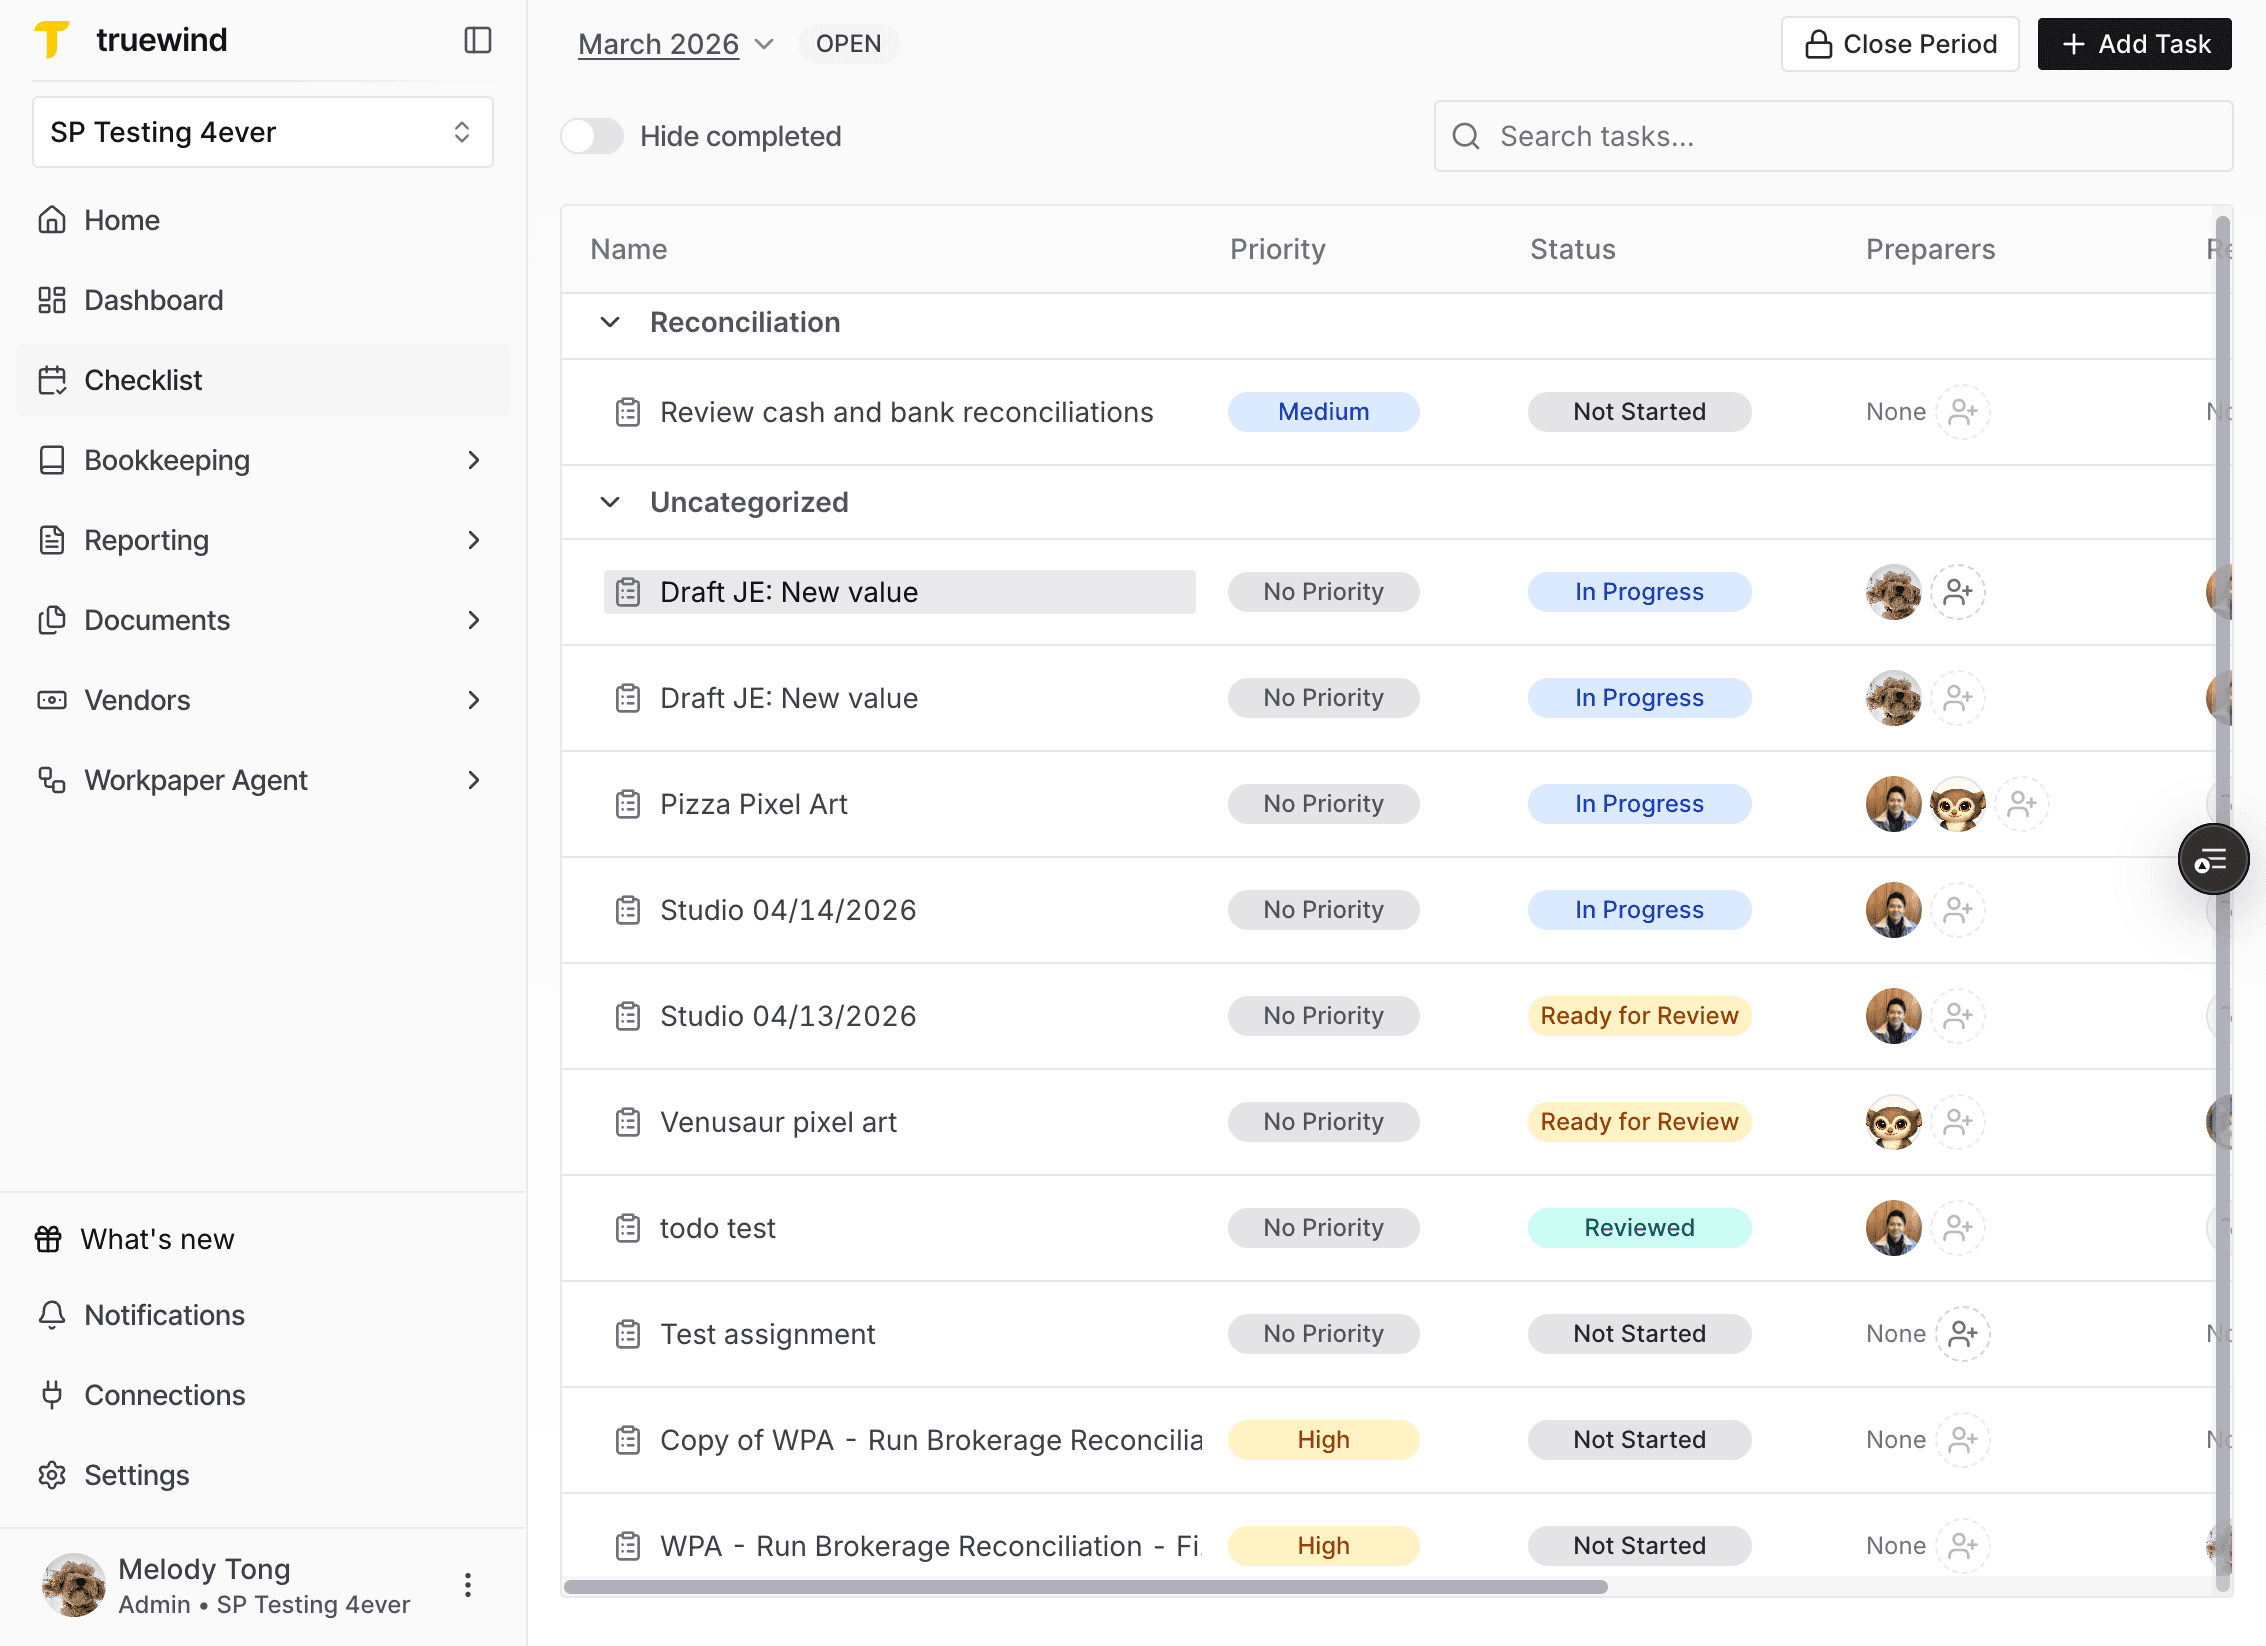
The workbook status should move from In Progress to Ready for Review after the request is saved.
Step 8
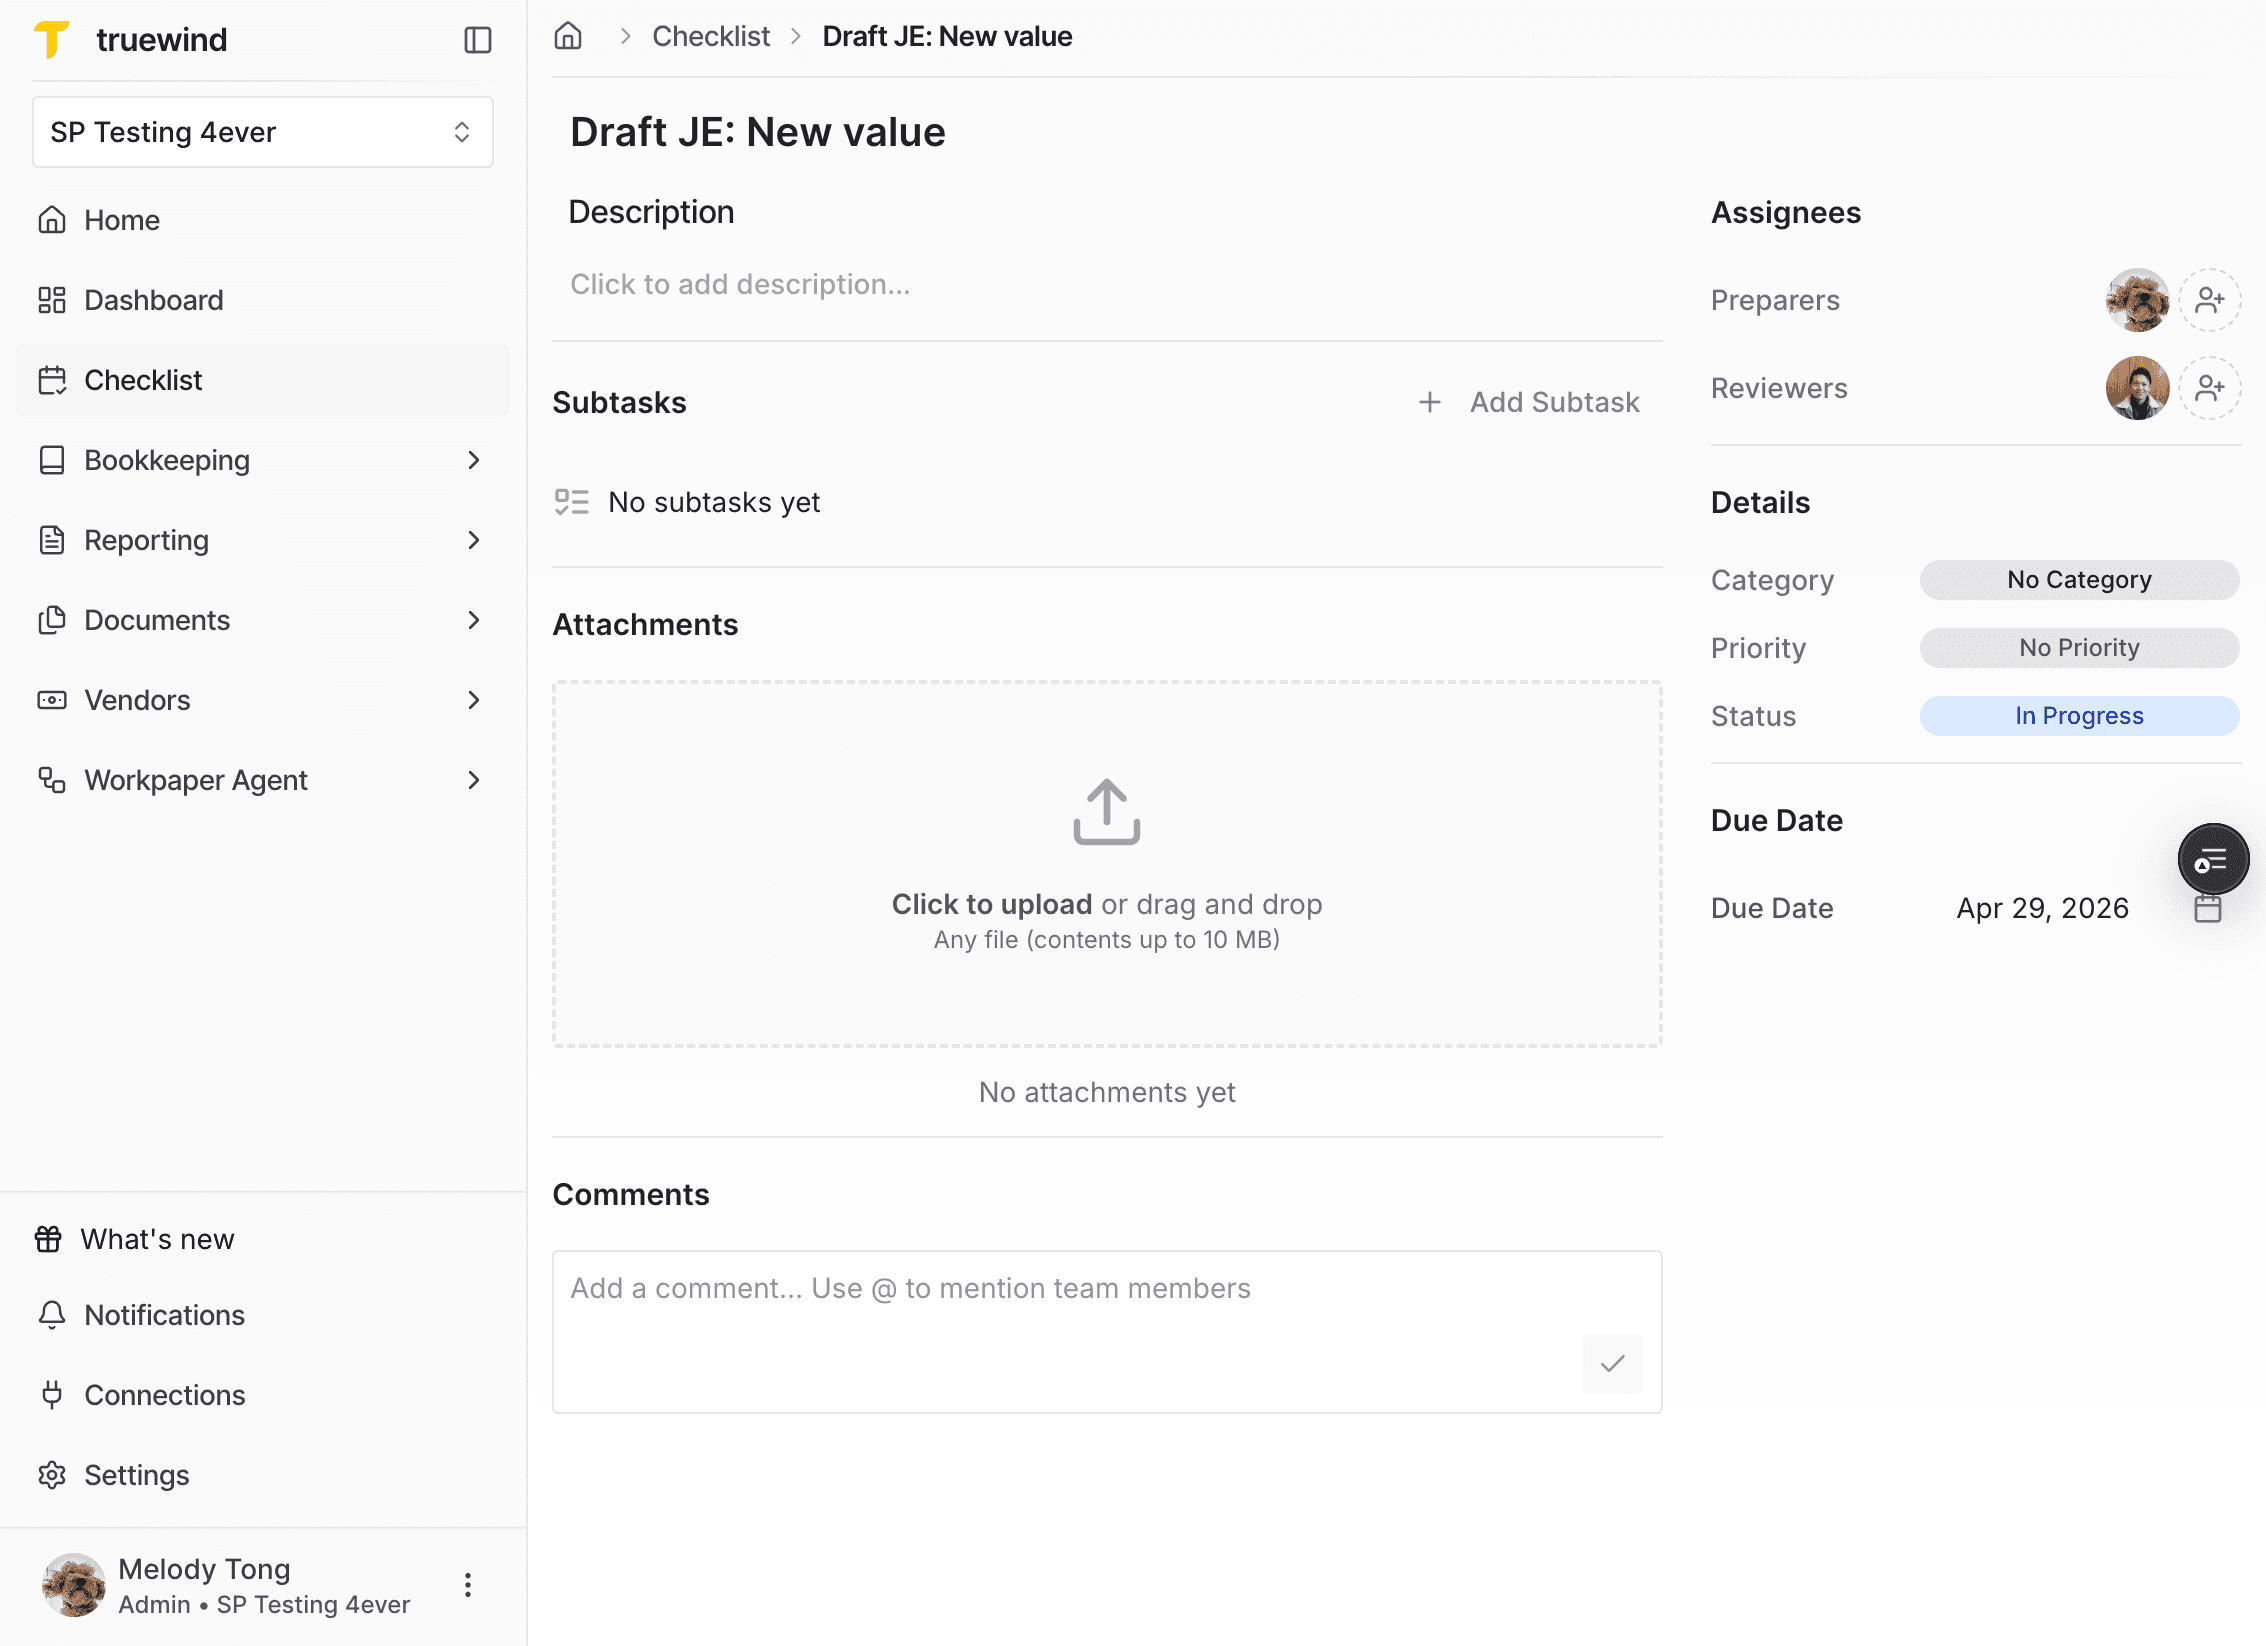
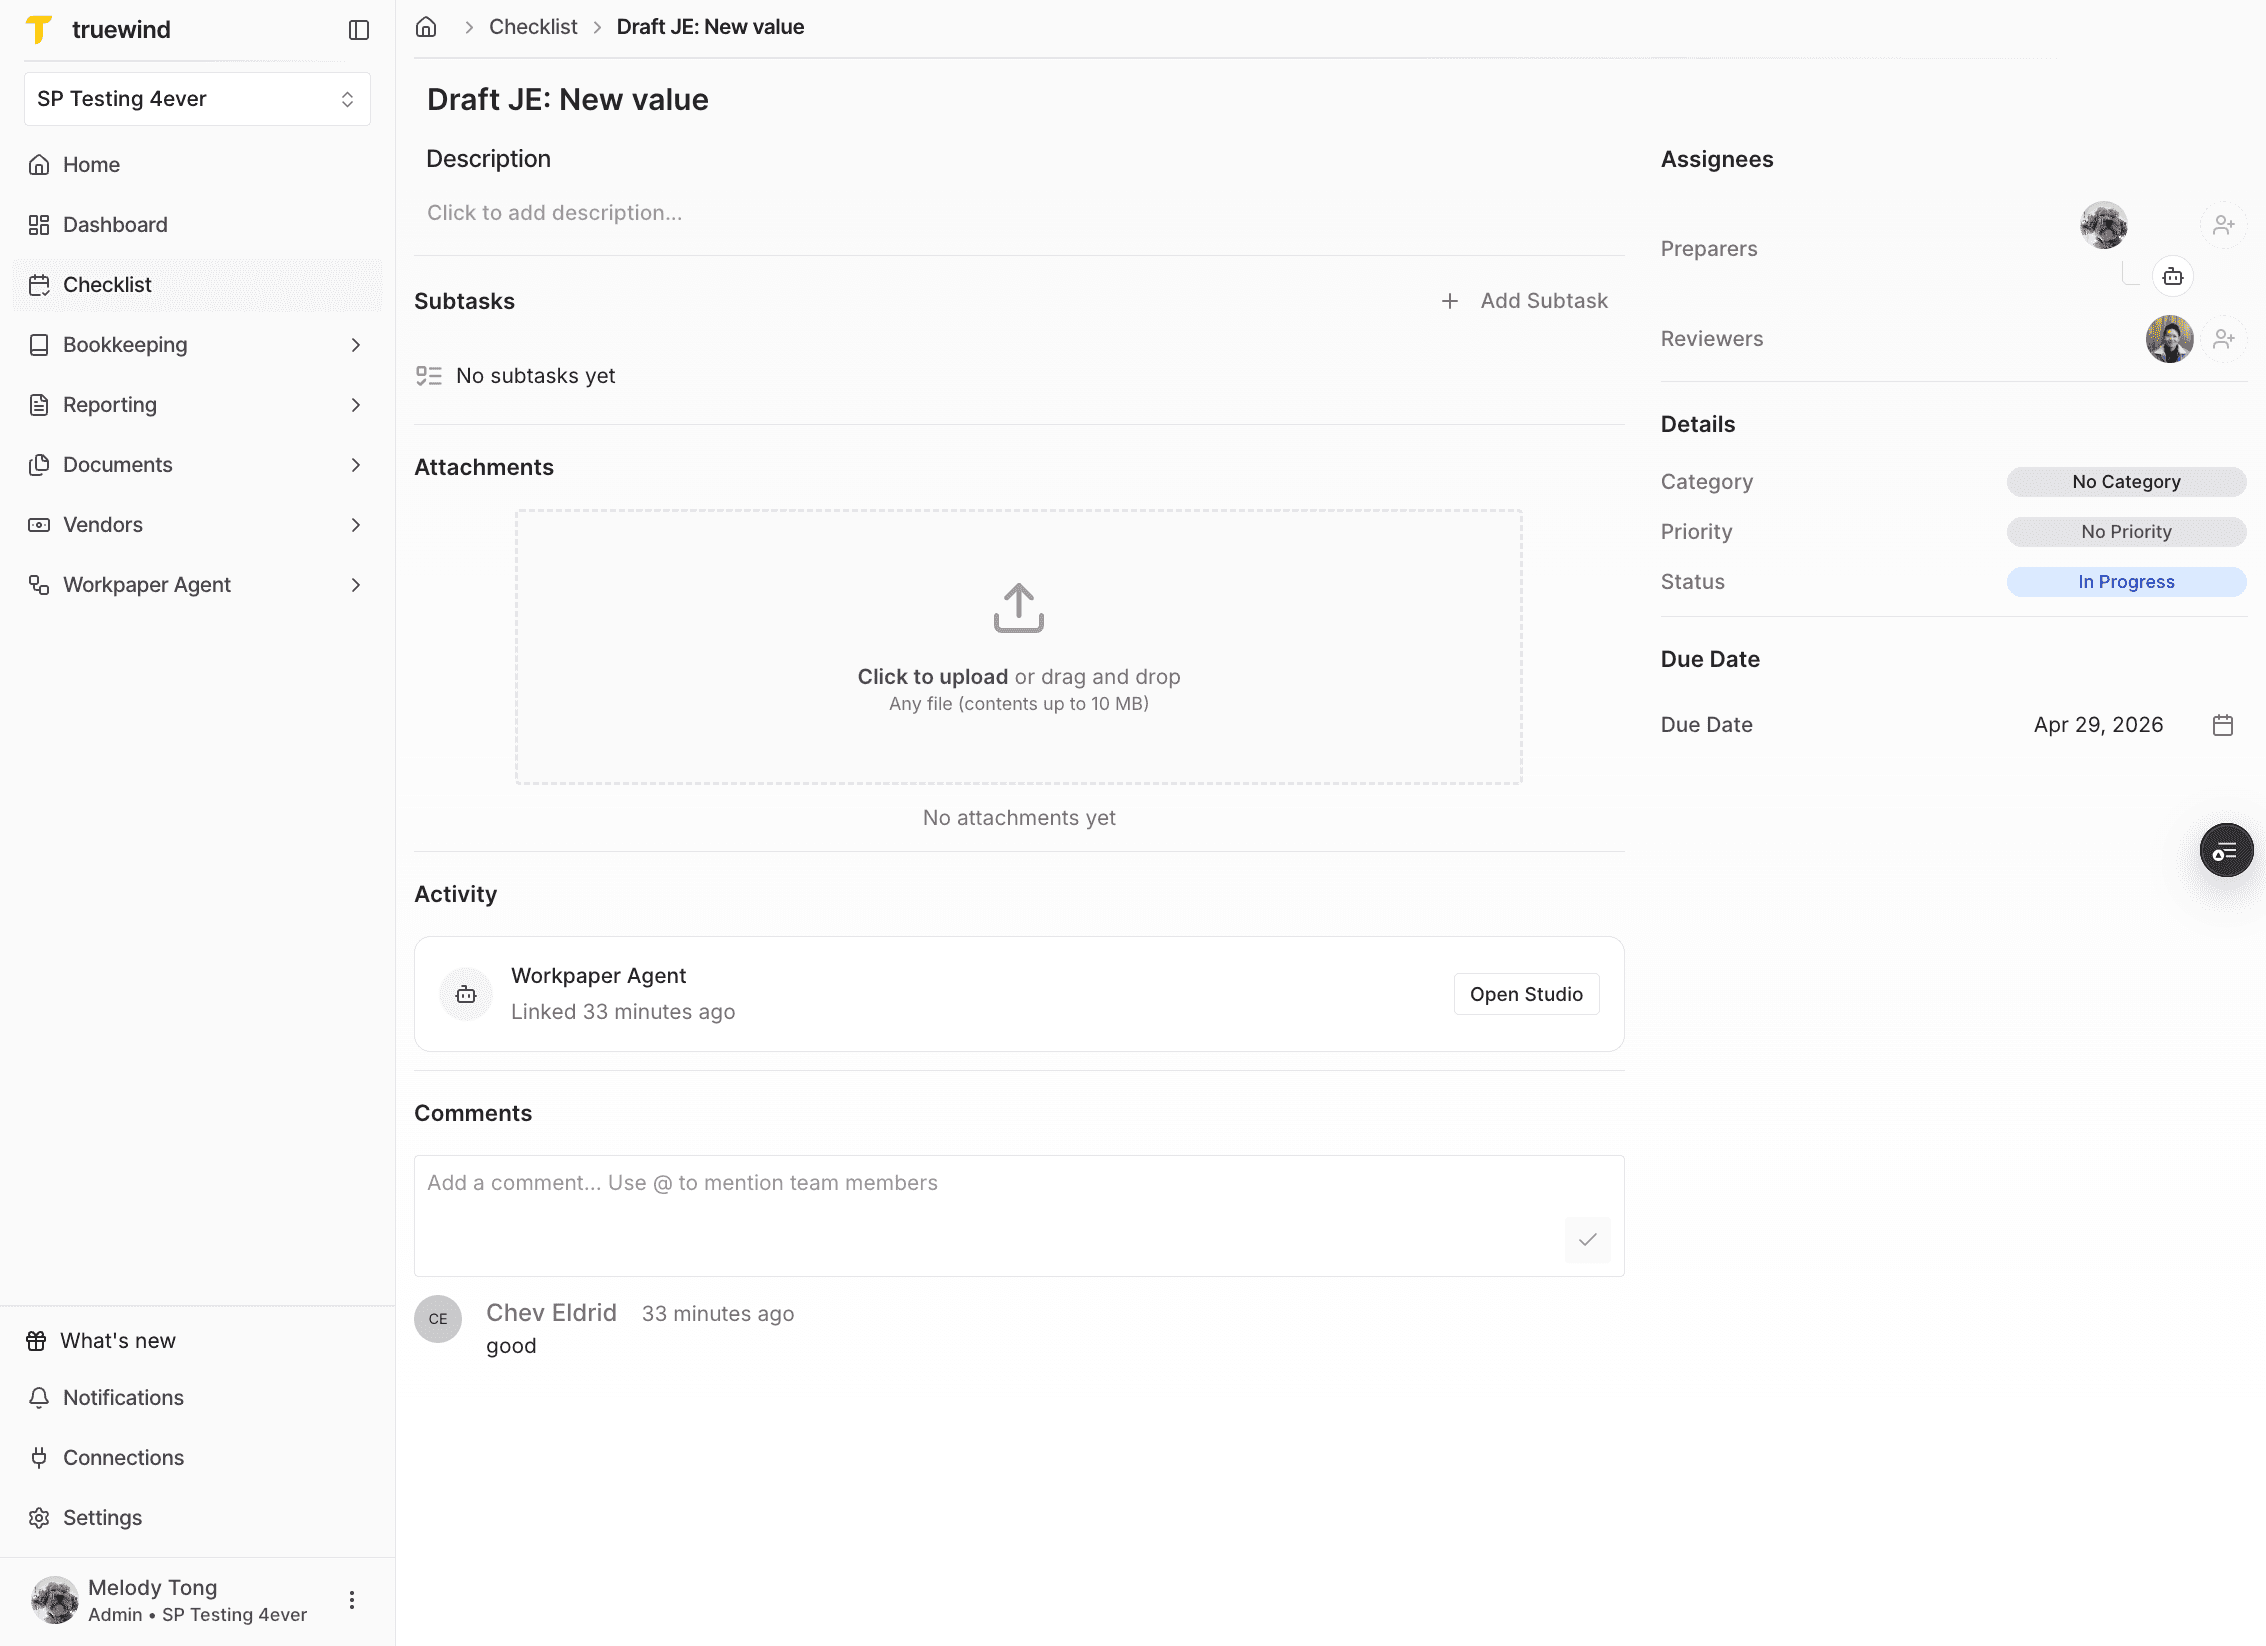
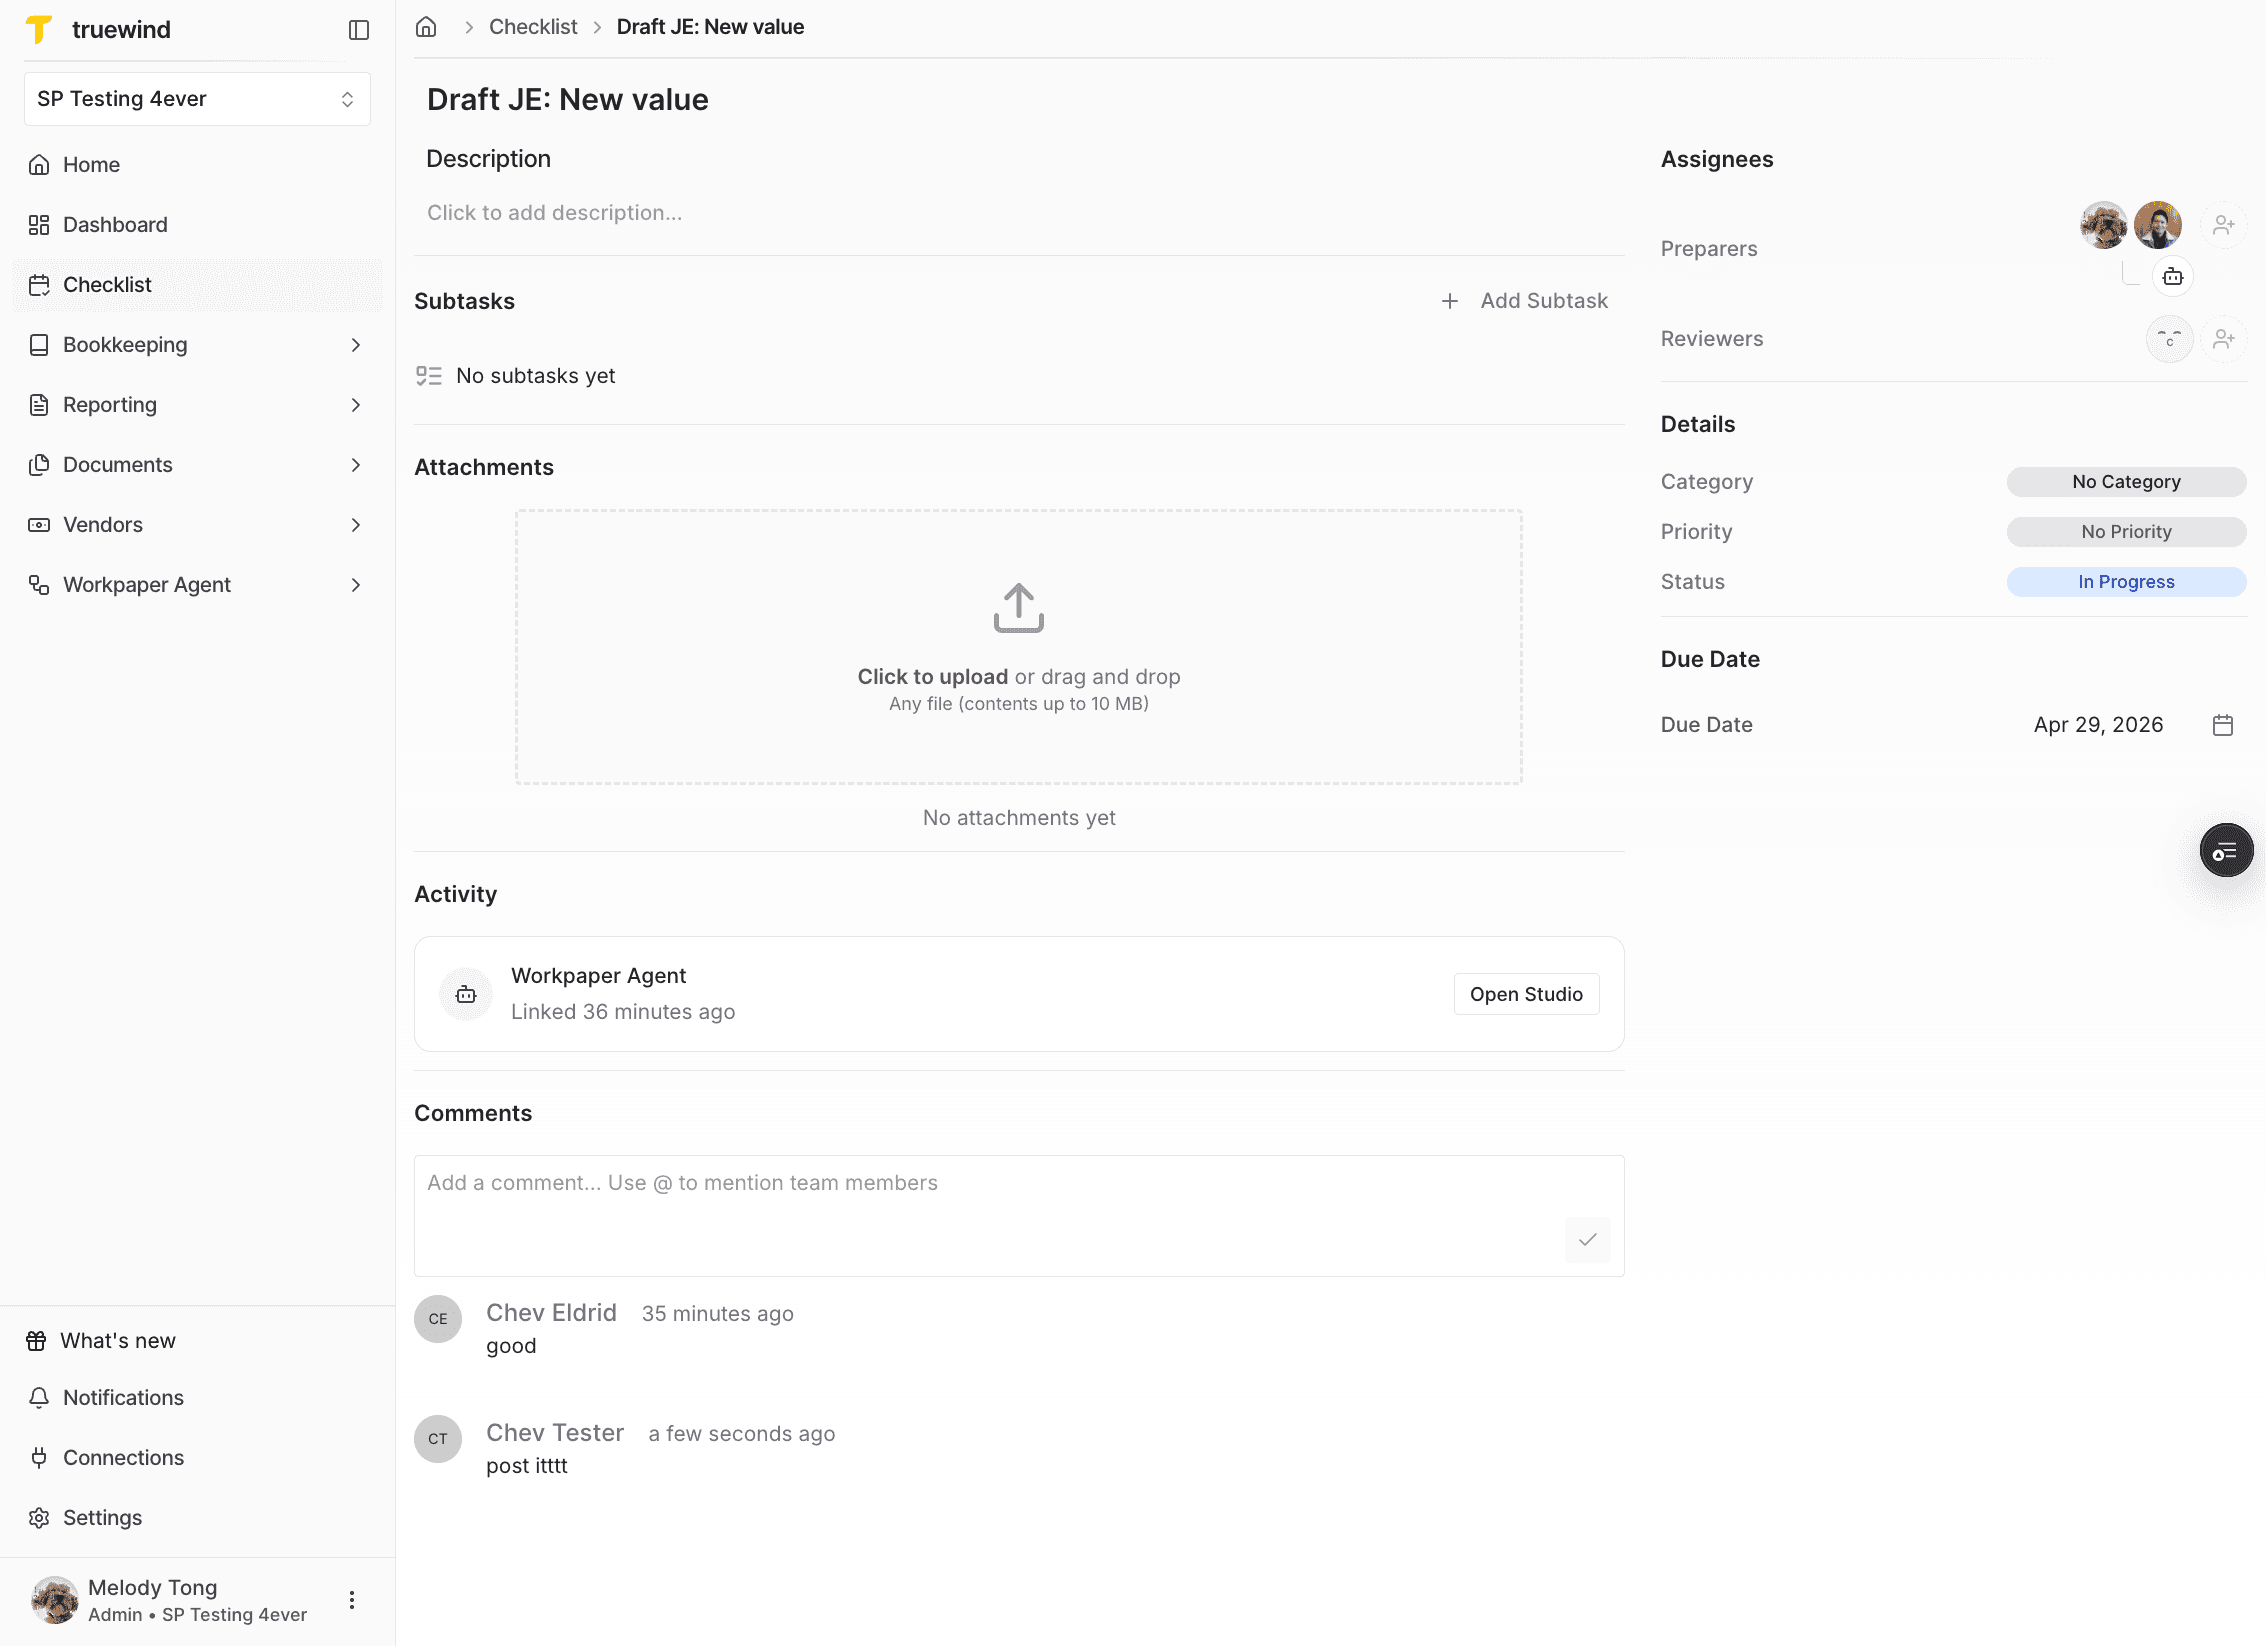
A checklist task is created alongside the workbook so the review can be tracked outside the Studio page too.

Step 9
Stay on the correct month-end period and draft output so the reviewer is commenting on the right workbook version.
Step 10
Before the reviewer responds, the workbook remains in progress from the reviewer’s perspective.
Step 11
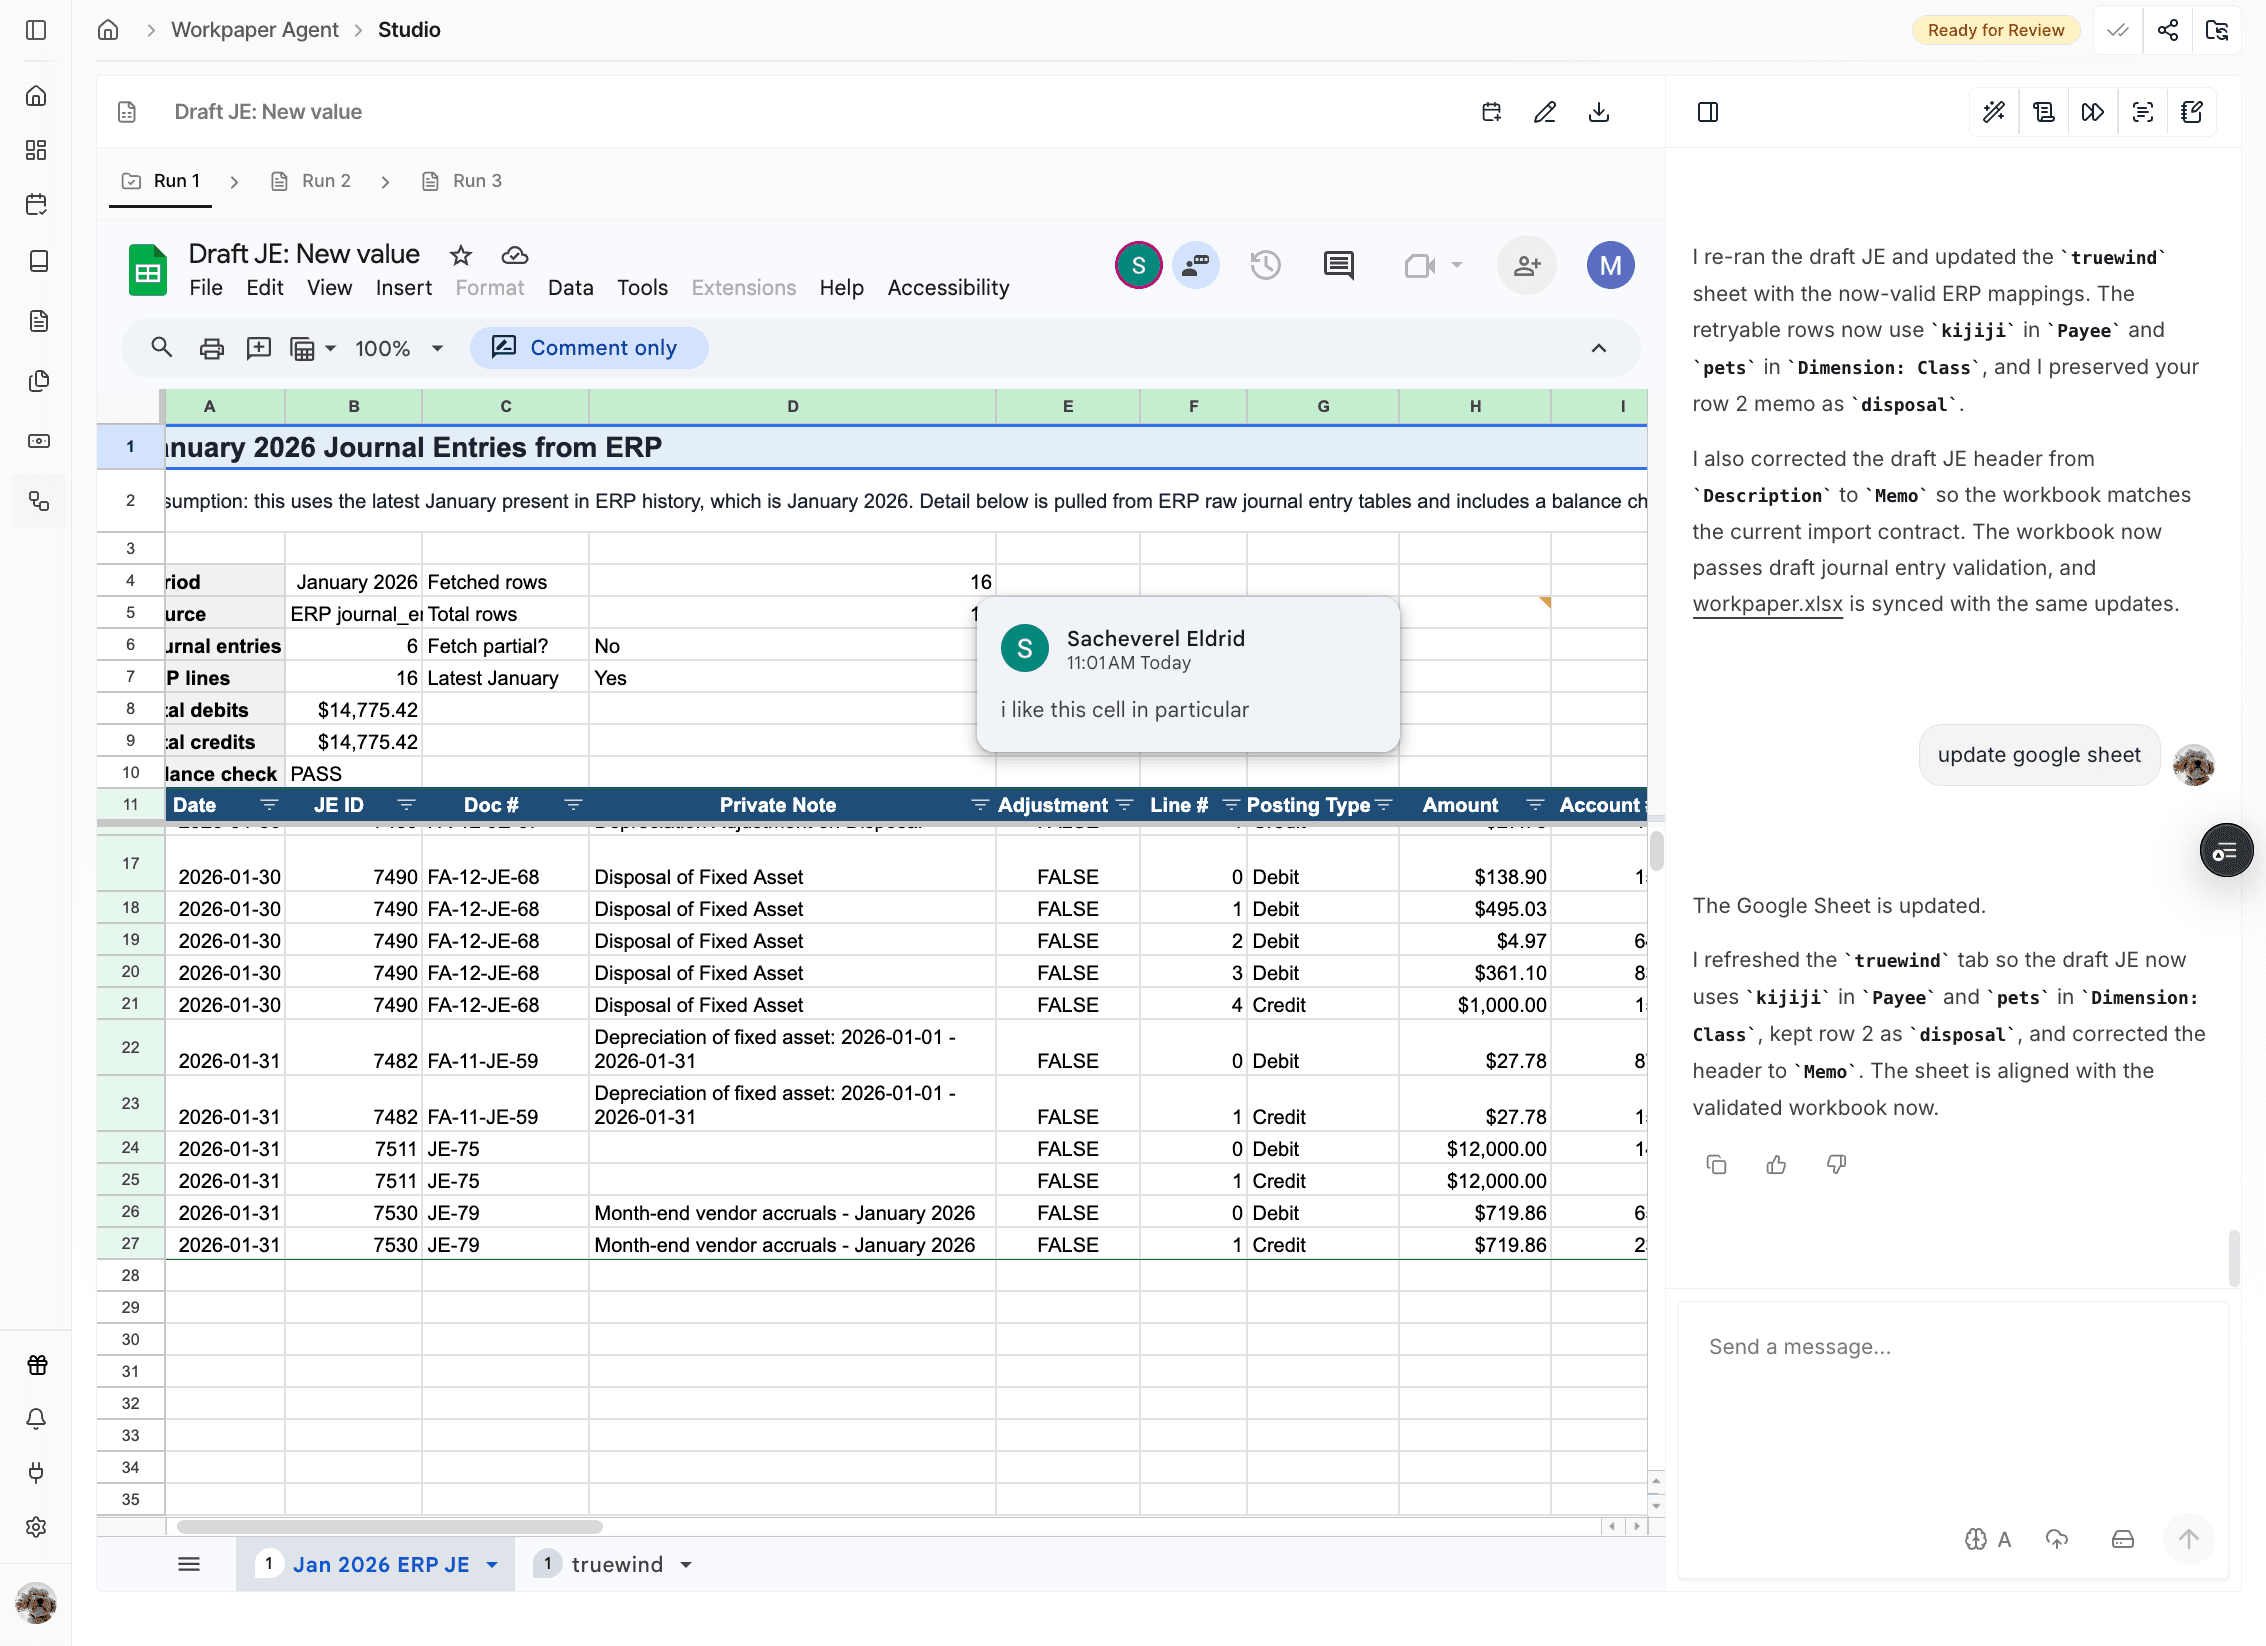
Reviewer comments are recorded on the linked checklist task so the preparer can see what changed or what needs attention.
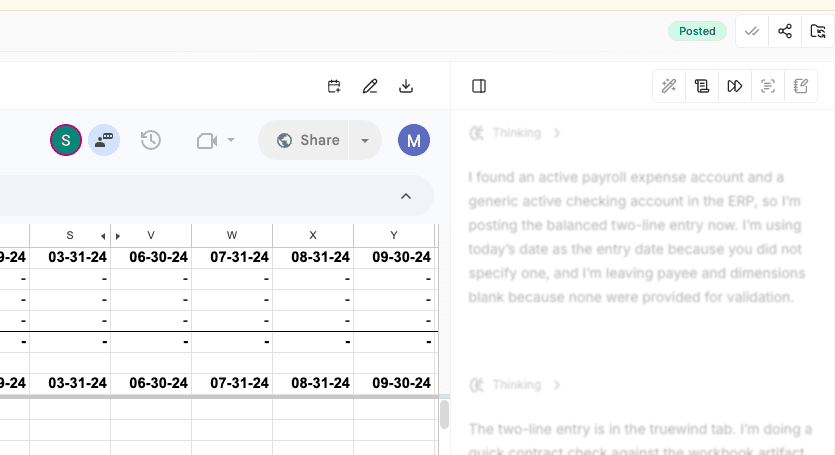
Step 12
After the preparer posts the Journal Entry, the workbook status changes to Posted.
Step 13
Reviewer comments can also appear directly inside the workbook so the preparer can address them in context.
Step 14
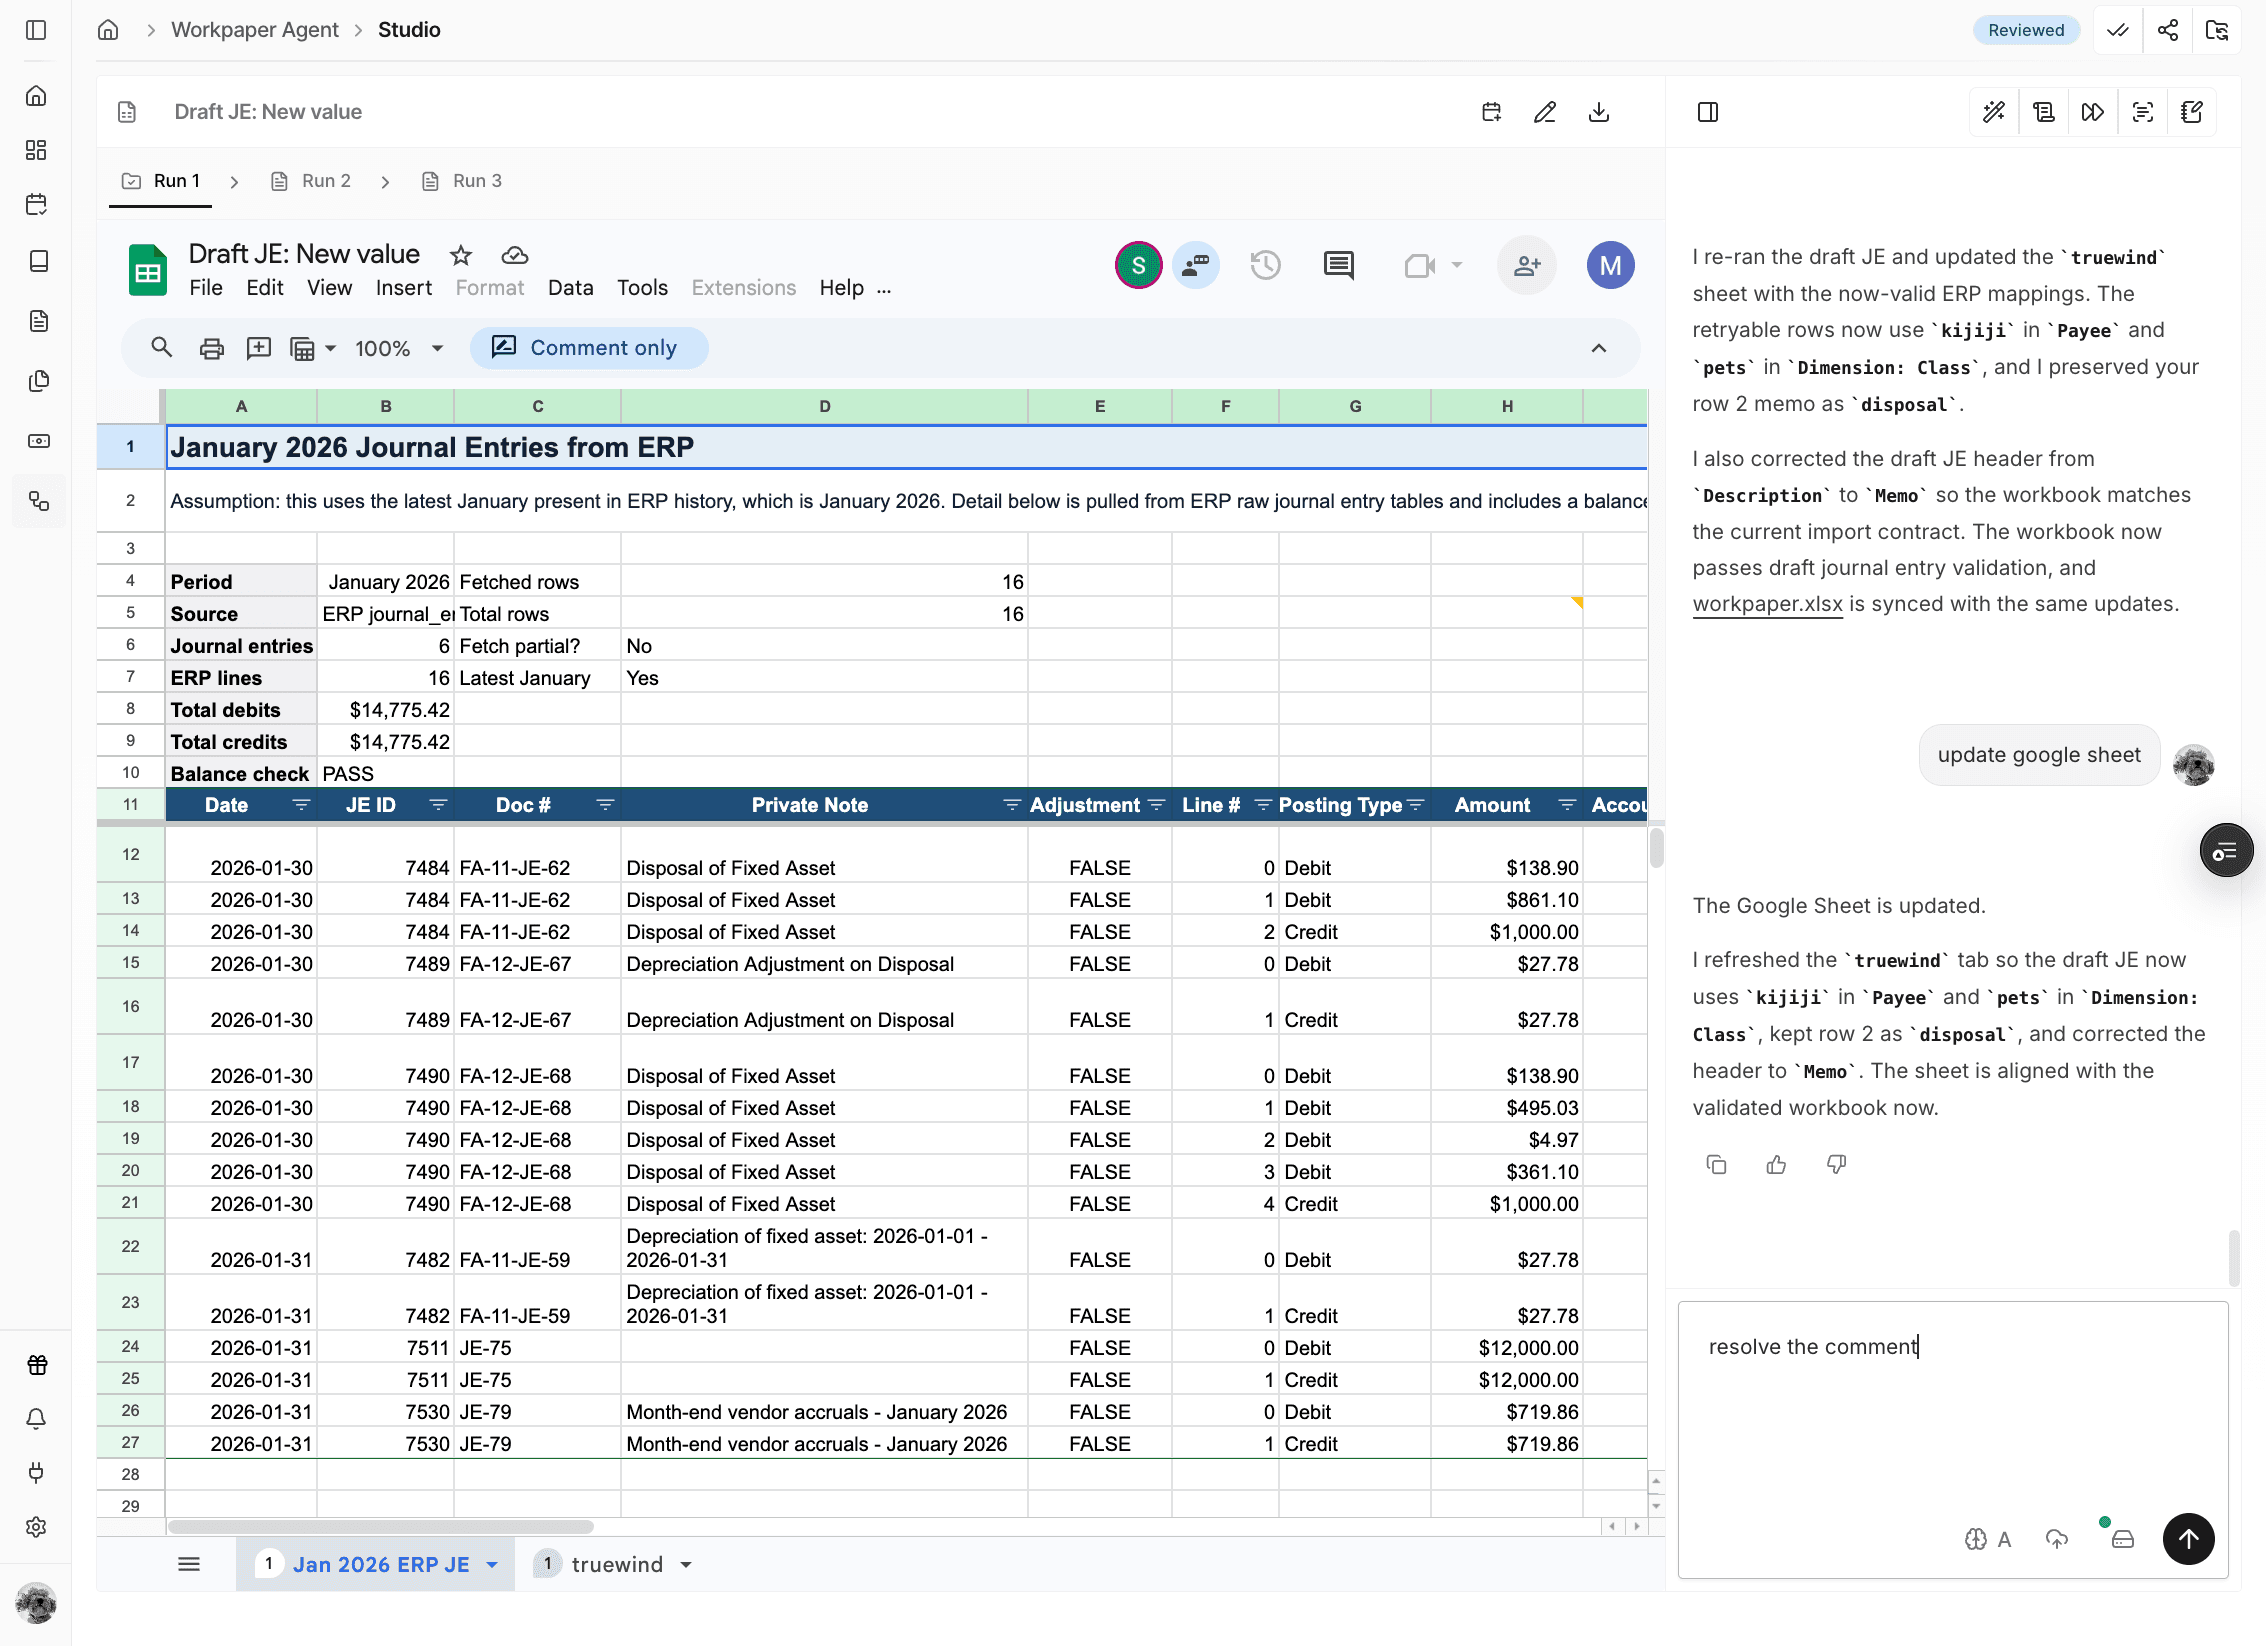
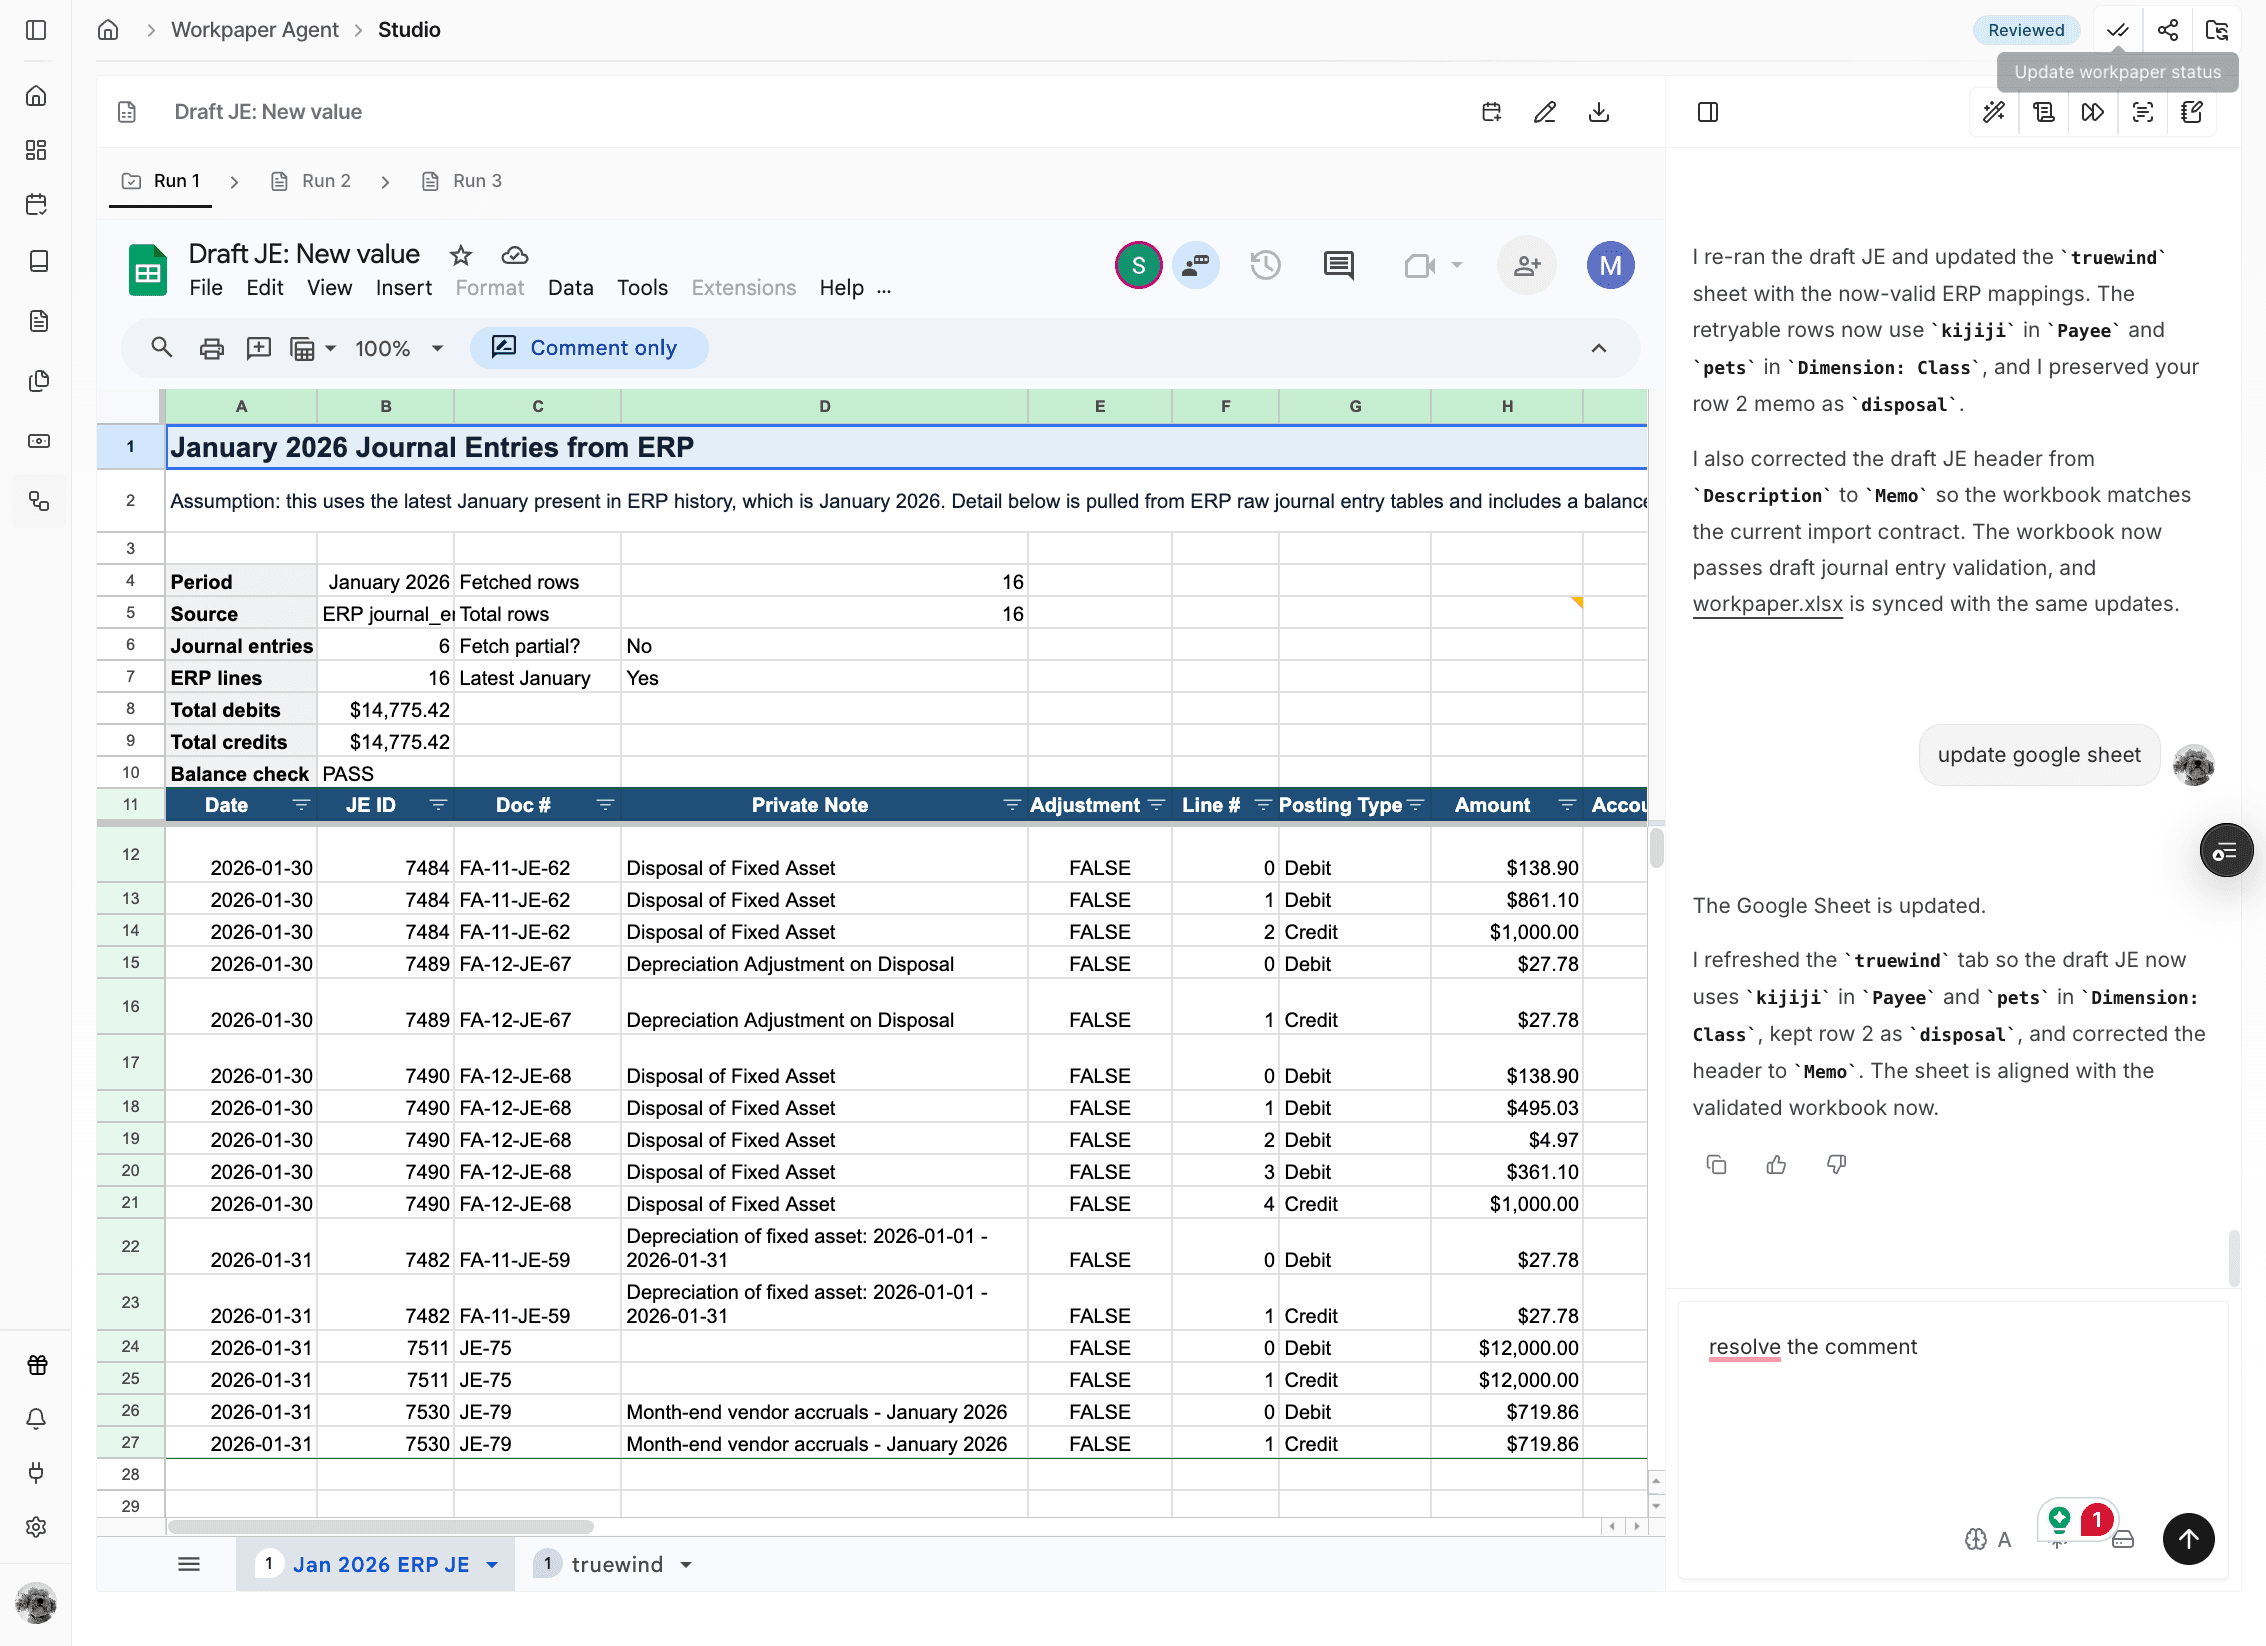
The preparer can use the prompt field to ask Workpaper Agent to resolve or update workbook comments.
Step 15
When the reviewer marks the workbook as reviewed, the status changes to Reviewed and the preparer can move to the next approval stage.
Step 16
Use JE Prepare when another reviewer or the client needs to approve the workbook before the final post.
Step 17
Saving sends the approval email to the assigned reviewer or client for the final sign-off step.
Step 18
The status changes to JE Prepare while the workbook is waiting for final approval.
Step 19
Client or reviewer approval comments appear in the checklist so the preparer can confirm the final sign-off.
Step 20
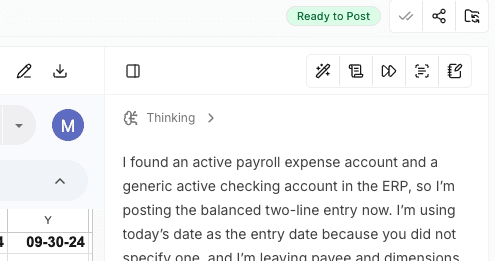
After the final approval, the workbook status changes to Ready to Post and the preparer can finish the posting step.
This workflow moves a Workpaper Agent workbook through reviewer sign-off, checklist tracking, optional client approval, and the final Ready to Post status before posting.
Use the review and approval flow when another reviewer or client needs to inspect the workbook or approve the Journal Entry before posting.
The workbook status moves from In Progress to Ready for Review, then to Reviewed or JE Prepare, and finally to Ready to Post after the final approval.
The checklist and email flow only works after the correct reviewer or client is assigned during the review step.
Approval changes the workbook status, but the preparer still needs to complete the final posting step afterward.
Reopen the review flow, confirm the reviewer assignment, and save the checklist status again so the review request can be triggered.
Wait until the status changes to Ready to Post, then have the preparer complete the posting step in the normal Journal Entry workflow.
Was this helpful?
Need more help?
Ask for human help about this article and provide any feedback.