What to verify
After deletion, confirm the schedule status changed back to Post and the related journal entry is no longer linked as posted.
Ask the support agent
Just ask a direct question or search related articles from the Knowledge Base.
Support Center / Prepaid Expenses / Manage
Remove a posted amortization transaction when the posting needs to be undone, resulting in the schedule returning to a postable state.
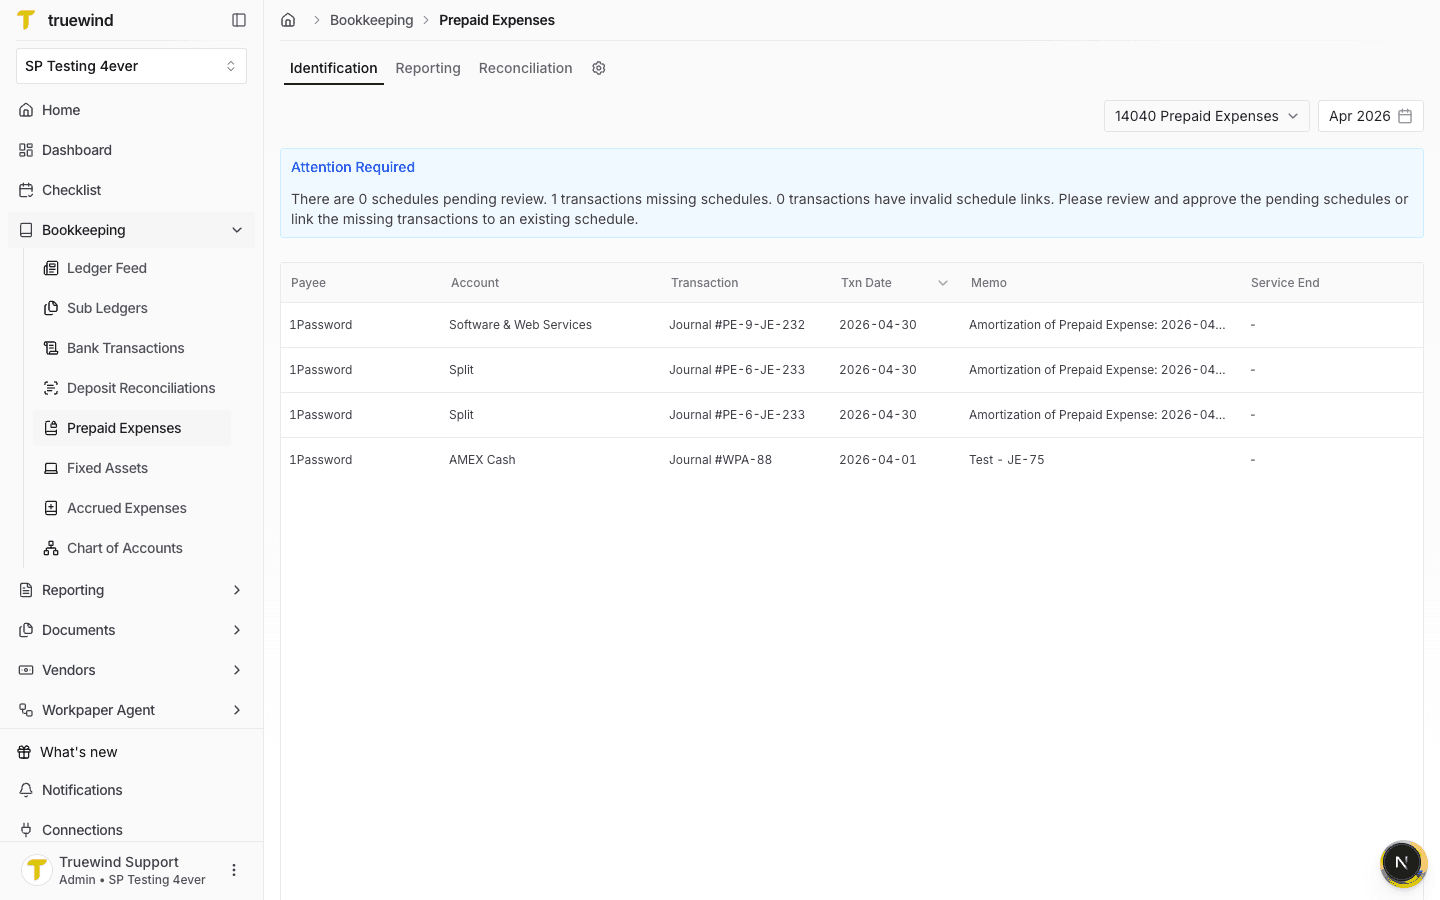
Step 1
Go to Bookkeeping > Prepaid Expenses and keep Identification selected for the prepaid account and period that contains the posted amortization.

Step 2
Look for the tracked amortization journal transaction that needs to be removed from the ledger posting.
Step 3
Open the action menu on the posted amortization transaction row.

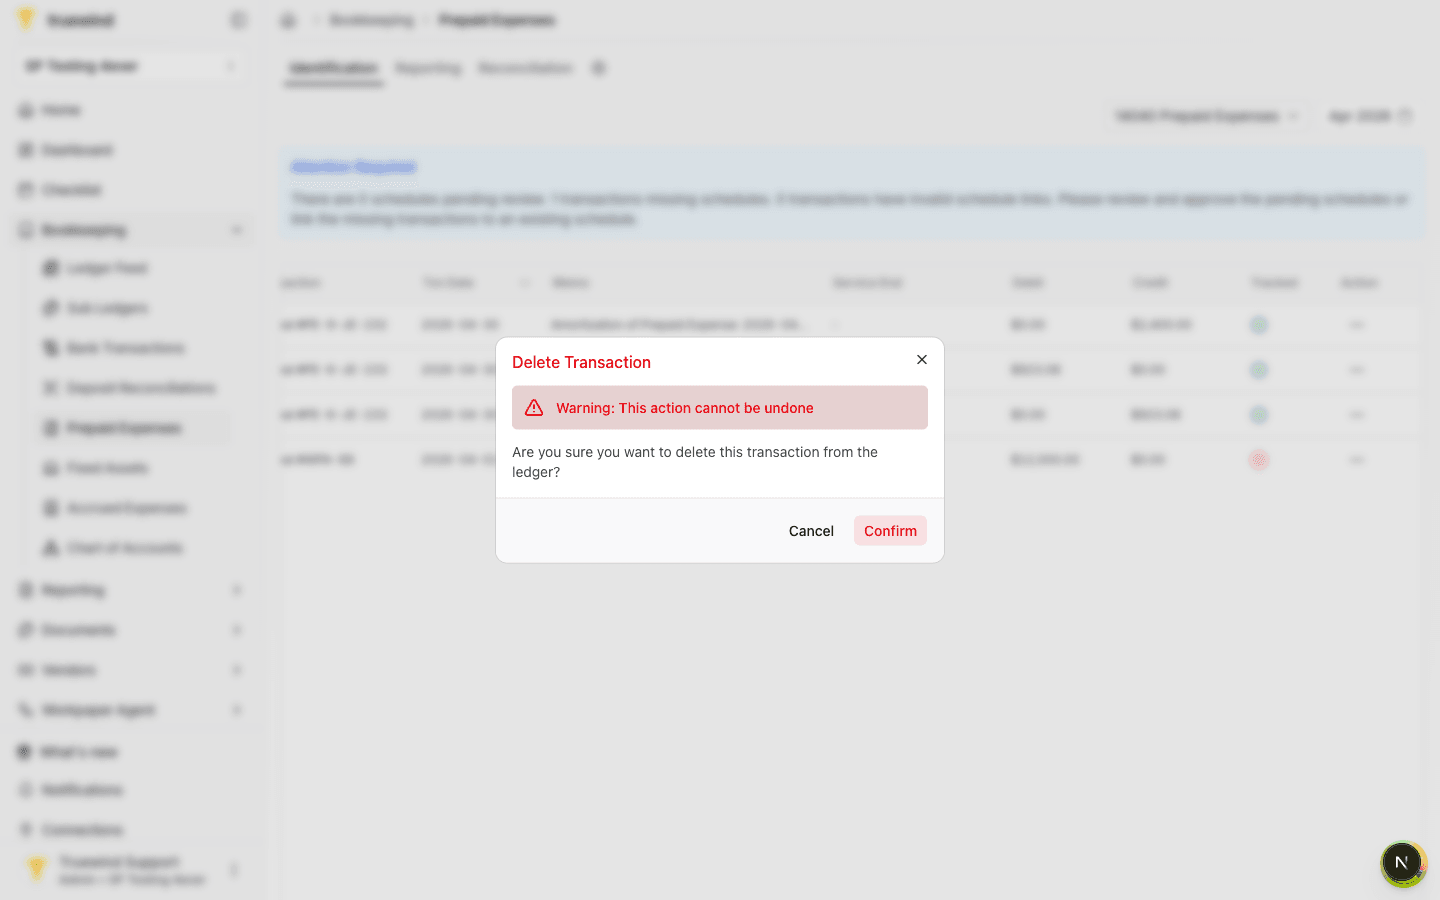
Step 4
Select Remove Transaction when you need to undo the posted amortization journal entry.

Step 5
Confirm only after verifying the transaction is the posted amortization you intend to delete; this action cannot be undone.
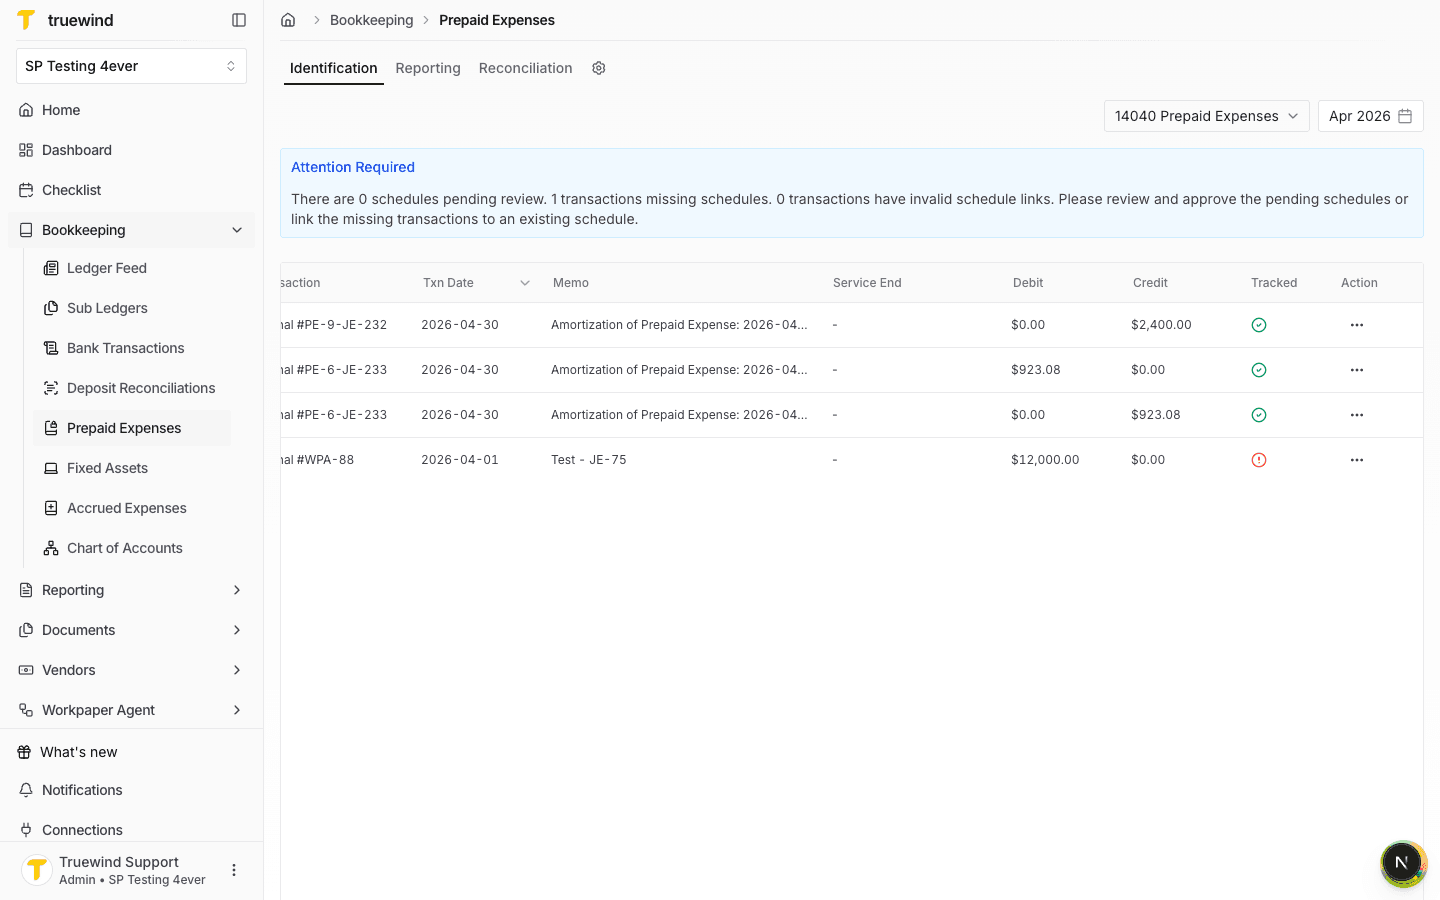
Step 6
After confirming, Truewind returns to Identification so you can verify the posted transaction is no longer linked as tracked.
Step 7
Switch to Reporting for the same prepaid account and period to review the affected schedule.
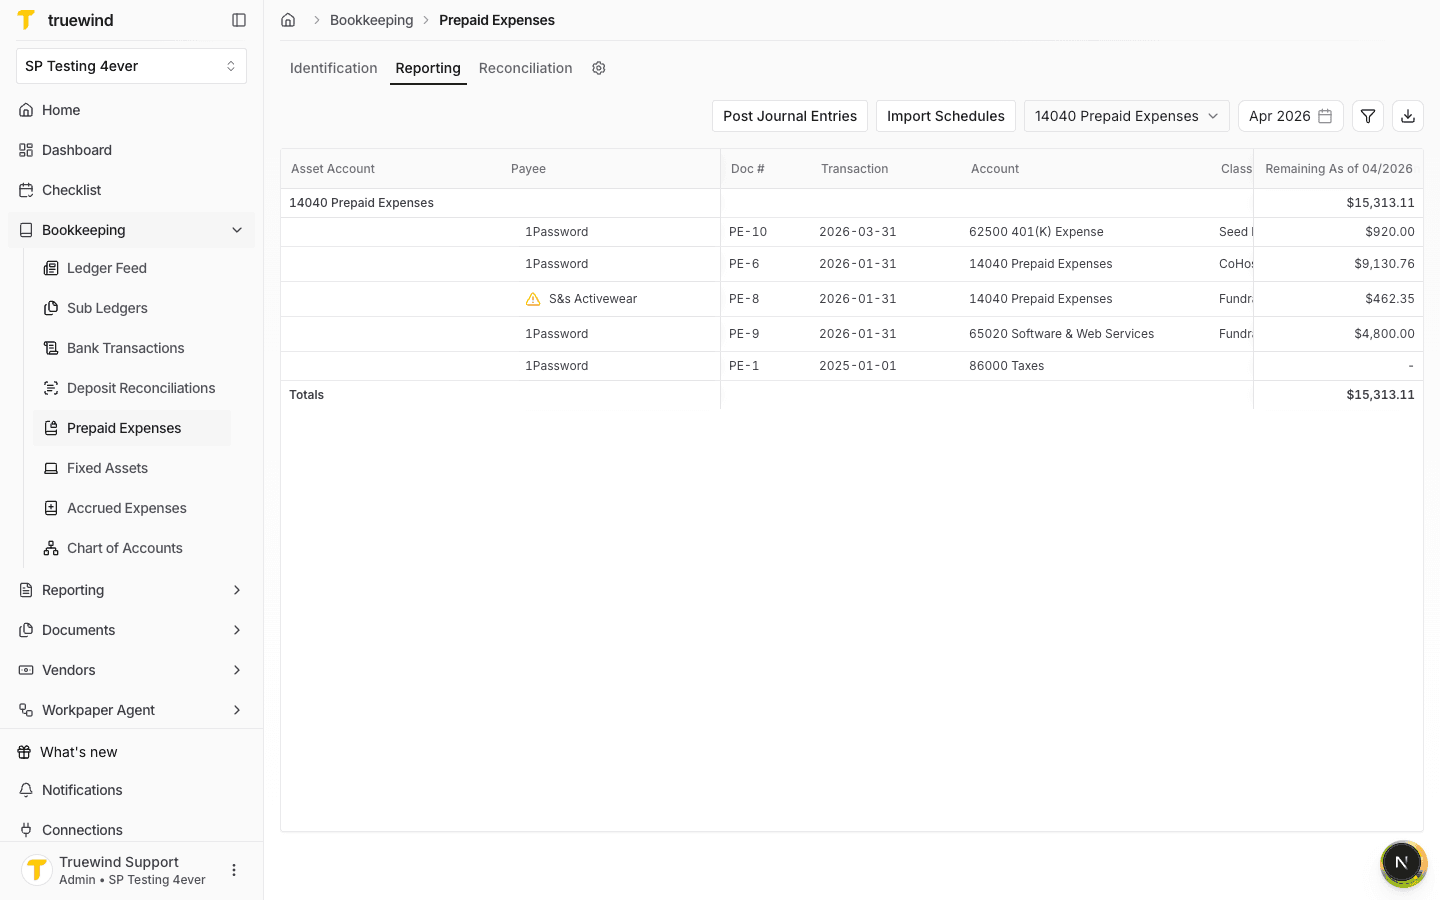
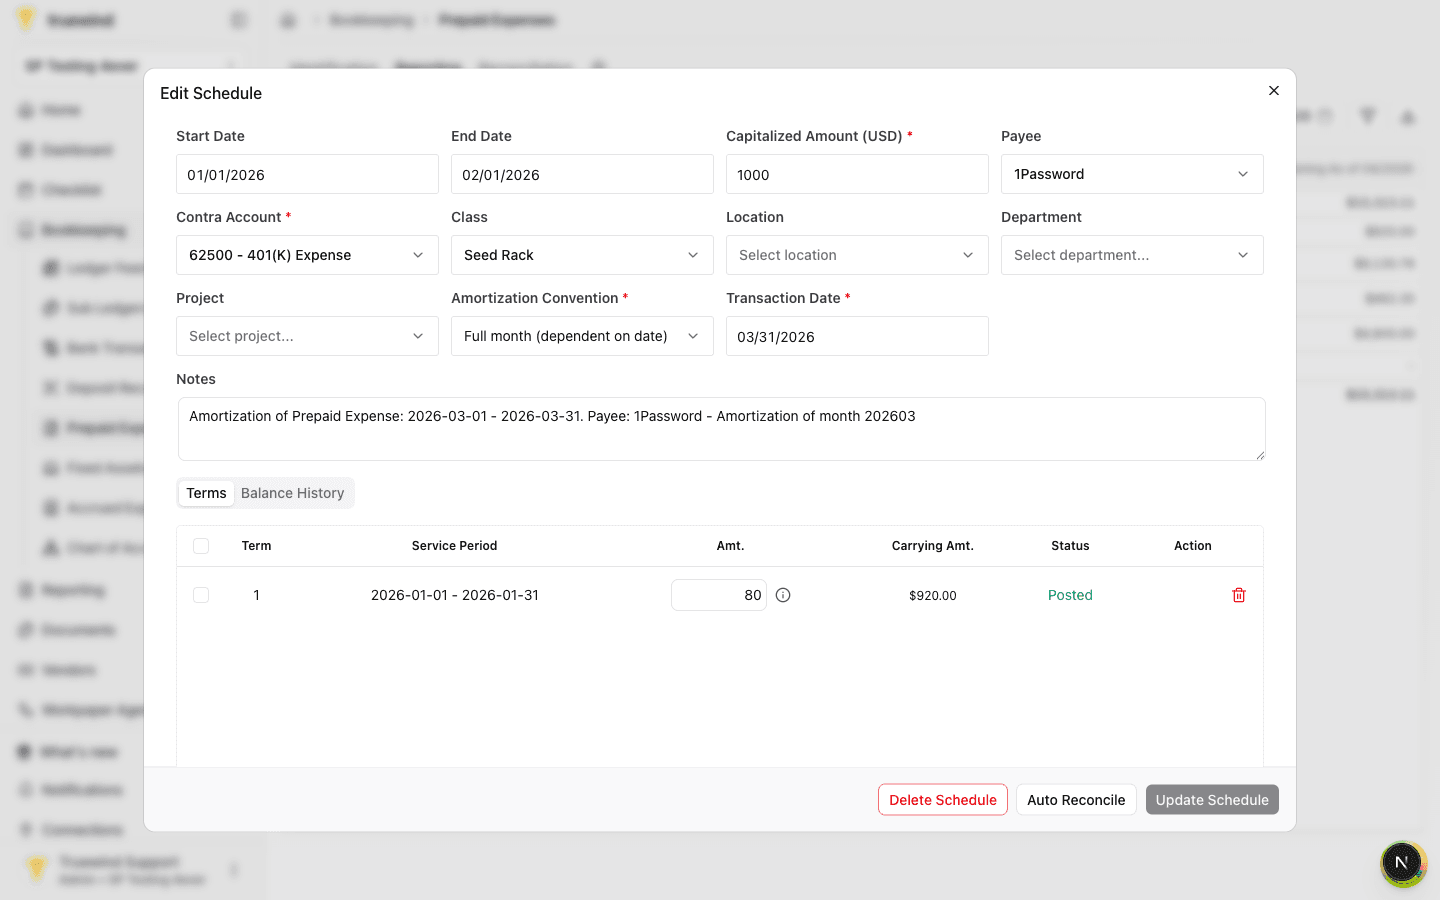
Step 8
Open the schedule tied to the deleted amortization posting and review the term status.
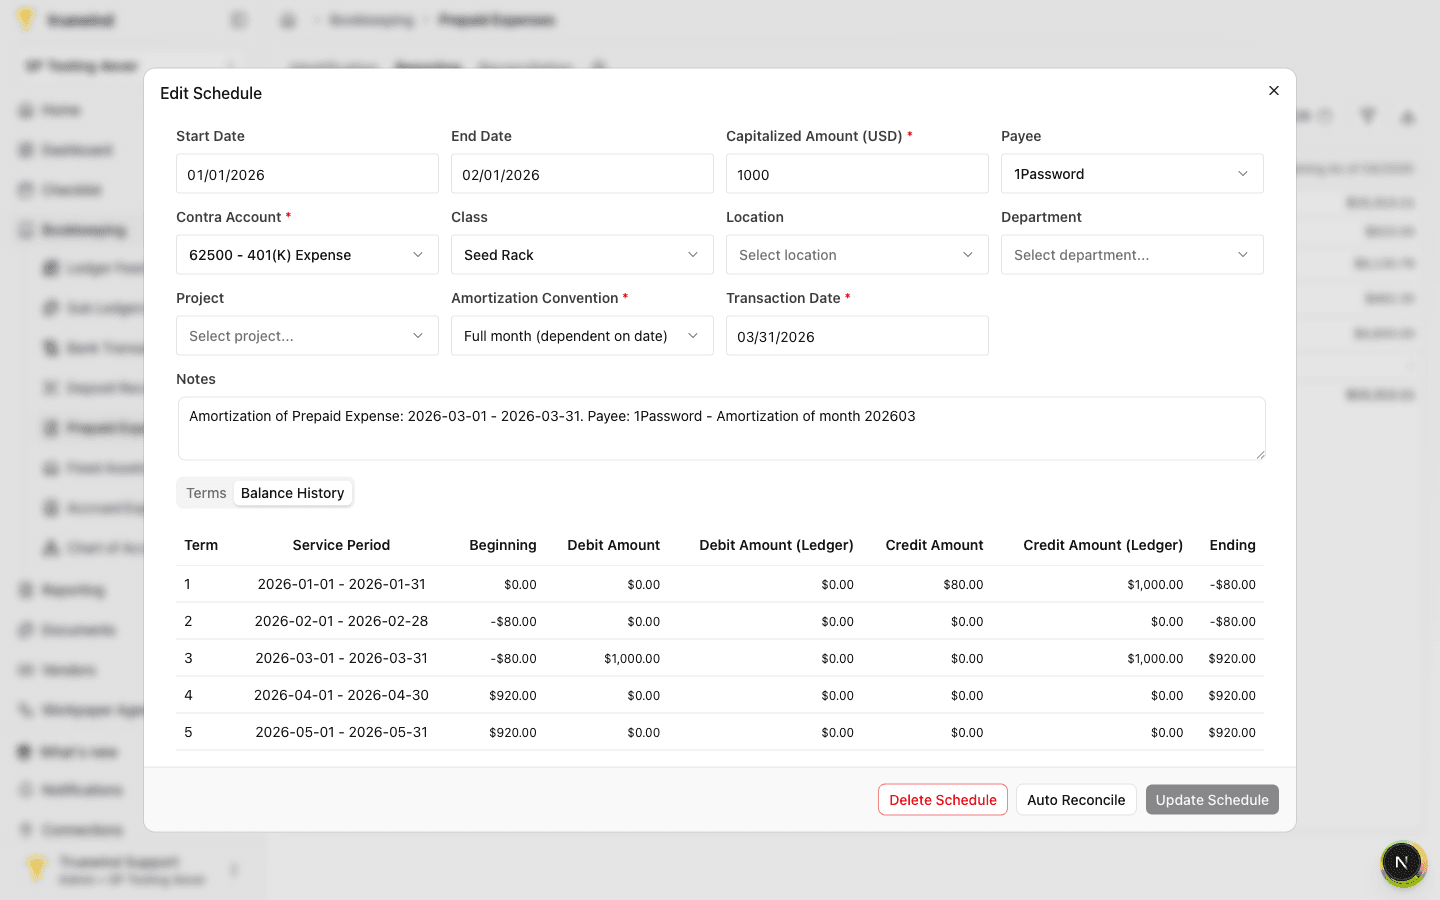
Step 9
Use Balance History to confirm the ledger balance no longer includes the deleted amortization posting.
After deletion, confirm the schedule status changed back to Post and the related journal entry is no longer linked as posted.
Was this helpful?
Need more help?
Ask for human help about this article and provide any feedback.