
Before importing
Review the workbook sheet, upload type, prepaid account, payee and account mappings, dates, amounts, and imported terms before importing schedules into Truewind.
Ask the support agent
Just ask a direct question or search related articles from the Knowledge Base.
Support Center / Prepaid Expenses / Import/Export
Import Prepaid Expense schedules from a workpaper when schedule data already exists in a spreadsheet, resulting in mapped schedules ready for review and posting.
Step 1
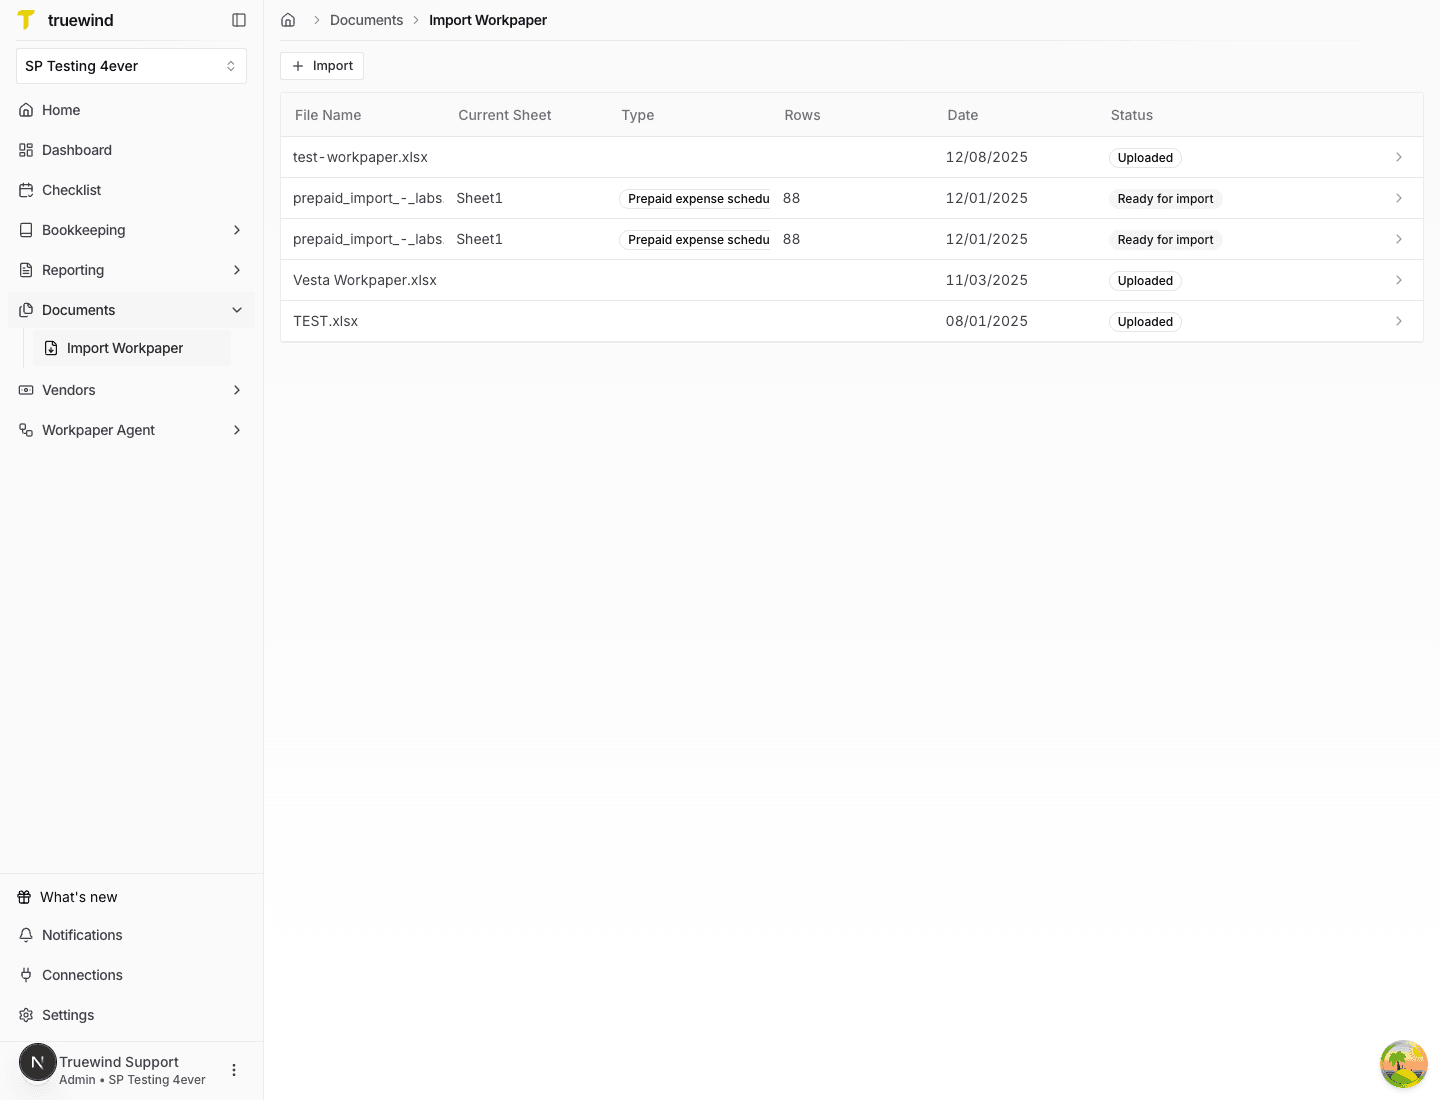
Start in Documents > Import Workpaper to review prior uploads and begin a new spreadsheet import.
Step 2
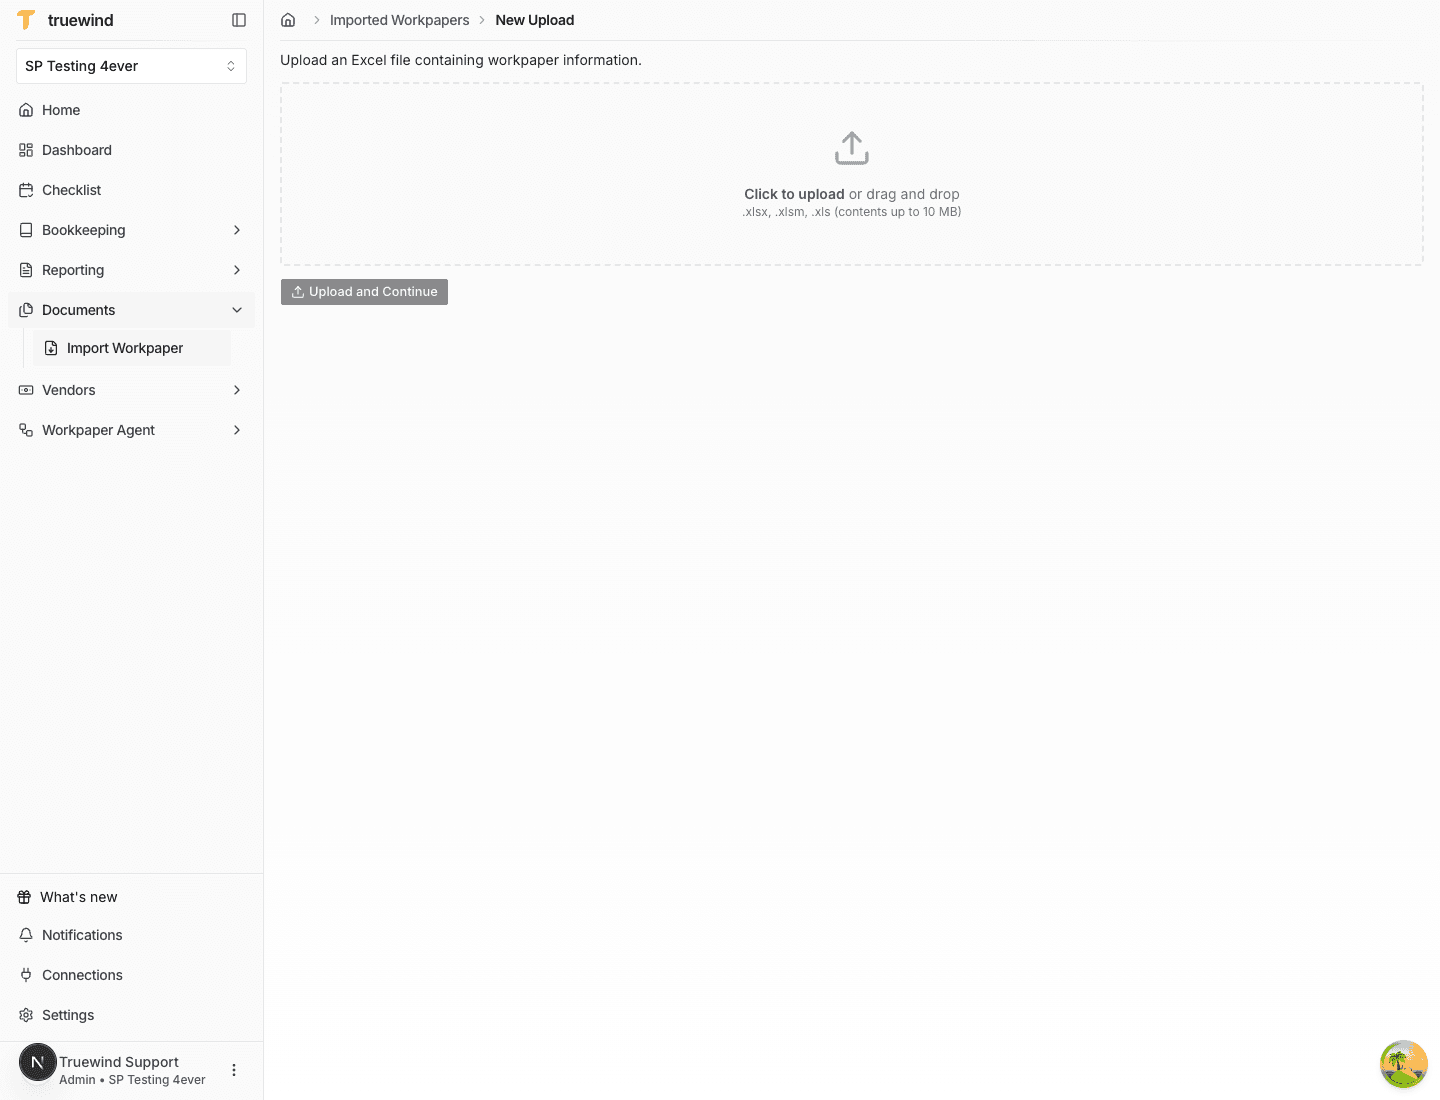
Use Import to start a new workpaper upload when the schedule data is in an Excel workbook.
Step 3
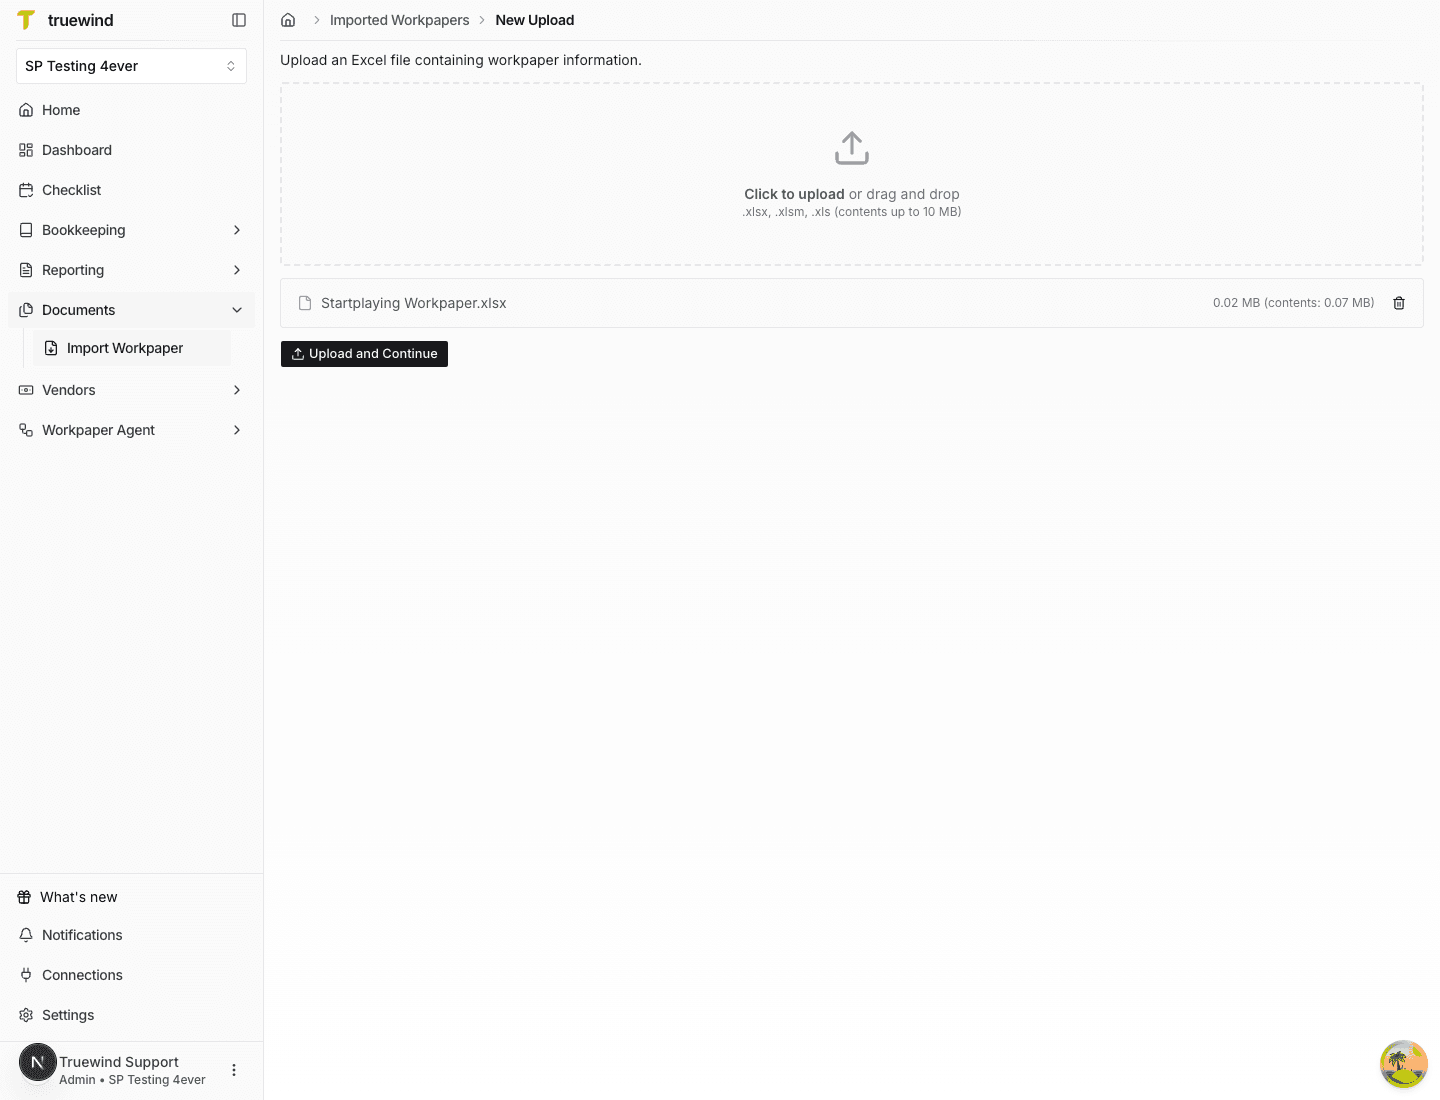
Upload the spreadsheet that contains the prepaid expense schedule rows you want Truewind to extract.
Step 4
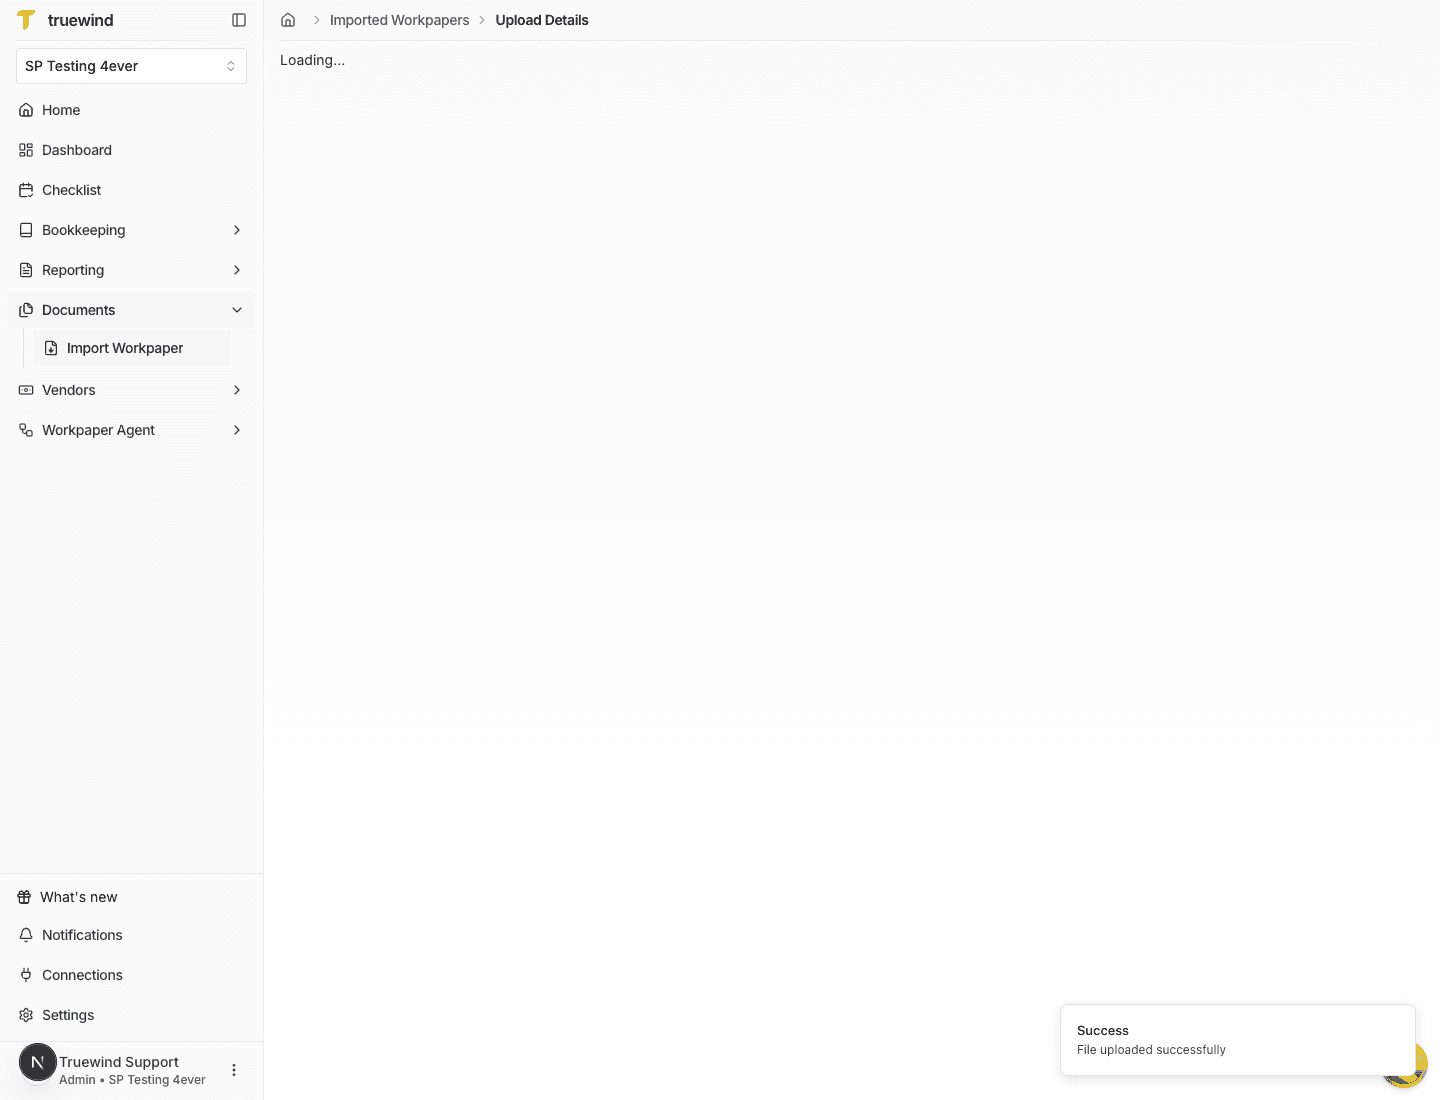
Confirm the file opened successfully and that Truewind detected the workbook sheets before configuring extraction.
Step 5
Select the tab that contains the prepaid expense schedule data, especially when the workbook includes multiple schedules.
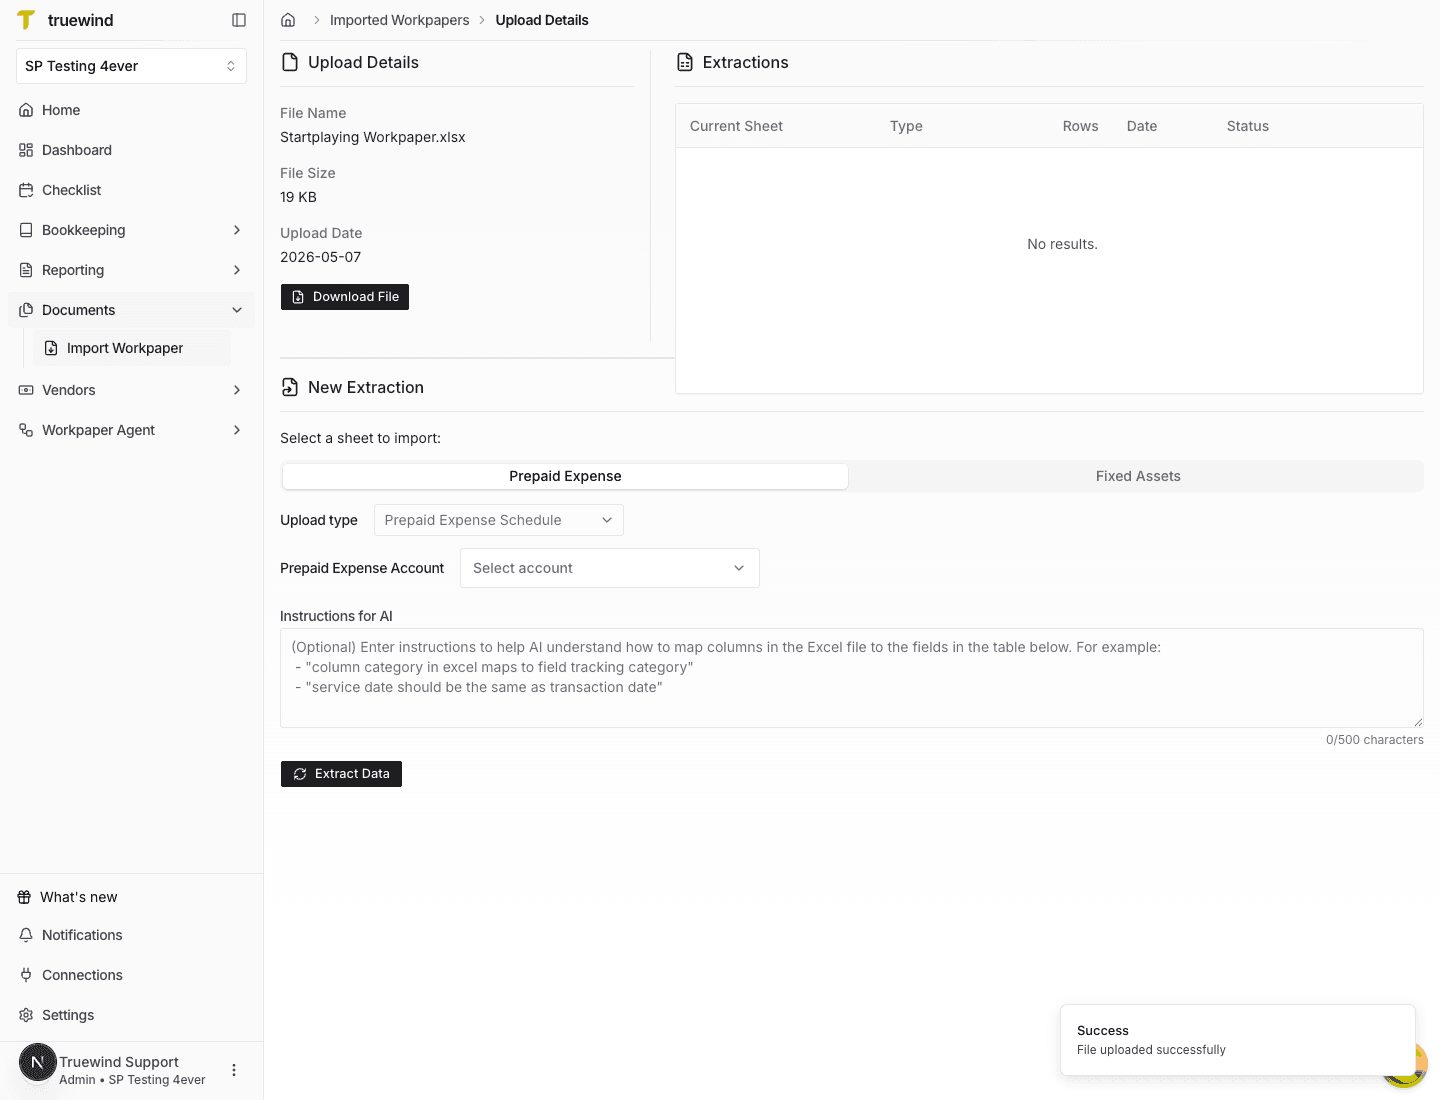
Step 6
Keep the upload type set to Prepaid Expense Schedule so the extracted rows map to prepaid expense fields.
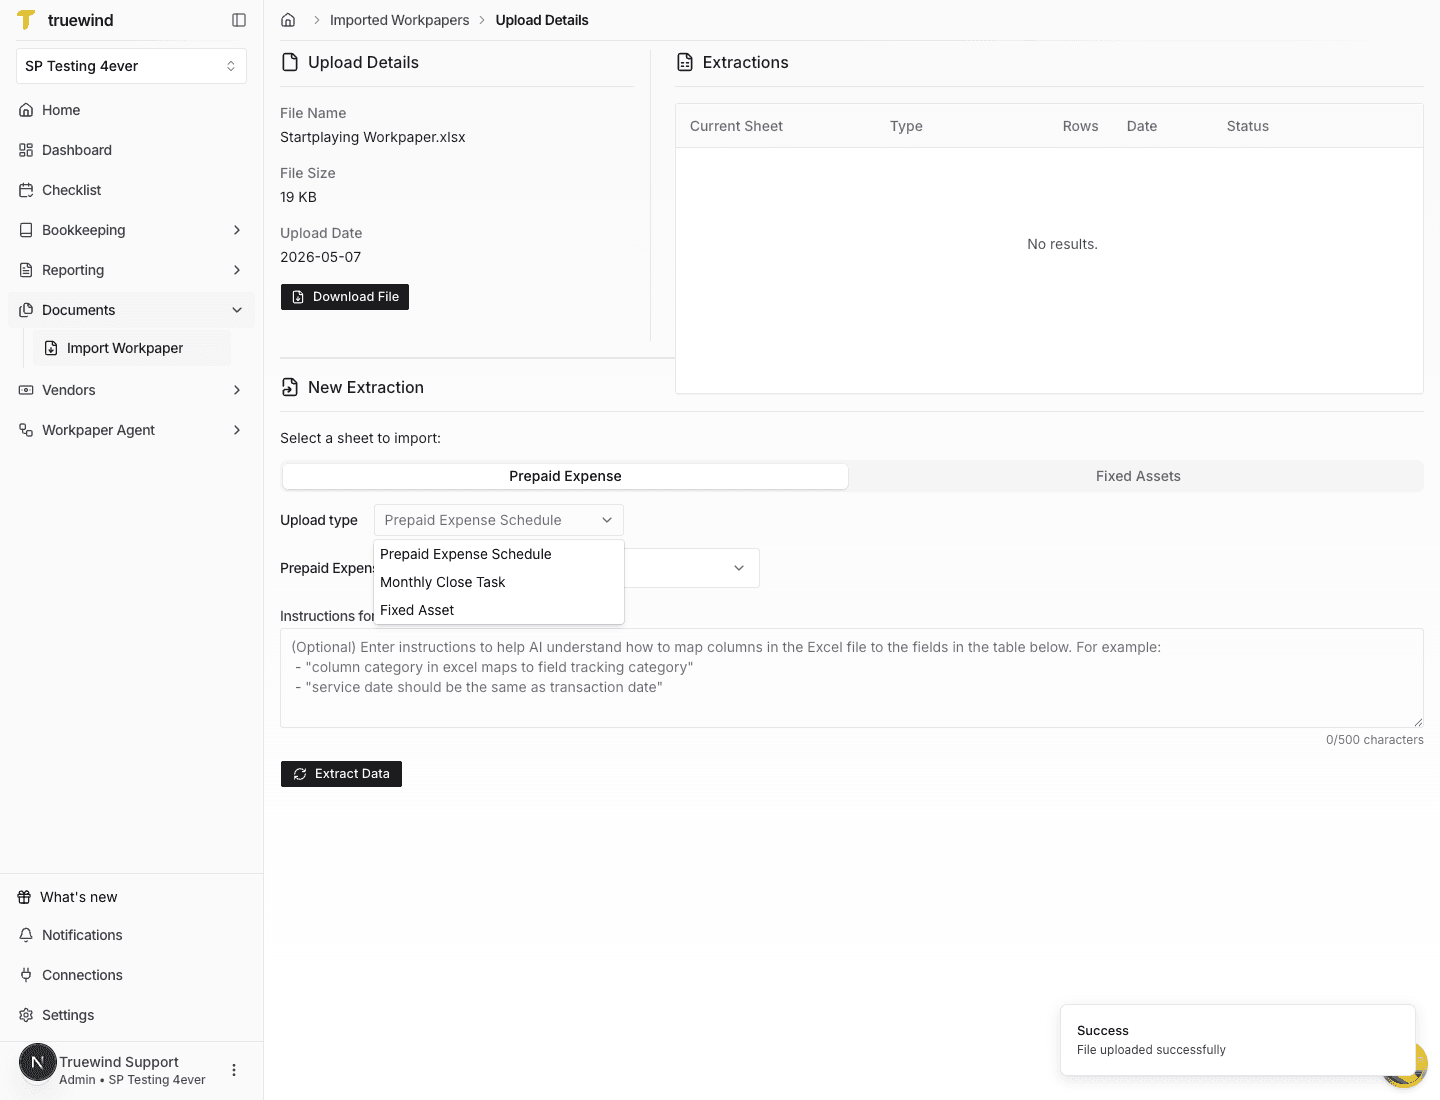
Step 7
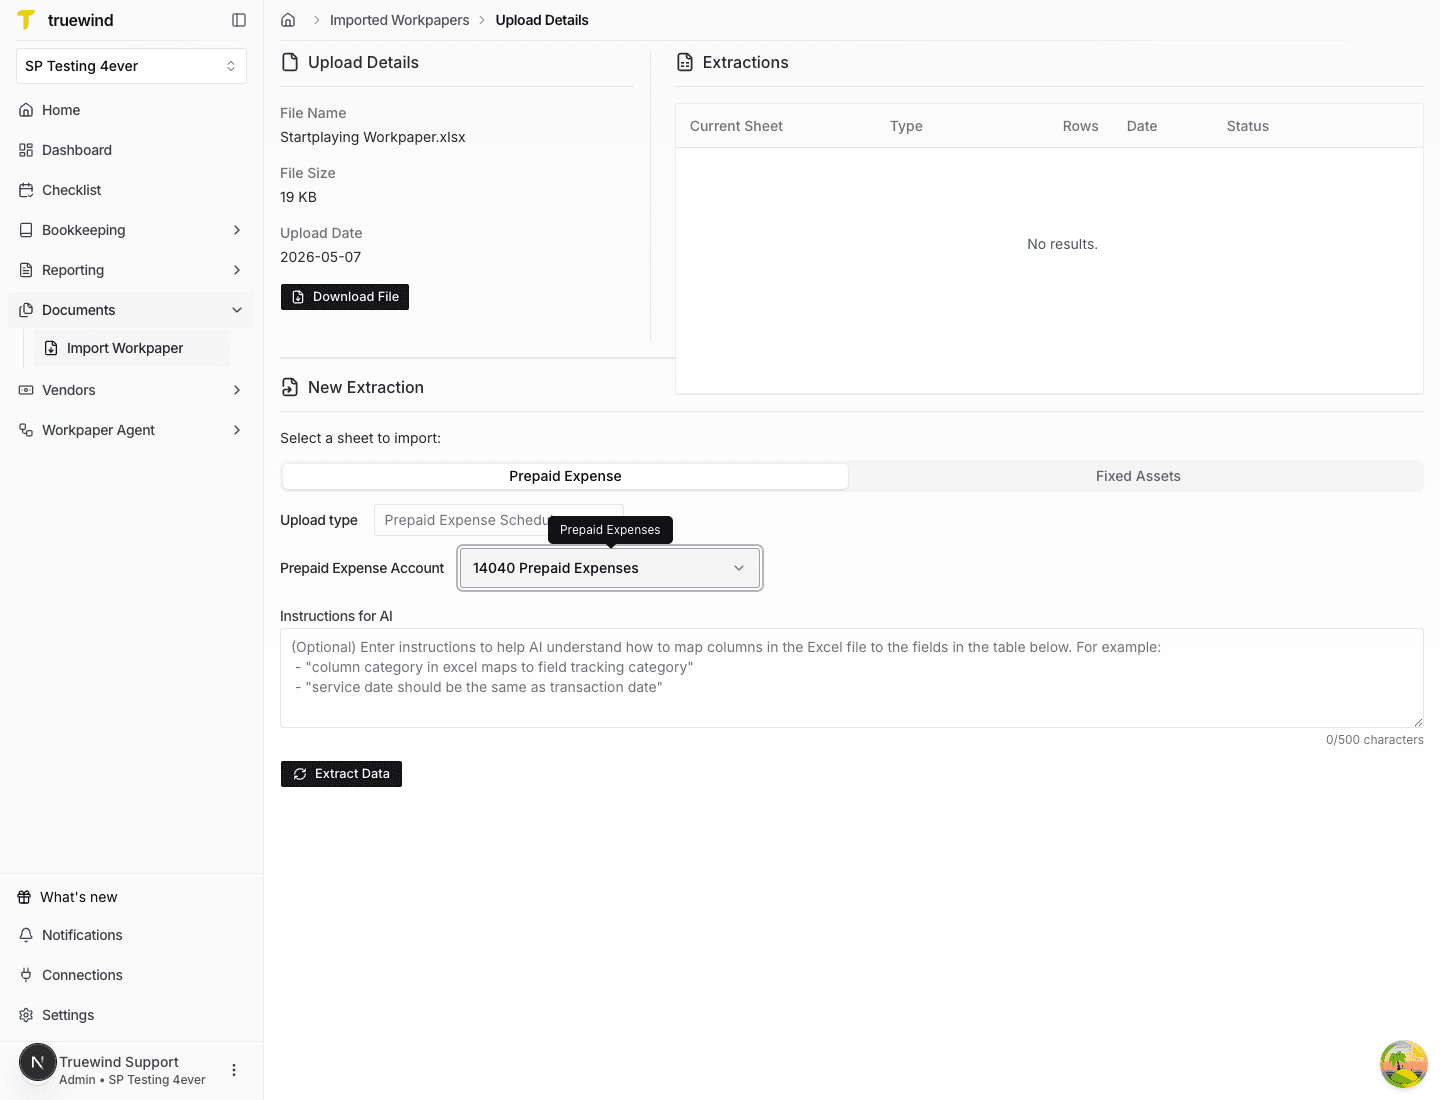
Use the Prepaid Expense Account field to choose the balance sheet account that will hold the imported schedules.
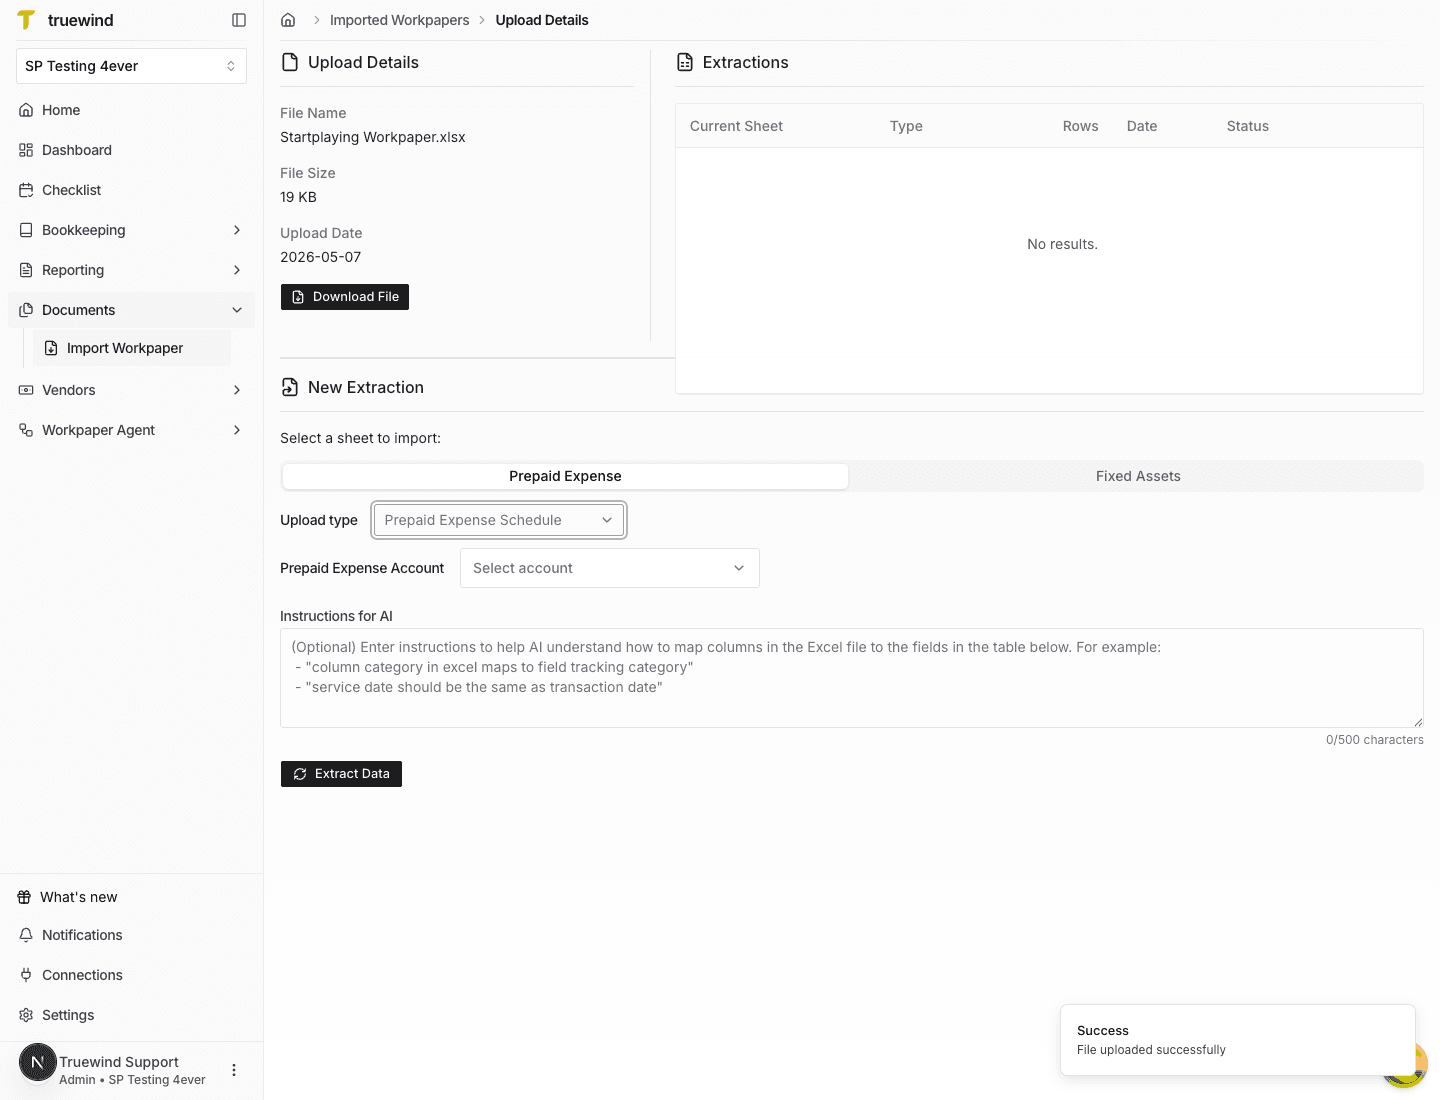
Step 8
Filter the account list by account number or name to locate the account that matches the workpaper.
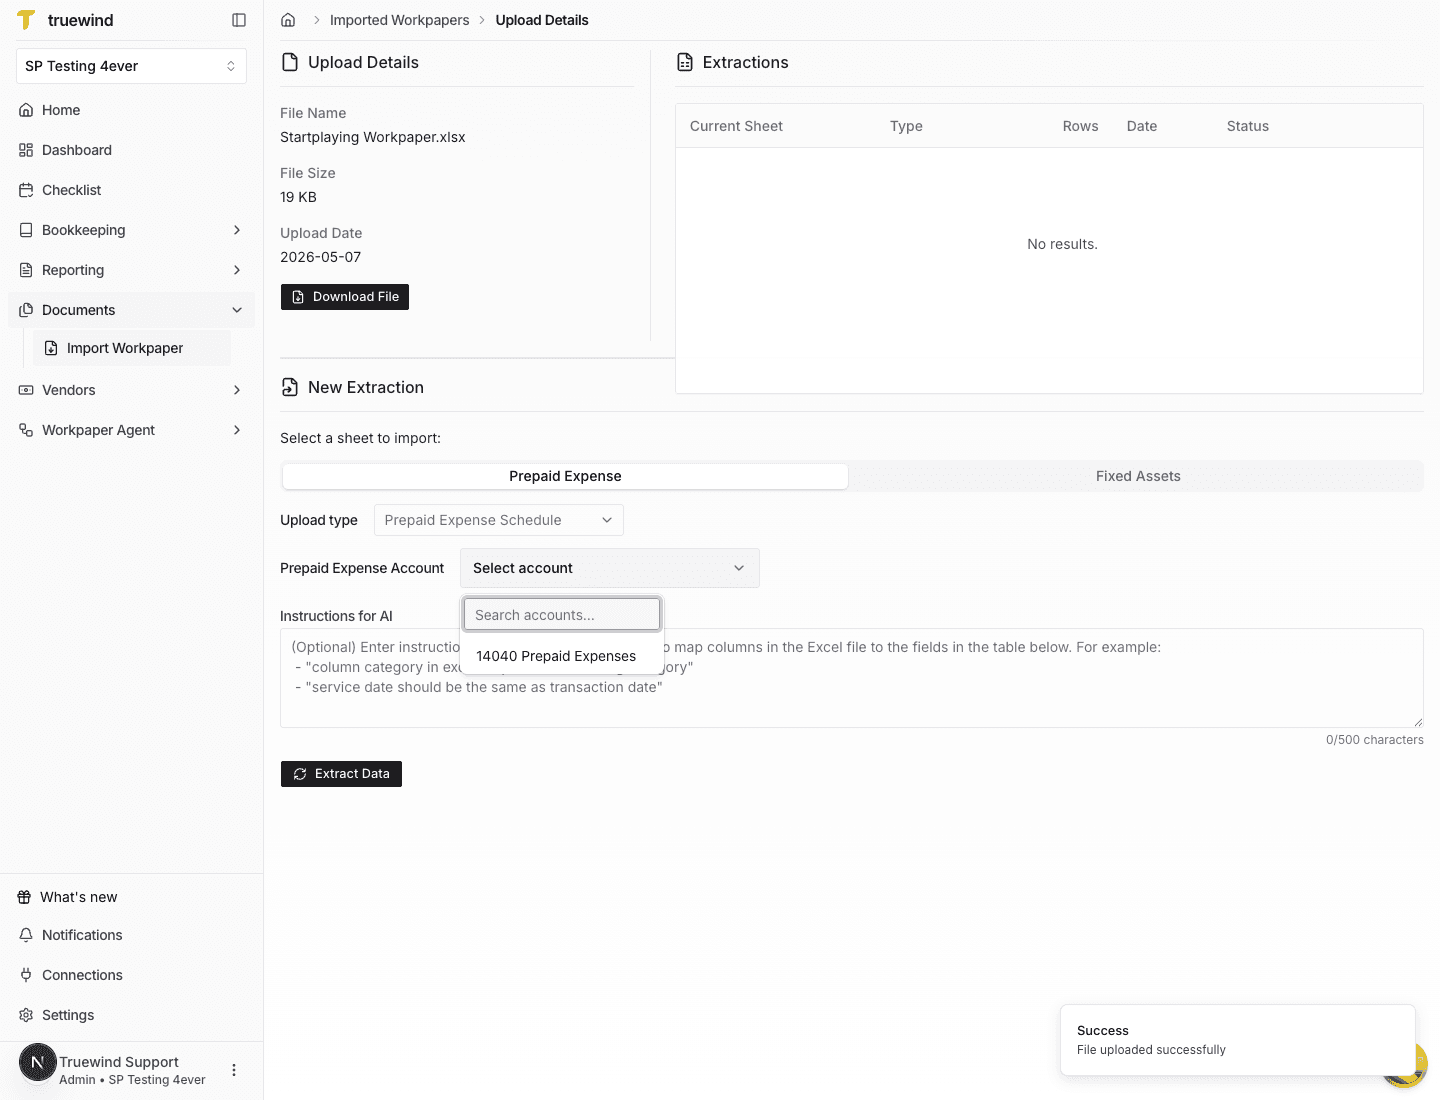
Step 9
Choose the matching prepaid expense account before extracting rows so each imported schedule is assigned correctly.
Step 10
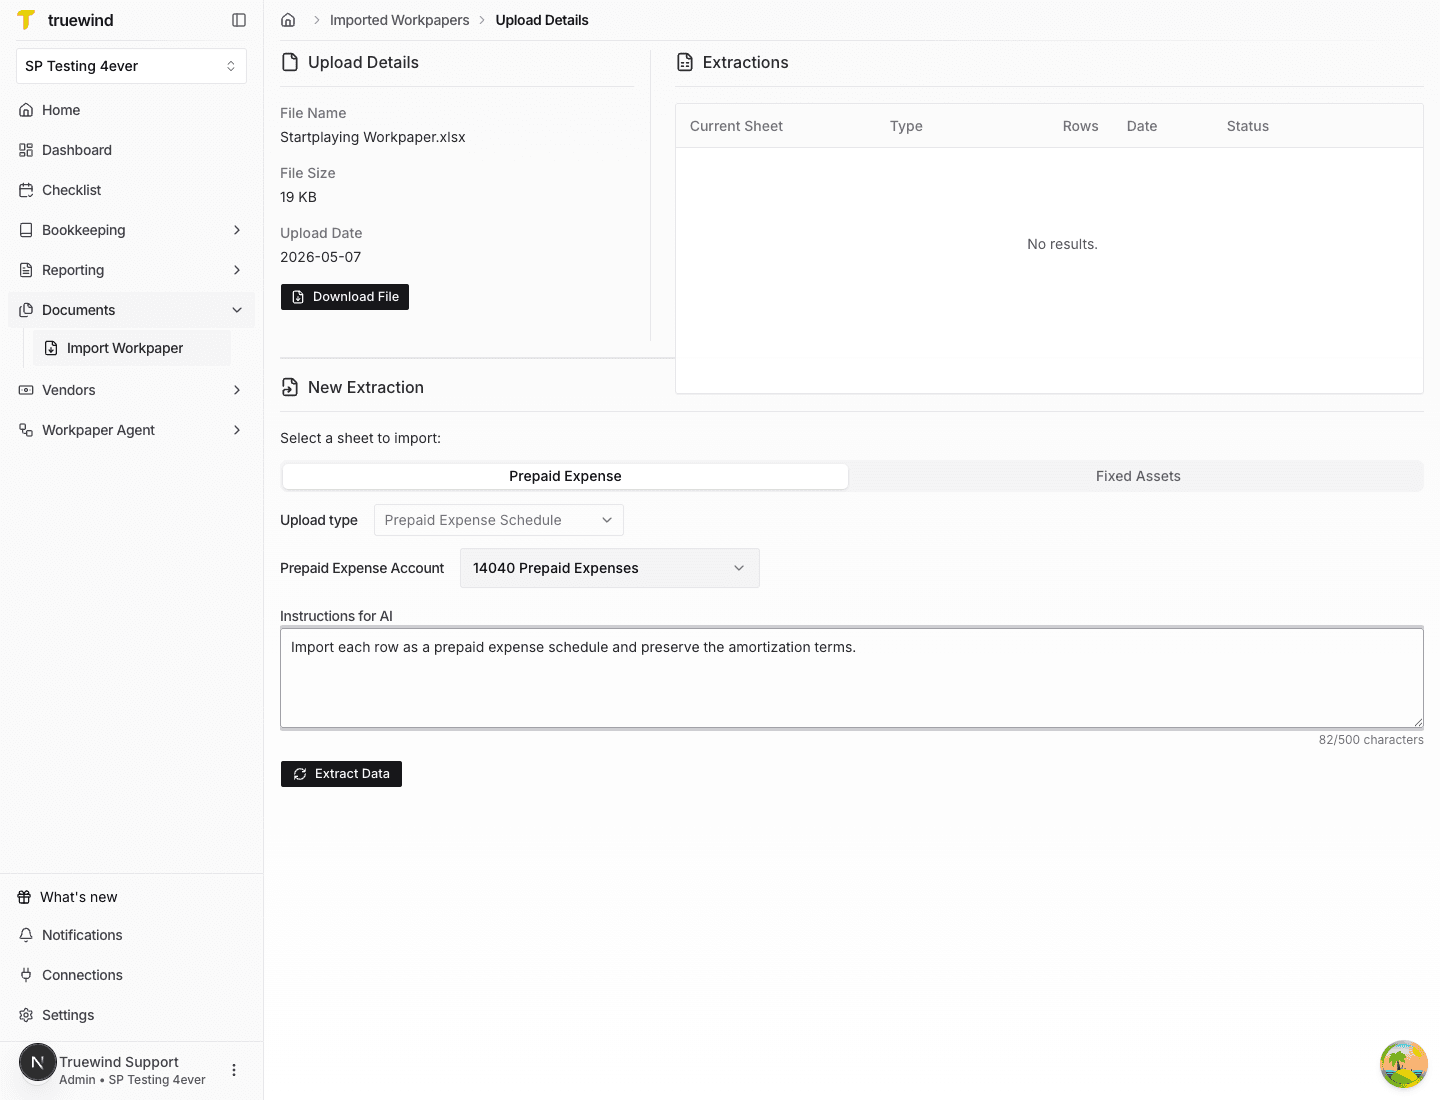
Provide any context the extractor should use, such as preserving imported amortization terms from the source workbook.
Step 11
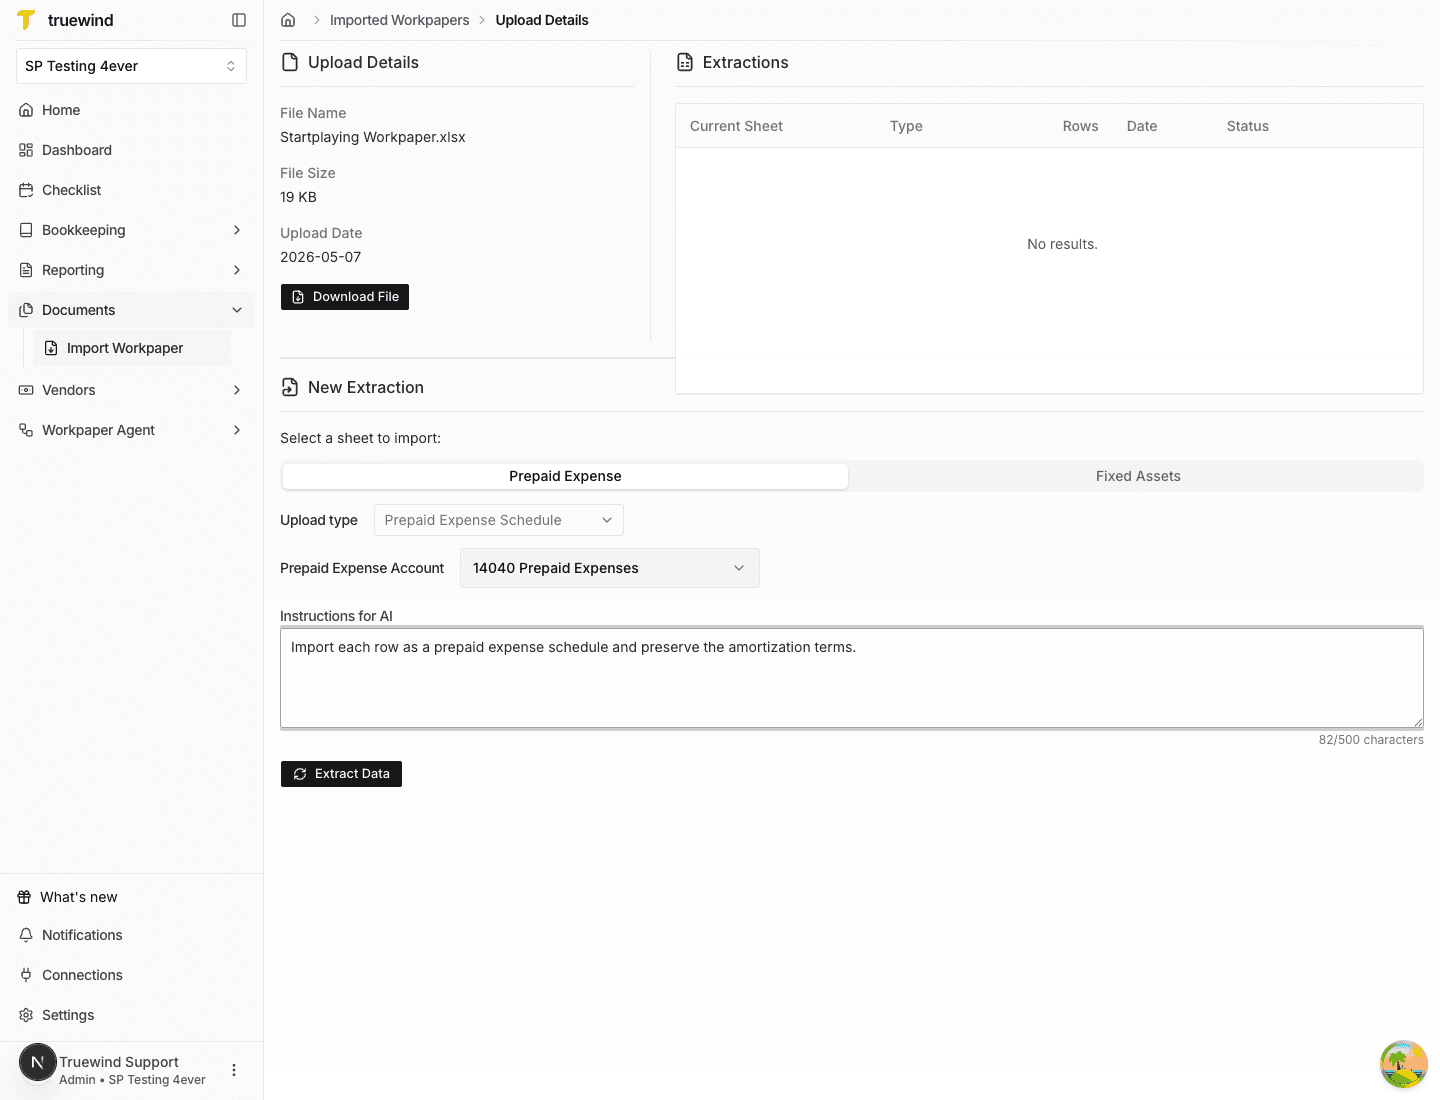
Confirm the sheet, upload type, prepaid account, and instructions are correct before starting extraction.
Step 12
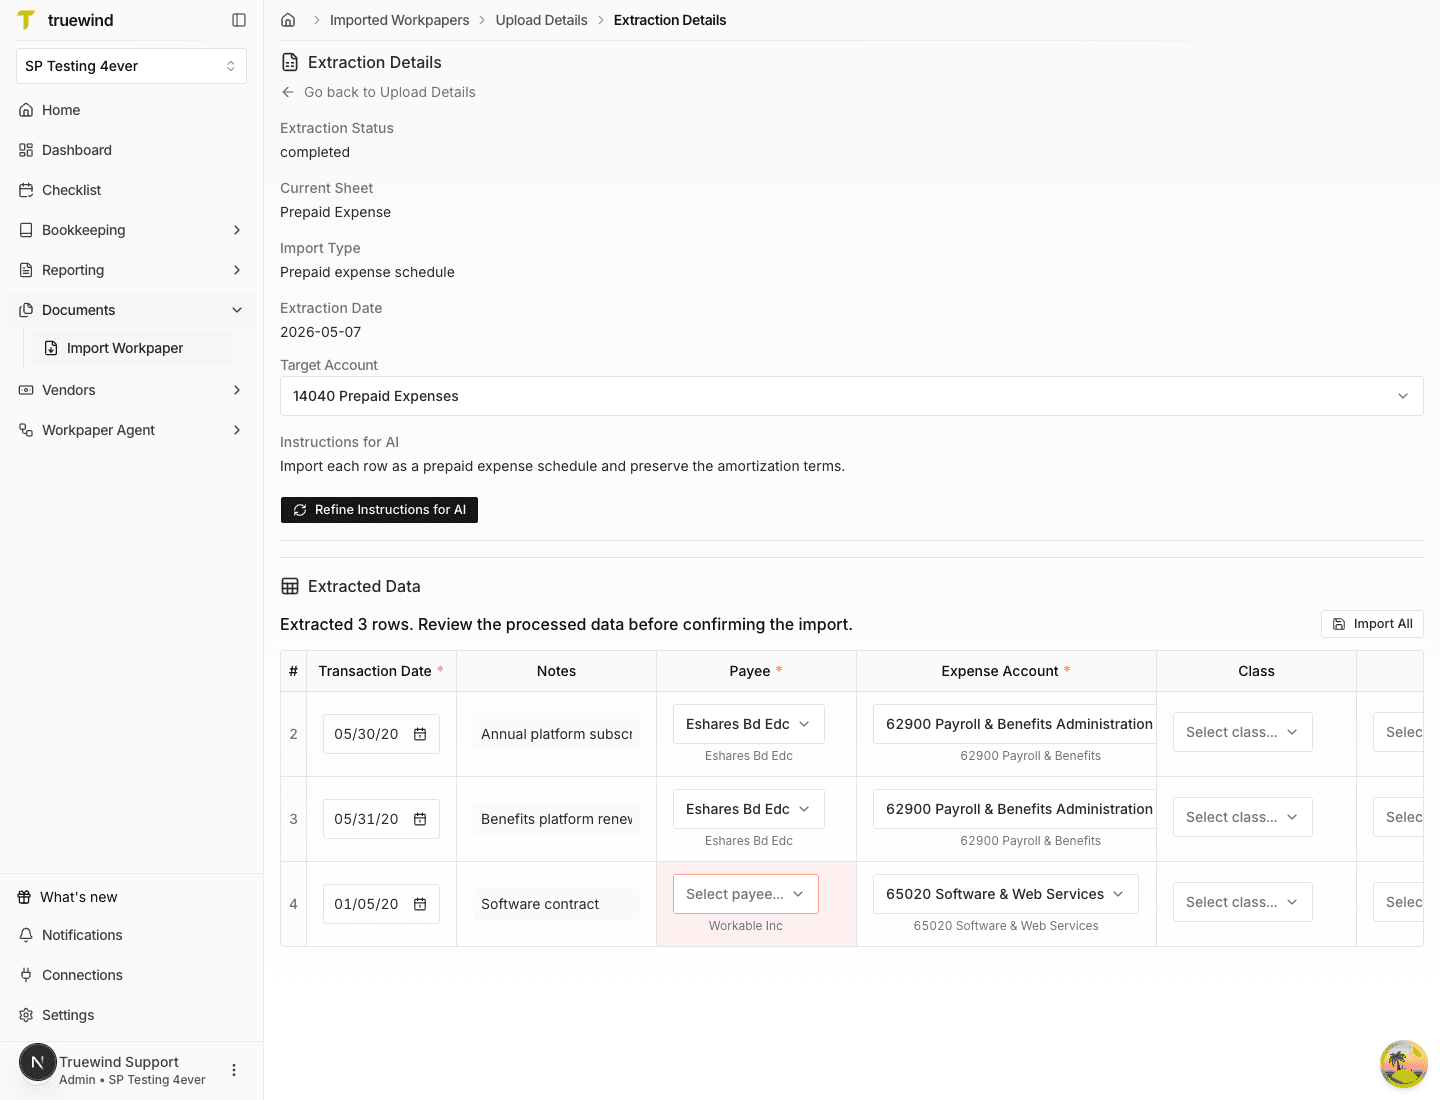
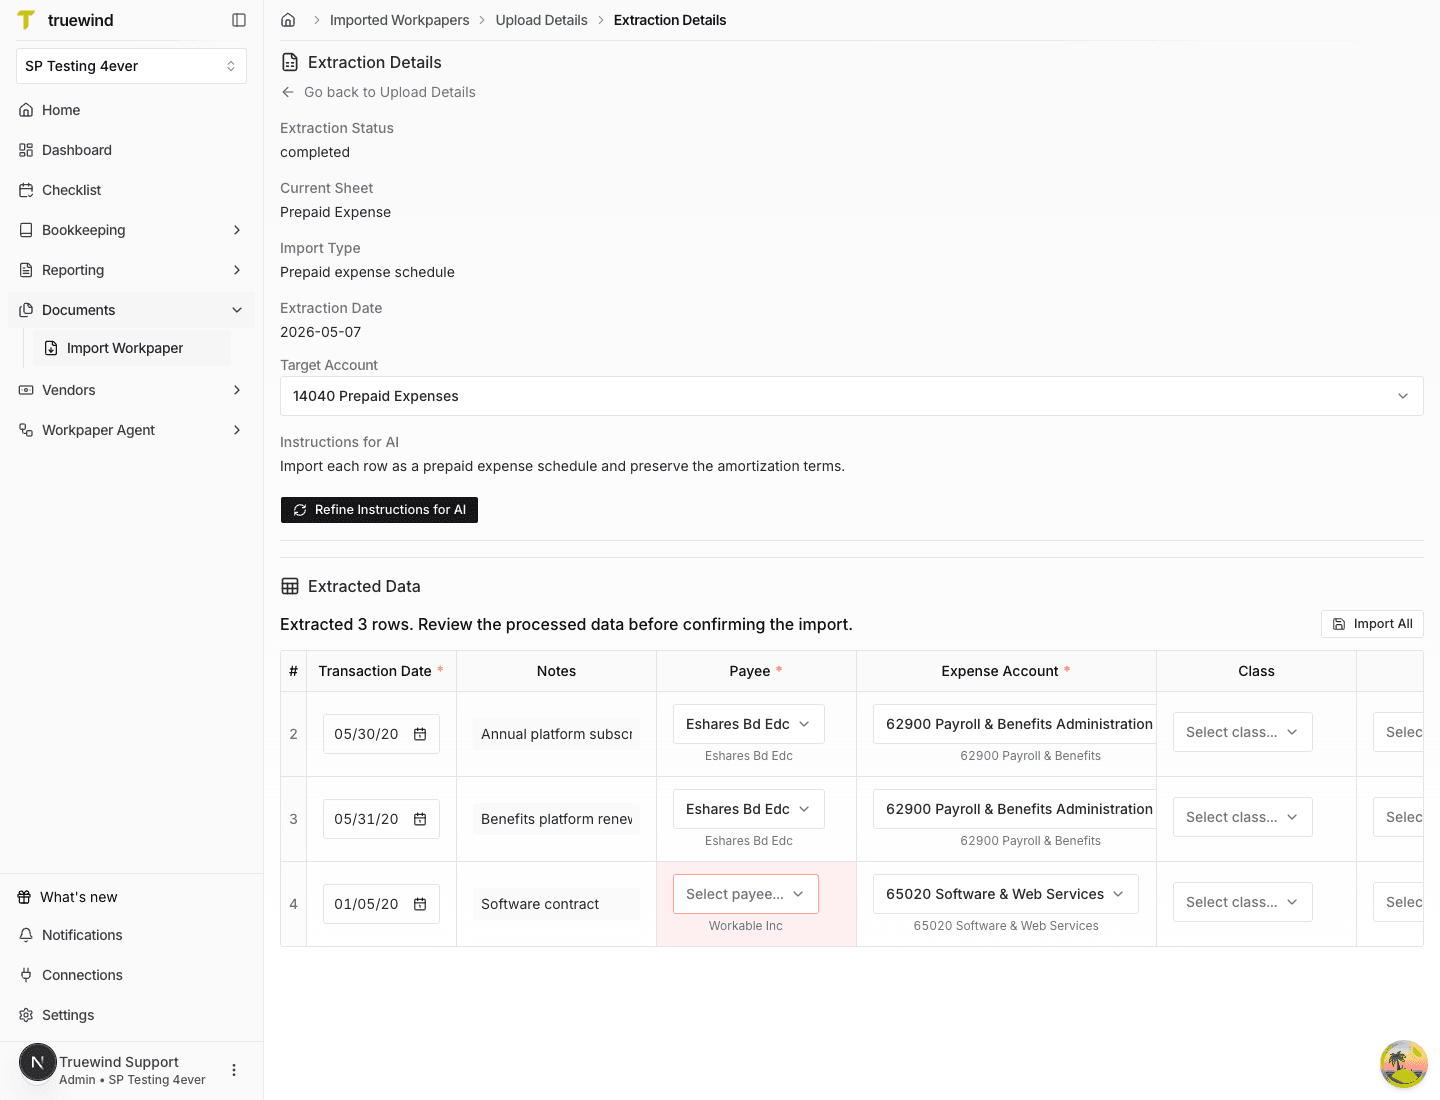
After extraction completes, check the summary for the import type, selected sheet, row count, and any user instructions.
Step 13
Compare the extracted table to the source workbook before mapping values or importing schedules.
Step 14
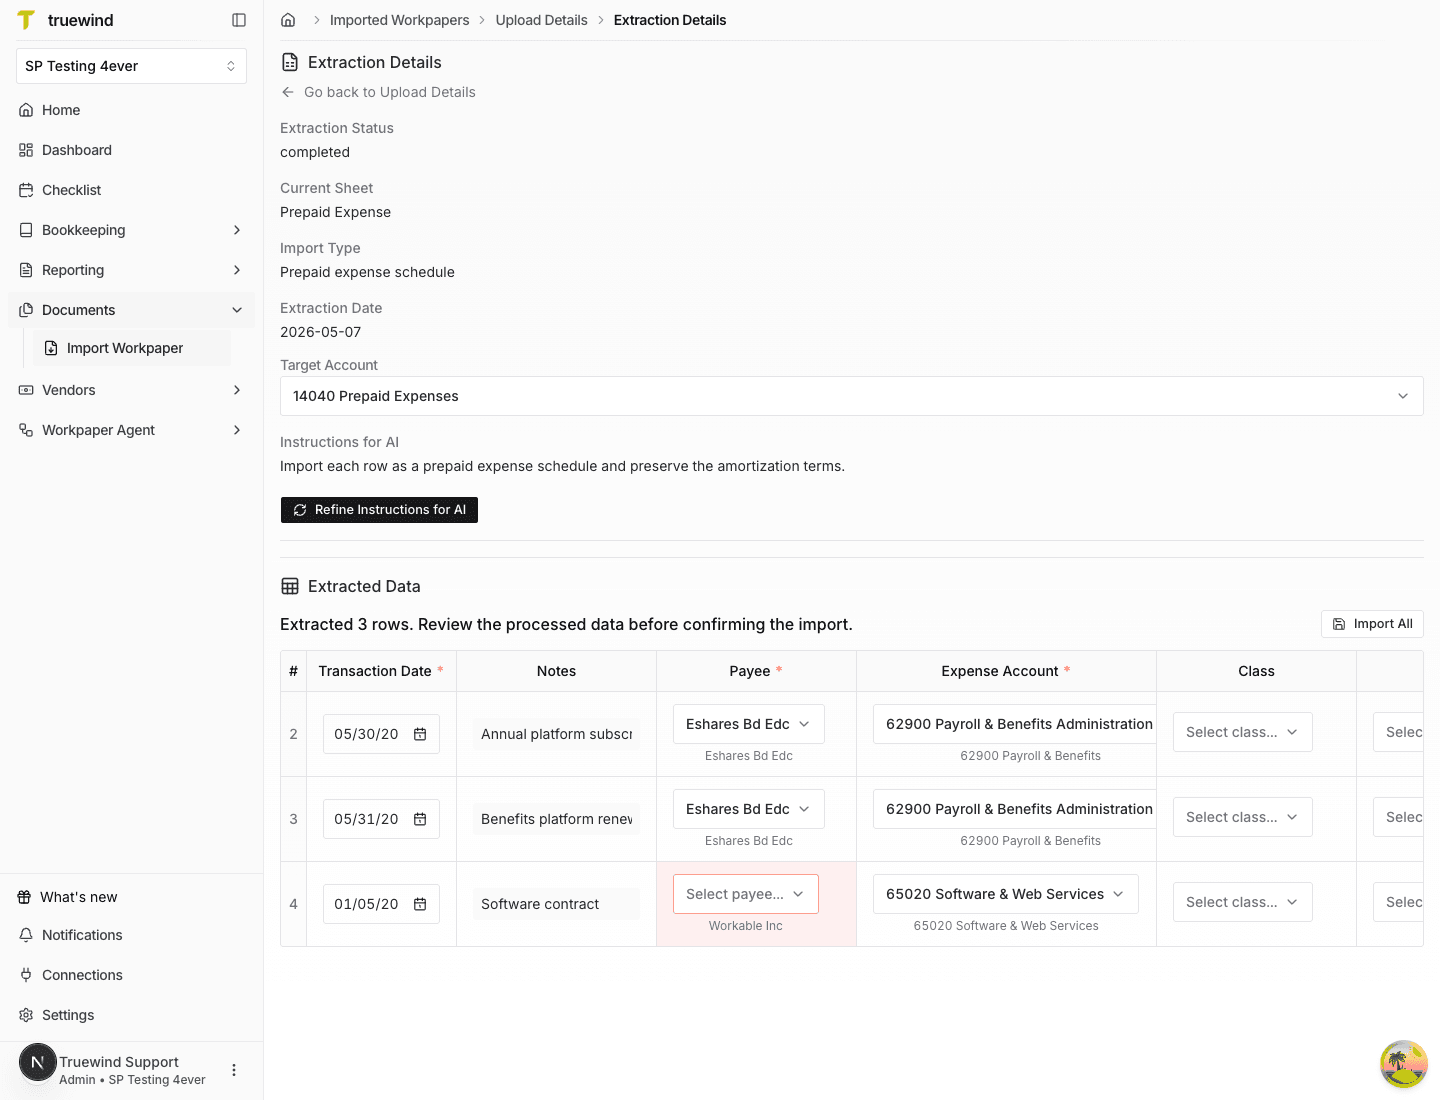
Check that each row is matched to the correct payee and expense account, and update any unresolved mappings.
Step 15
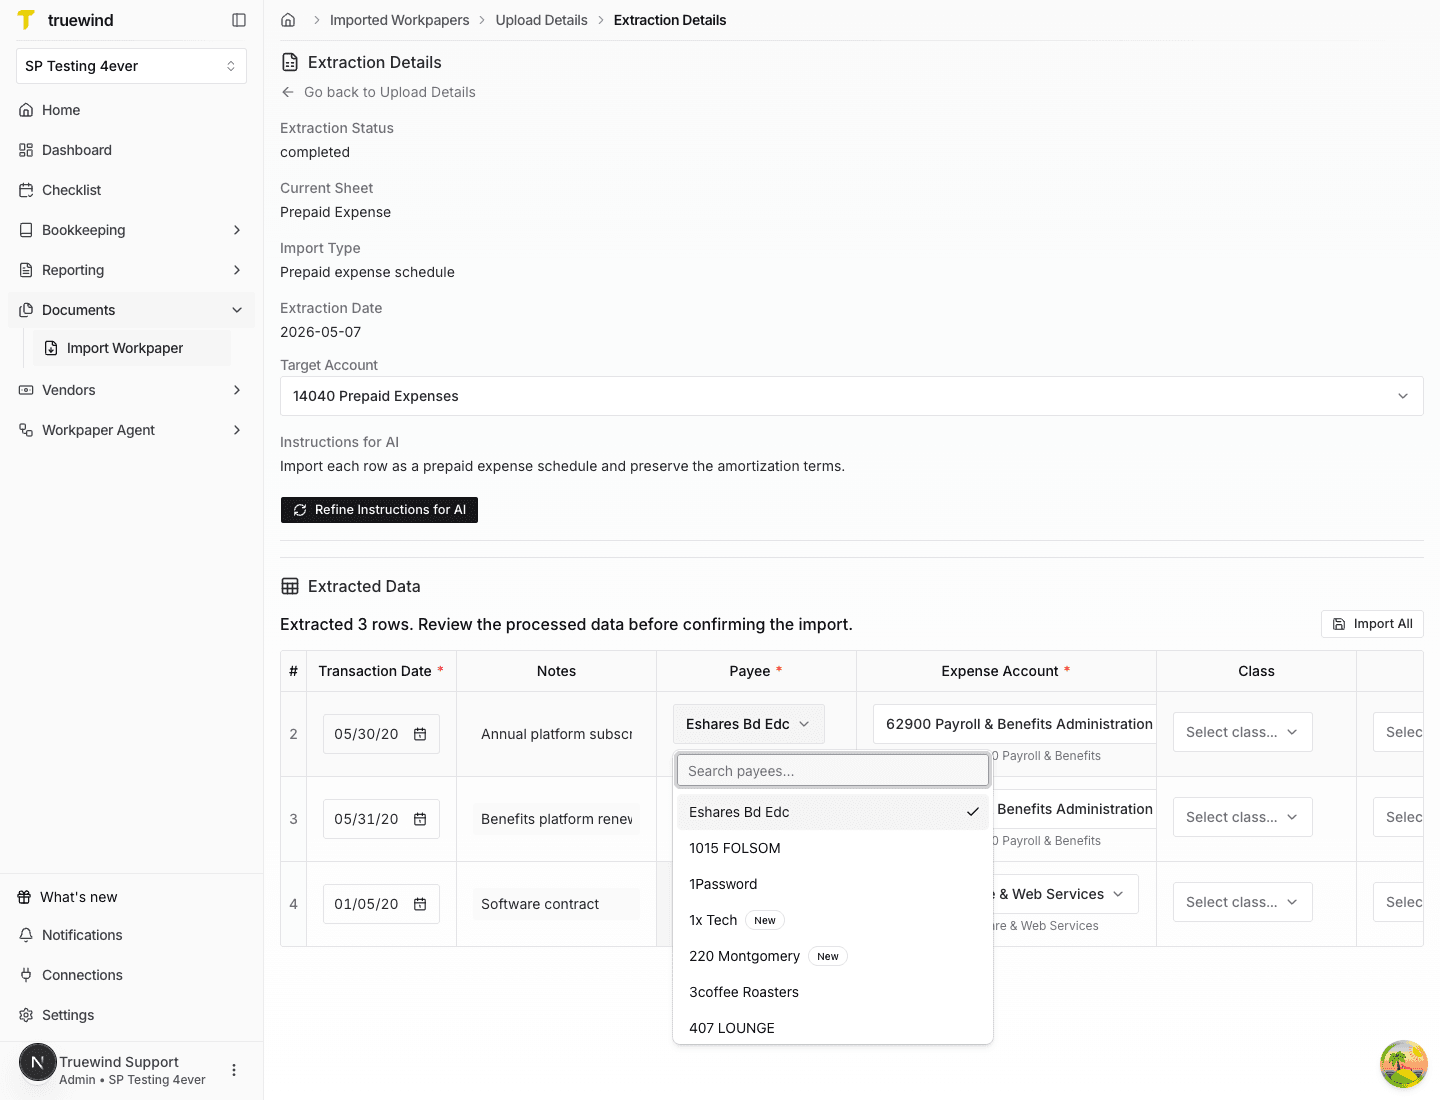
Use the payee selector on a row when the extracted payee needs to be matched to an existing vendor record.
Step 16
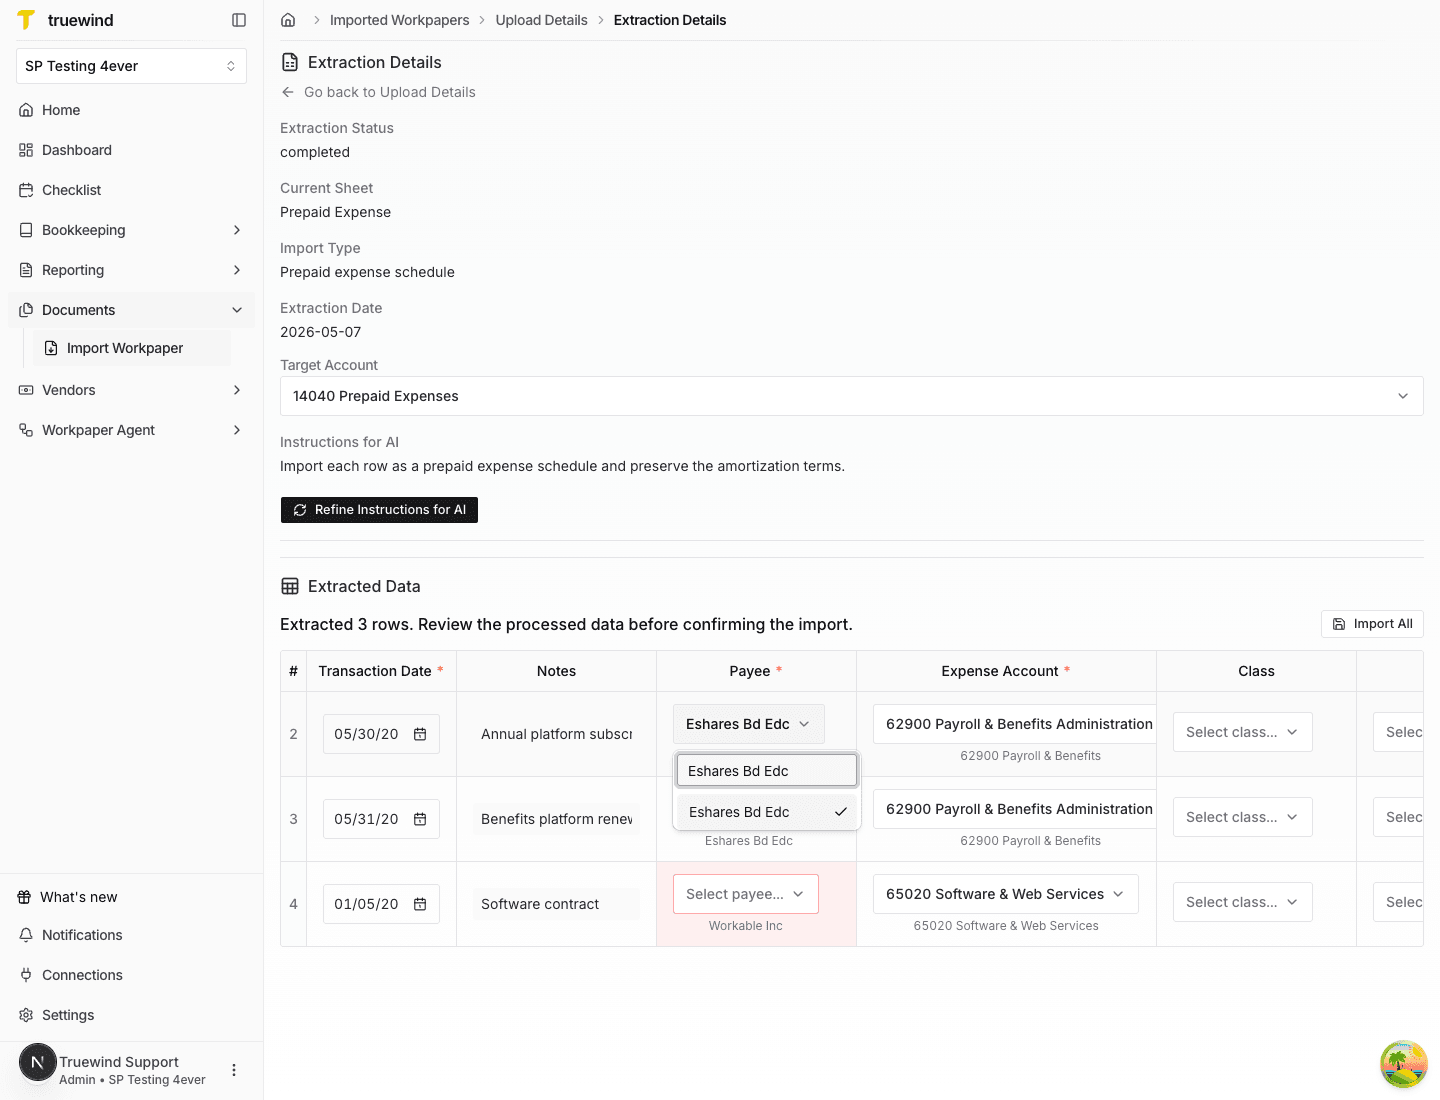
Search by vendor name to choose the correct payee before importing the schedule row.
Step 17
Confirm transaction dates, start and end dates, and total amounts before relying on the generated amortization schedule.
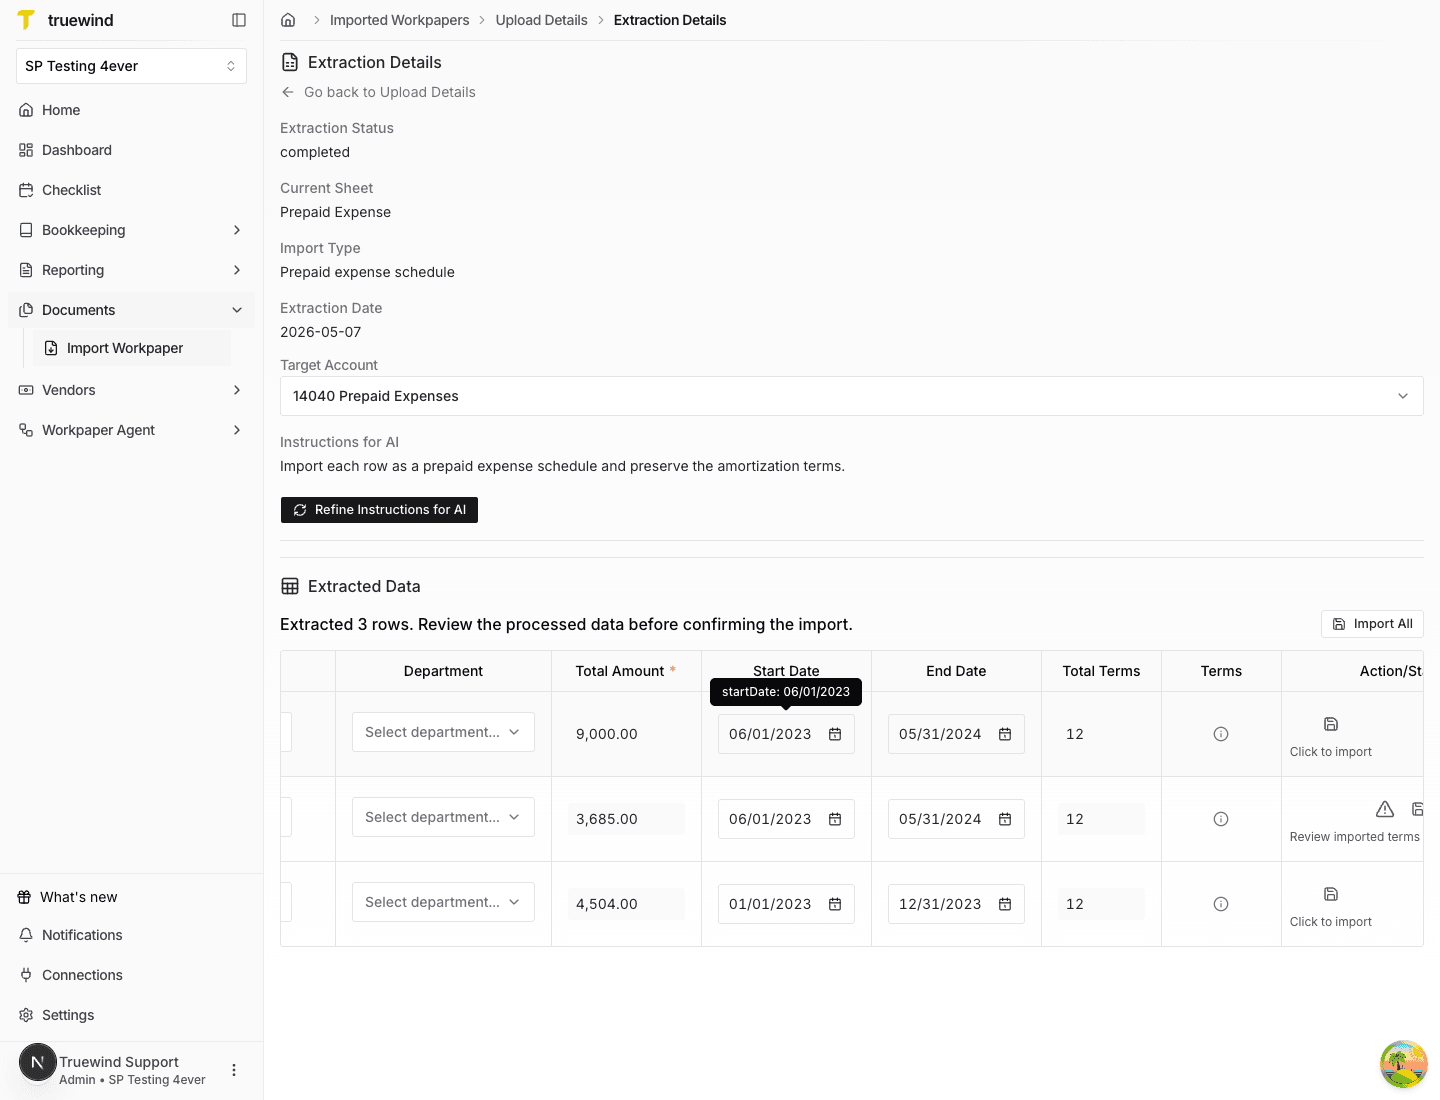
Step 18
Use the imported terms column to check whether Truewind preserved the schedule terms from the workbook.
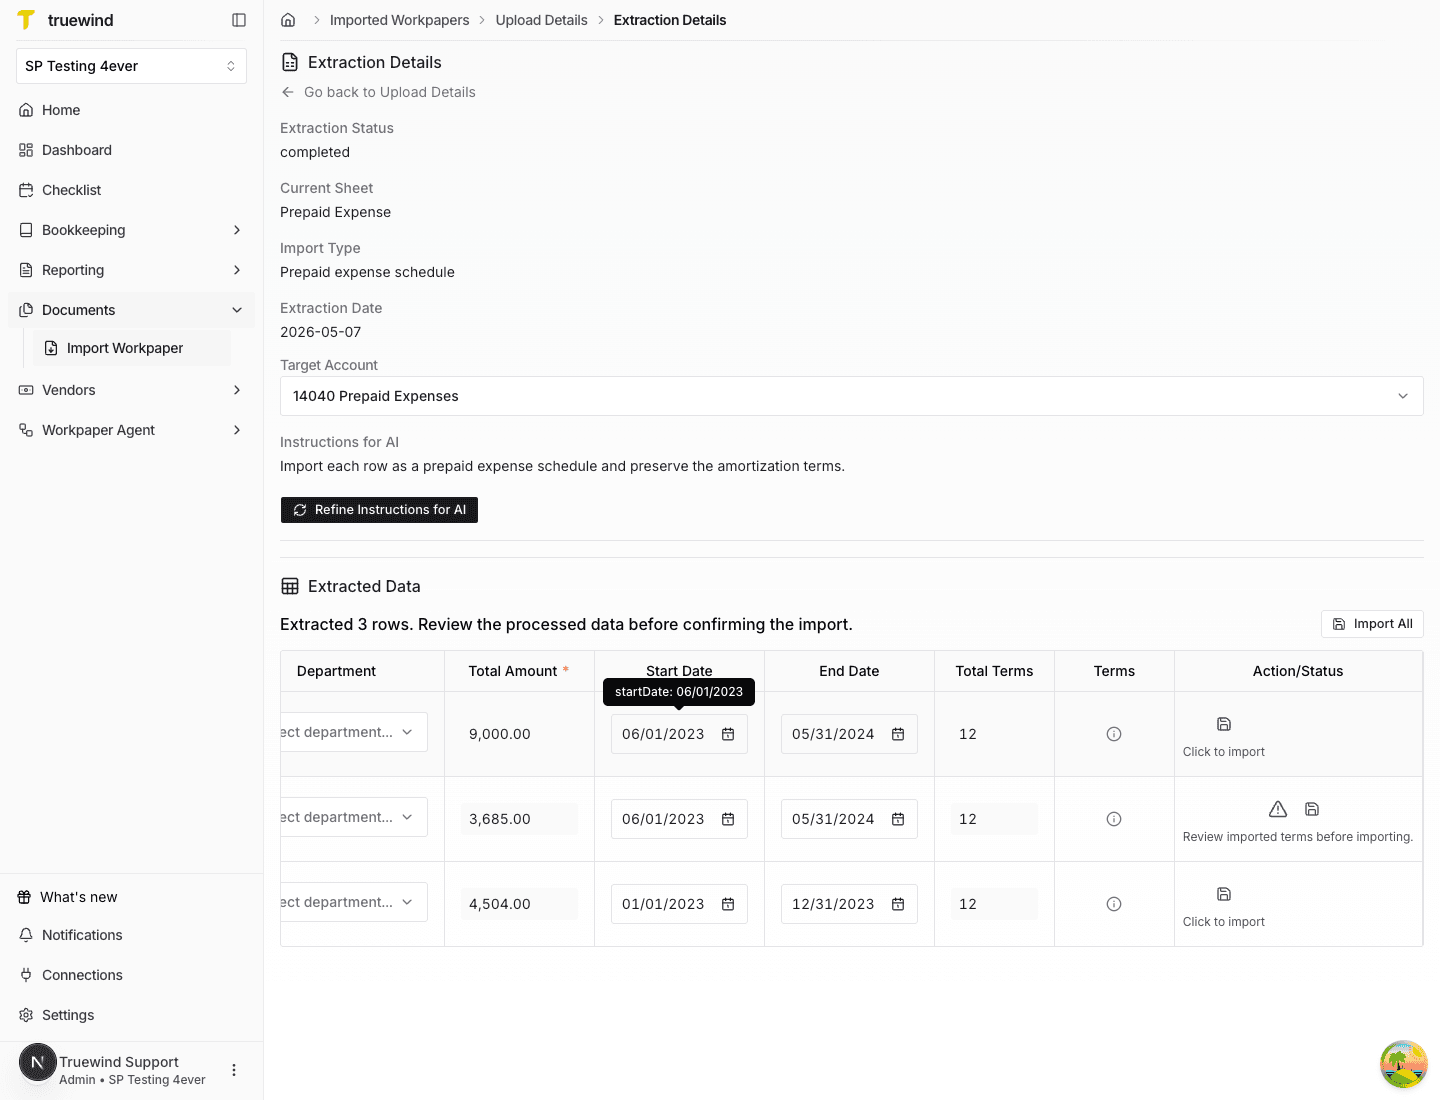
Step 19
Expand the terms preview when you need to inspect the monthly allocation amounts before importing.
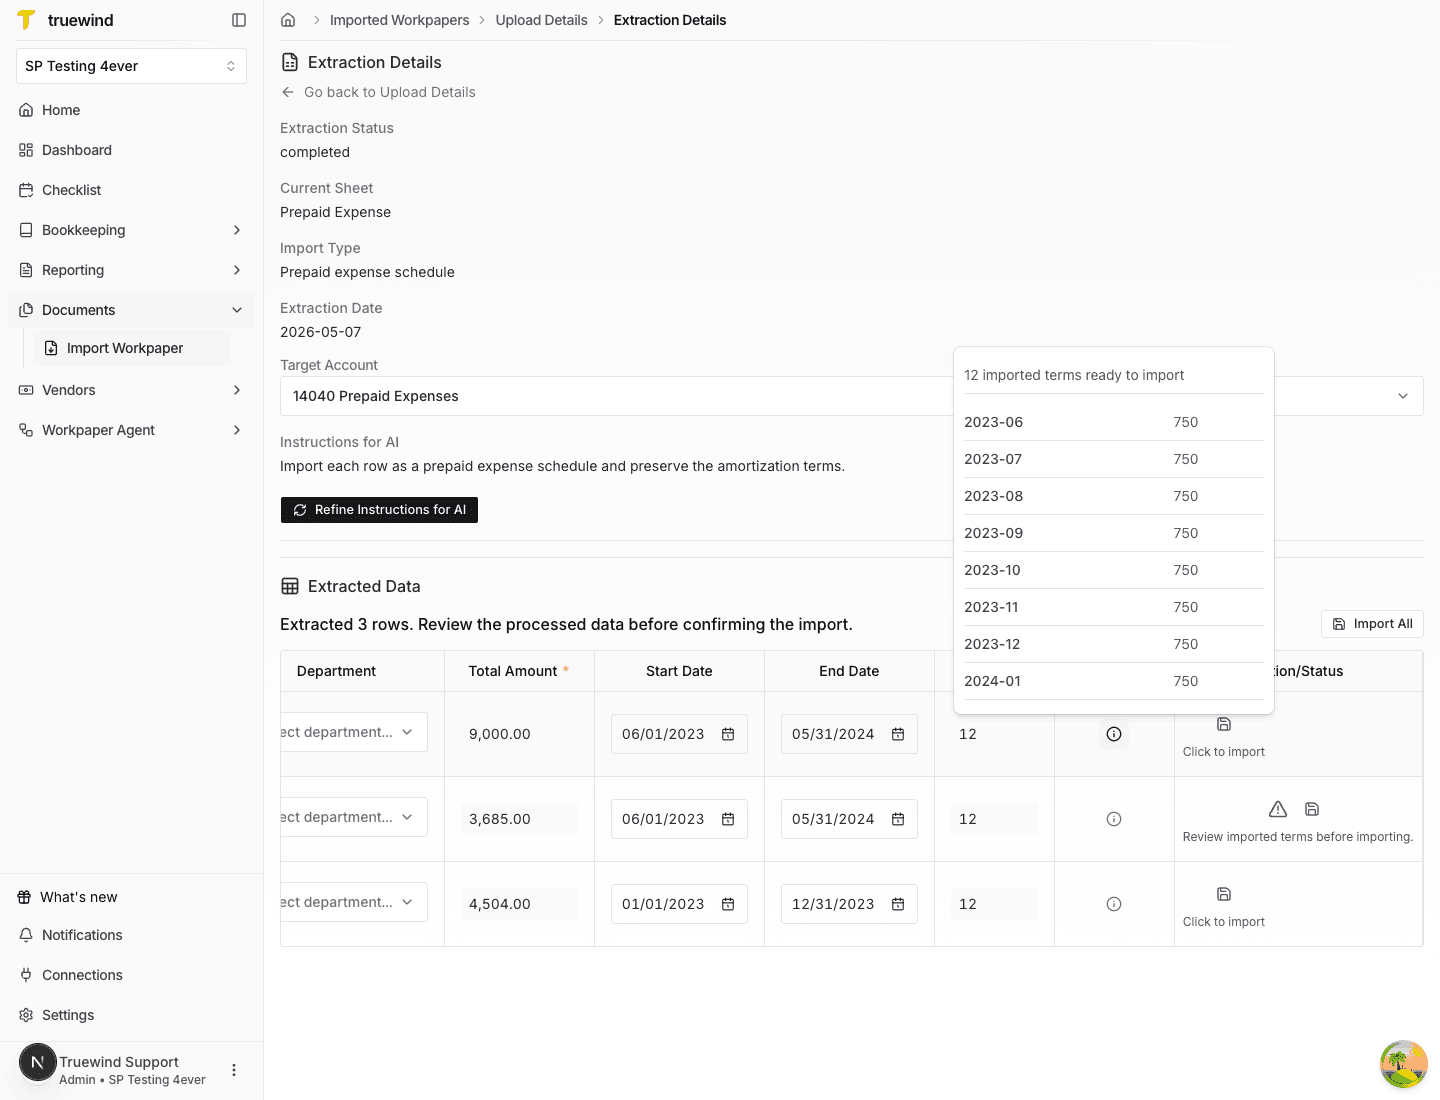
Step 20
Resolve any warnings, then choose whether to import individual rows or all ready rows after the extracted data has been reviewed.
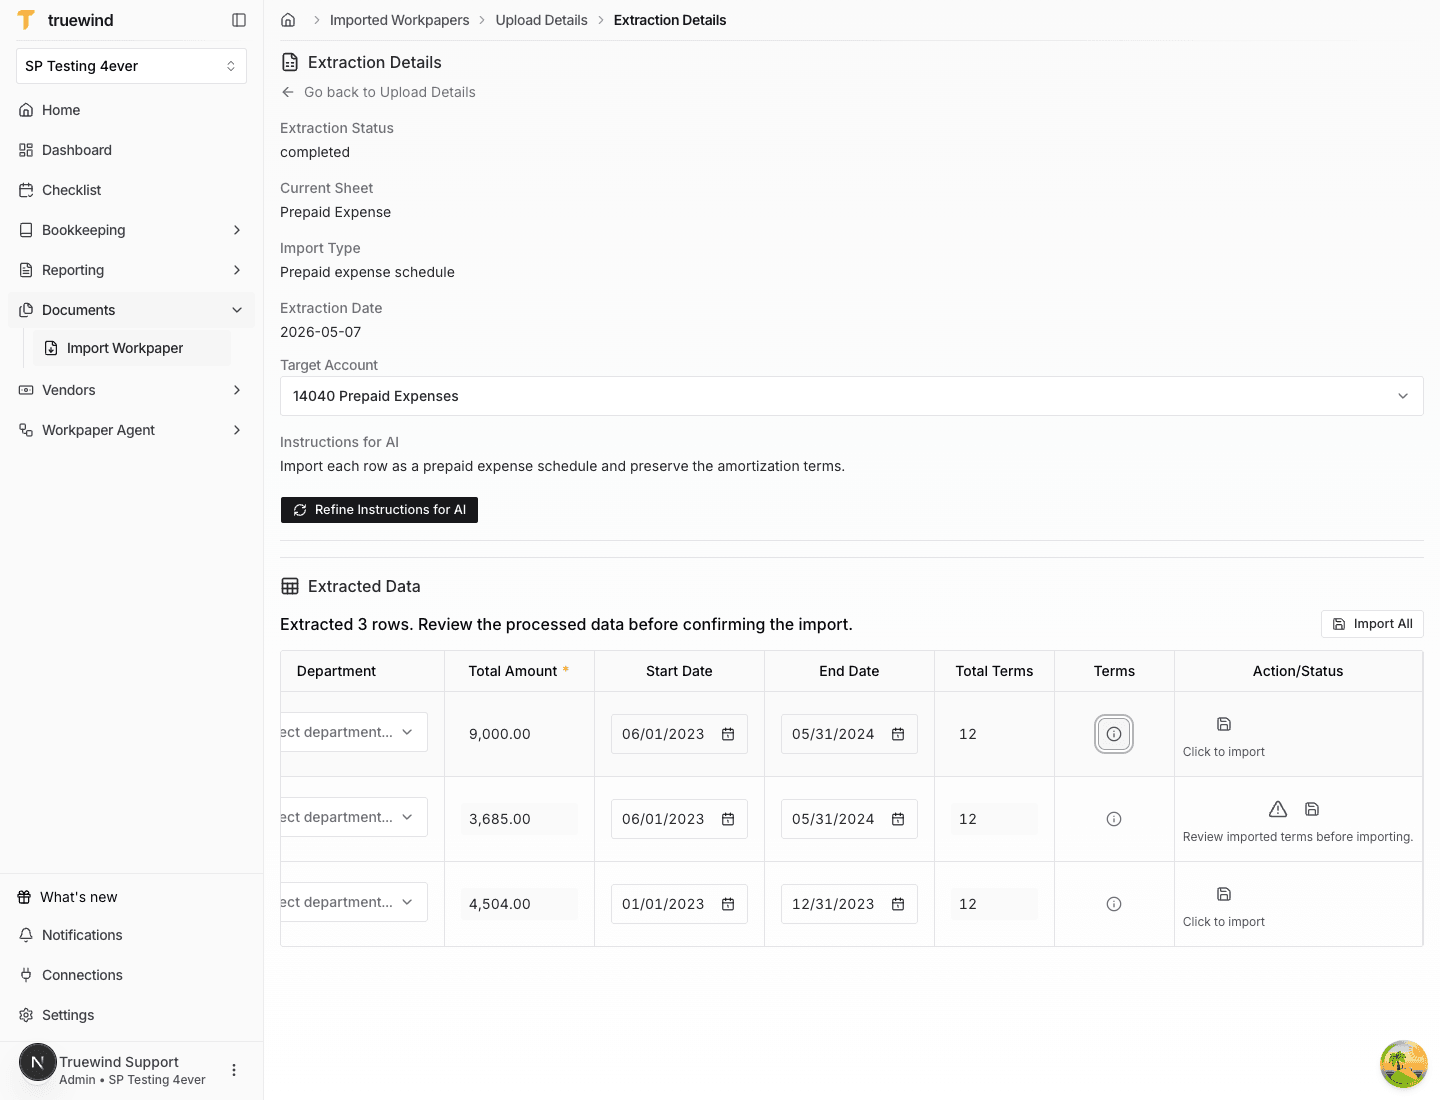
Review the workbook sheet, upload type, prepaid account, payee and account mappings, dates, amounts, and imported terms before importing schedules into Truewind.
Was this helpful?
Need more help?
Ask for human help about this article and provide any feedback.