When to use this workflow
Use manual creation when the asset should be tracked in Truewind but is not available as an Identification candidate.
Ask the support agent
Just ask a direct question or search related articles from the Knowledge Base.
Support Center / Fixed Assets / Manage
Create a Fixed Asset directly from the Register tab when it was not created from Identification, resulting in a manually registered asset with a depreciation schedule.
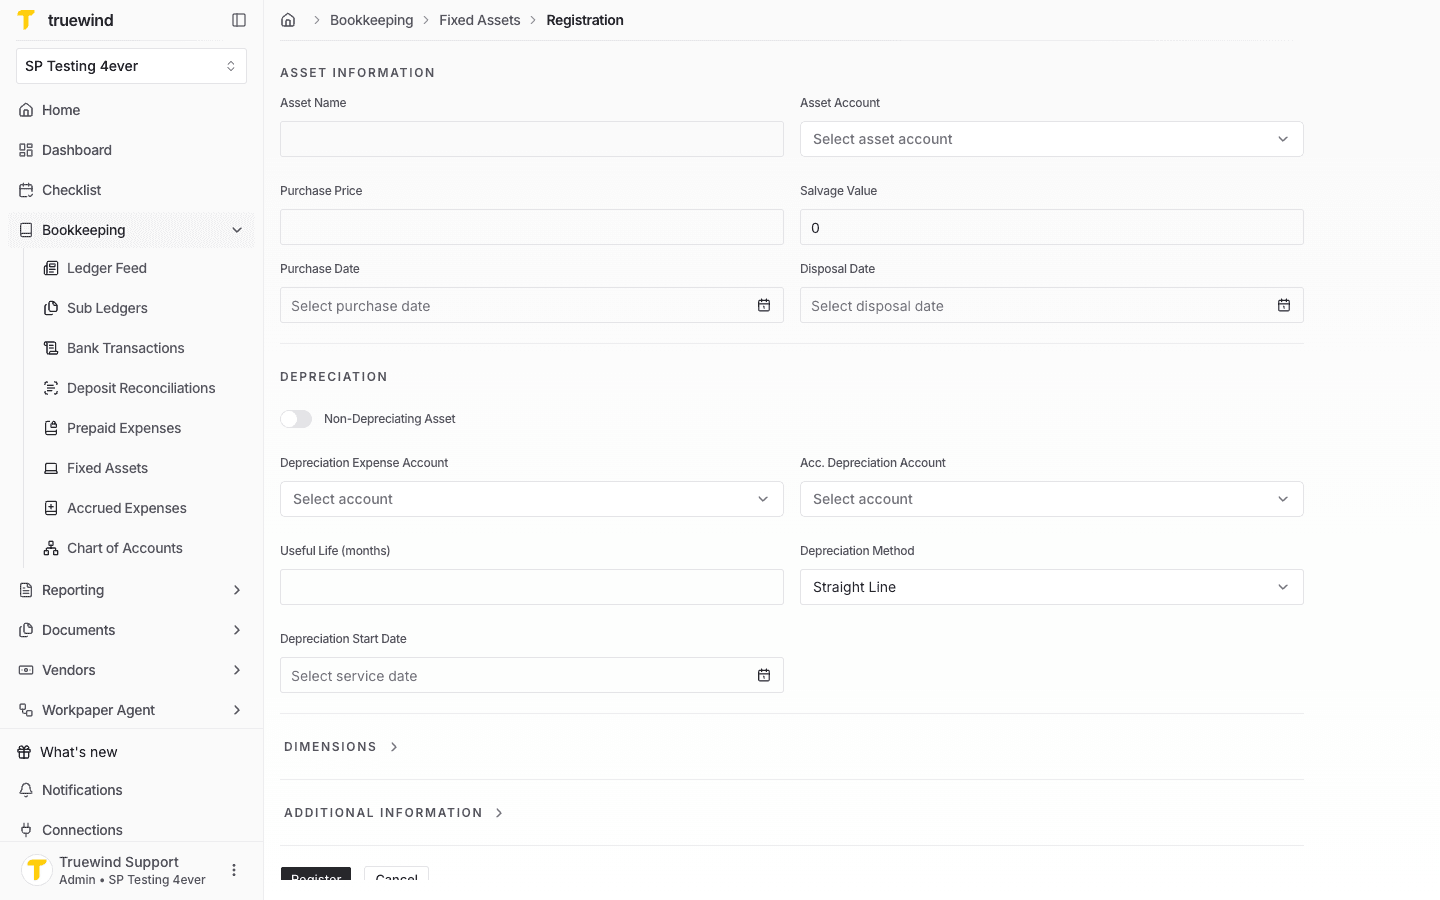
Step 1
Start in Fixed Assets > Register so the new asset is created in the correct organization and month context.

Step 2
Open the registration form to manually enter the fixed asset instead of importing it from a transaction.
Step 3
Add the asset name and enter the purchase information that identifies the manually created asset.
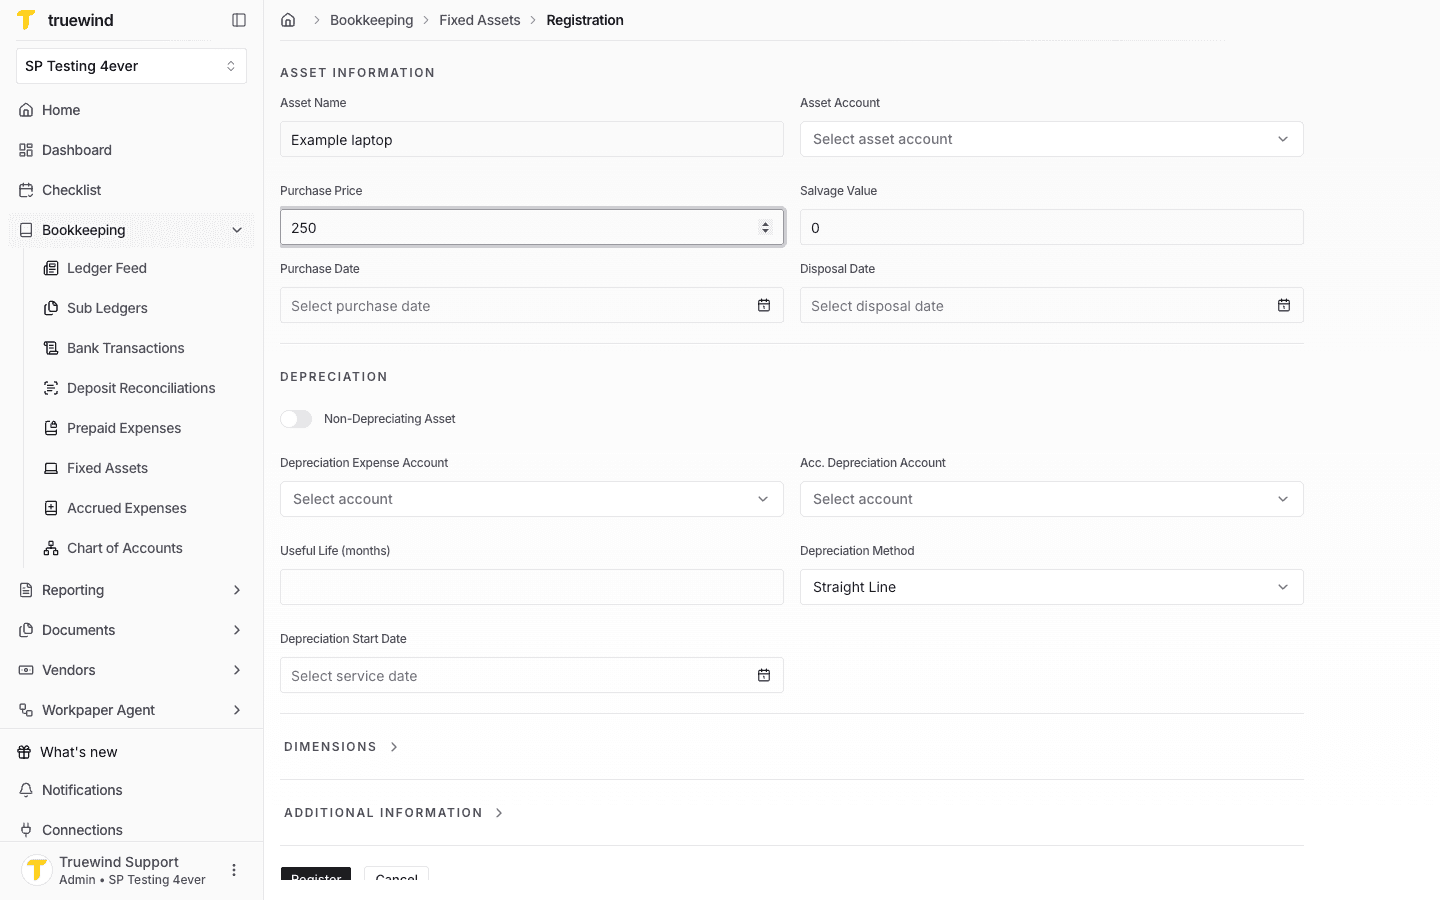
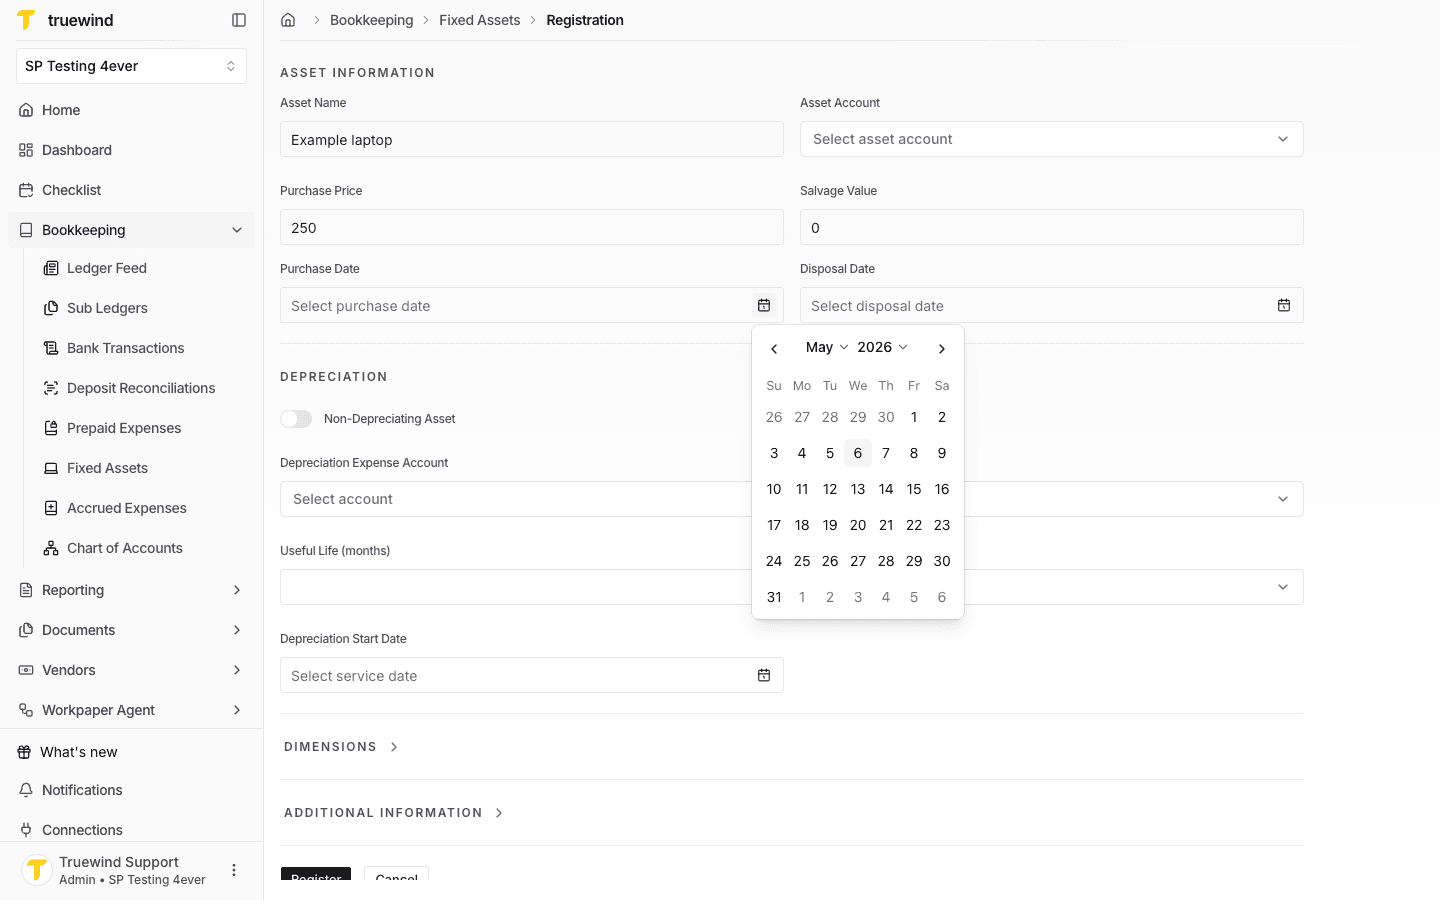
Step 4
Select the purchase date that should anchor the asset's capitalization and schedule.
Step 5
Confirm the purchase price and salvage value before setting the depreciation details.

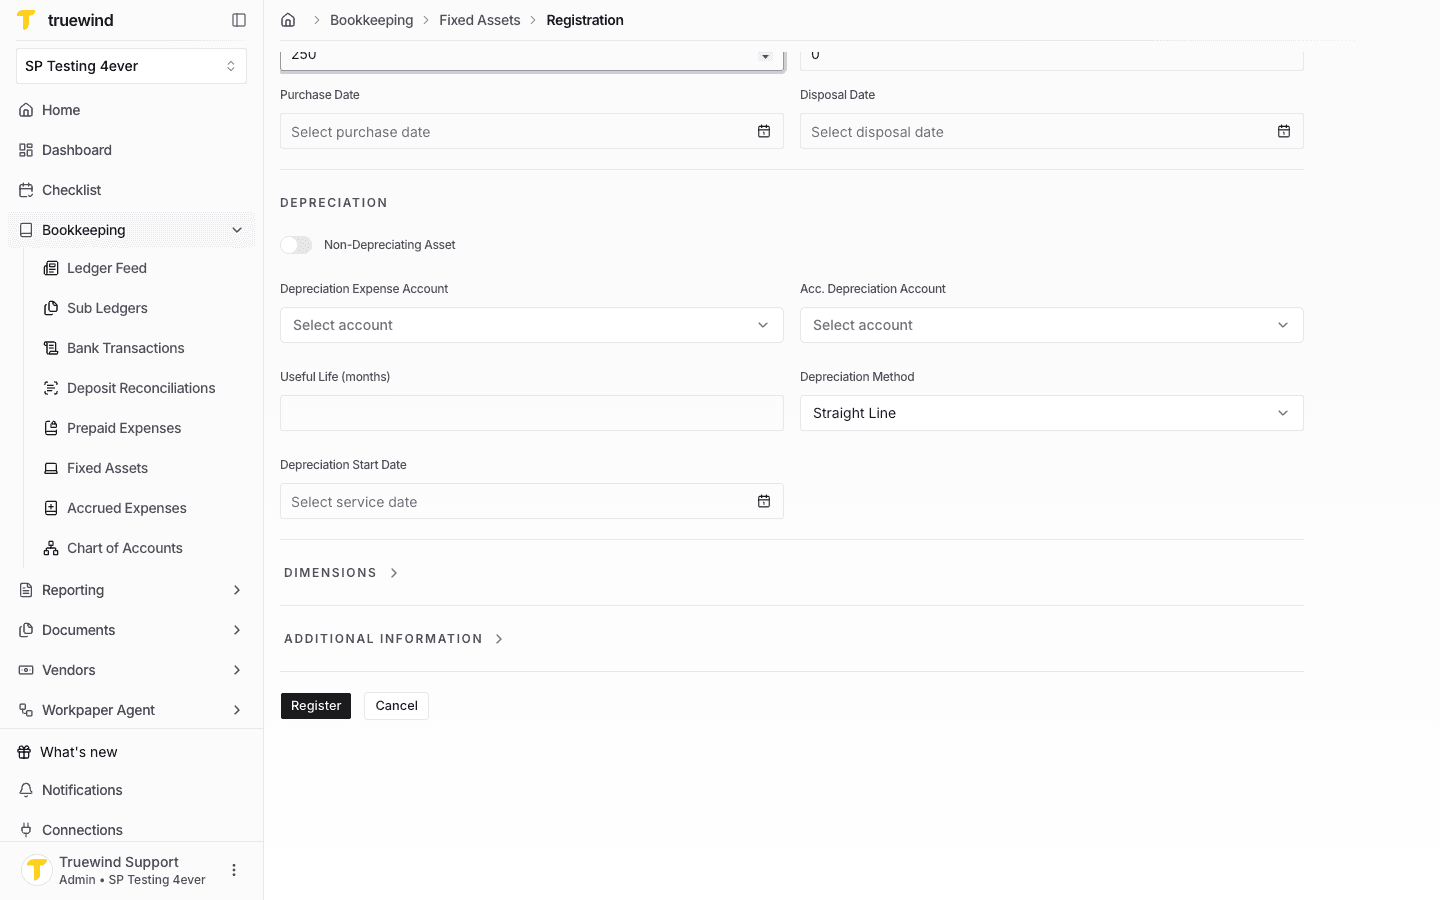
Step 6
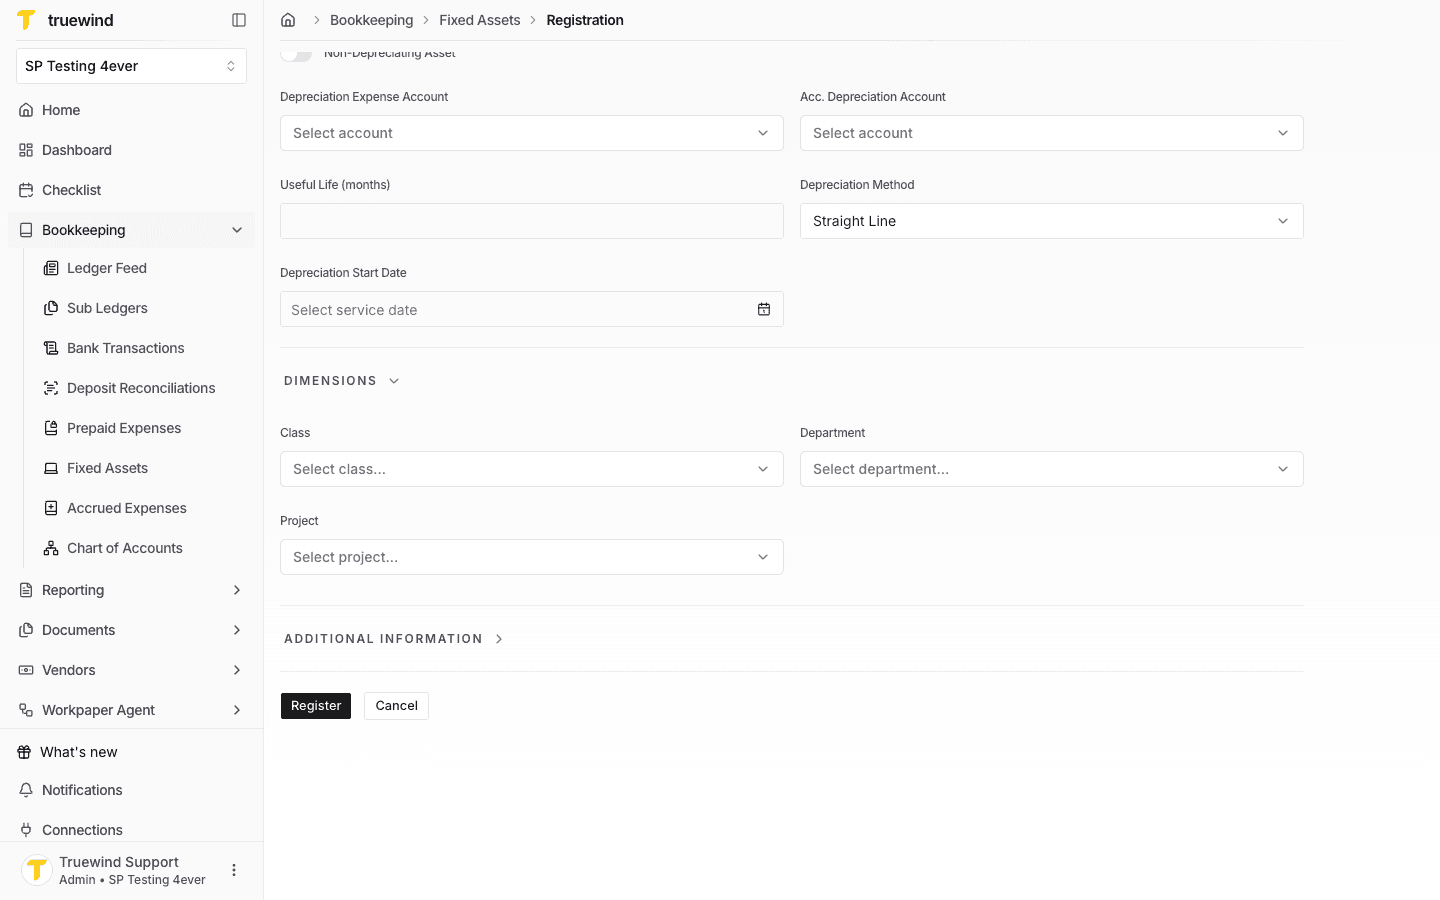
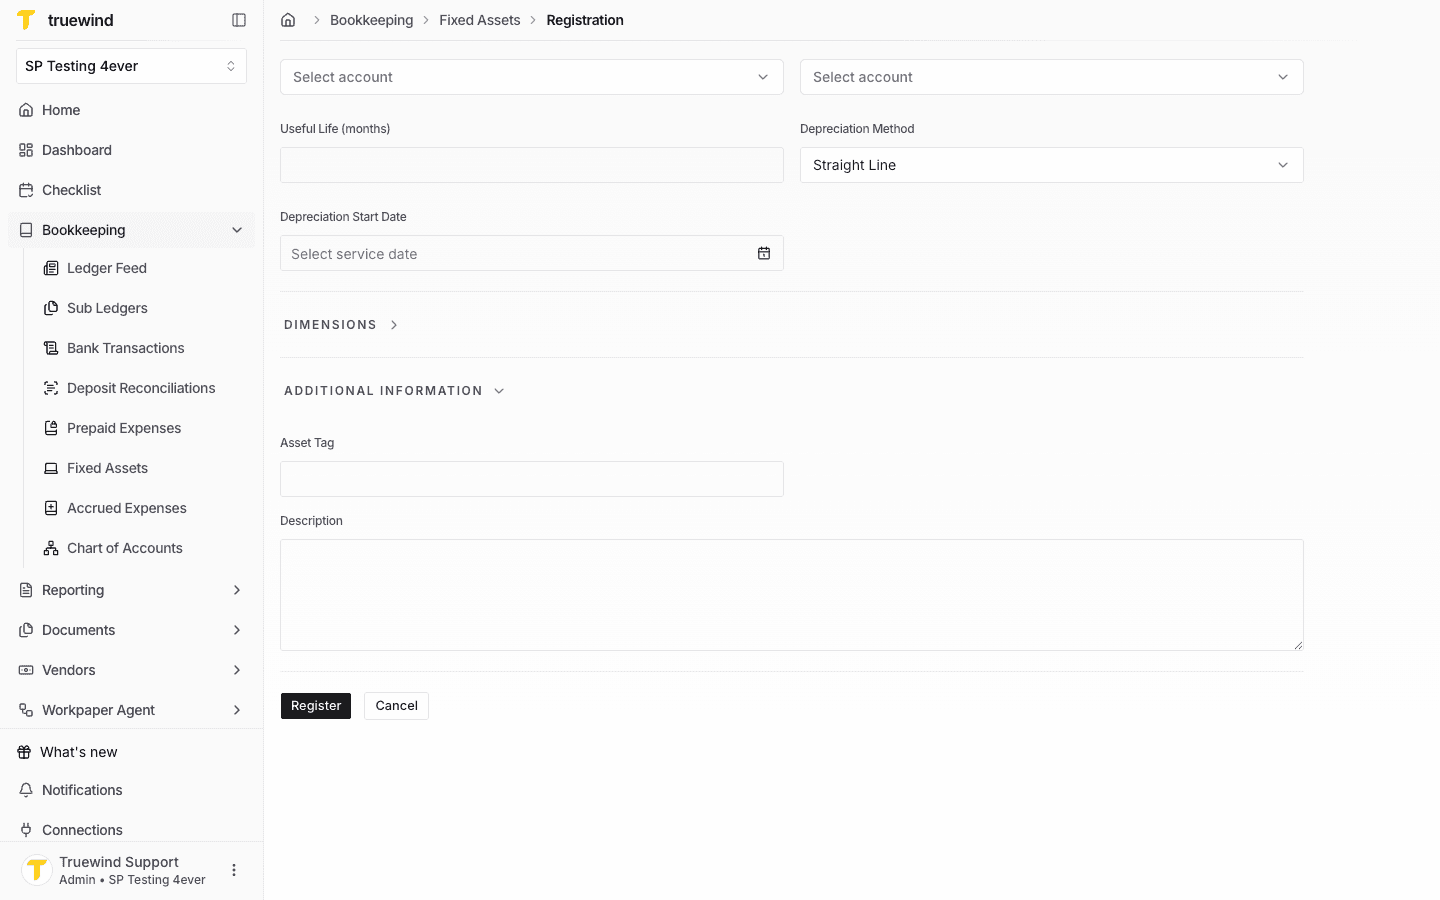
Review the depreciation expense account, accumulated depreciation account, useful life, method, and start date.
Step 7
Expand Dimensions and choose class, department, and project values when the asset should carry them into depreciation entries.
Step 8
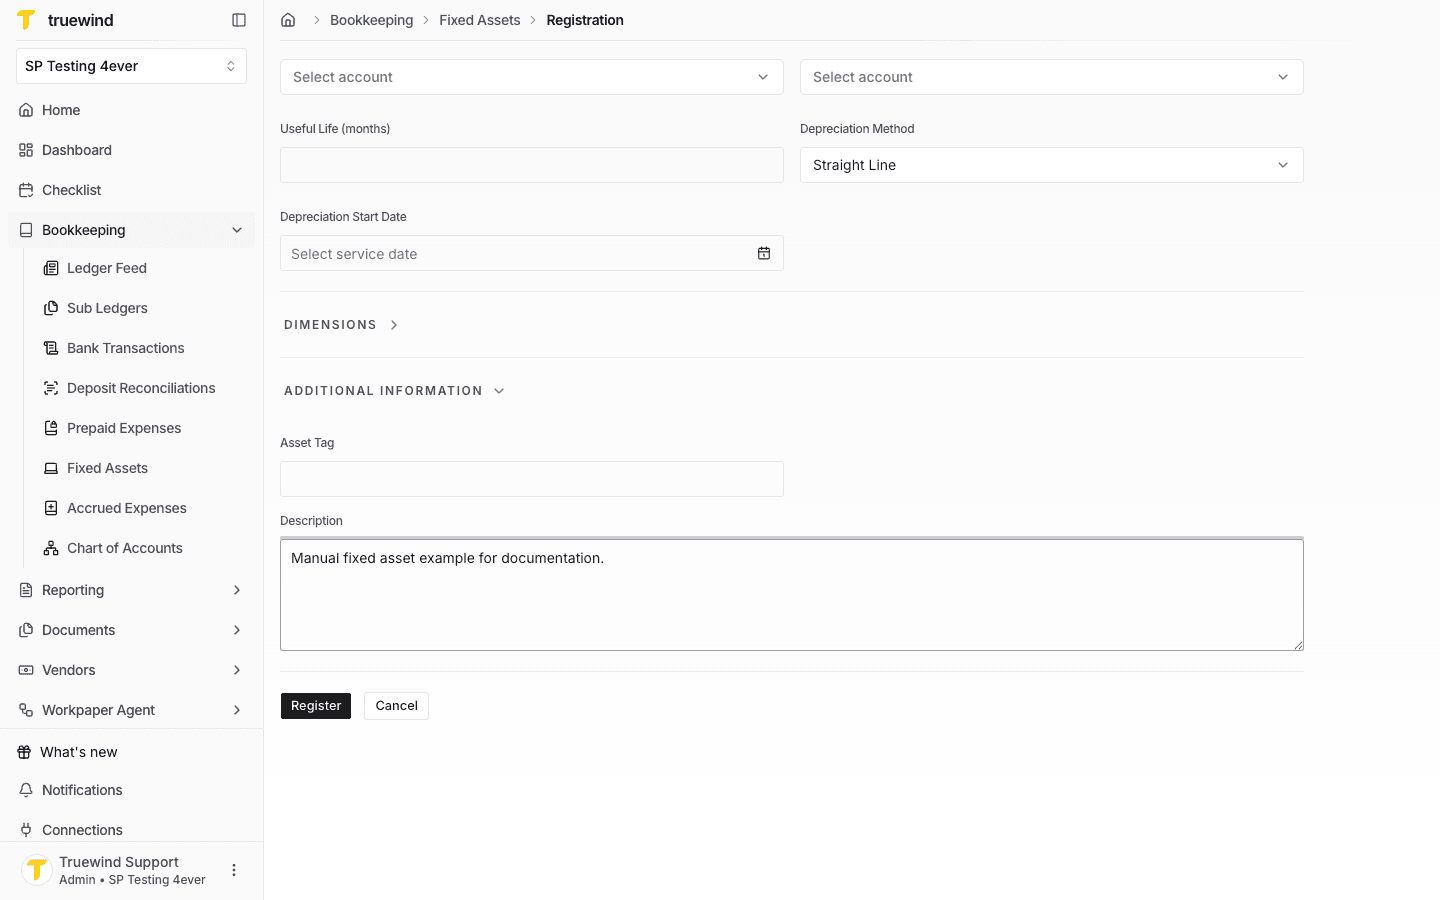
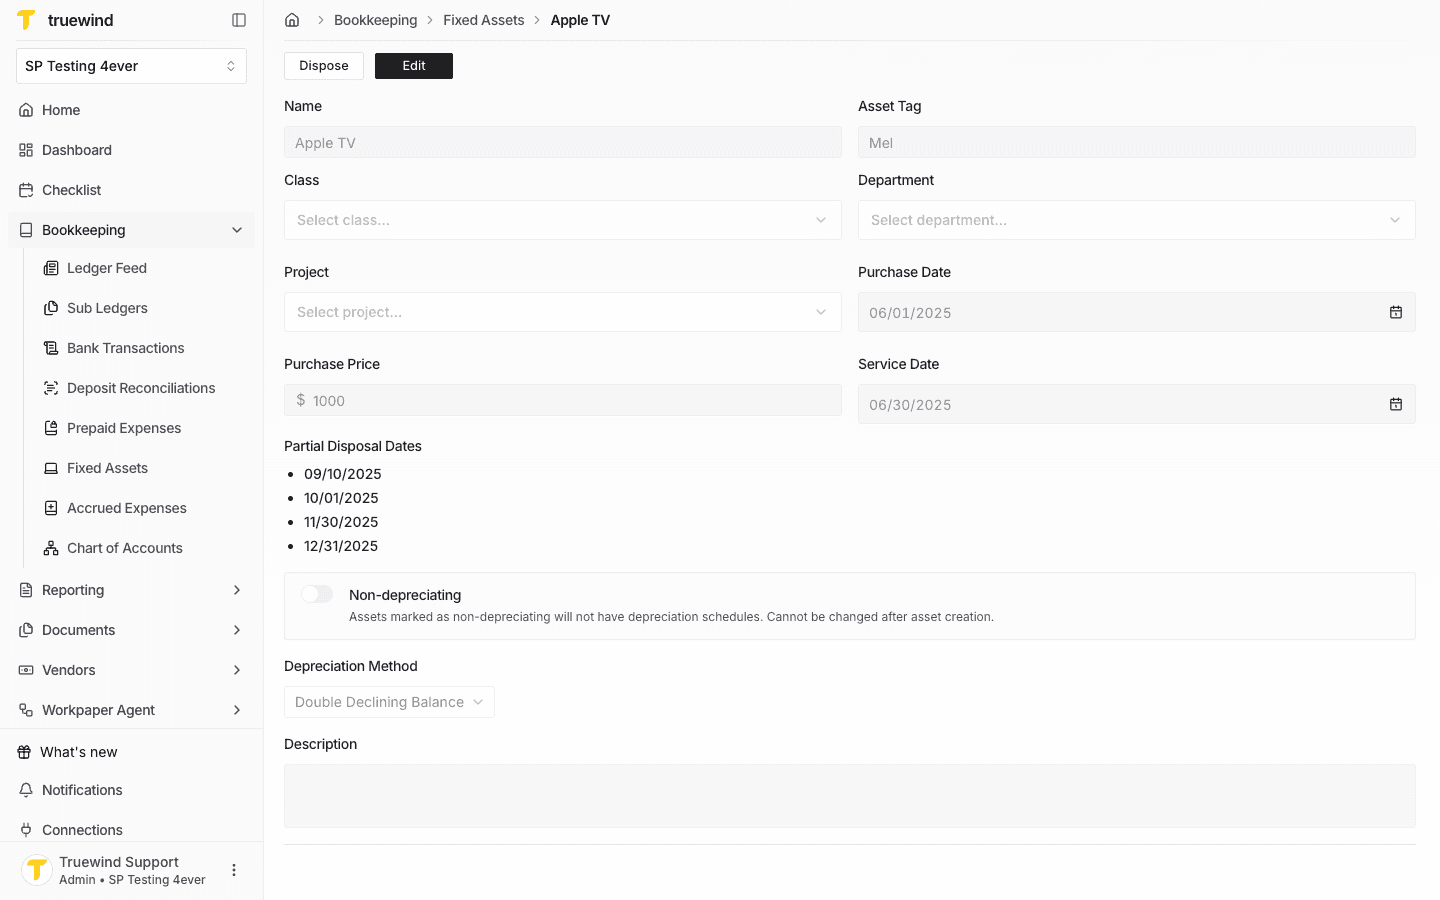
Expand Additional Information to add the asset tag and description before registering.
Step 9
Register only after the asset information, depreciation settings, dimensions, and description are correct.
Step 10
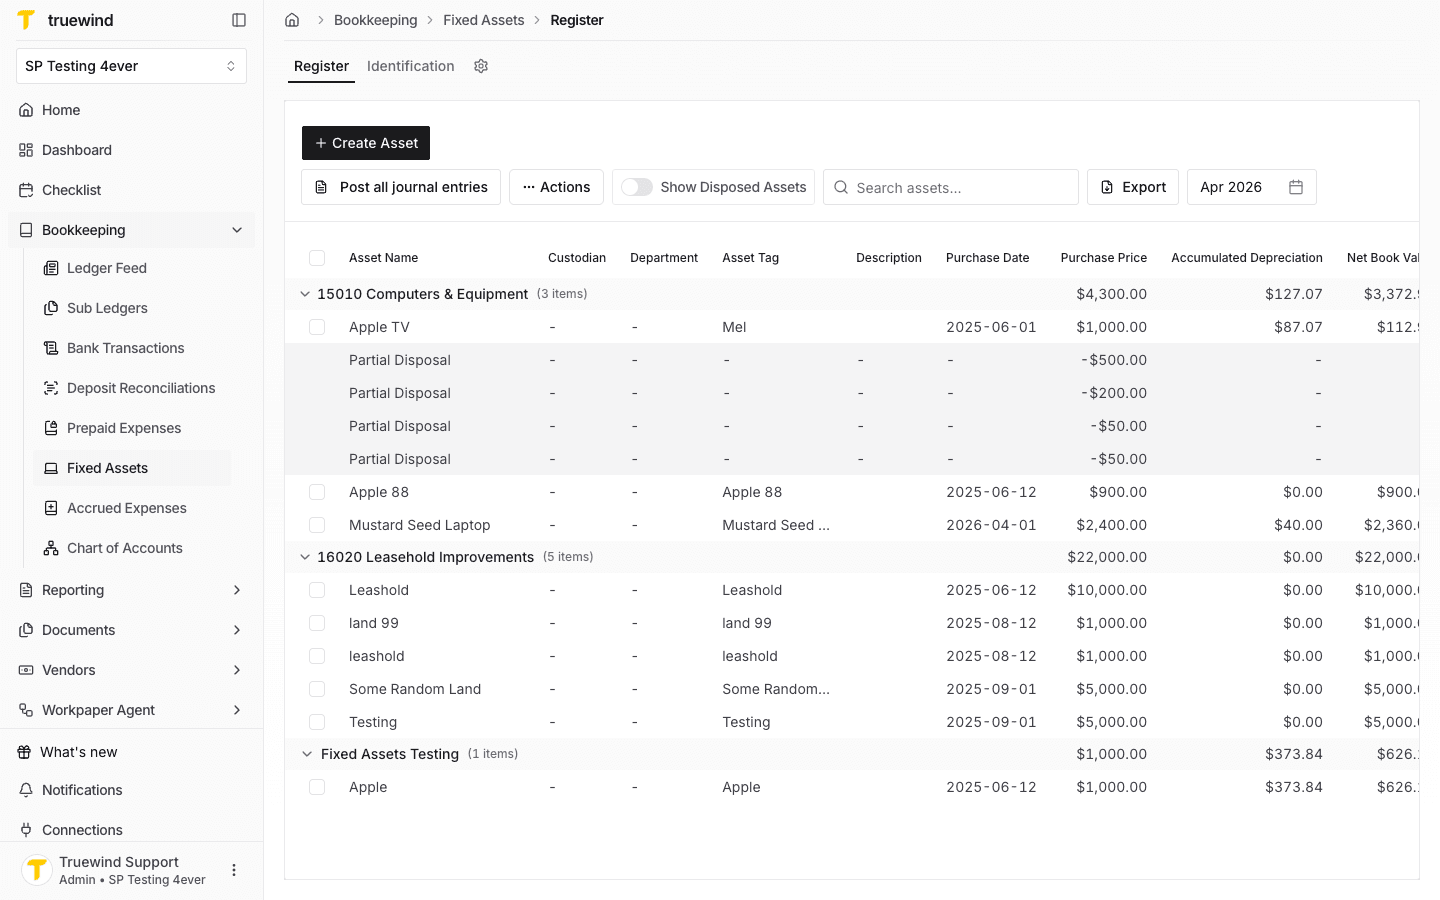
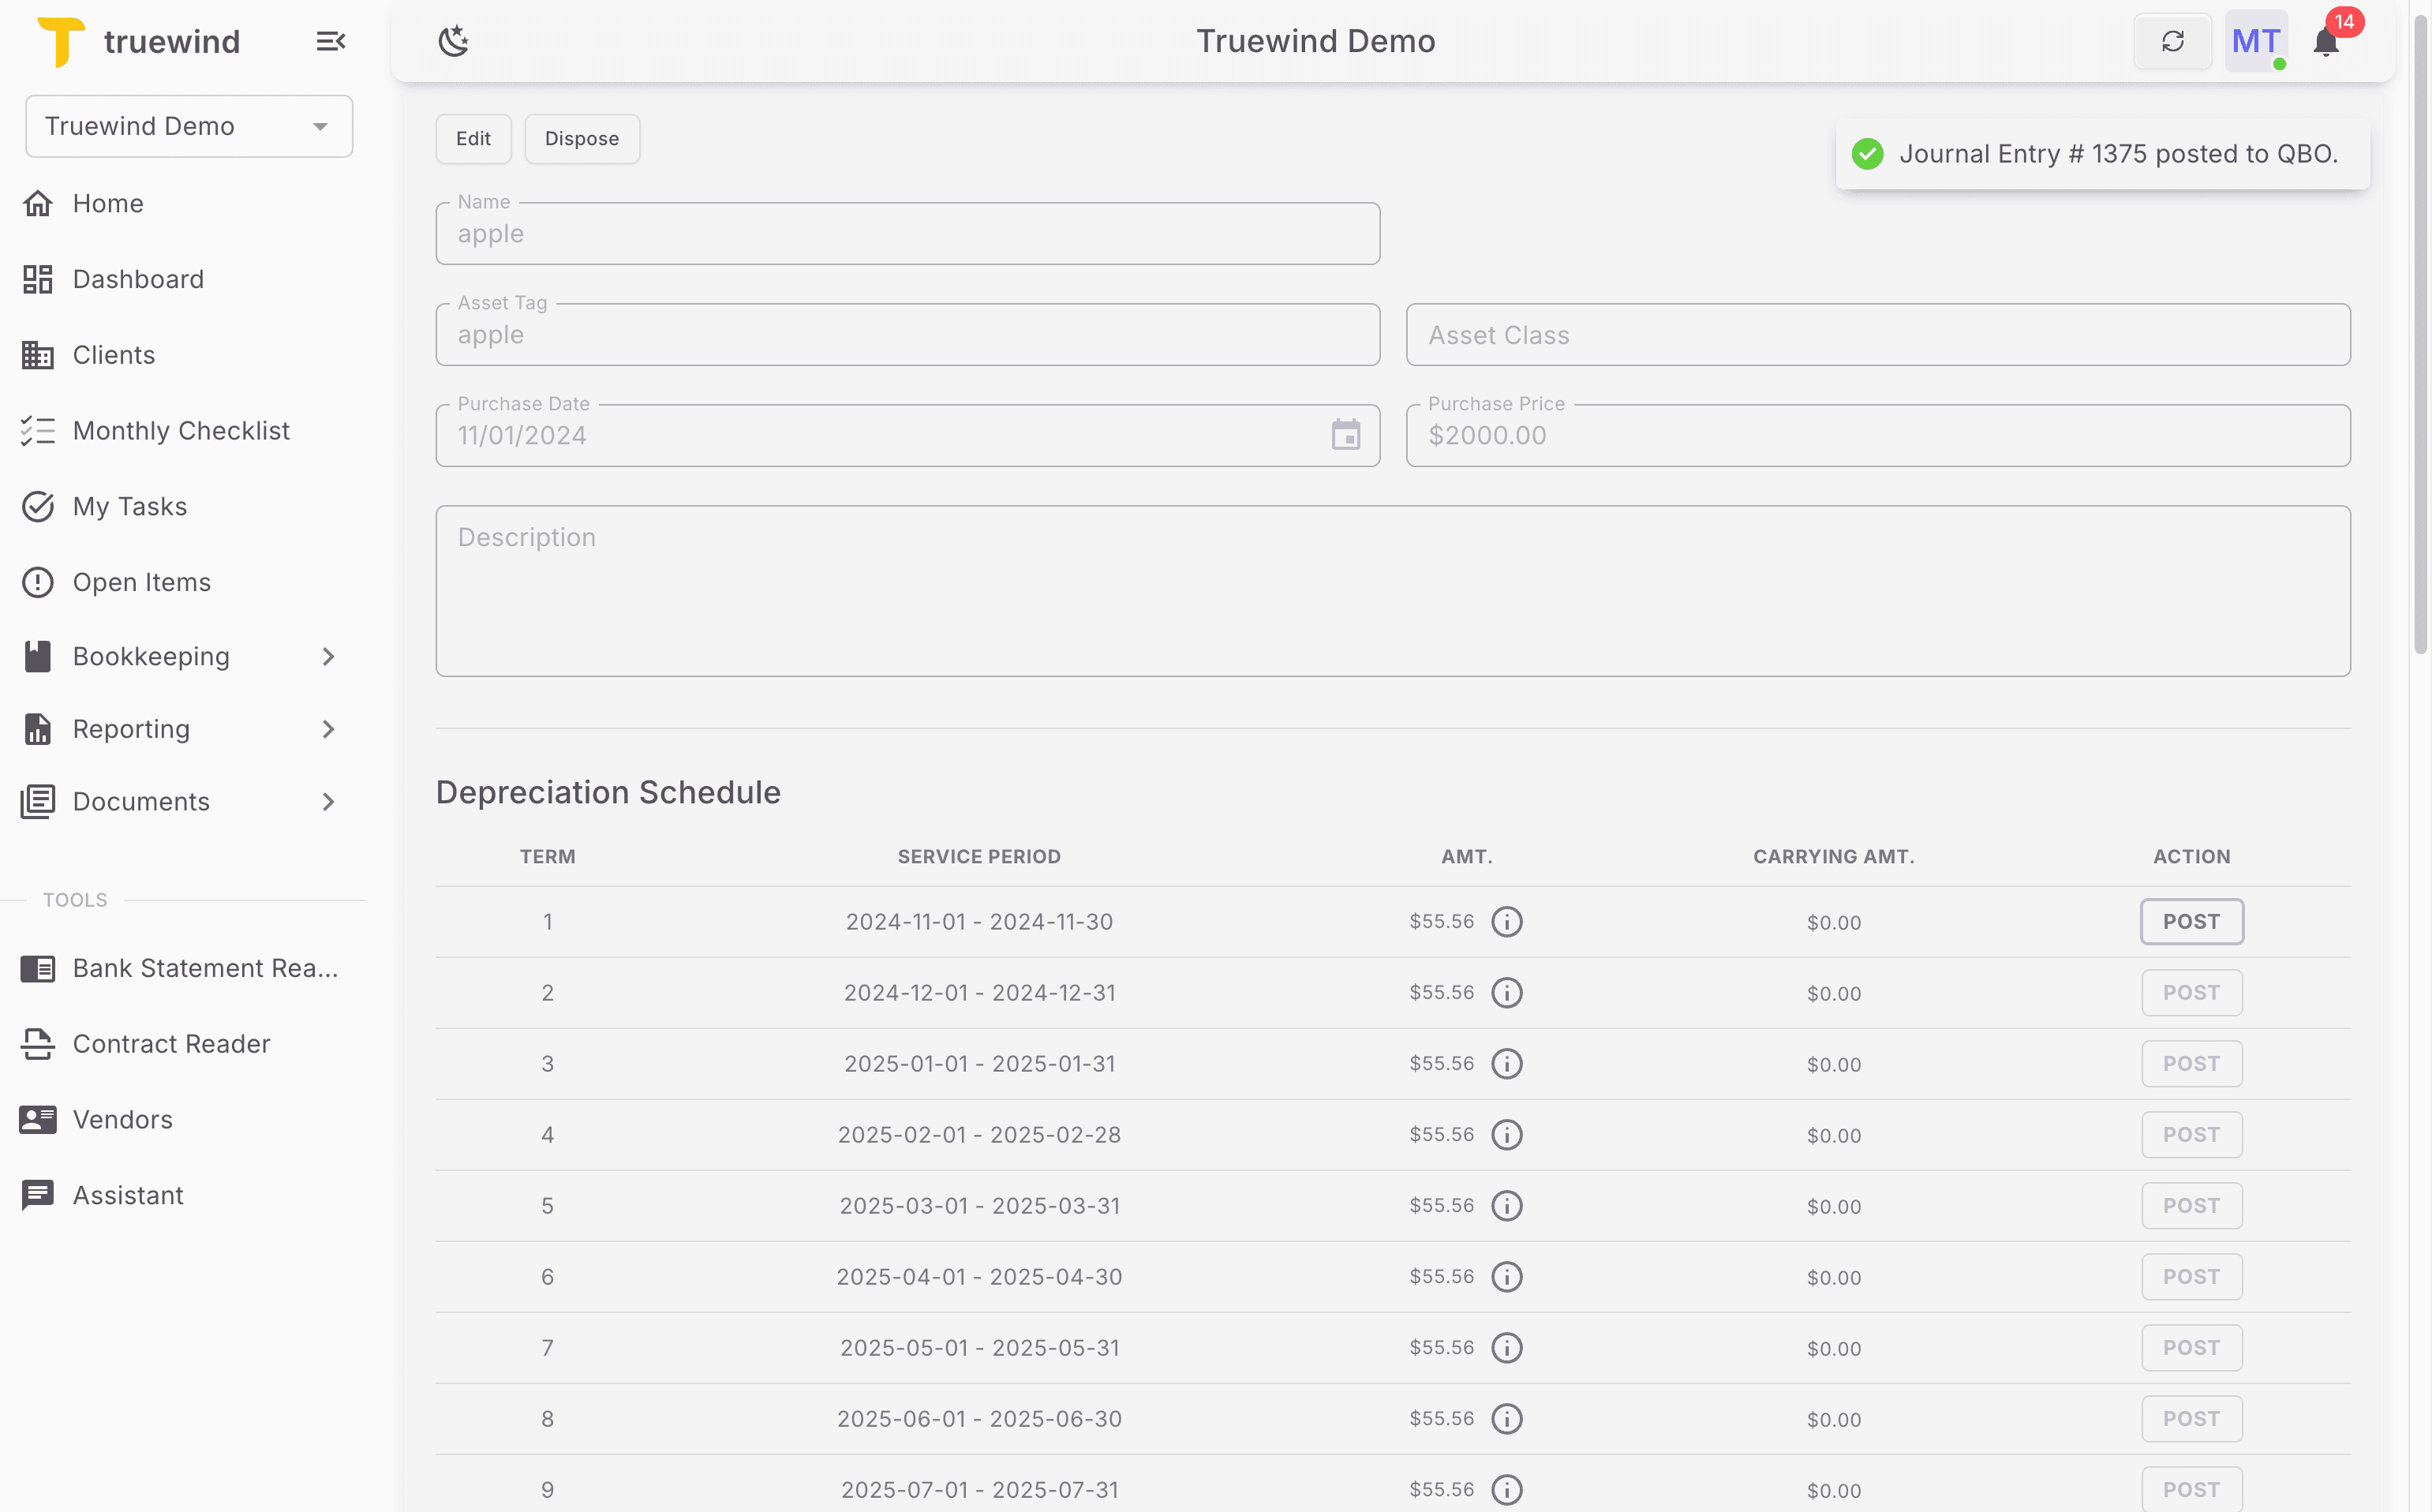
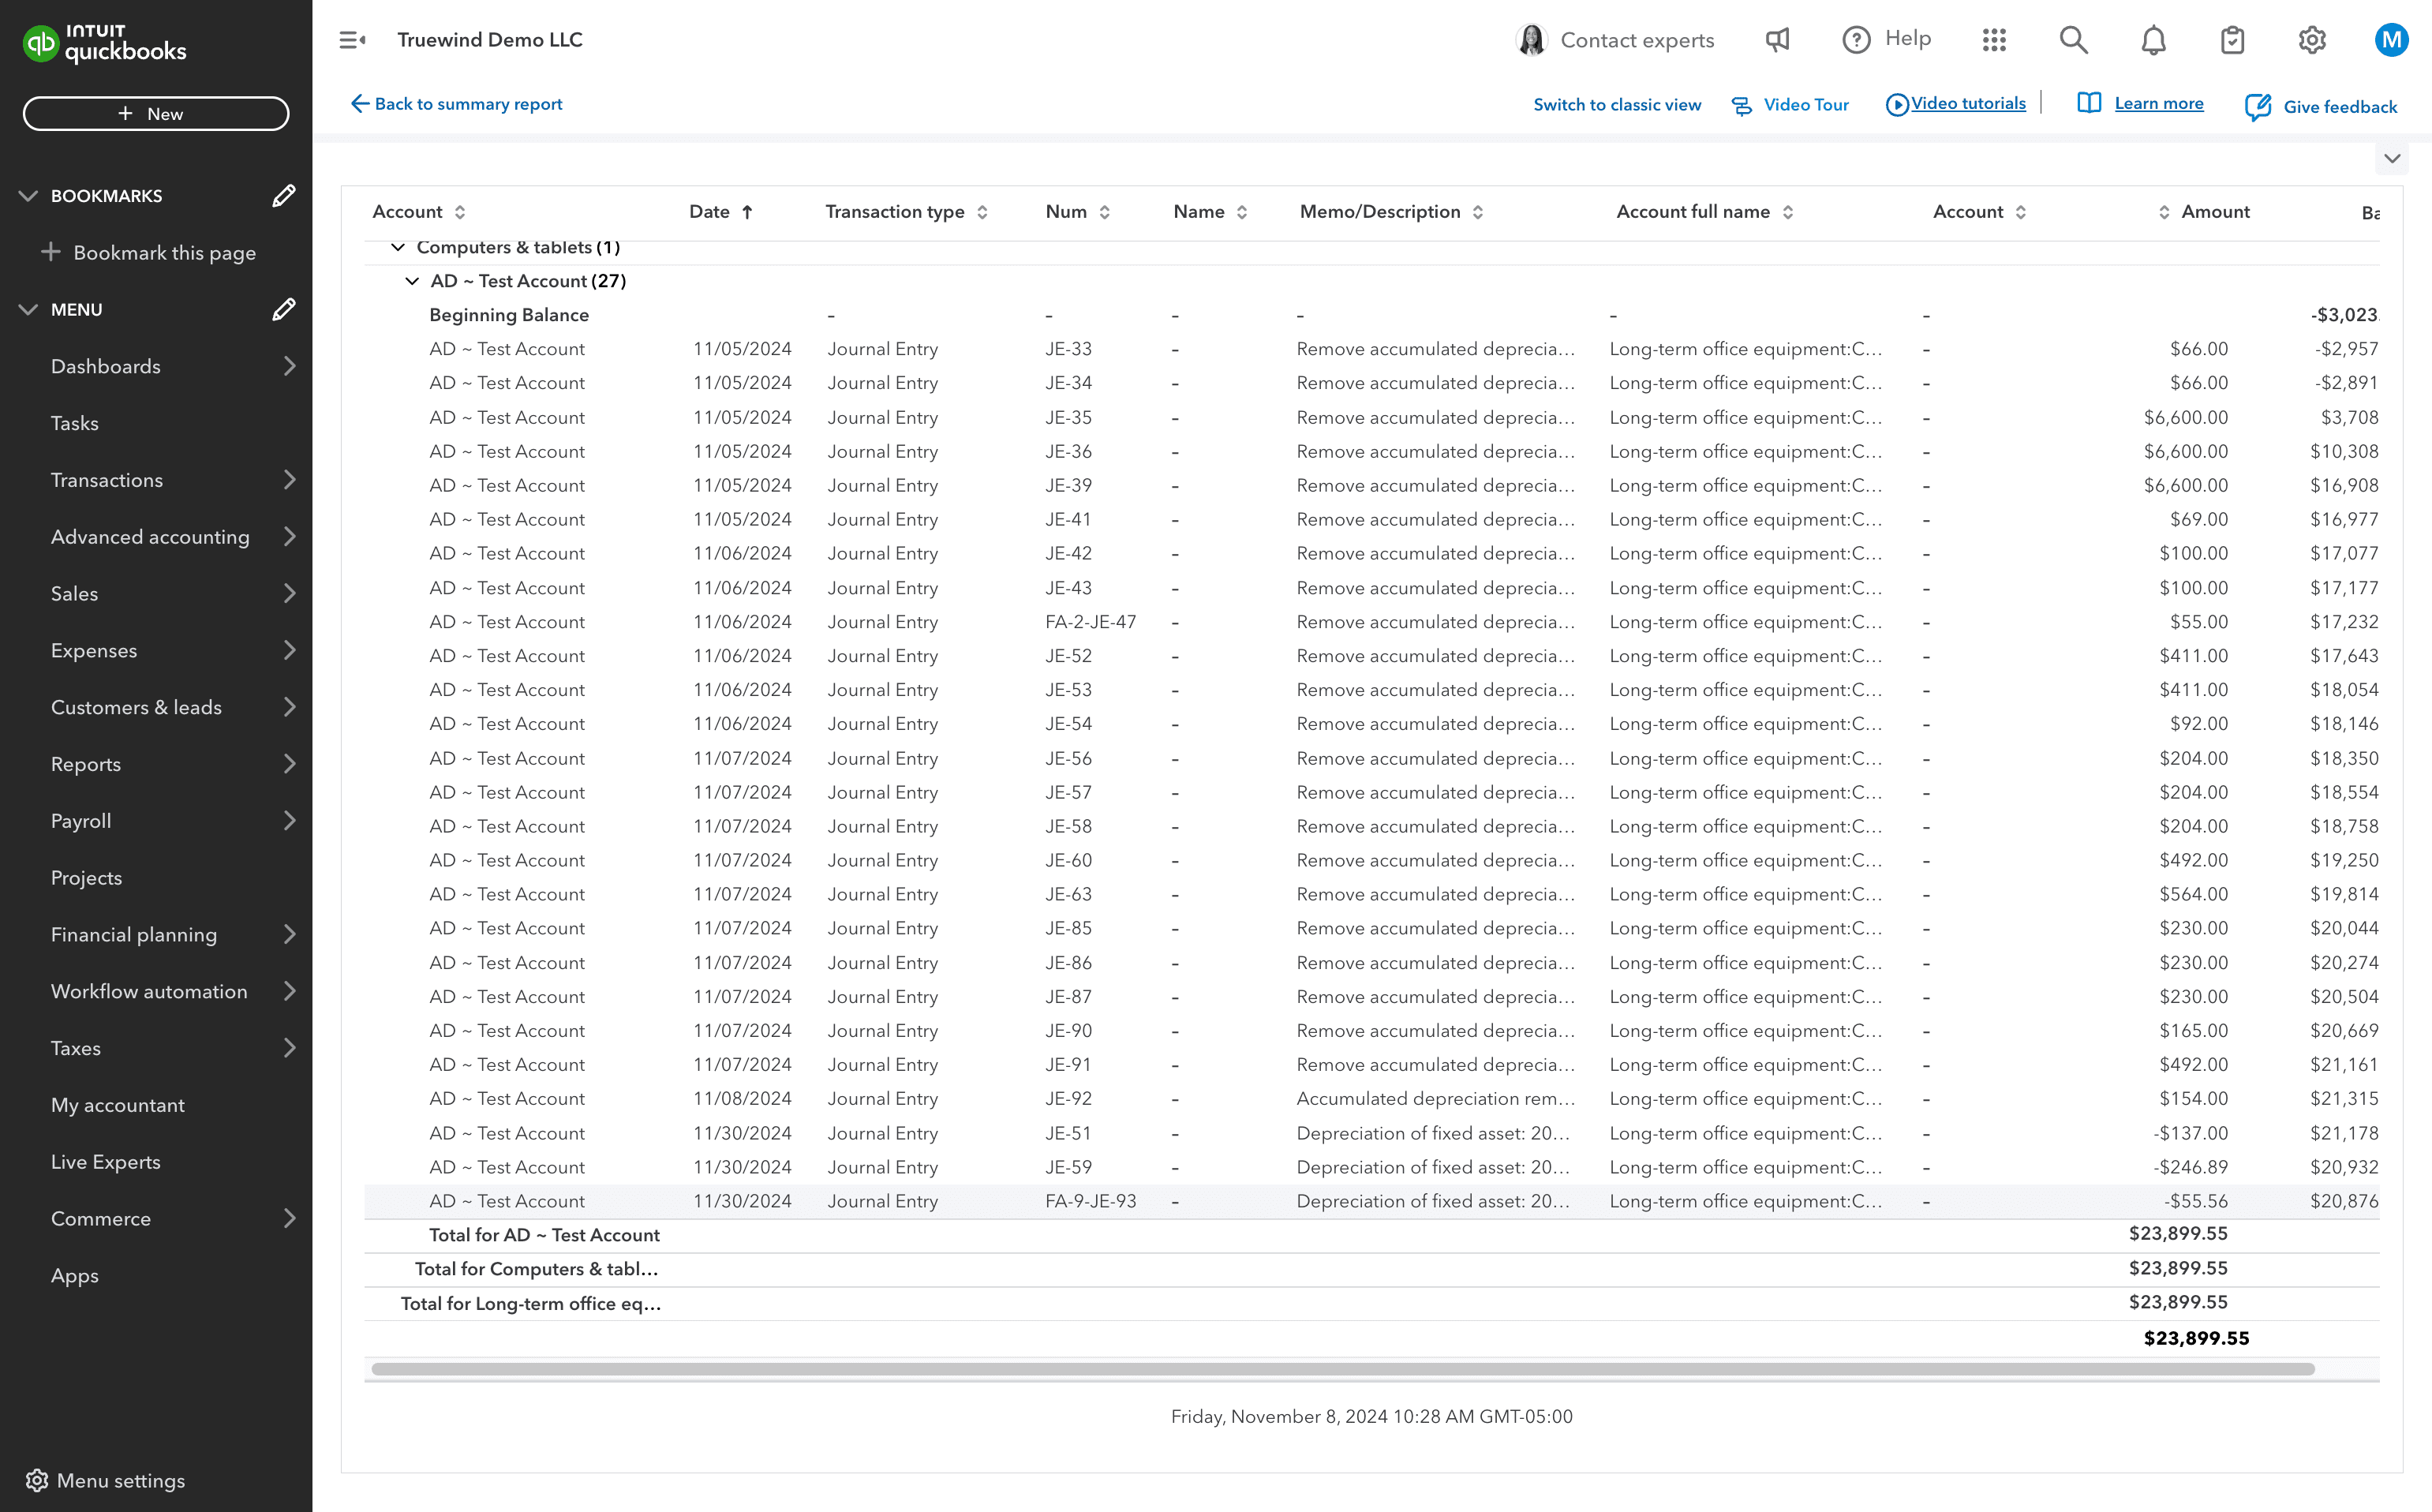
Return to the Register tab and confirm the manually created asset appears in the asset list.
Step 11
Open the asset to check the generated depreciation terms and posting status.

Step 12
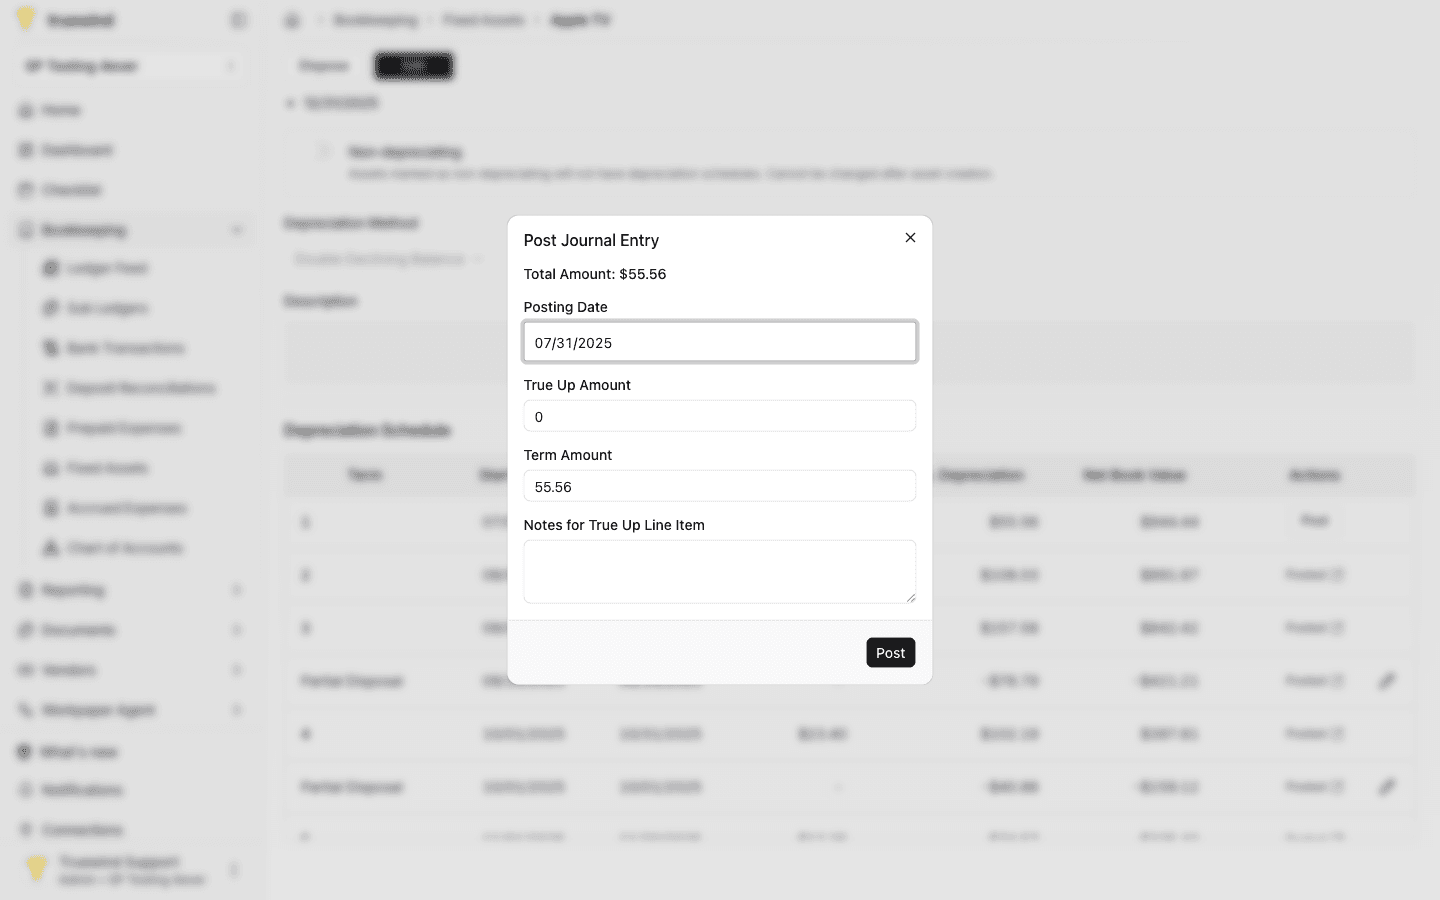
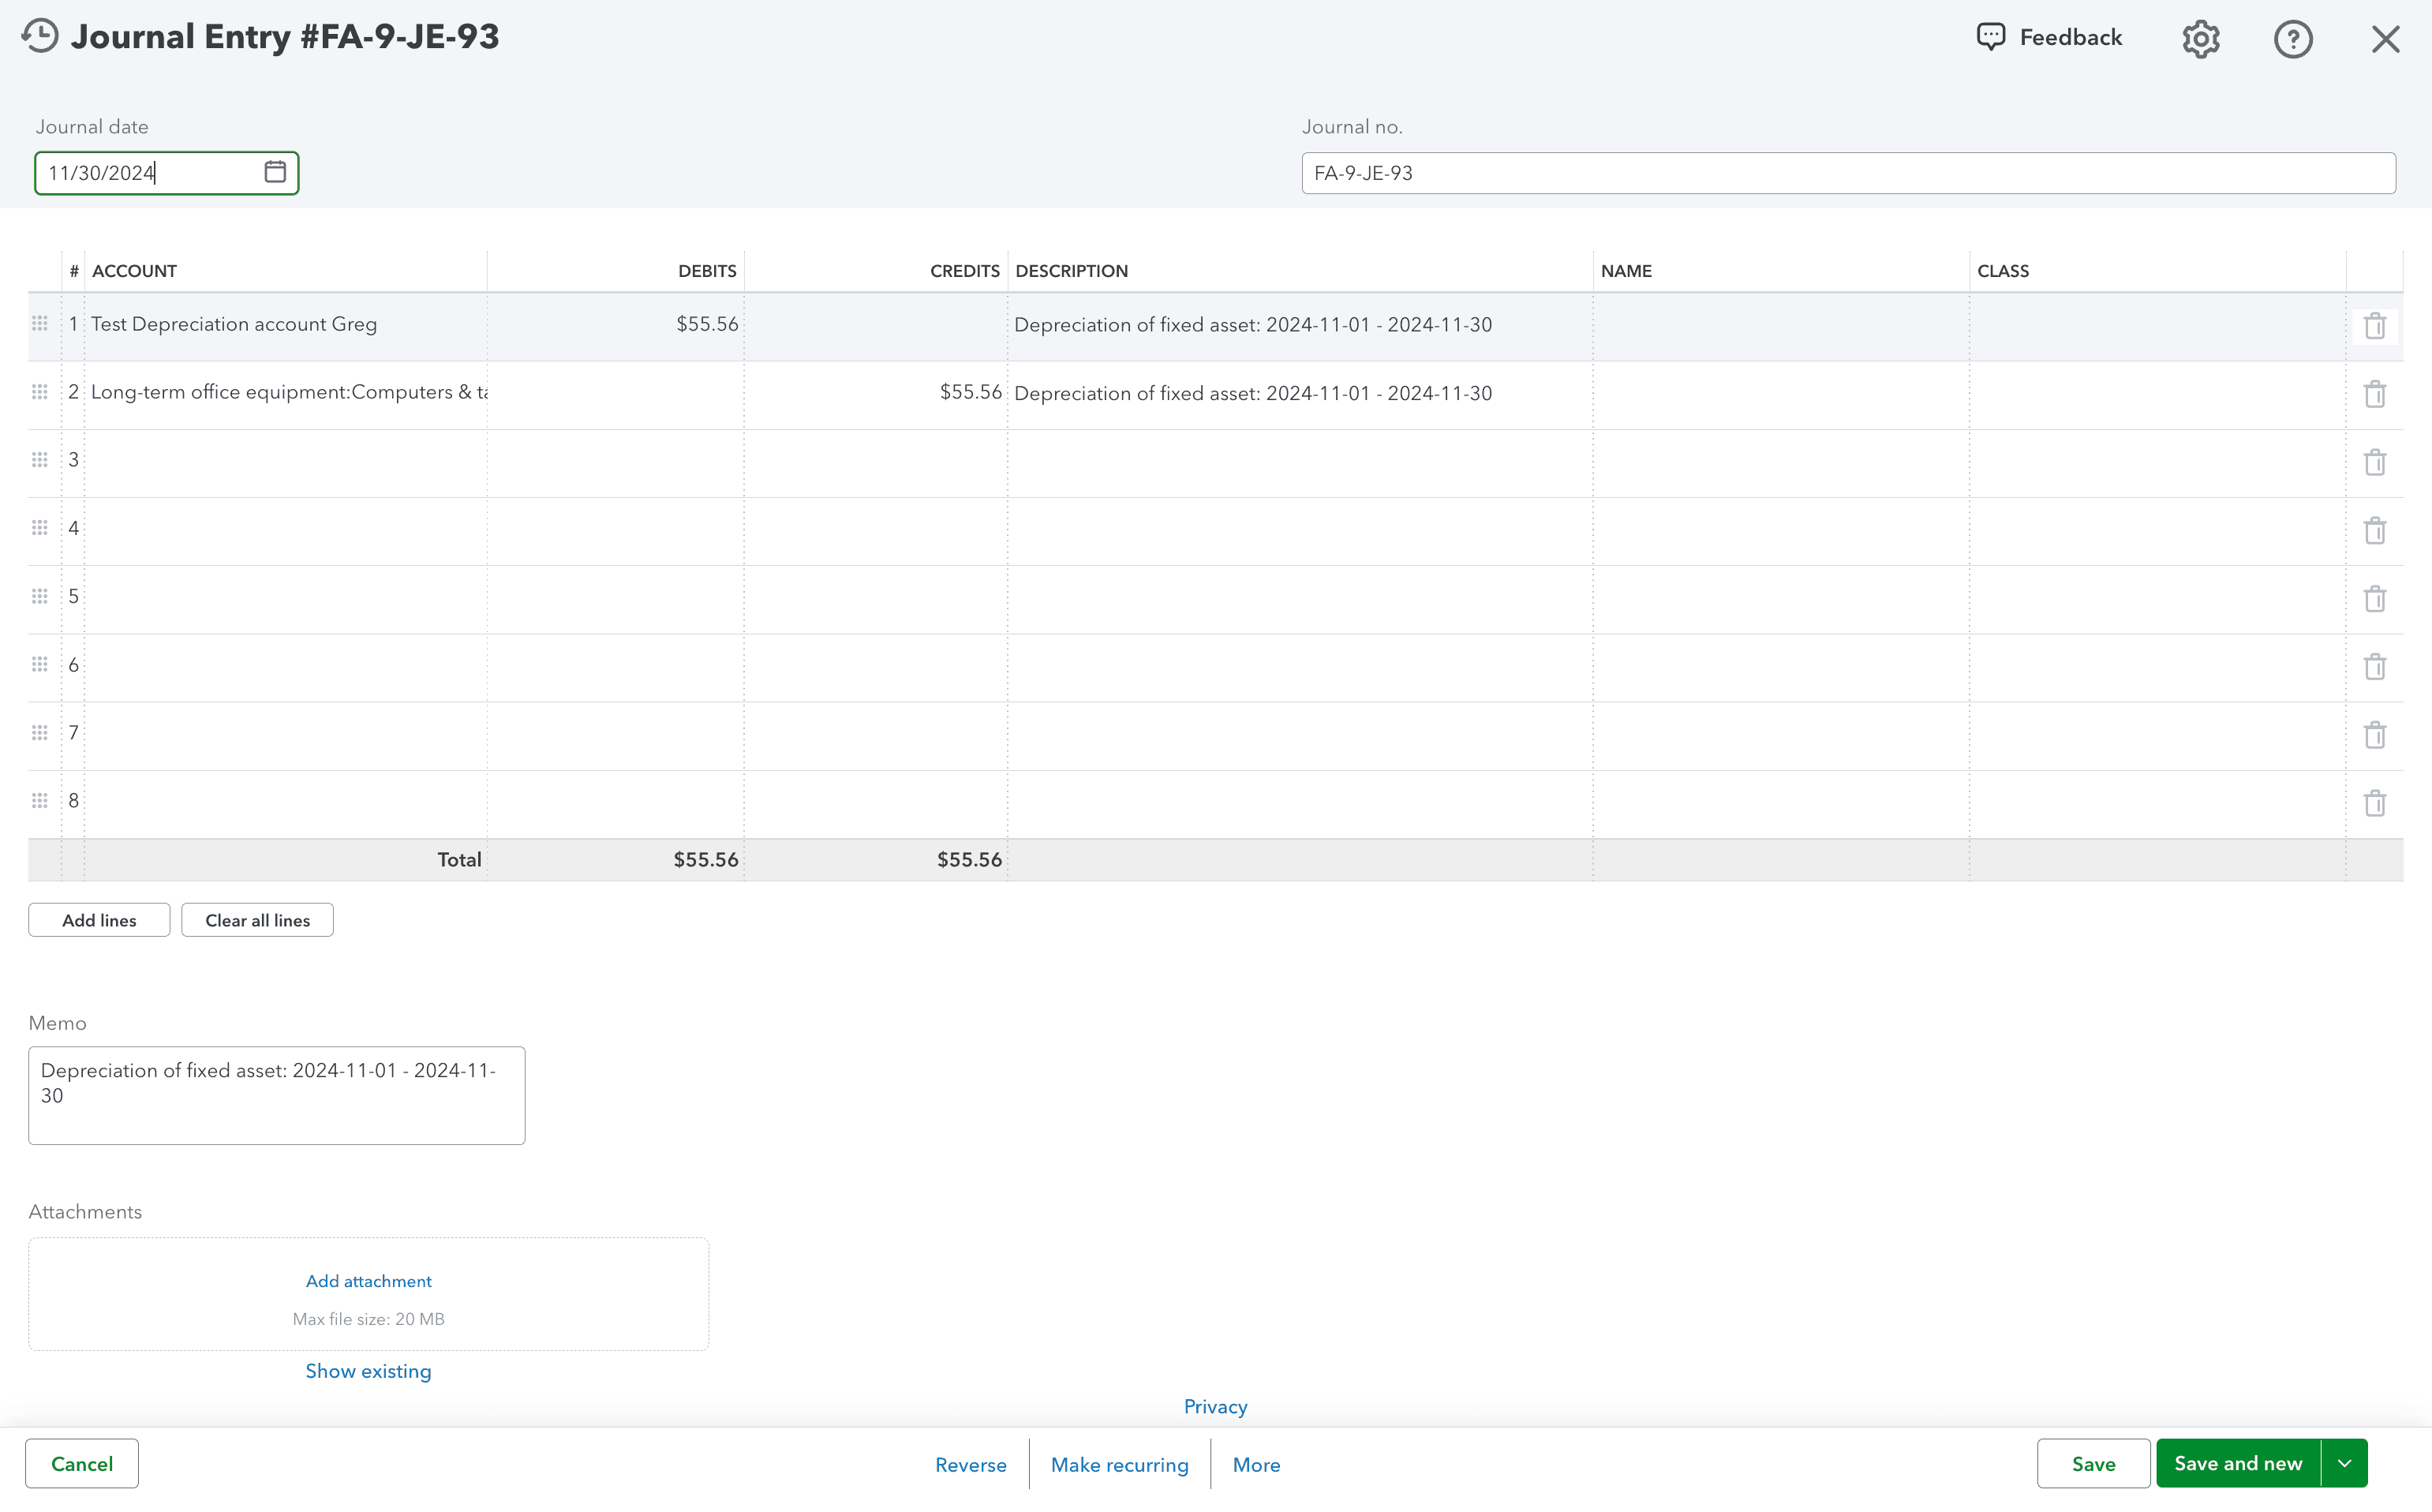
Use Post on an eligible depreciation term when the period is ready to post.
Step 13
Confirm the posting date, true-up amount, term amount, and notes before posting.

Step 14
Post only after the depreciation journal entry matches the schedule period and account mapping you expect.
Step 15
Confirm the page shows the expected result before continuing to the next step.
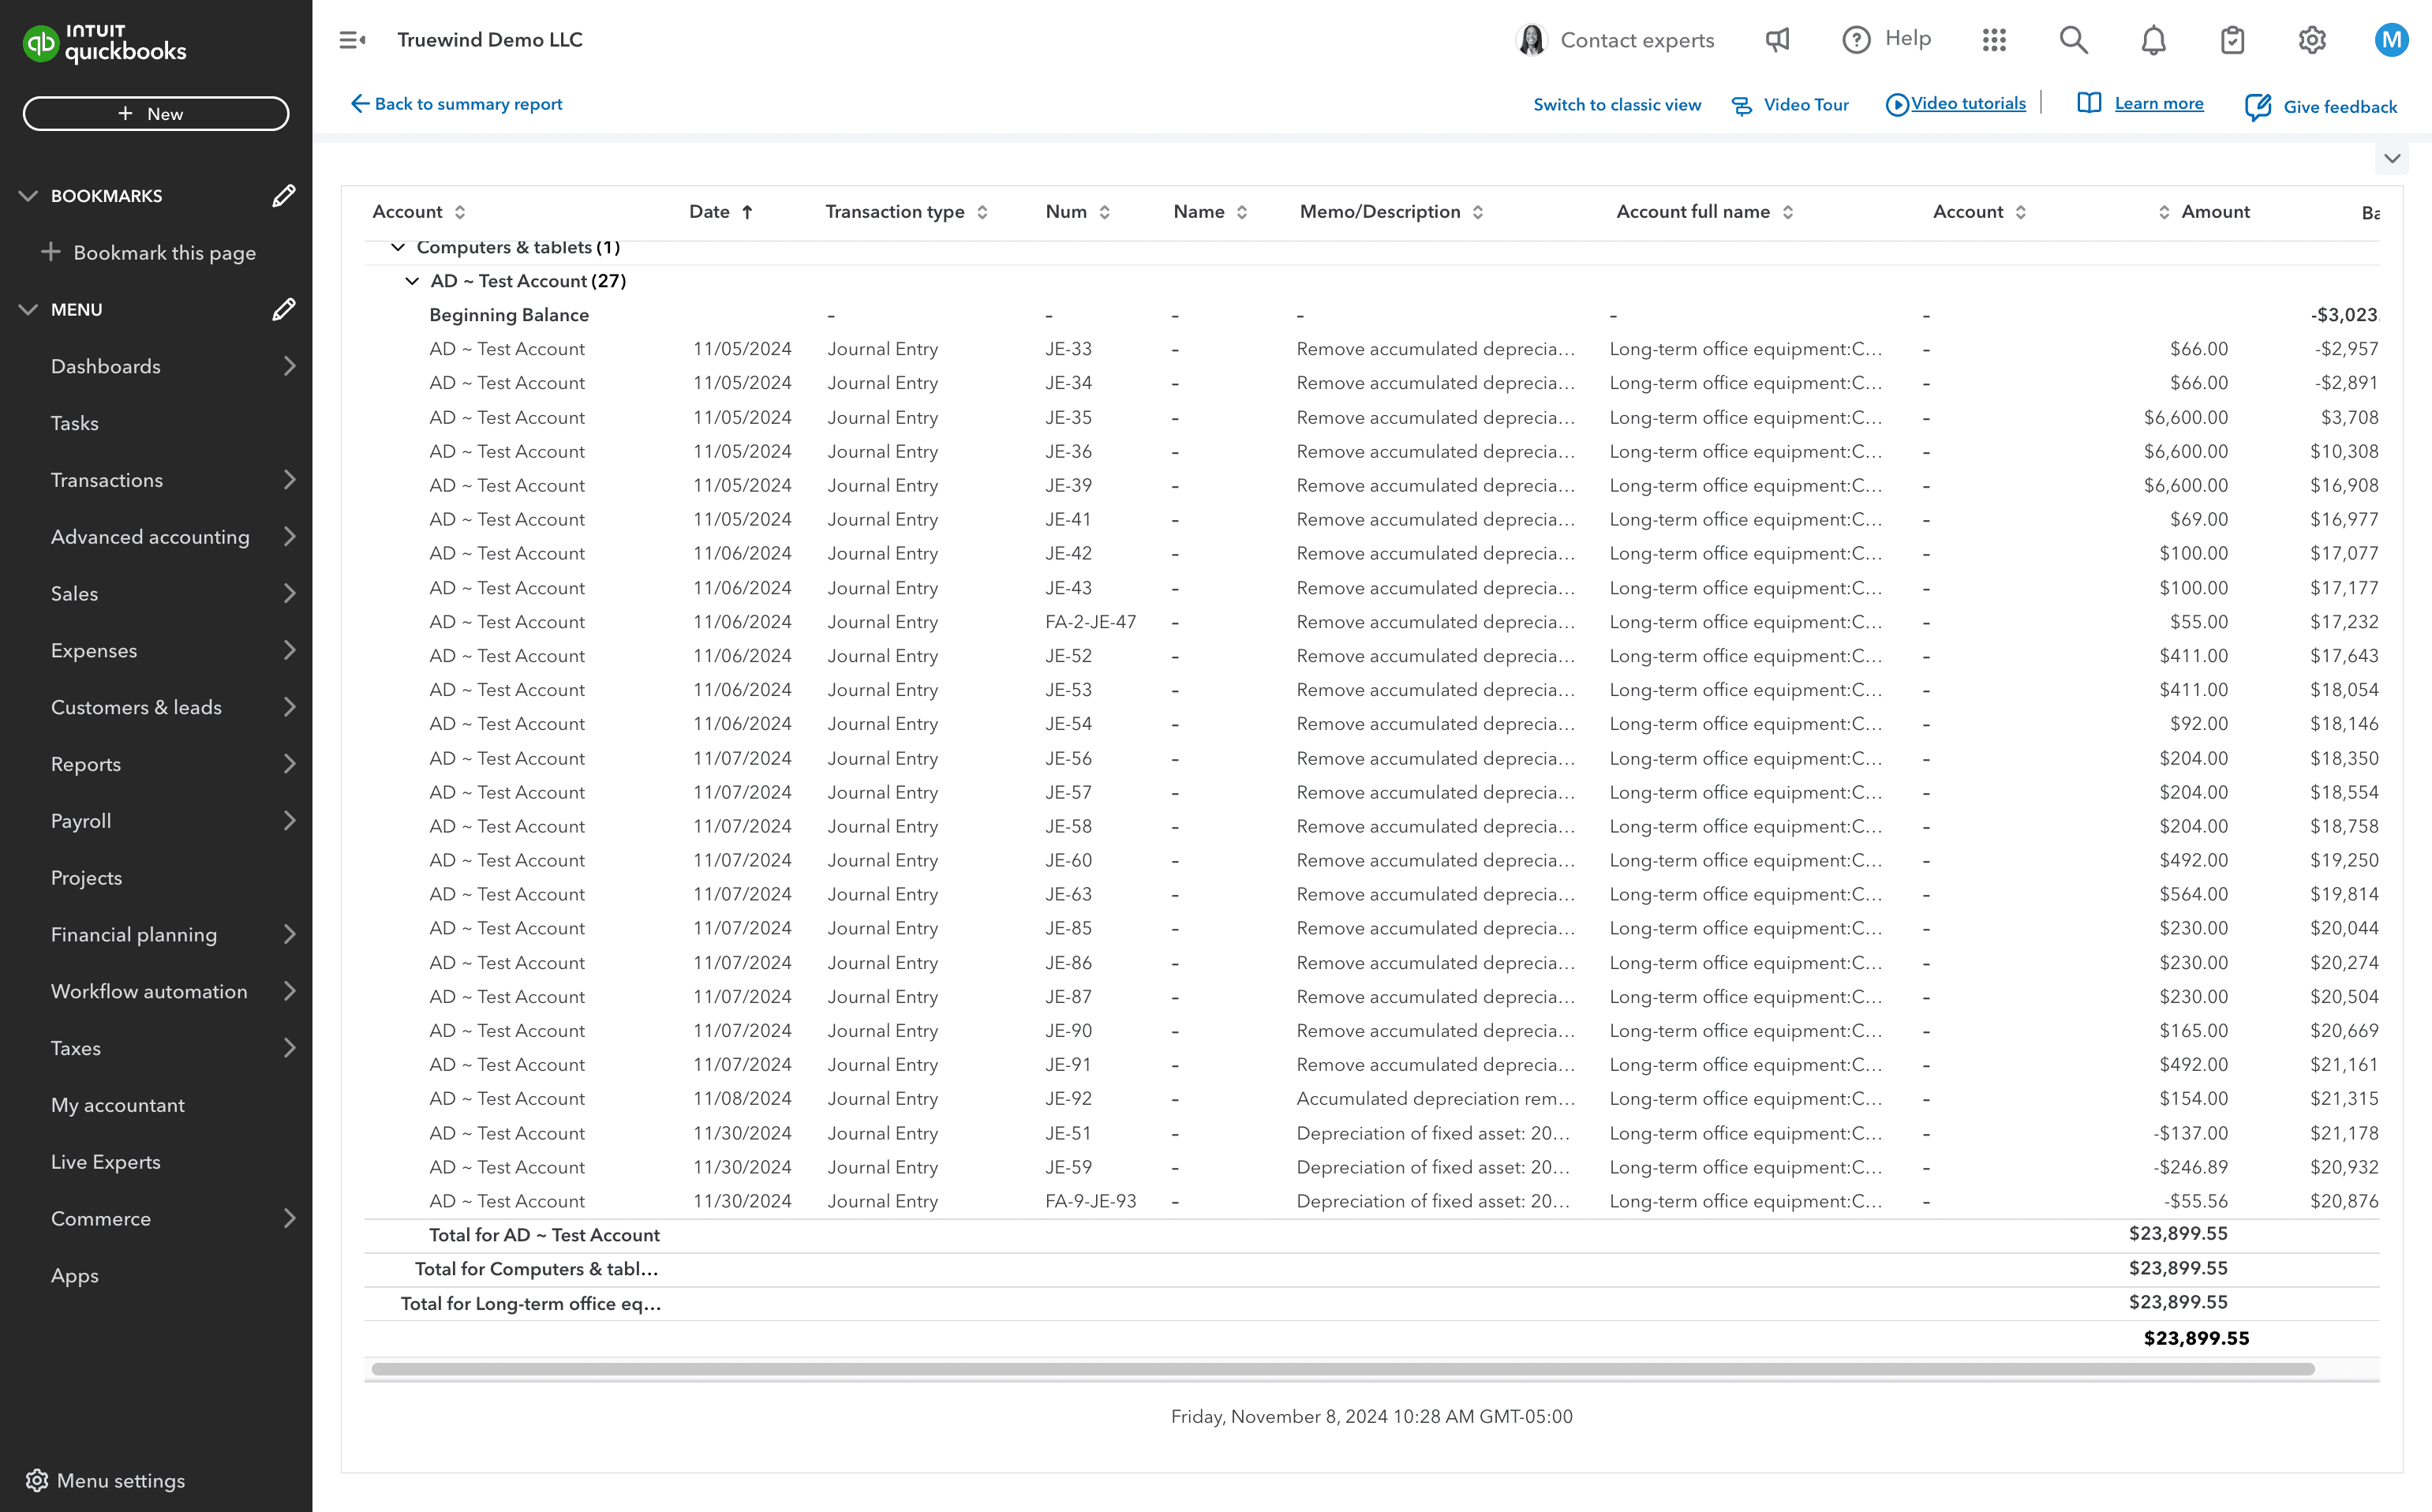
Step 16
Review the posting details and continue only when the journal-entry information is correct.
Step 17
Use the highlighted control to continue through the workflow.
Step 18
Use the highlighted control to continue through the workflow.
Use manual creation when the asset should be tracked in Truewind but is not available as an Identification candidate.
Was this helpful?
Need more help?
Ask for human help about this article and provide any feedback.