Good review habit
Confirm the payee, category, dimensions, memo, and historical context before syncing the transaction to the accounting platform.
Ask the support agent
Just ask a direct question or search related articles from the Knowledge Base.
Support Center / Fixed Assets / Bank Transactions
Categorize bank transactions as Fixed Assets when they should be tracked for capitalization, resulting in transaction detail that can support Fixed Asset registration and ledger sync.
Step 1
Start in Bookkeeping > Bank Transactions and select the bank accounts you want to review so transaction rows are visible.
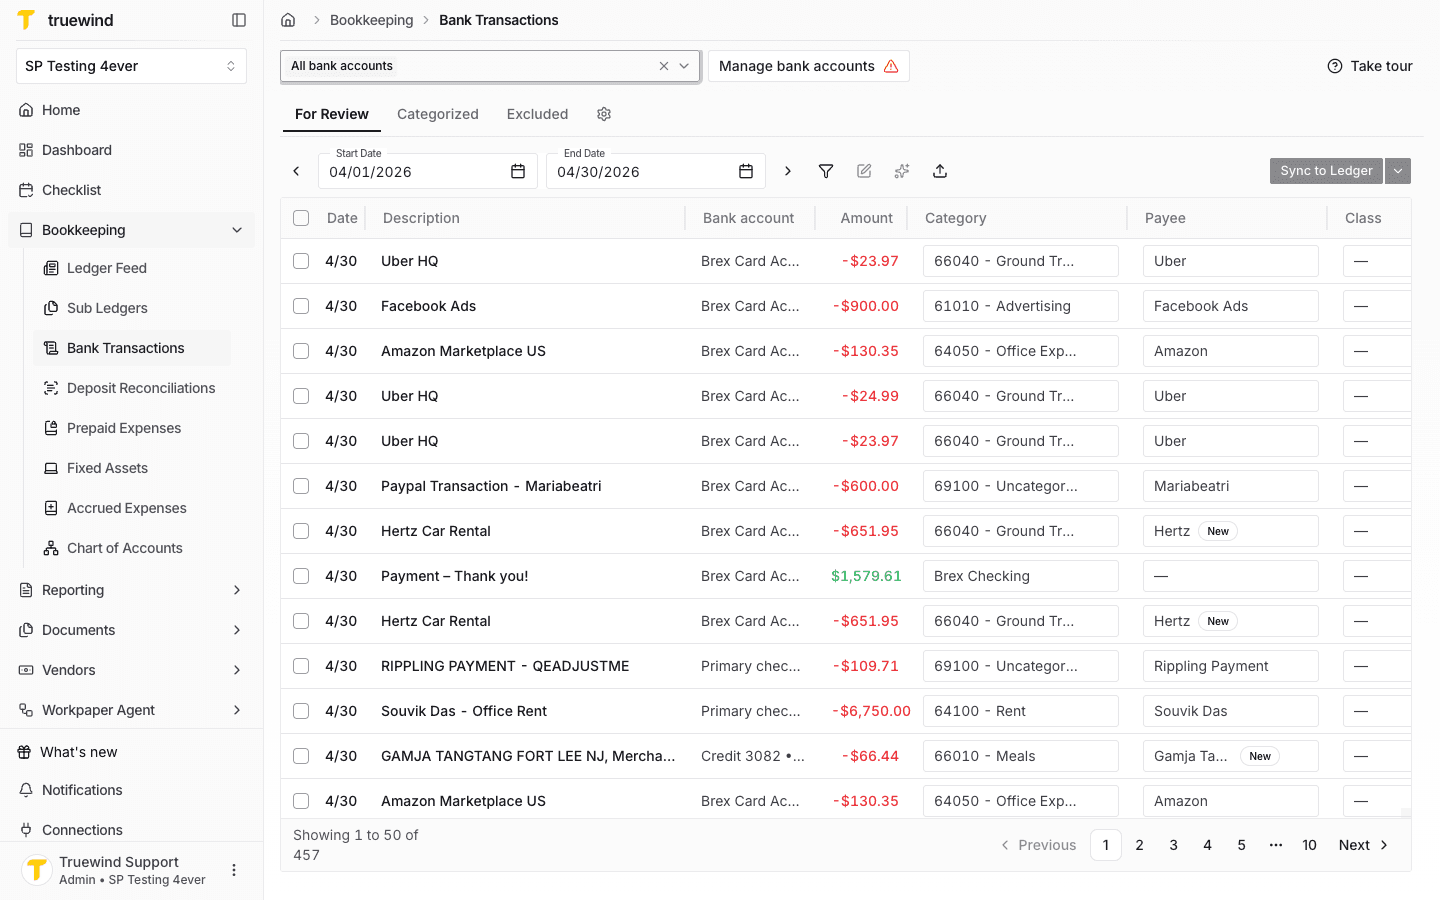
Step 2
Choose a purchase that should be capitalized and confirm the date, bank account, amount, payee, and current category.

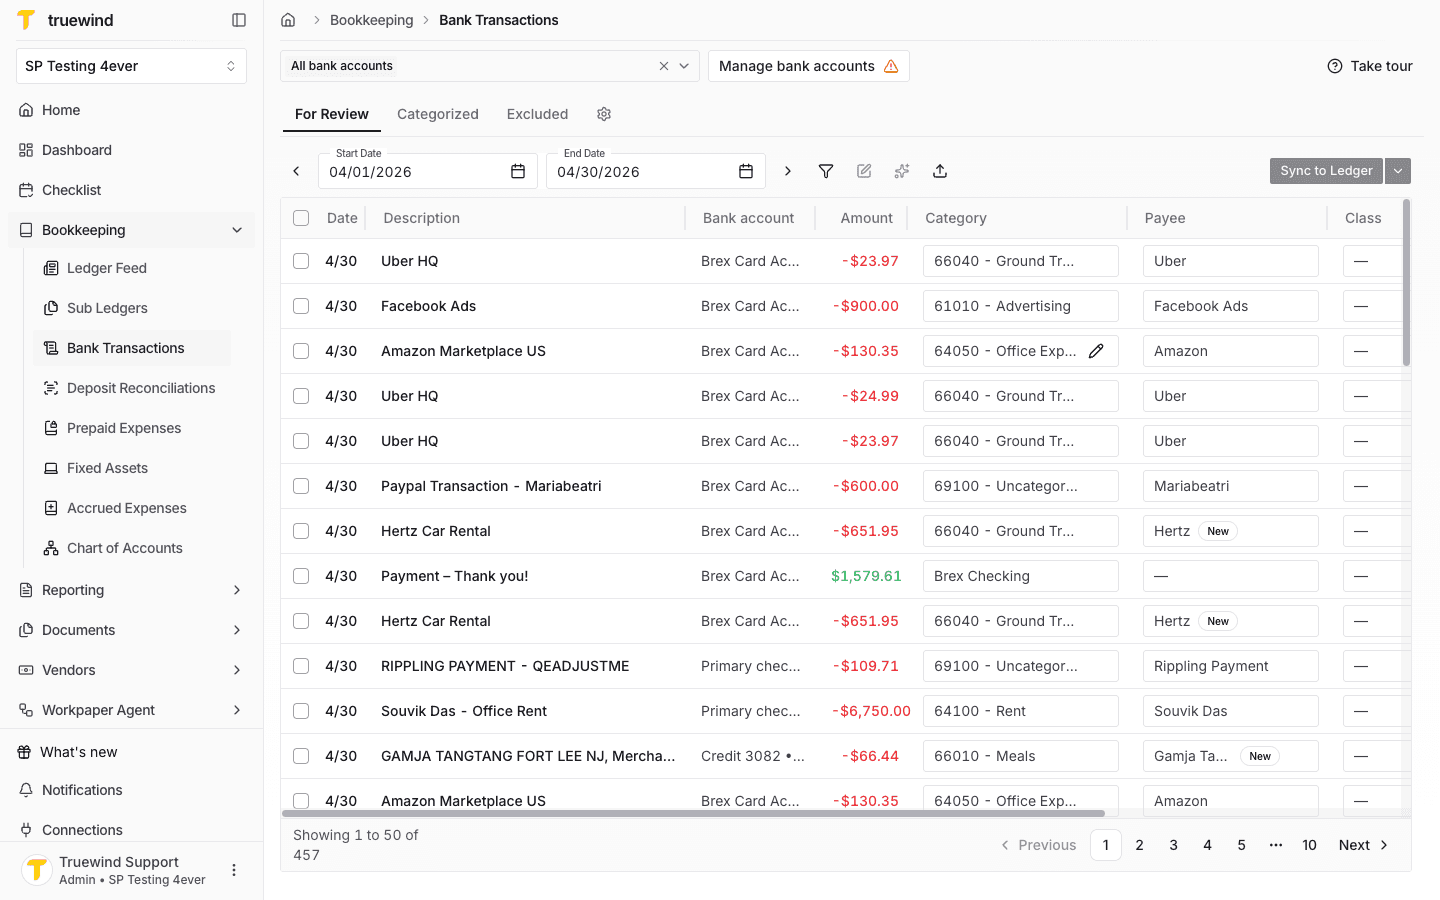
Step 3
Use the category field on the transaction row to change the ledger account that will be used for the transaction.
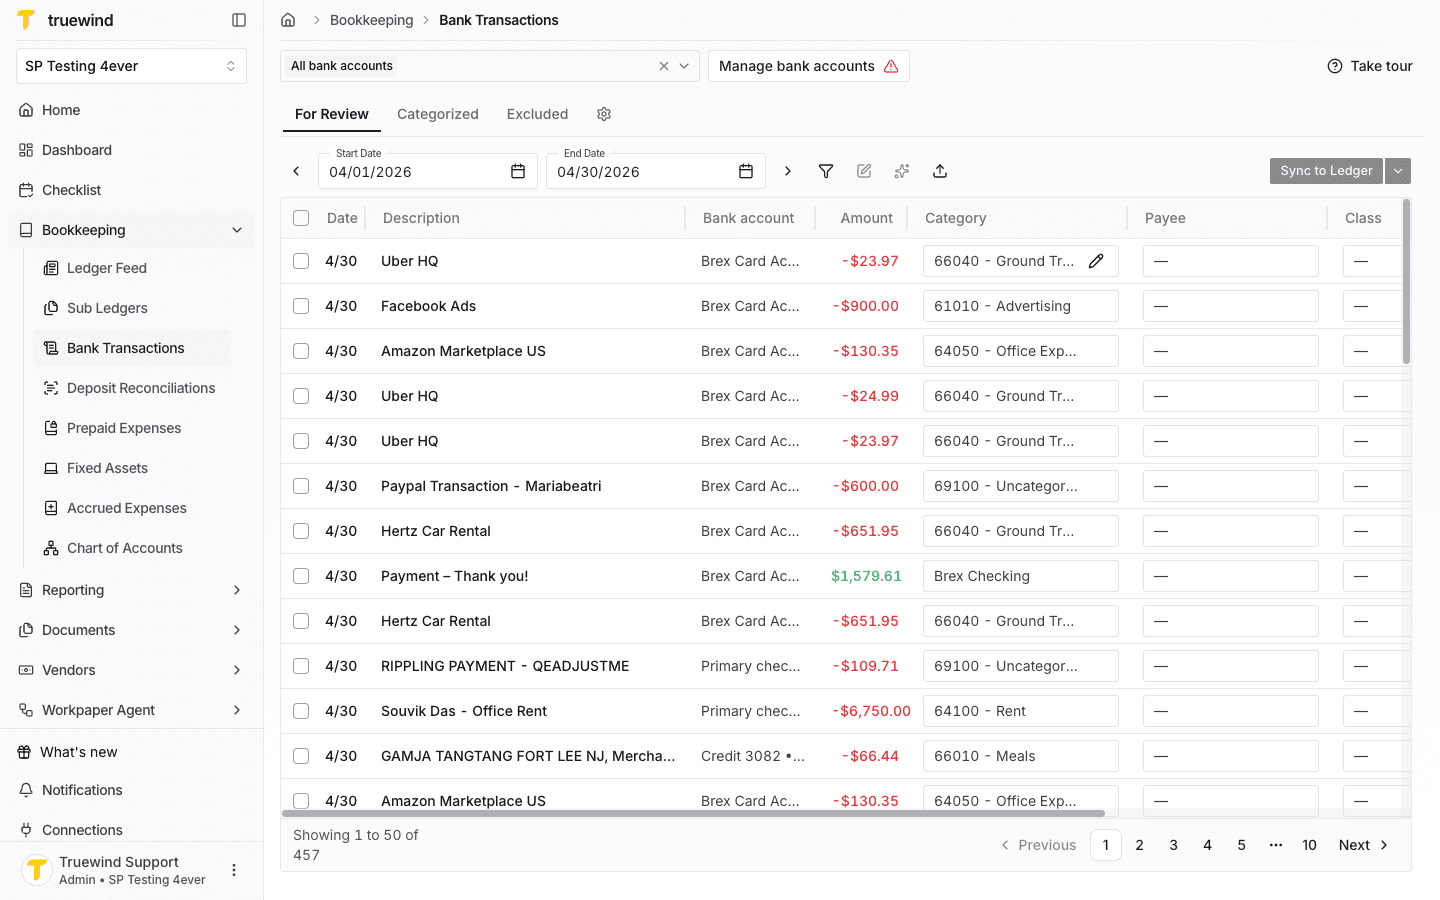
Step 4
Search for the fixed asset account that matches the asset type or capitalization policy.
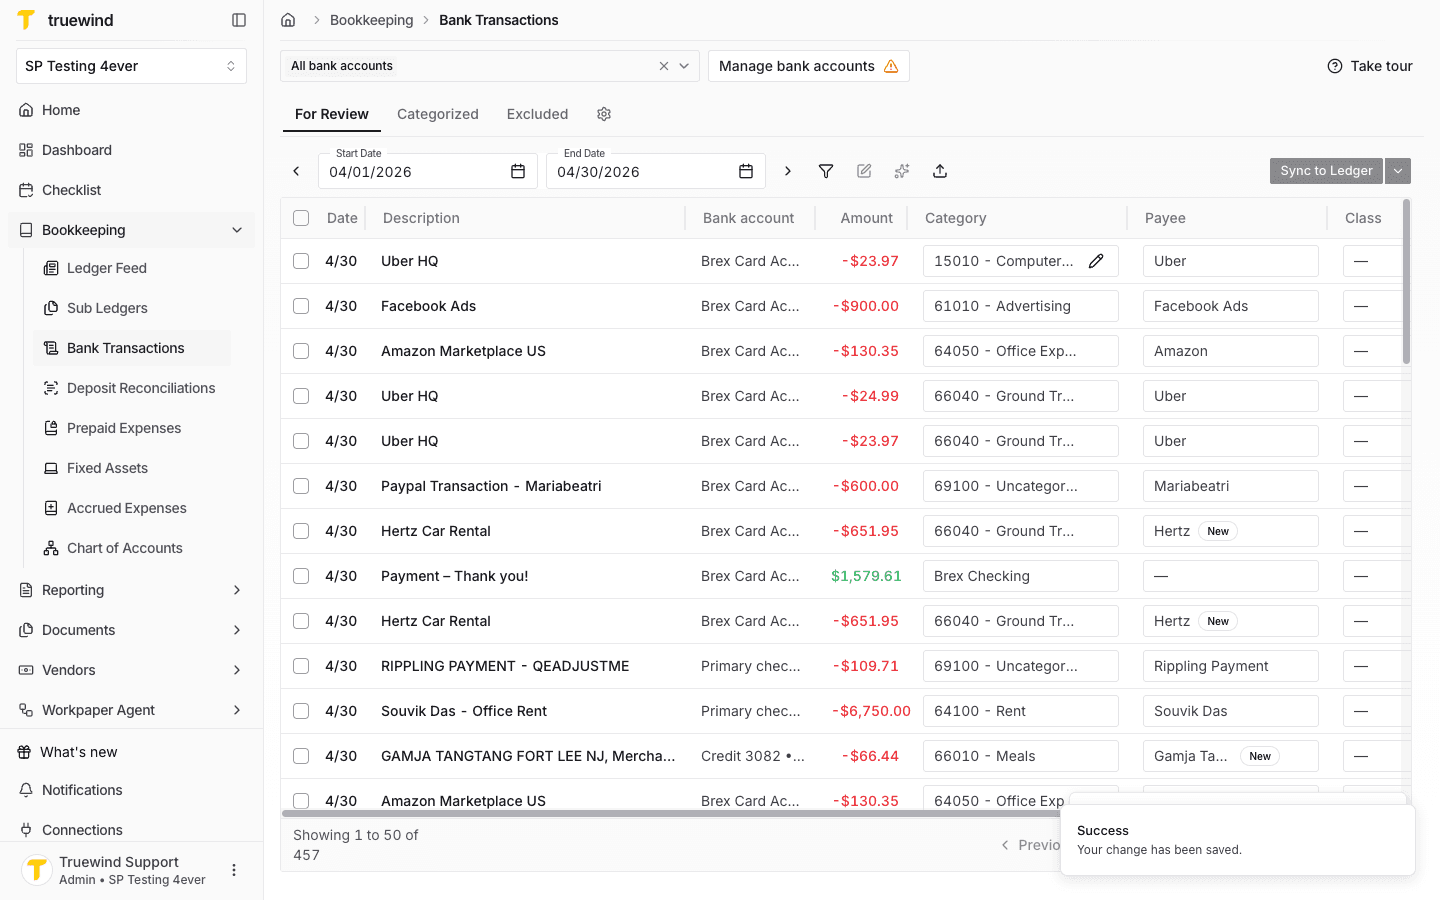
Step 5
Select the fixed asset account and wait for the row to show the updated category before reviewing the transaction detail.
Step 6
Open the transaction detail panel to confirm the transaction type, payee, category, class, department, and memo fields.
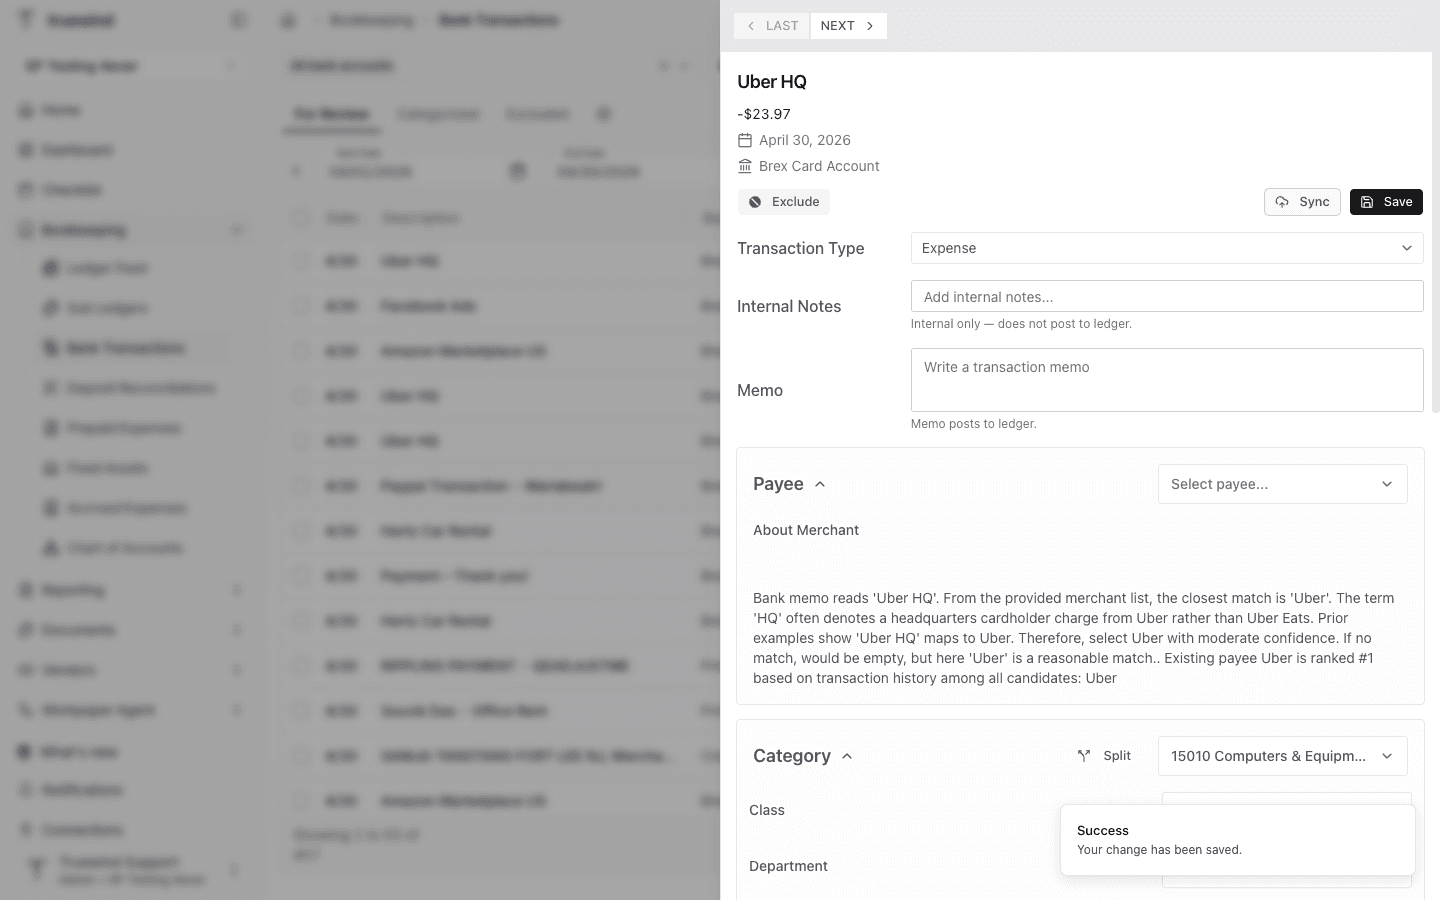
Step 7
Review historical categorization context when Truewind shows prior activity or explanations that help validate the account selection.

Step 8
Use Sync to Ledger only after the fixed asset category and transaction details are ready to post to the connected ledger.

Confirm the payee, category, dimensions, memo, and historical context before syncing the transaction to the accounting platform.
Was this helpful?
Need more help?
Ask for human help about this article and provide any feedback.