Before you save
Confirm you are retiring only part of the asset. Use the full-disposal workflow when the entire asset is leaving service.
Ask the support agent
Just ask a direct question or search related articles from the Knowledge Base.
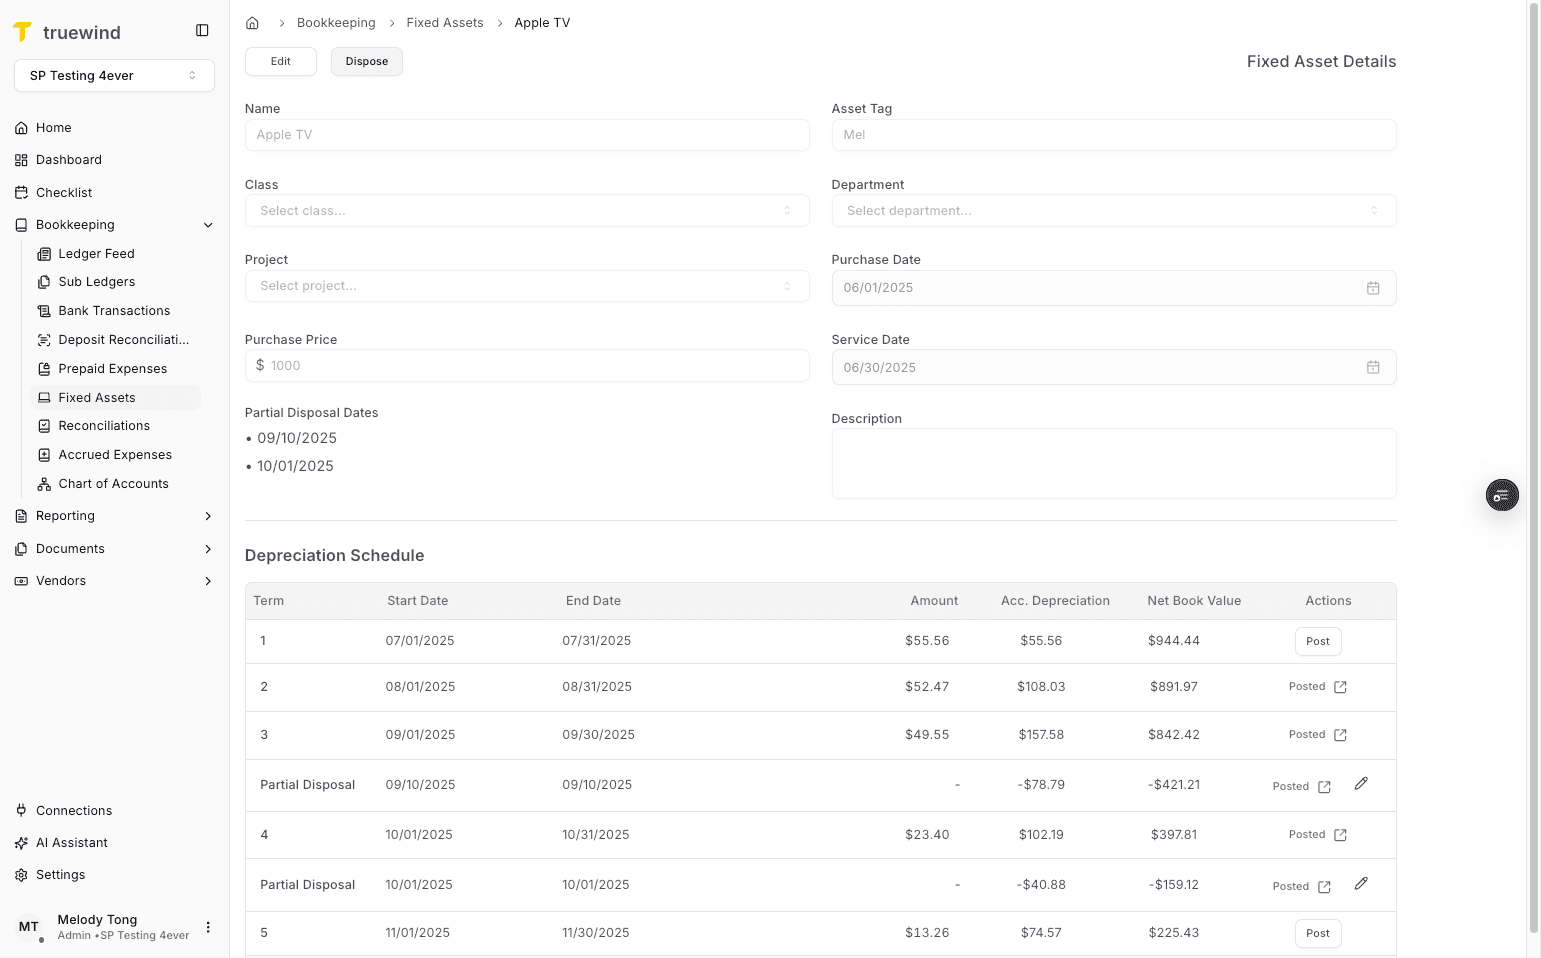
Support Center / Fixed Assets / Manage
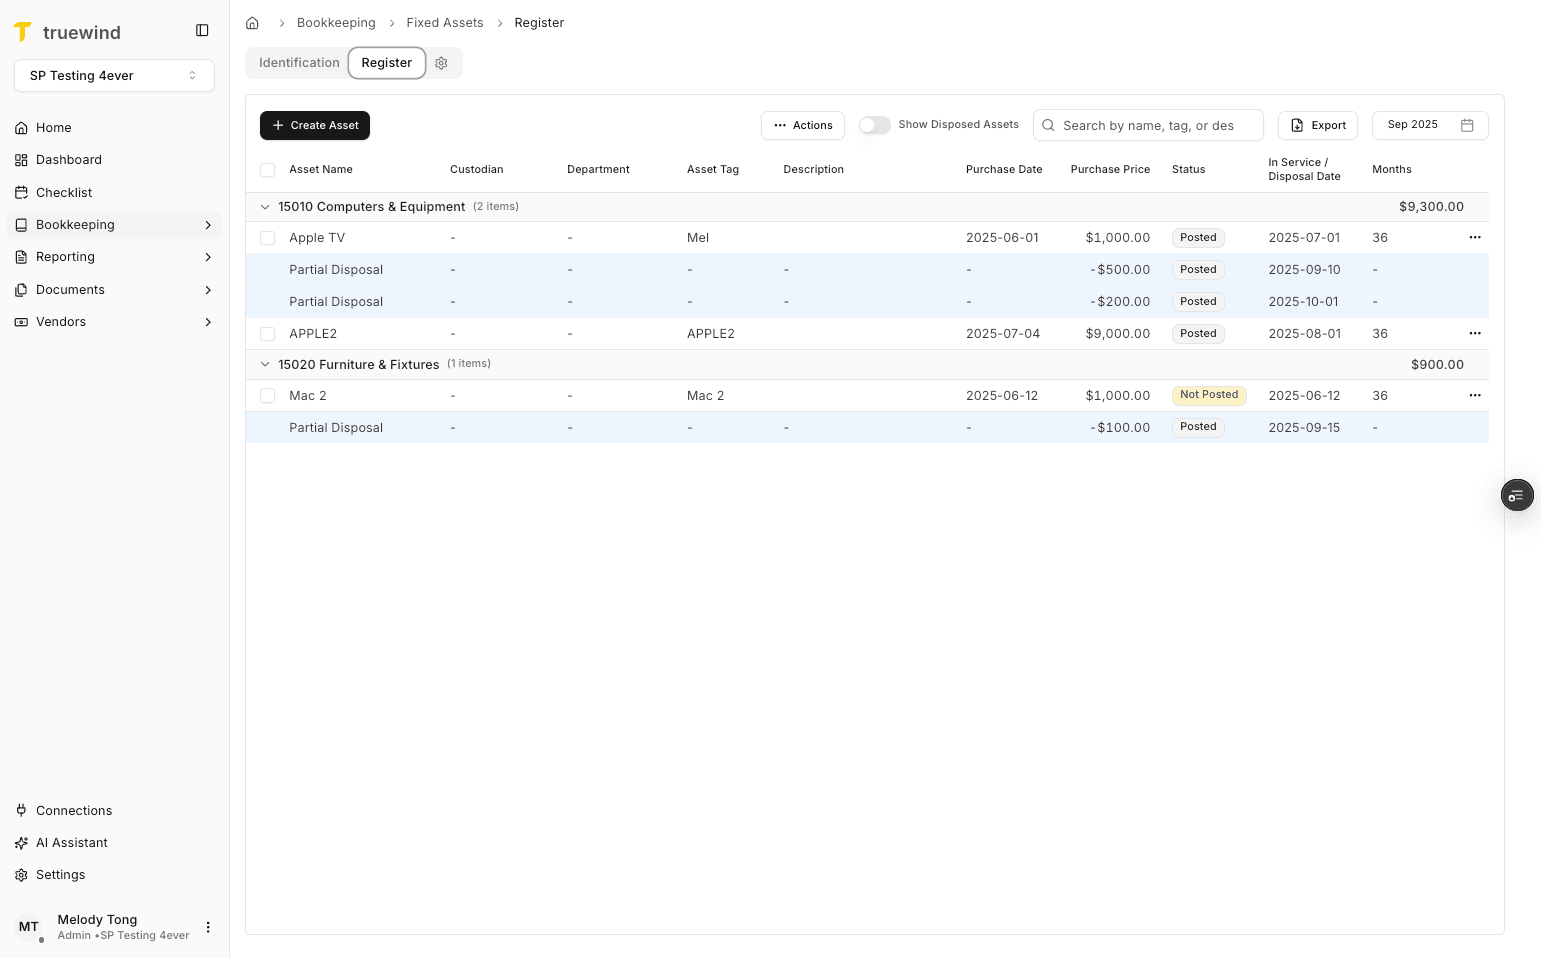
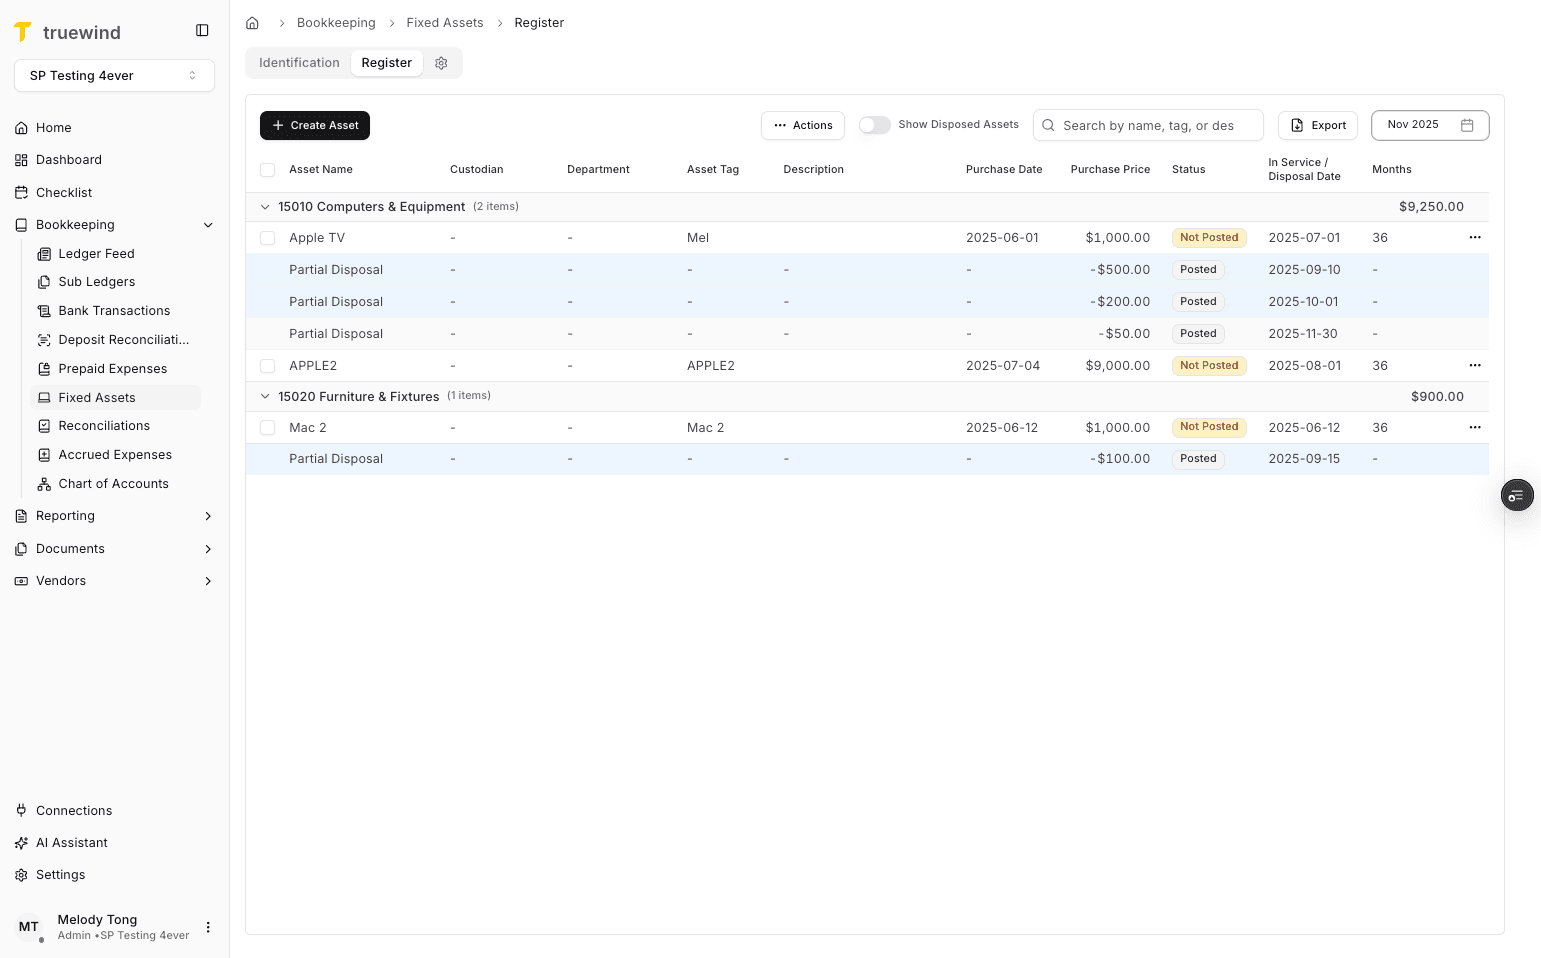
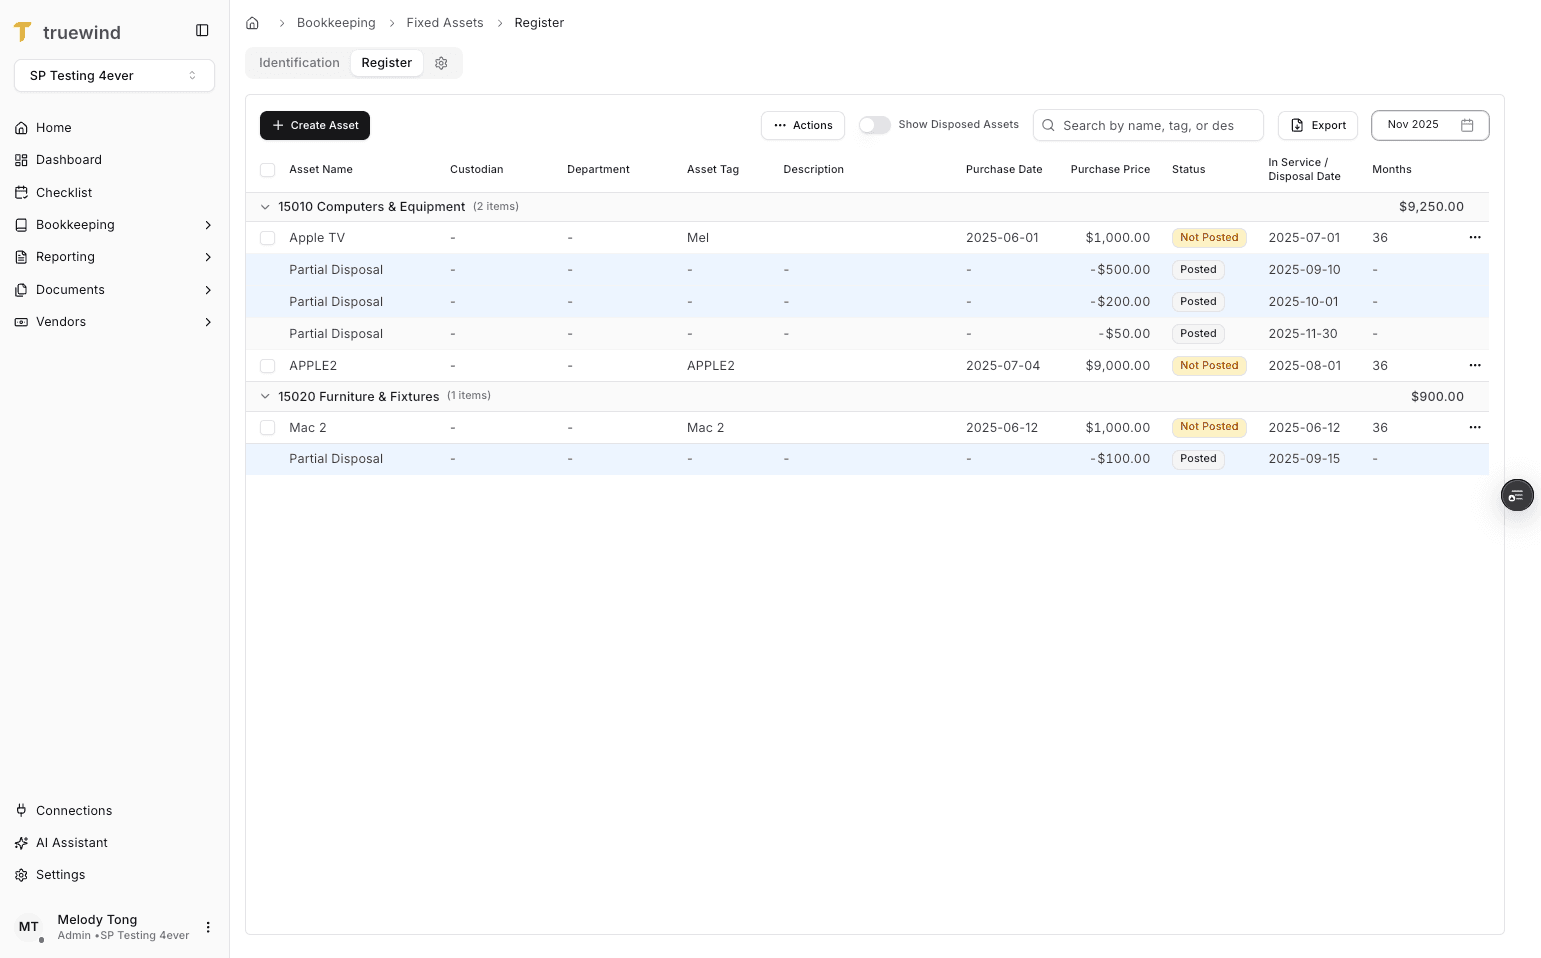
Add a partial disposal when only part of an asset is being retired, resulting in an updated register line item, disposal journal entry, and partial disposal term.
Step 1
Use the highlighted control to continue through the workflow.
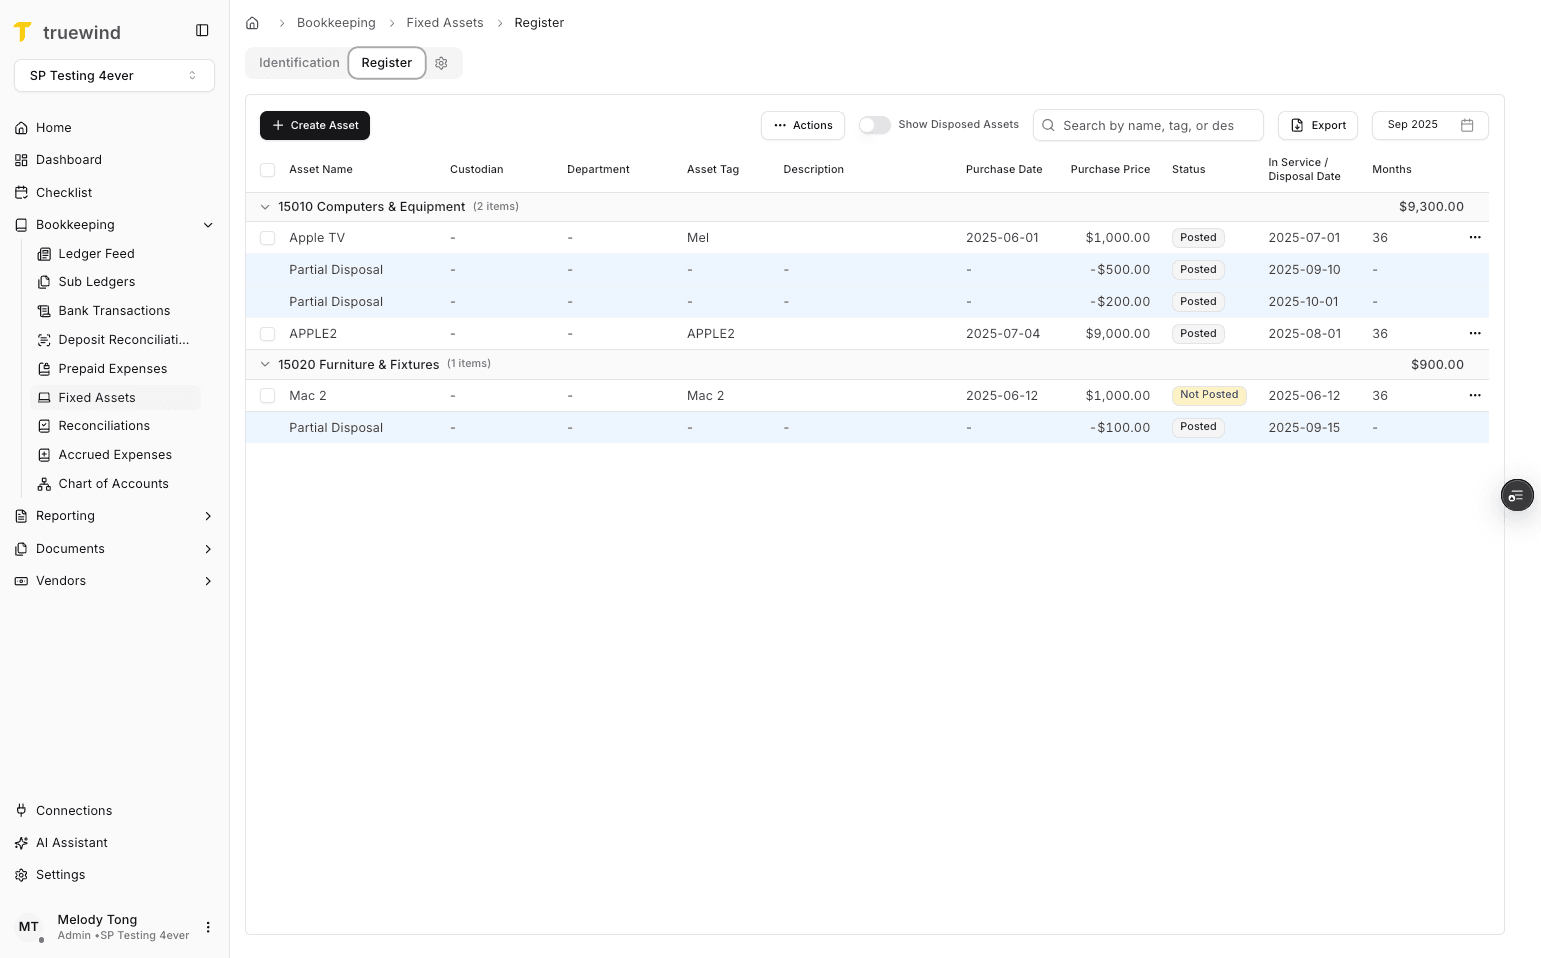
Step 2
Use the highlighted control to continue through the workflow.
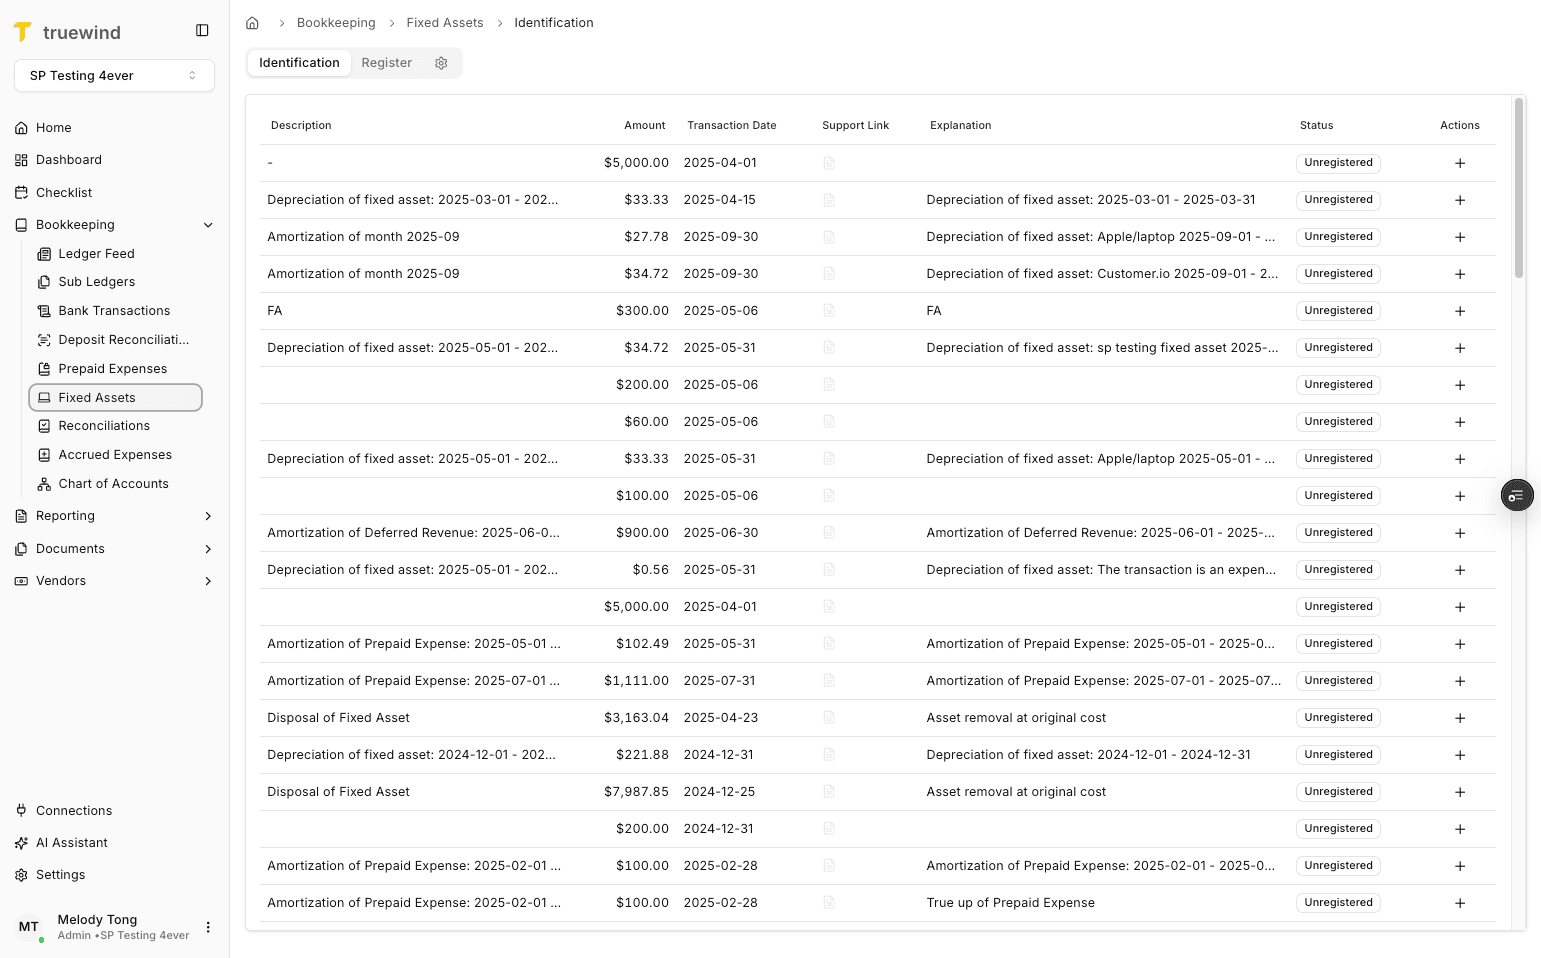
Step 3
Use the highlighted control to continue through the workflow.
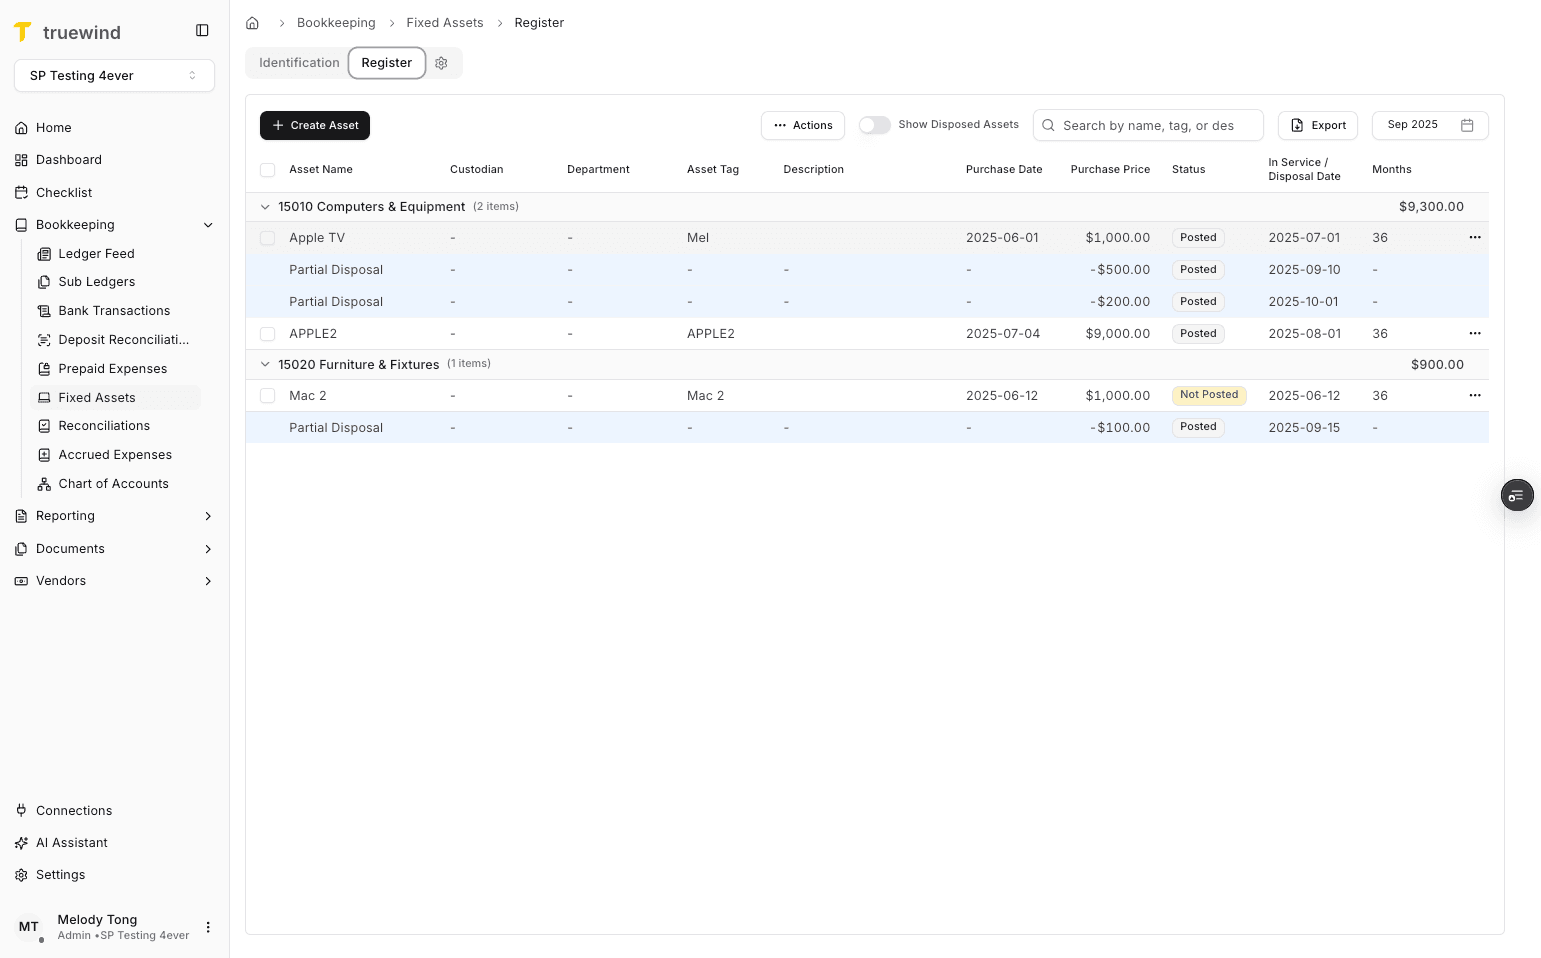
Step 4
Use the highlighted control to continue through the workflow.
Step 5
Use the highlighted control to continue through the workflow.
Step 6
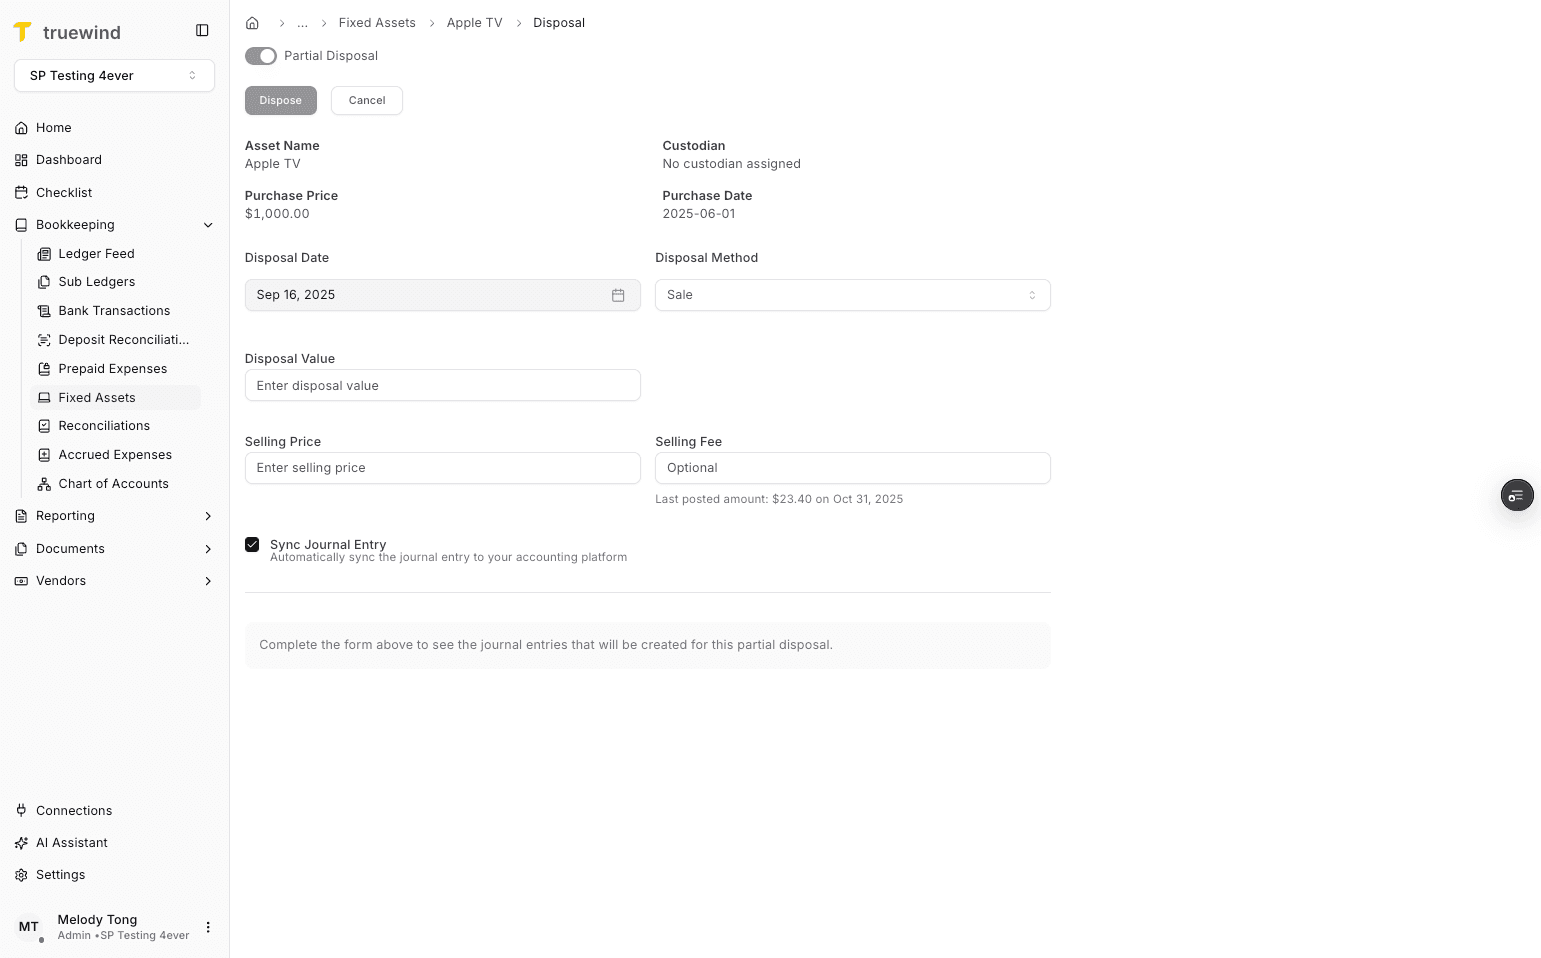
Use the highlighted setting to choose the behavior that matches the schedule or posting workflow.

Step 7
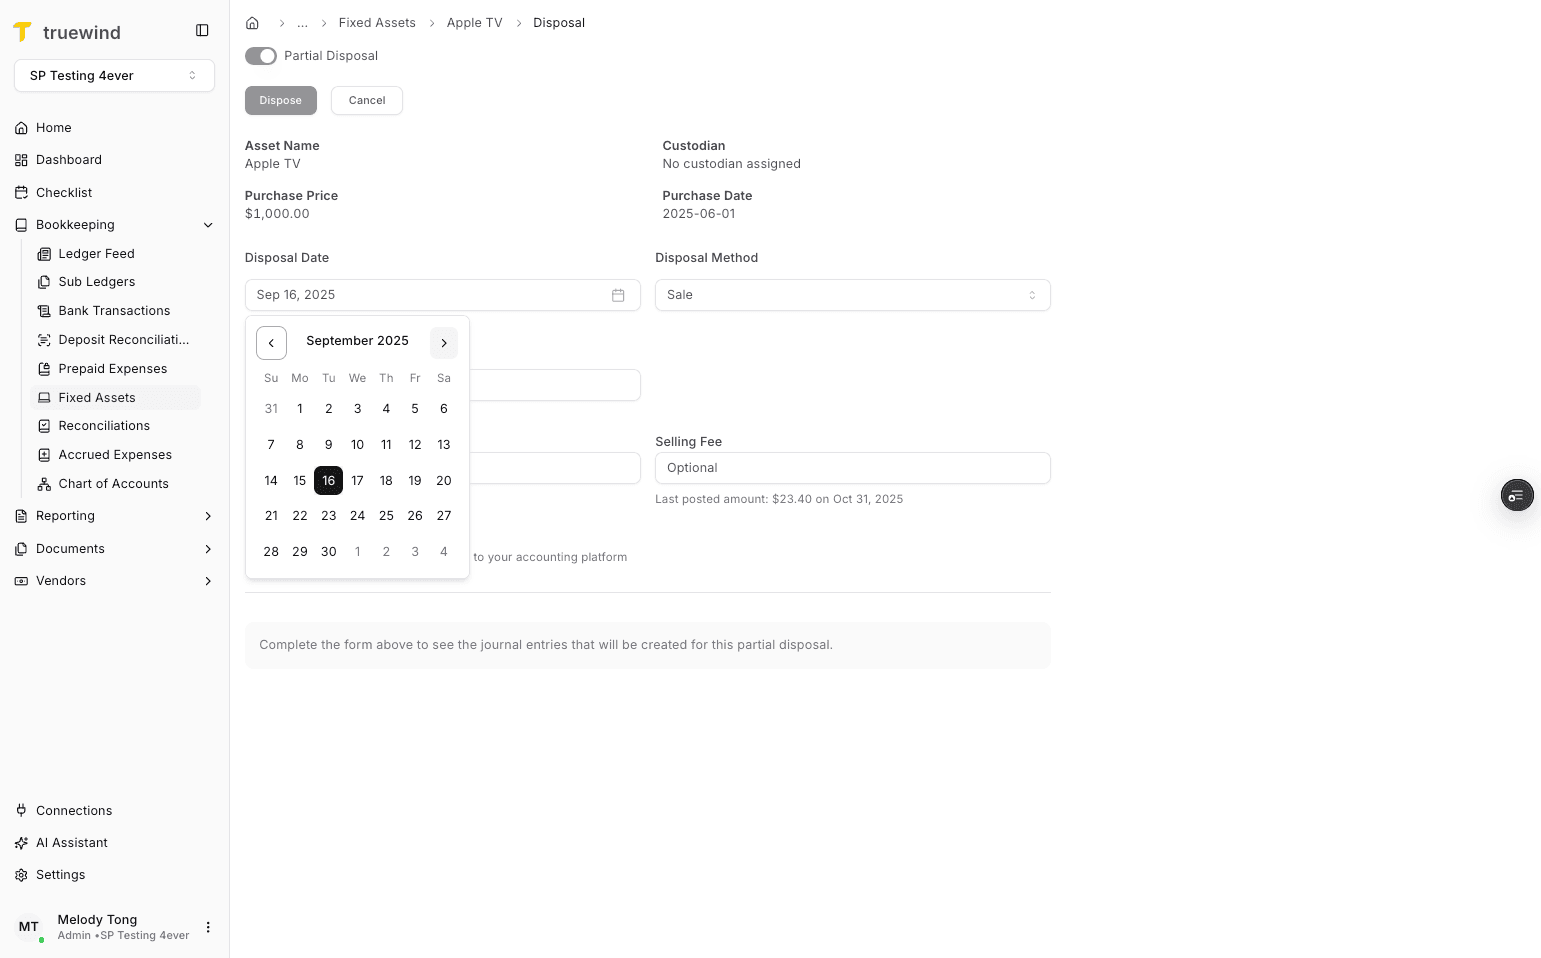
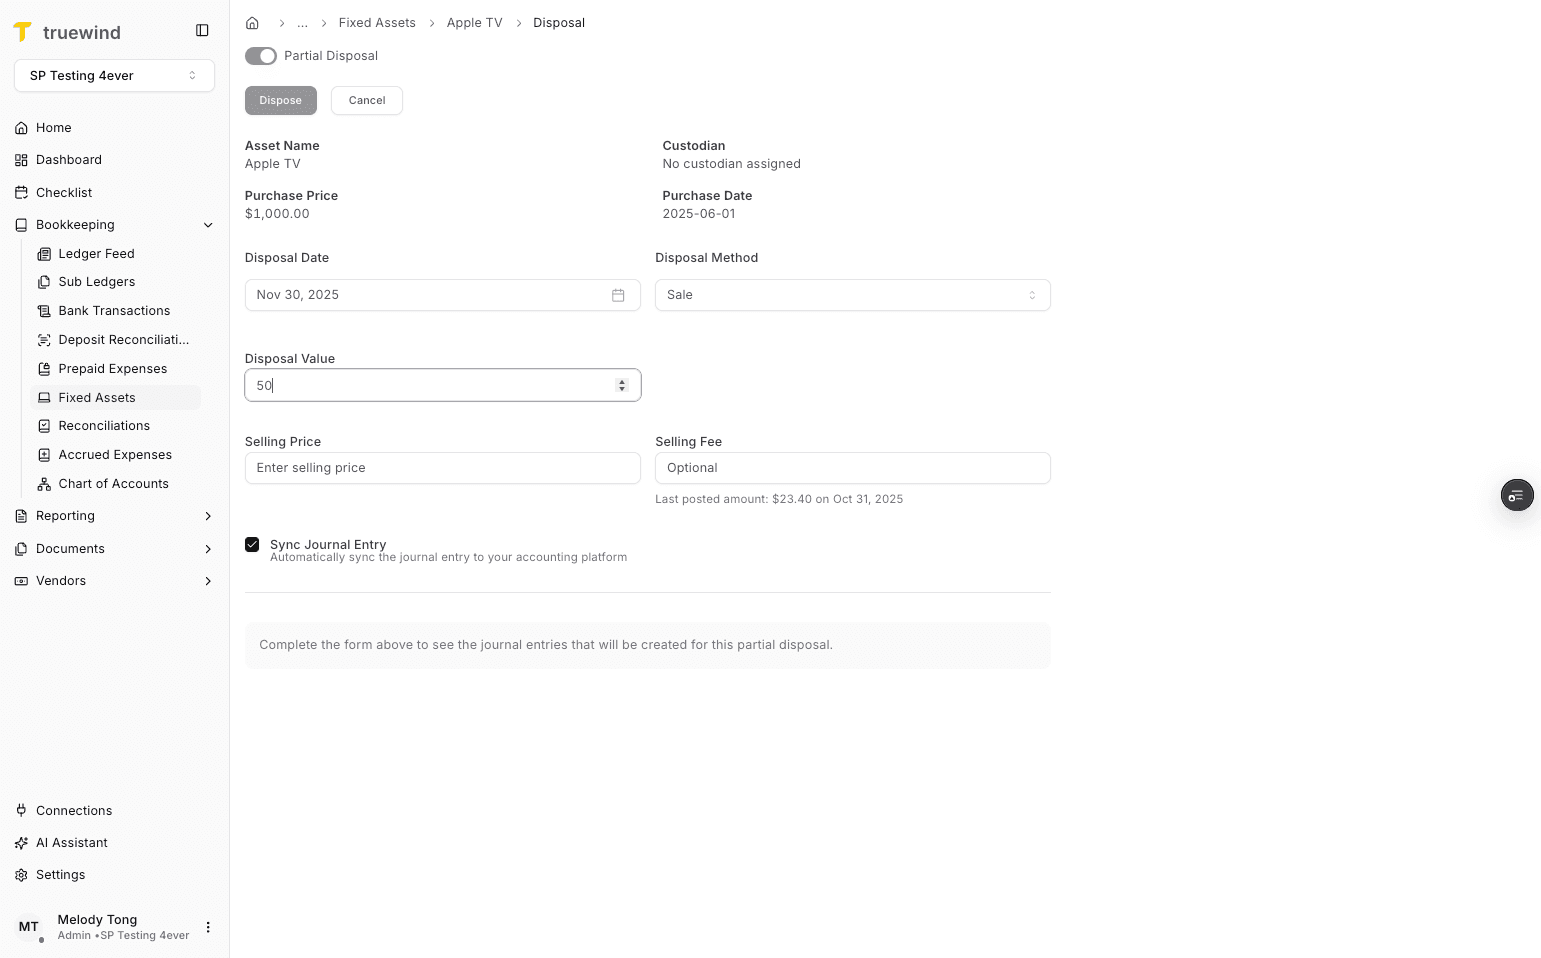
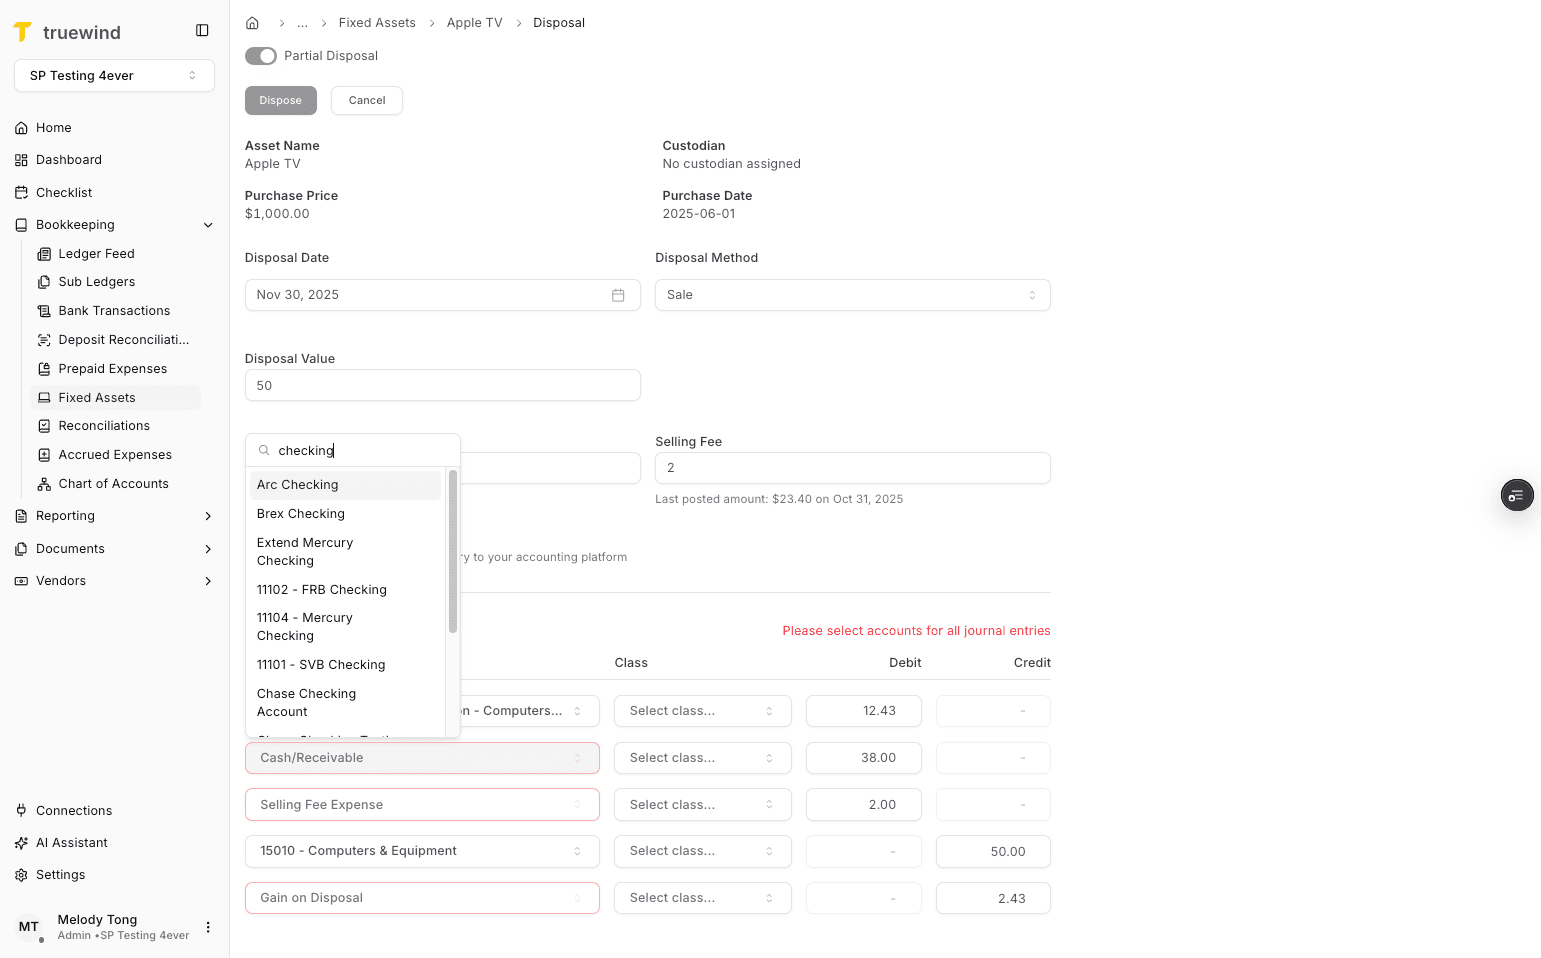
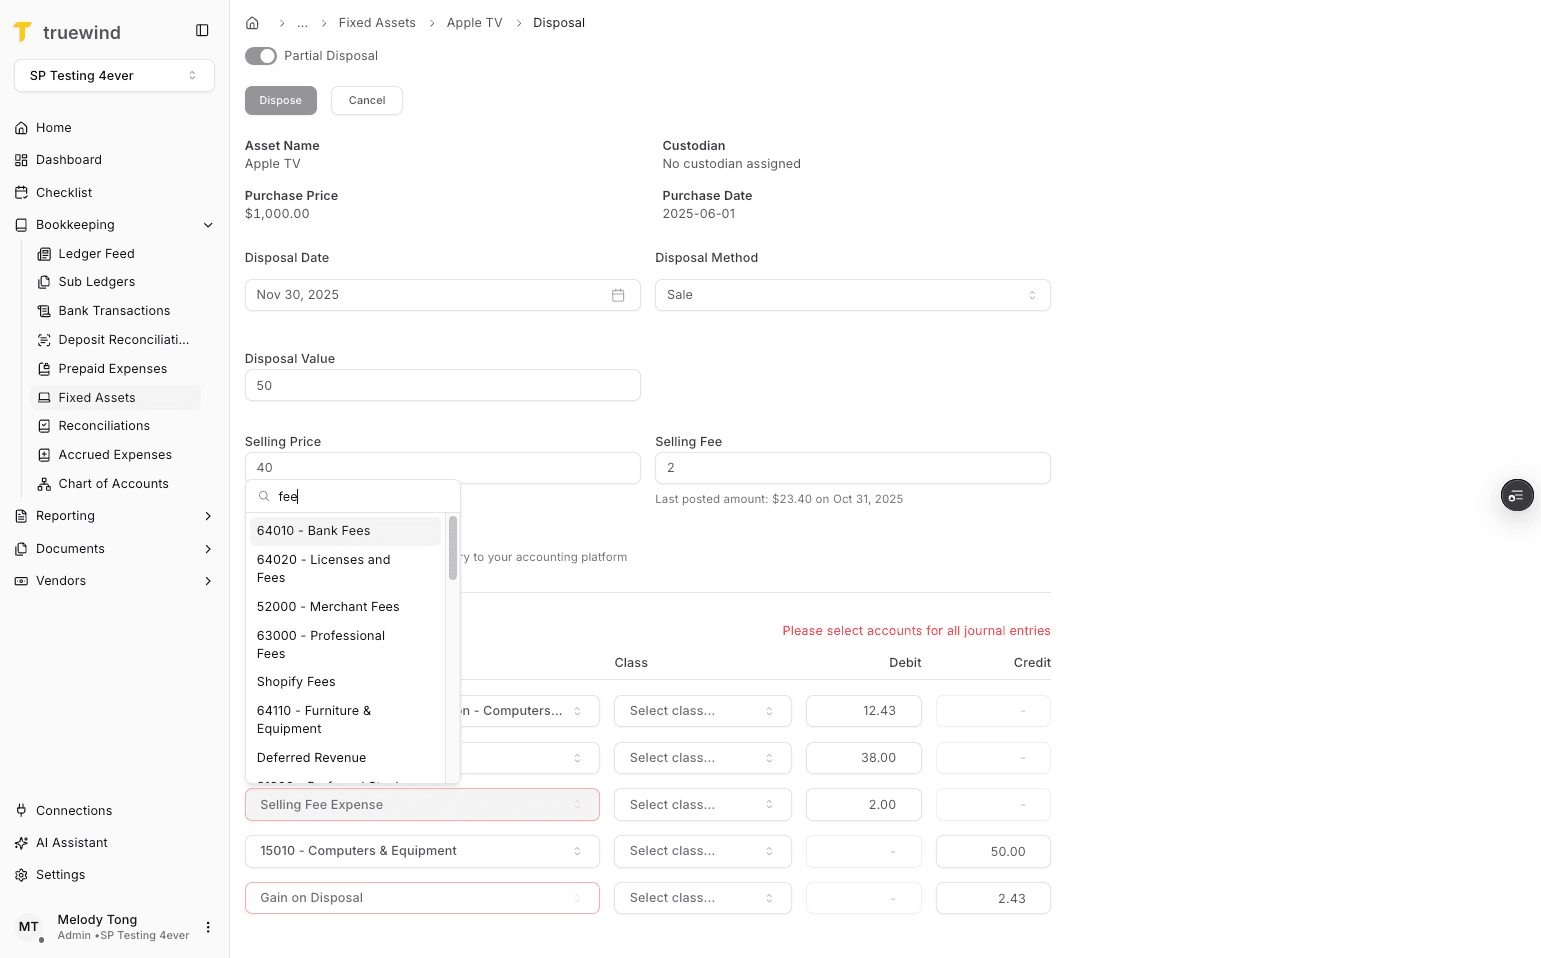
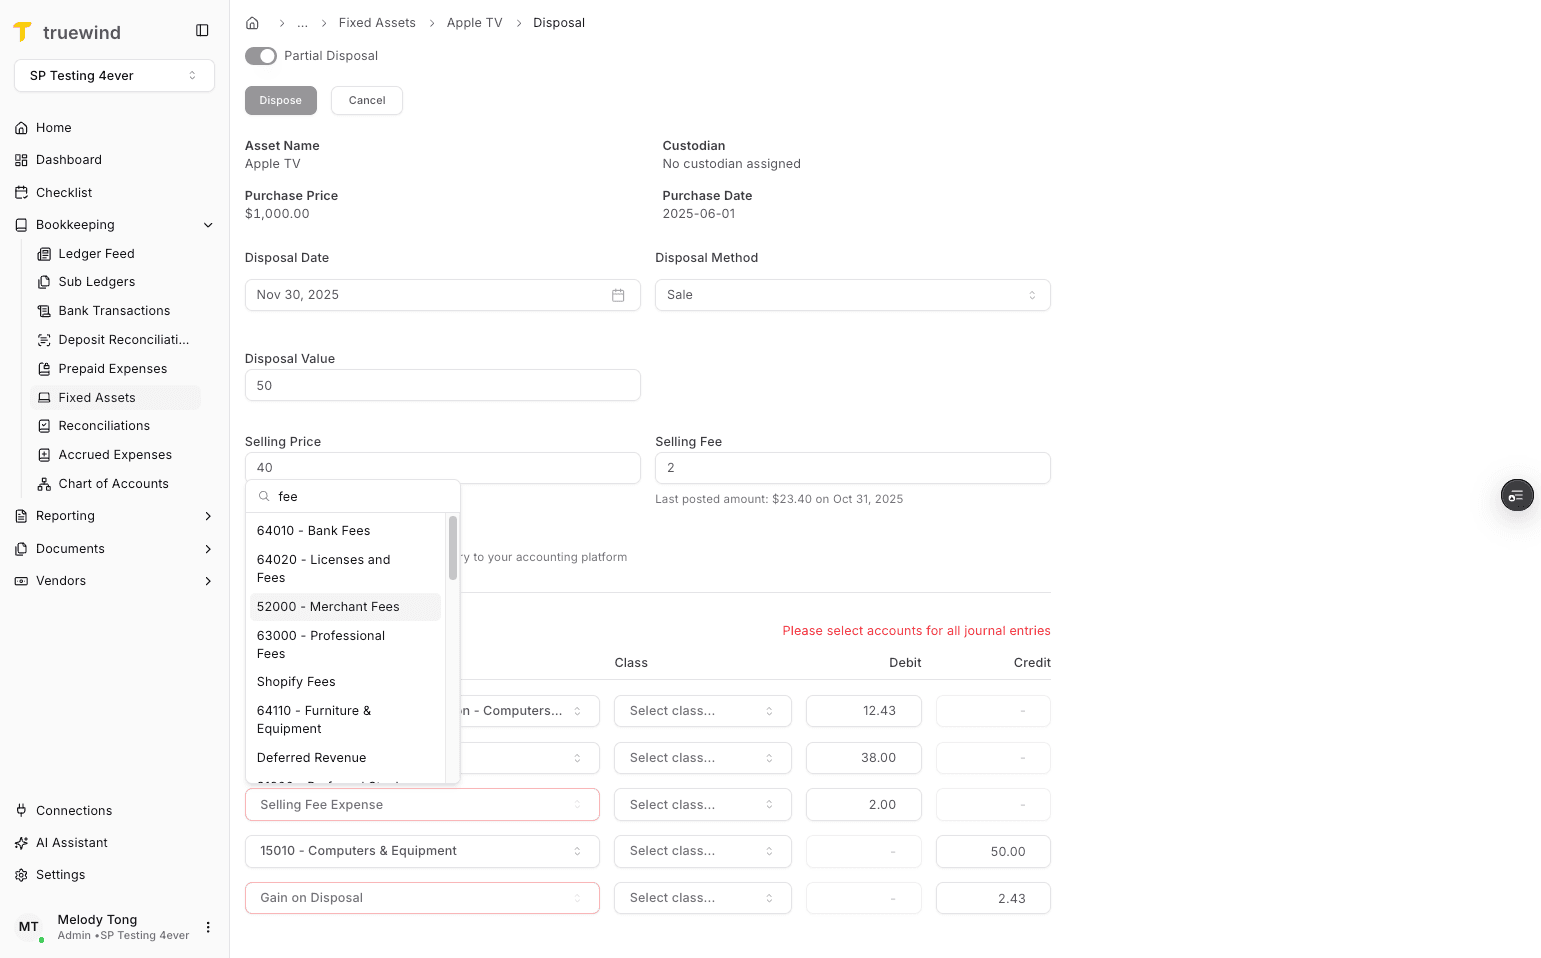
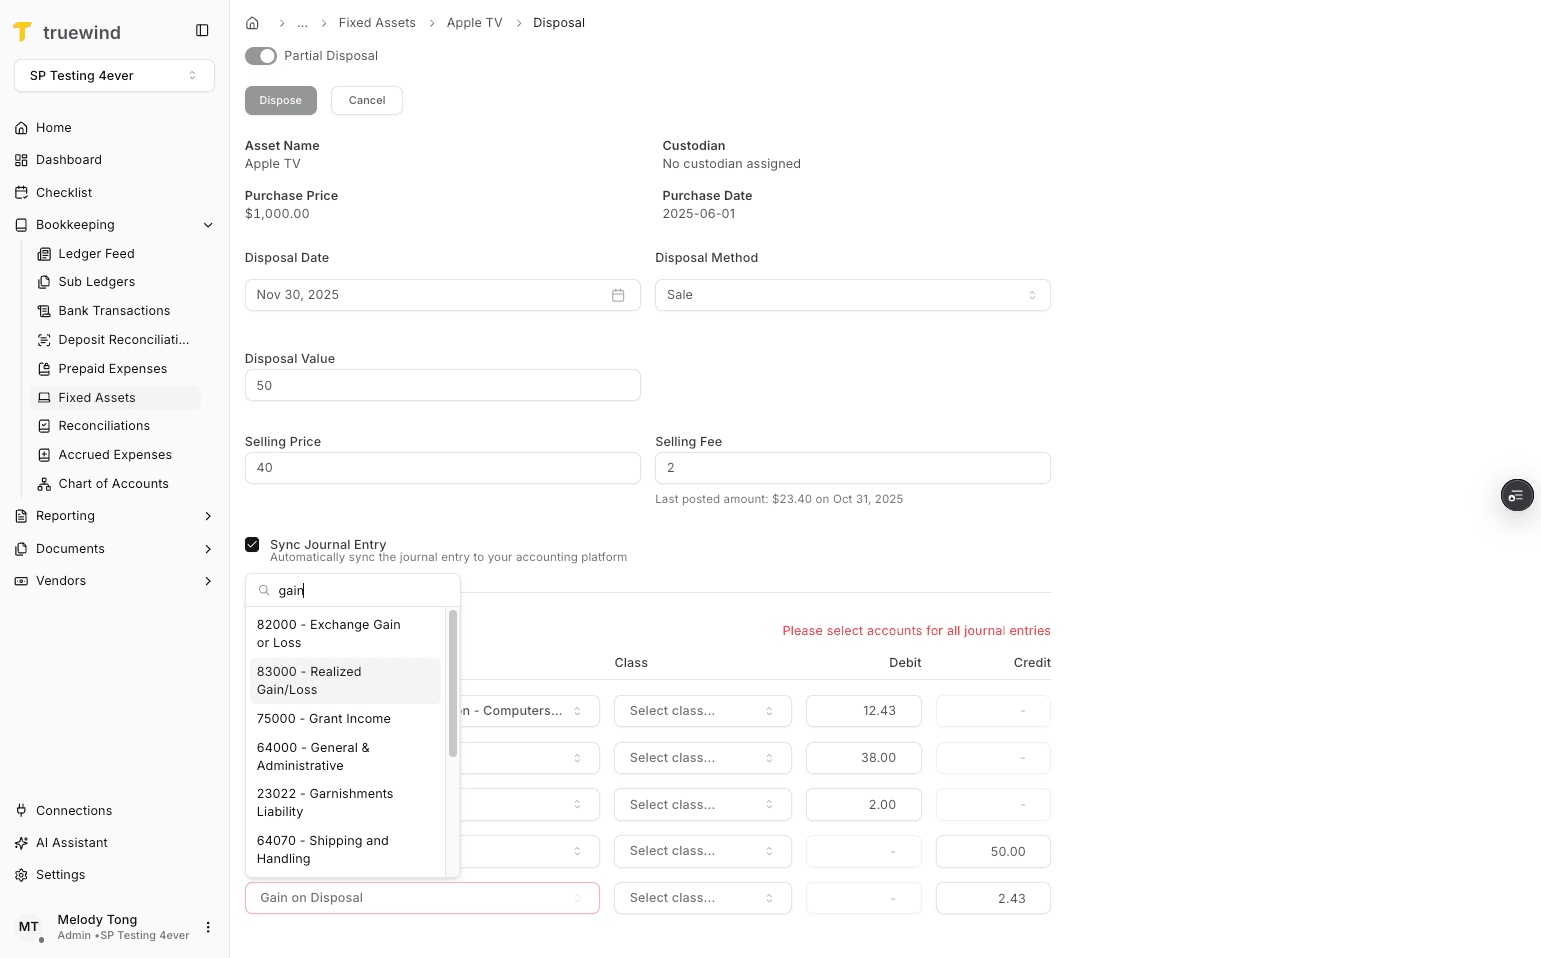
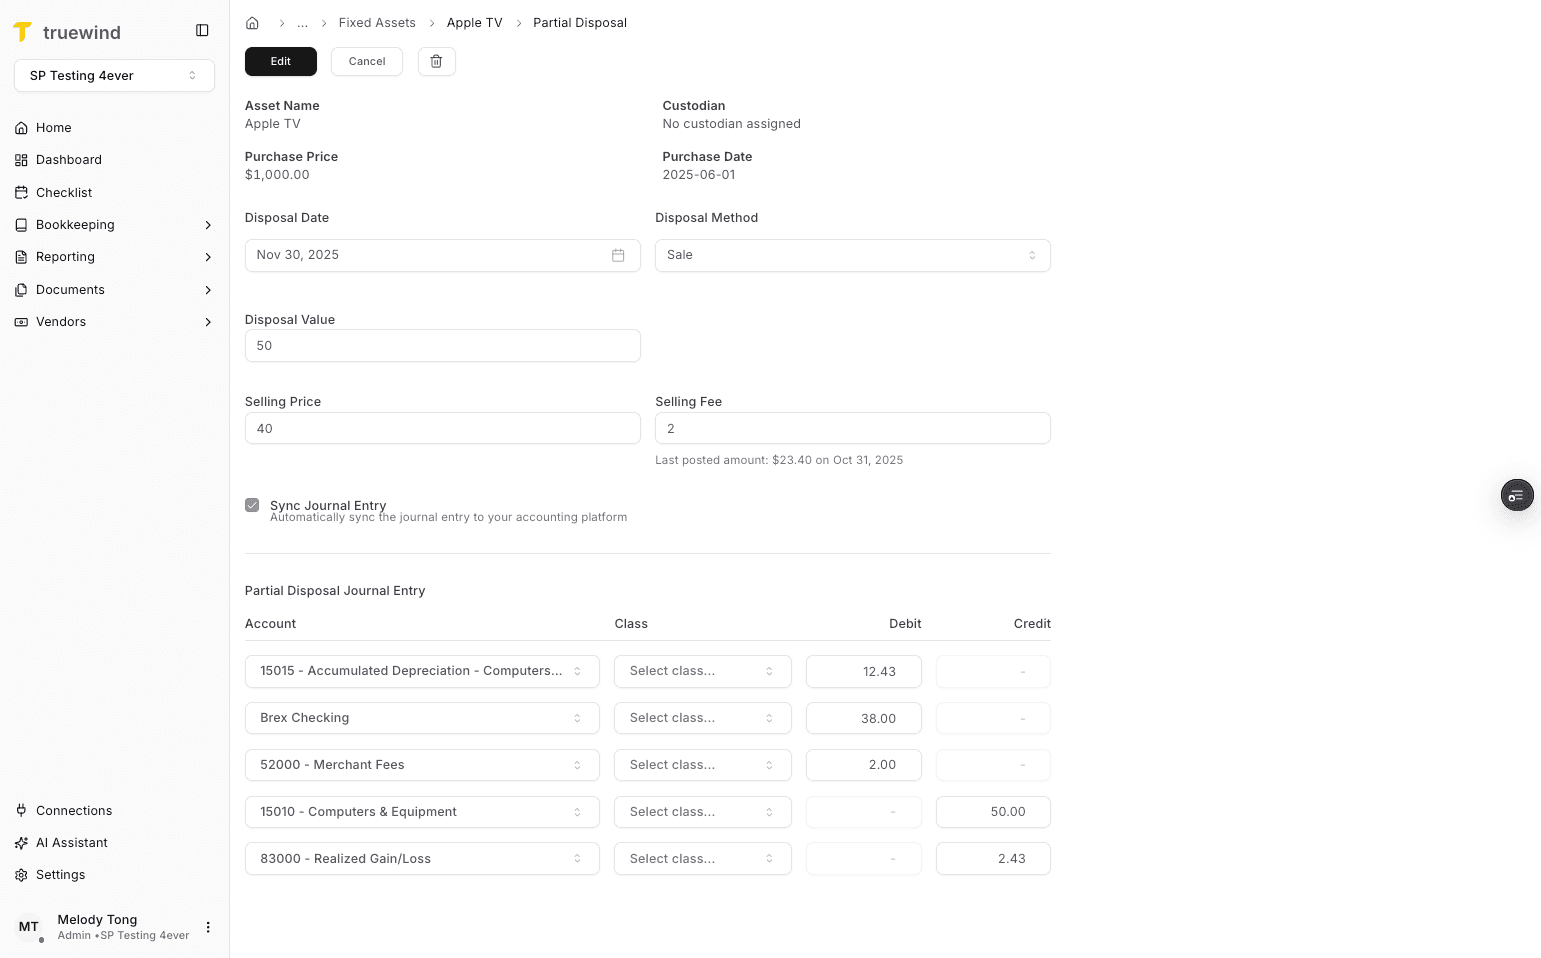
Enter the required values carefully so the schedule and journal-entry details calculate correctly.
Step 8
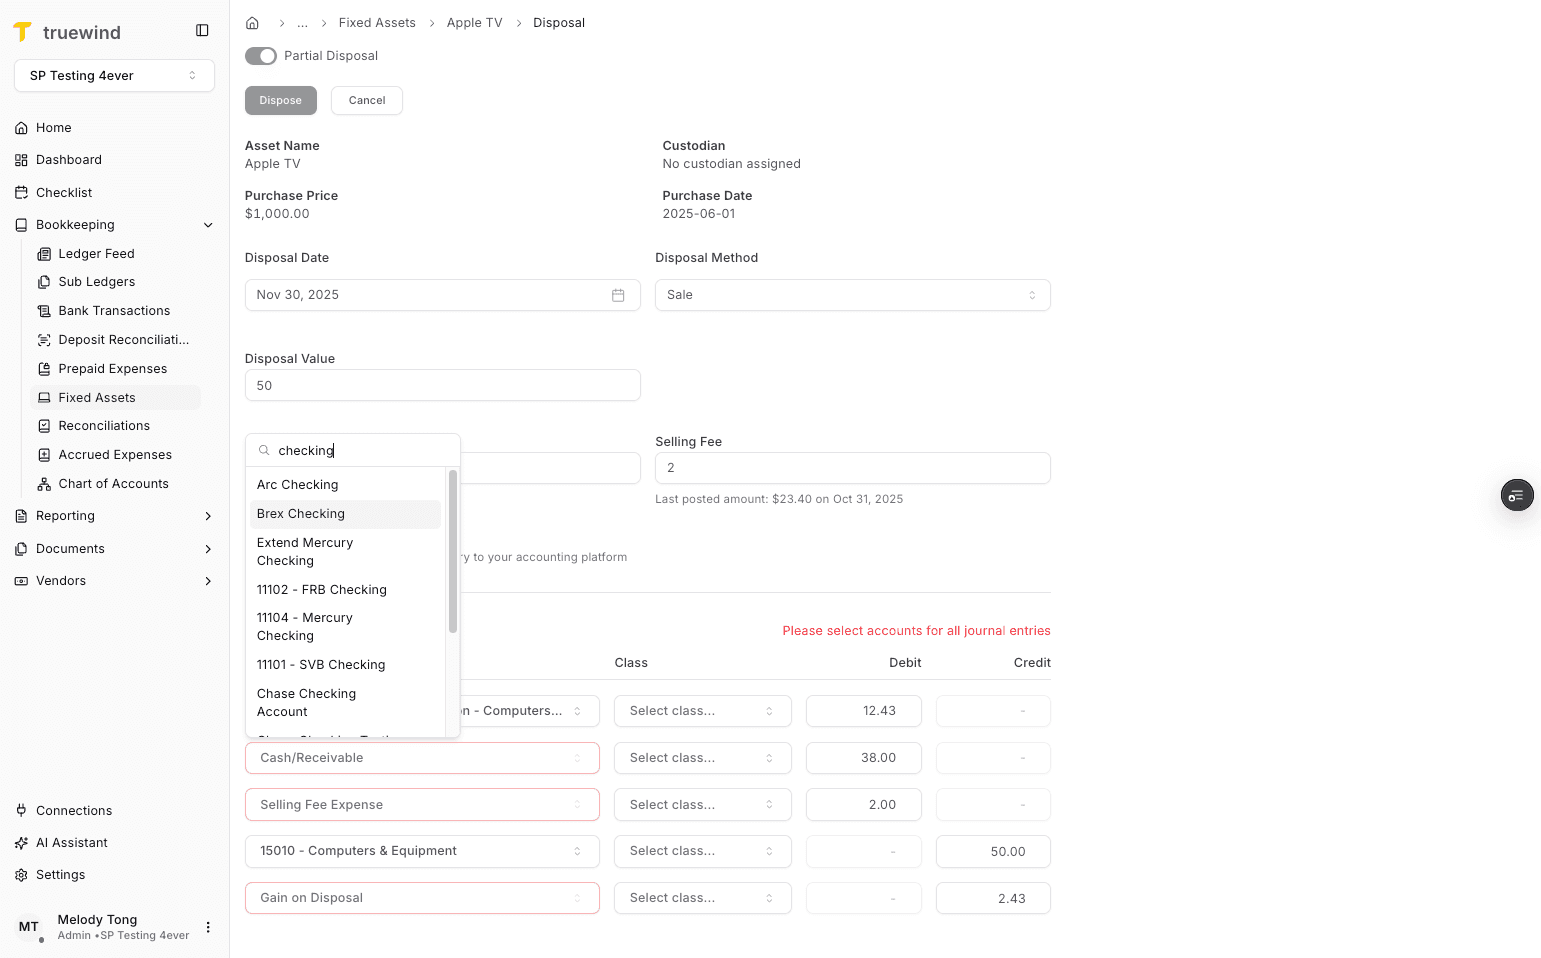
Use the highlighted control to continue through the workflow.
Step 9
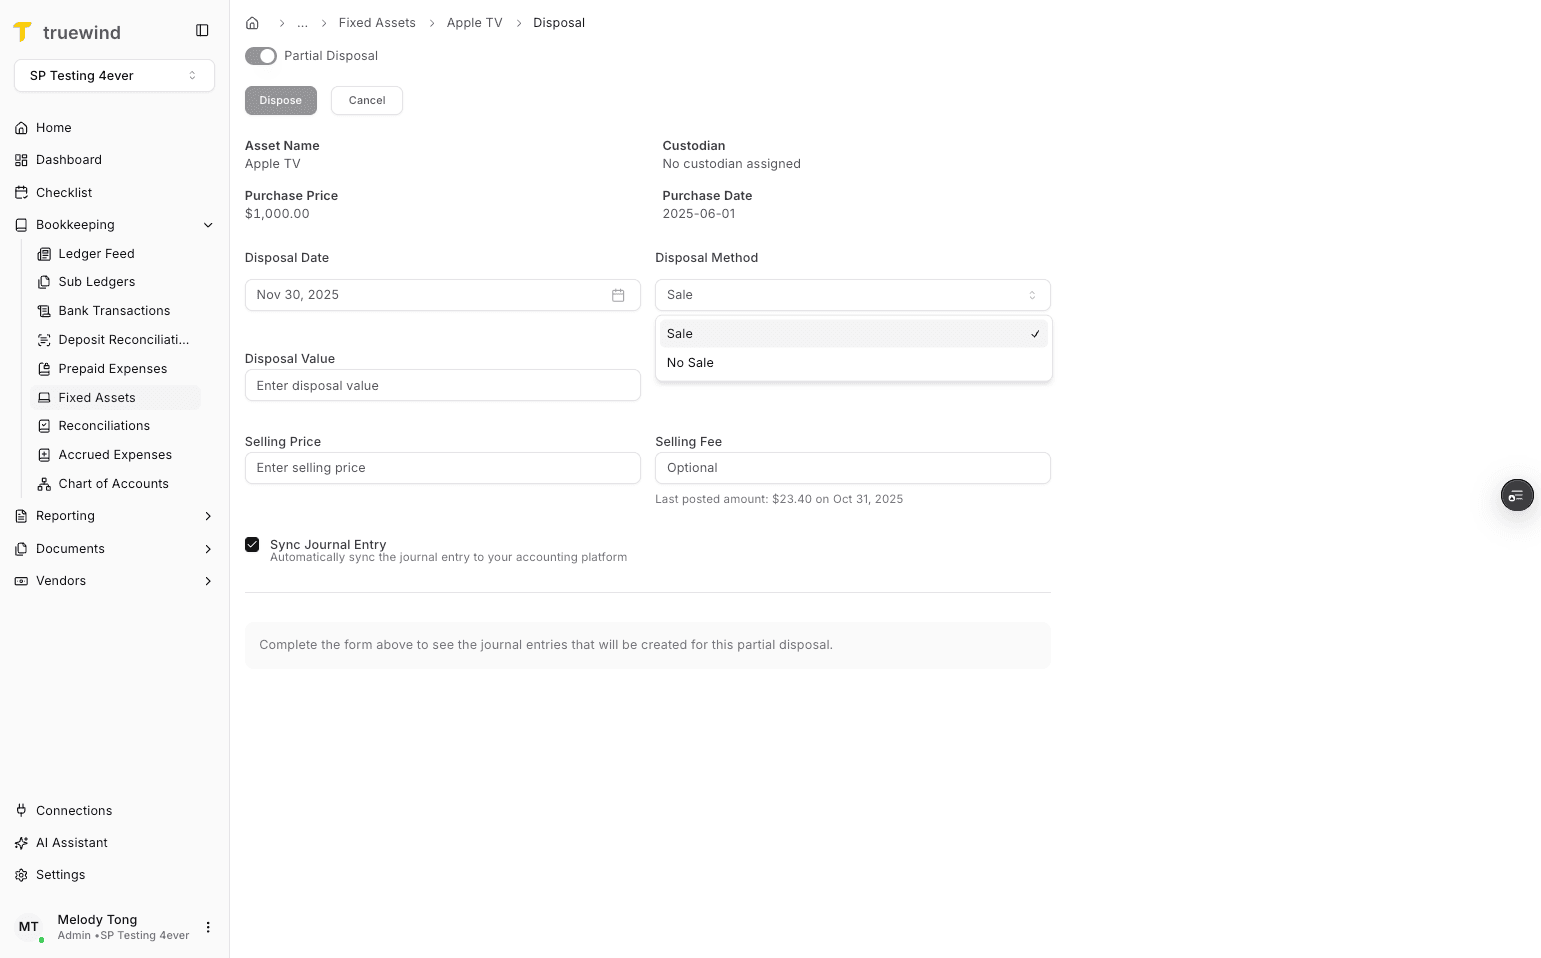
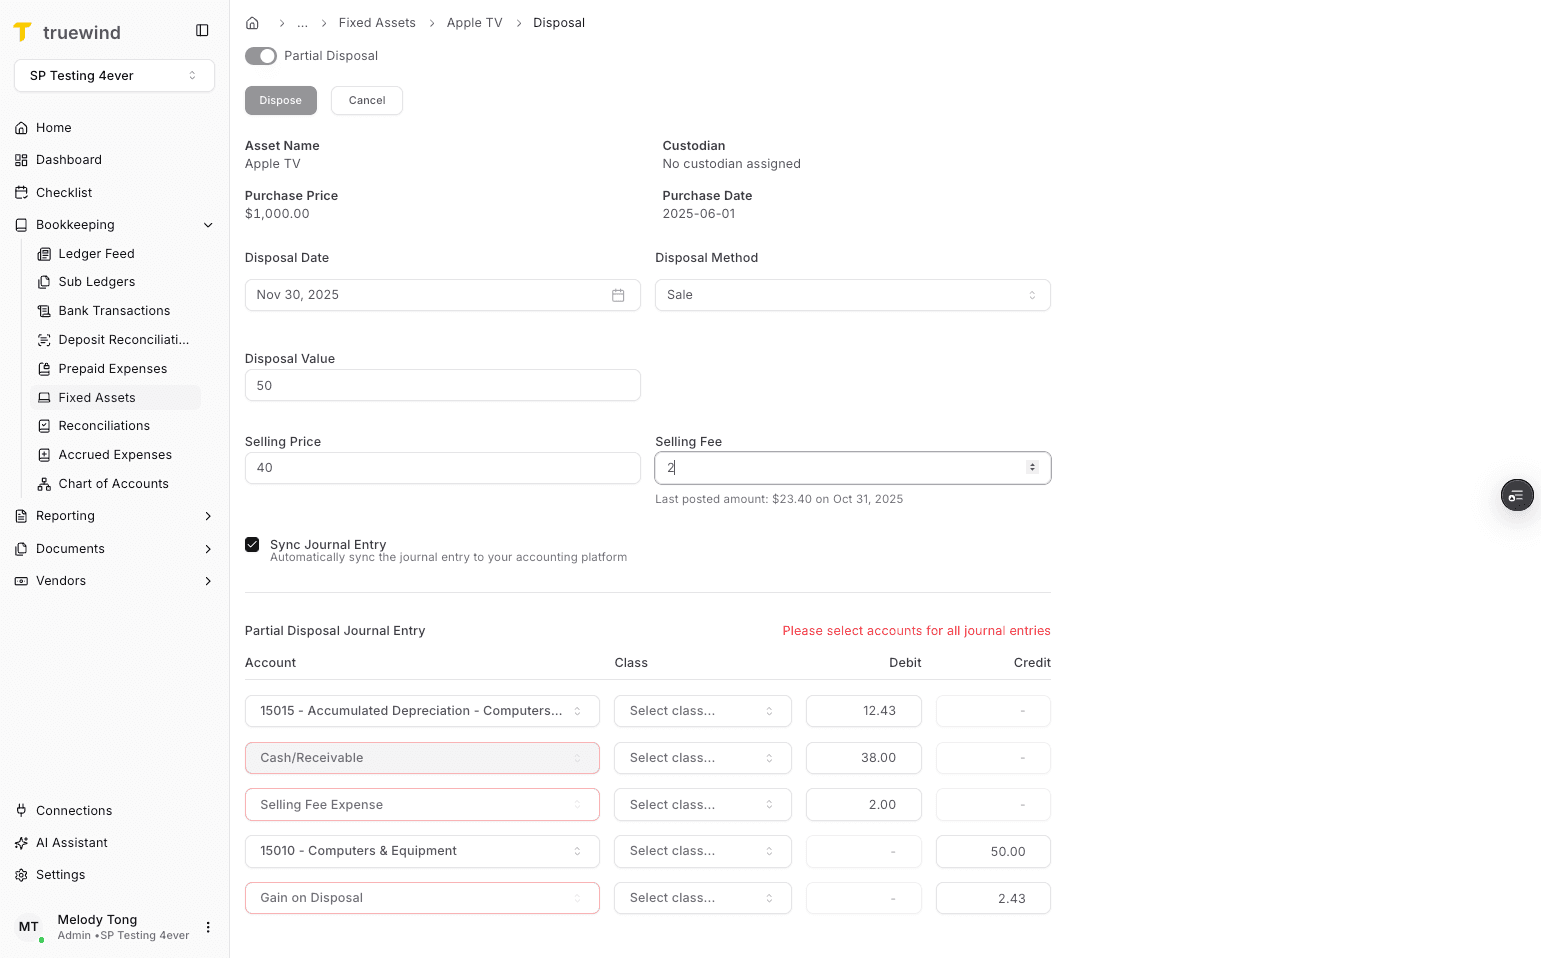
Choose the option that matches the account, period, or schedule you are working with.
Step 10
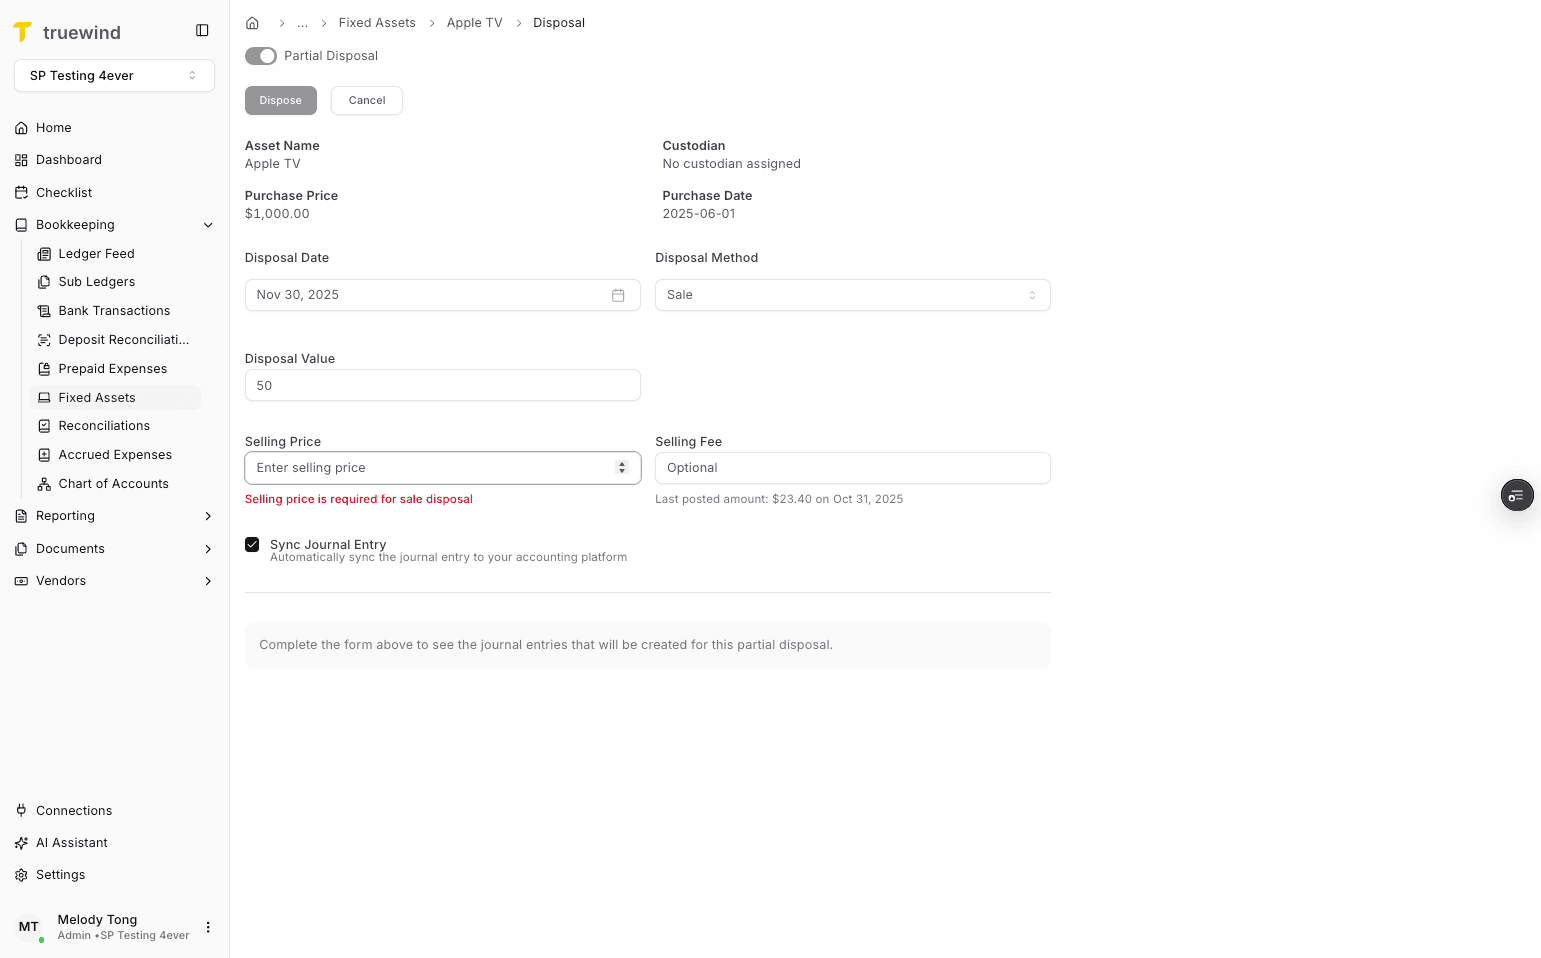
Enter the required values carefully so the schedule and journal-entry details calculate correctly.
Step 11
Enter the required values carefully so the schedule and journal-entry details calculate correctly.
Step 12
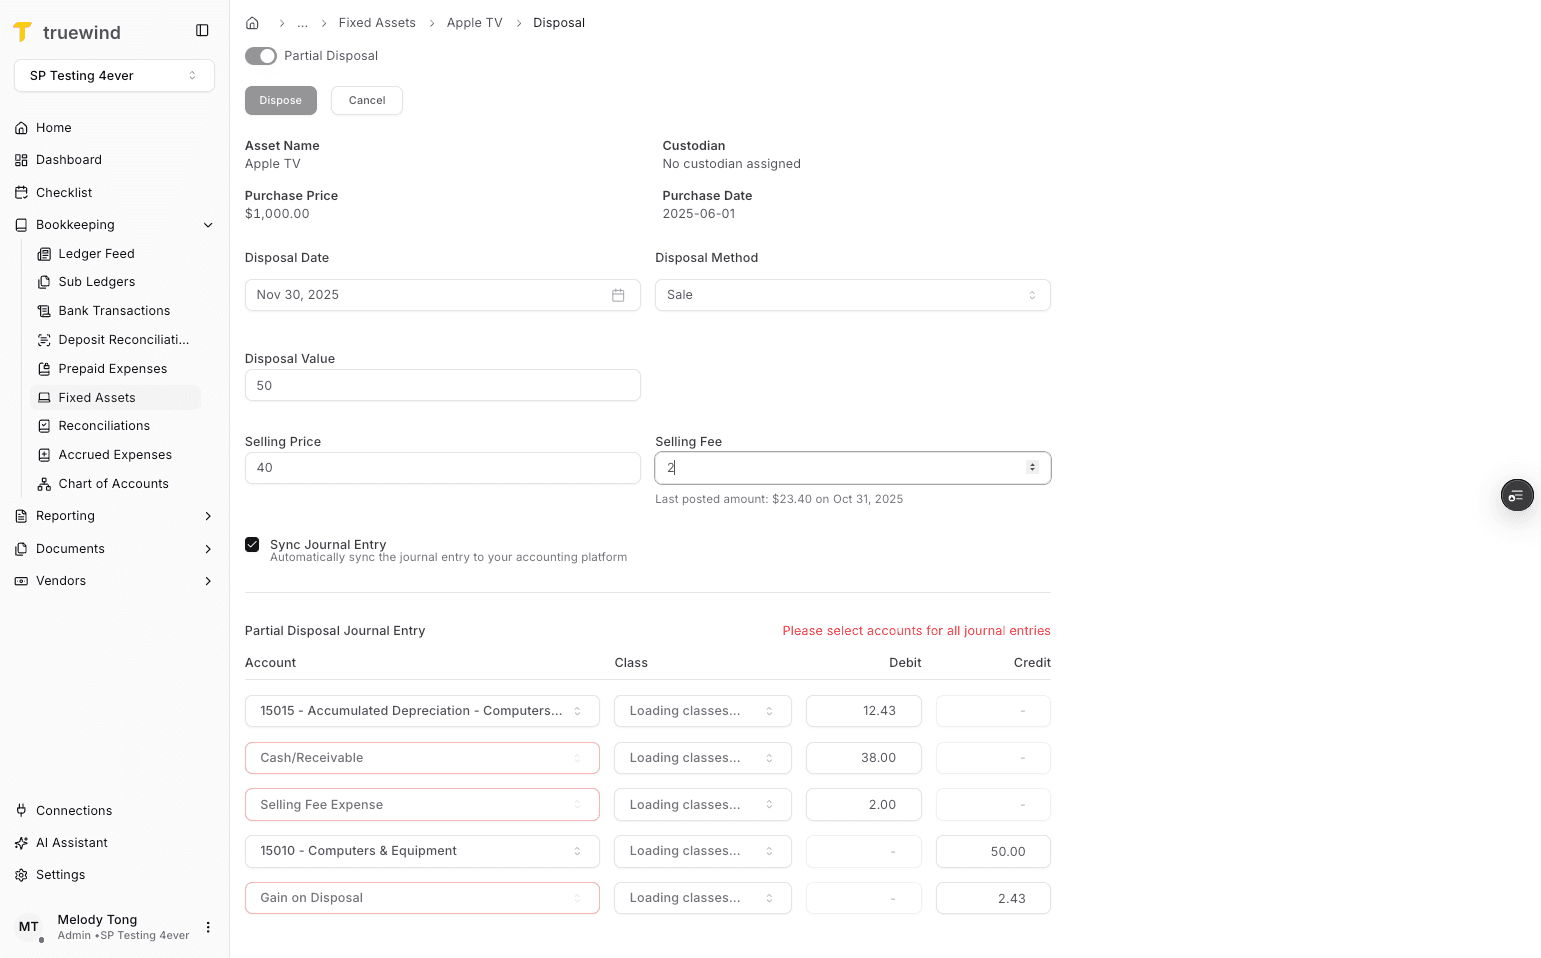
Enter the required values carefully so the schedule and journal-entry details calculate correctly.
Step 13
Use the highlighted control to continue through the workflow.
Step 14
Enter the required values carefully so the schedule and journal-entry details calculate correctly.
Step 15
Use the highlighted control to continue through the workflow.
Step 16
Use the highlighted control to continue through the workflow.
Step 17
Enter the required values carefully so the schedule and journal-entry details calculate correctly.
Step 18
Use the highlighted control to continue through the workflow.
Step 19
Use the highlighted control to continue through the workflow.
Step 20
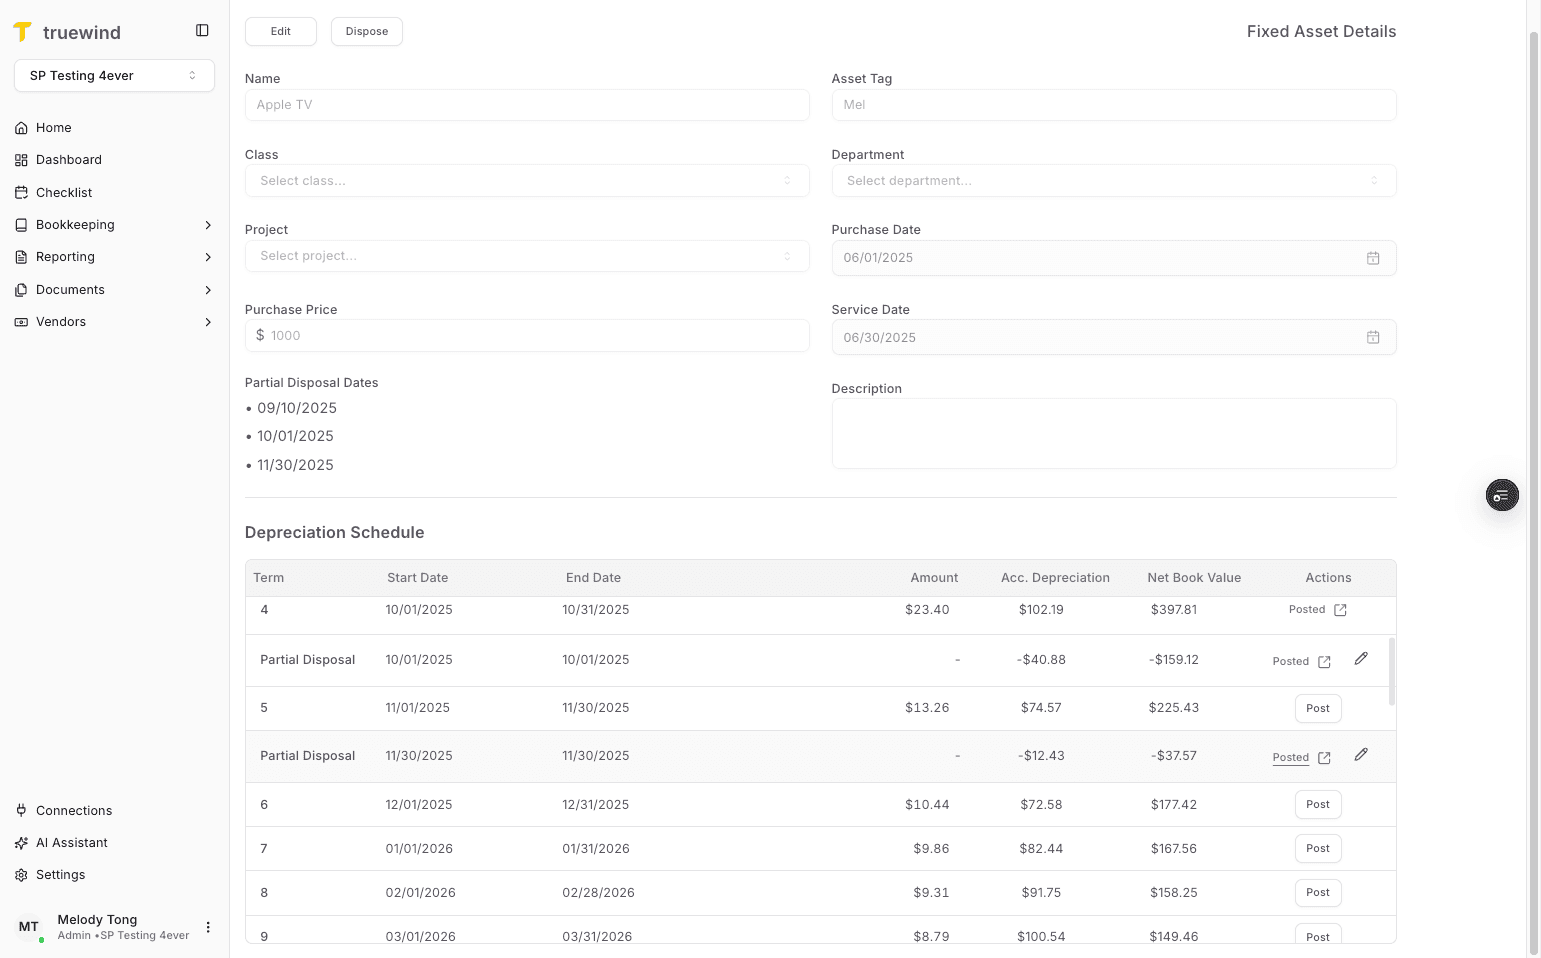
Confirm the page shows the expected result before continuing to the next step.

Step 21
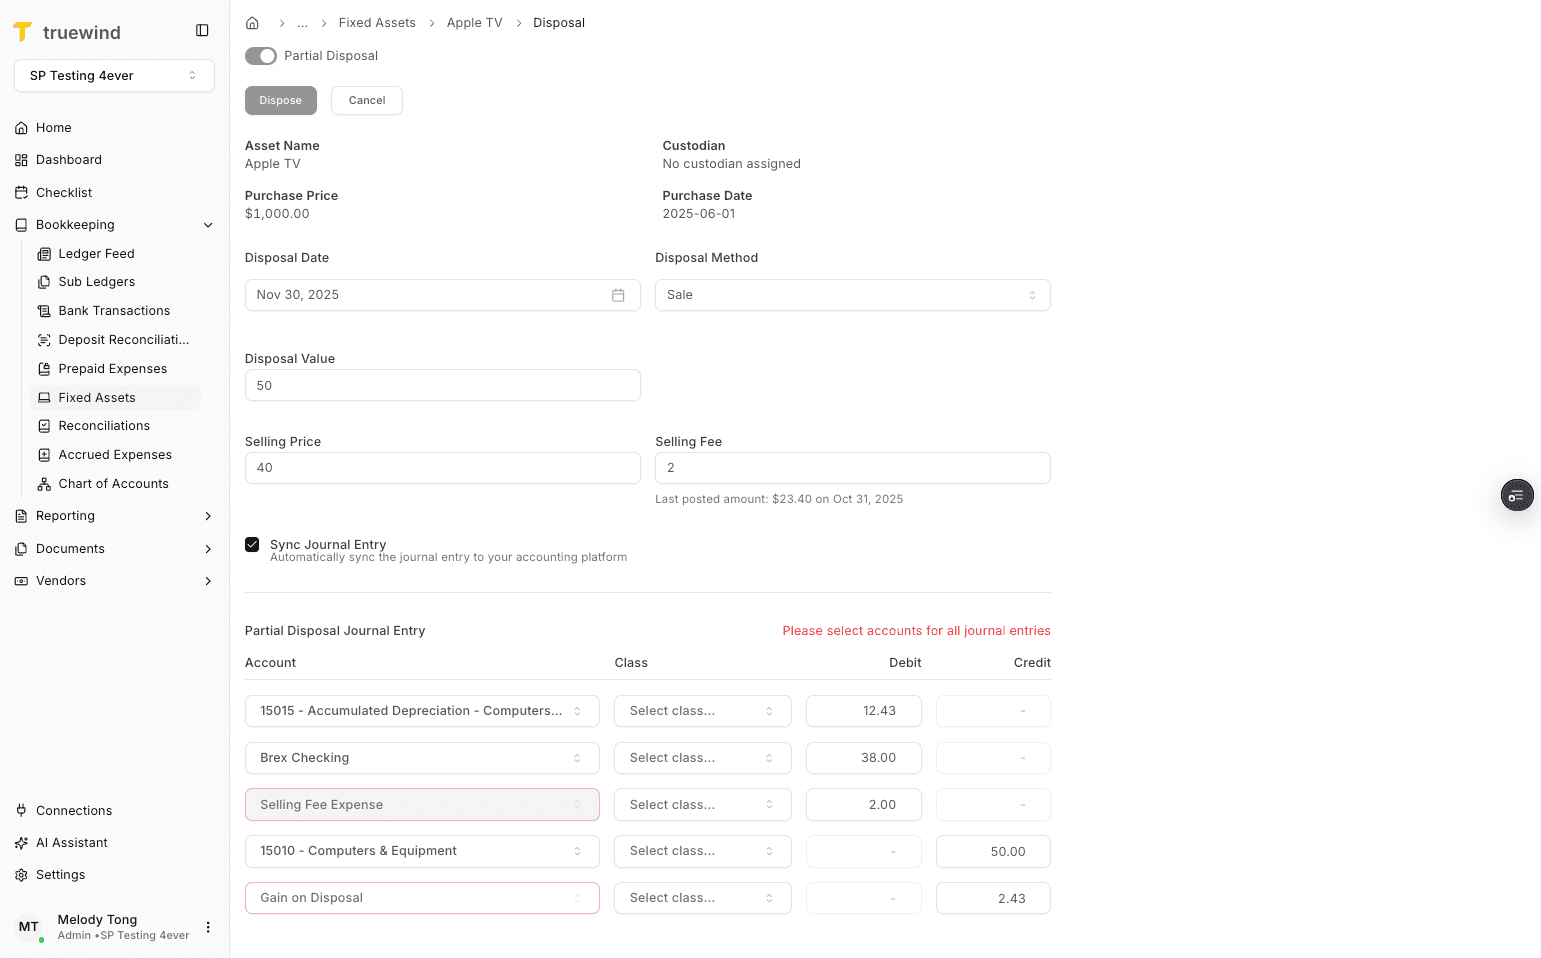
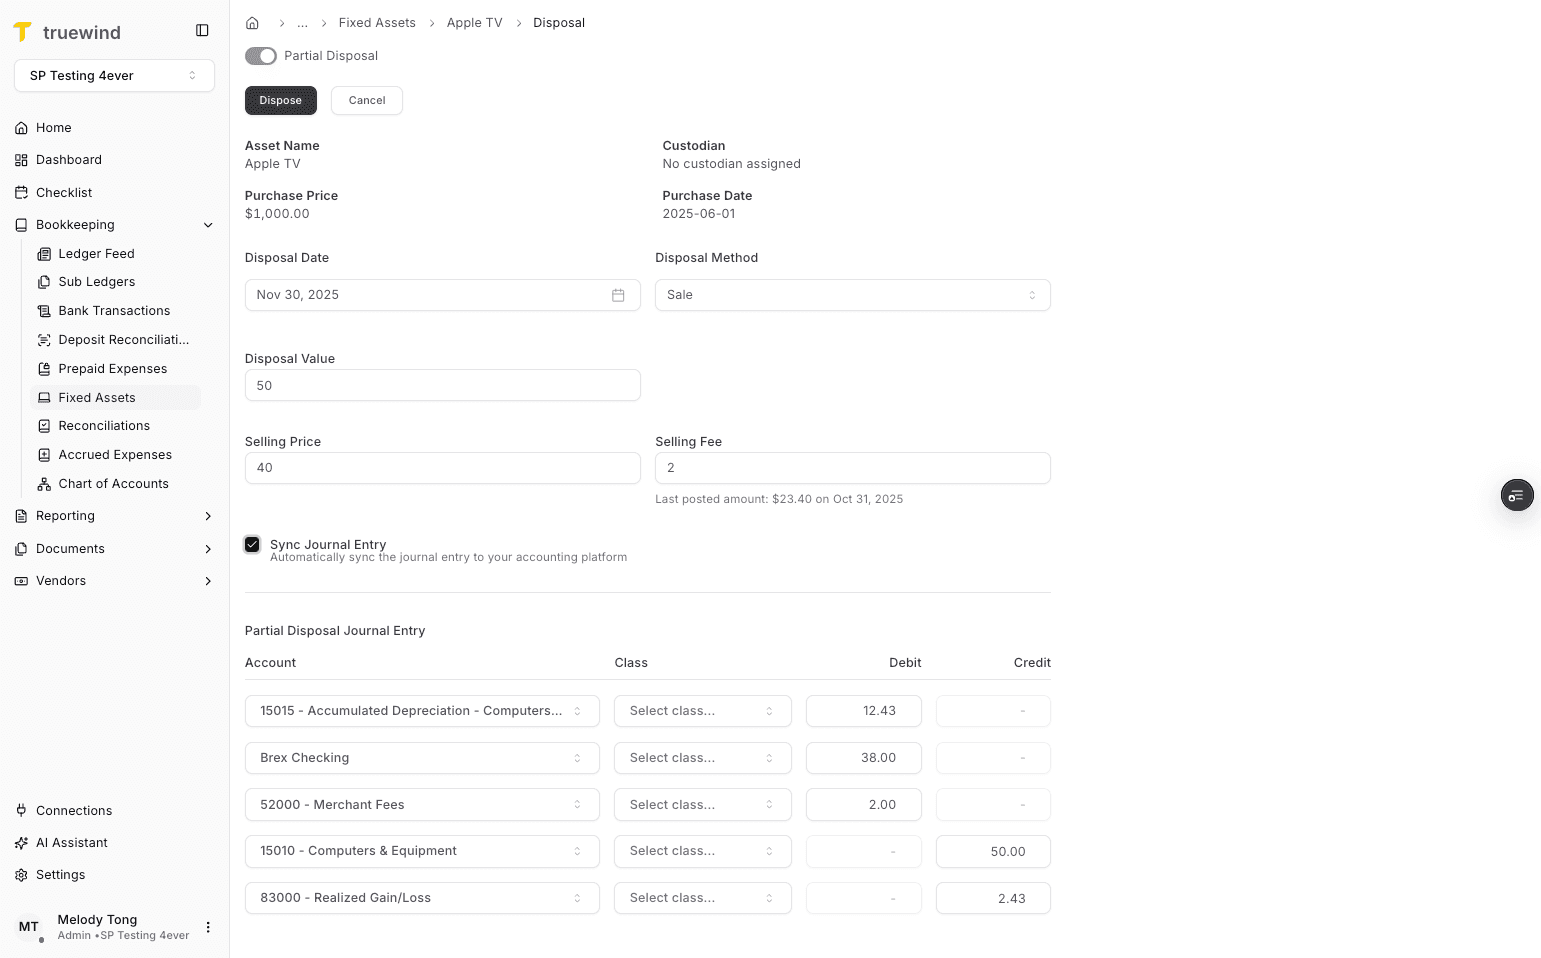
Review the posting details and continue only when the journal-entry information is correct.

Step 22
Use the highlighted control to continue through the workflow.
Step 23
Confirm the page shows the expected result before continuing to the next step.
Step 24
Confirm the page shows the expected result before continuing to the next step.
Step 25
Use the highlighted control to continue through the workflow.
Step 26
Confirm the page shows the expected result before continuing to the next step.
Step 27
Confirm the page shows the expected result before continuing to the next step.

Confirm you are retiring only part of the asset. Use the full-disposal workflow when the entire asset is leaving service.
Was this helpful?
Need more help?
Ask for human help about this article and provide any feedback.