
Ask the support agent

Just ask a direct question or search related articles from the Knowledge Base.

Support Center / Onboarding / Create accounts

Add admin user to accounting firm

Add an existing user as an accounting firm admin when they need firm-level access plus admin access on a specific client, resulting in the right permissions in both Retool and Truewind.

Workflow

Step 1

Open Admin Panel

Start in Retool by opening the Admin Panel, because the accounting firm assignment is created there first.

Screenshot showing the Admin Panel entry in Retool

Step 2

Search for the user

Find the existing user by email before you attach them to an accounting firm.

Screenshot showing the email search field in Retool

Step 3

Choose the user account

Select the correct person so the firm-level role is applied to the right login.

Screenshot showing the selected user account in Retool

Step 4

Search for the accounting firm

Filter the company list so you can attach the user to the intended accounting firm workspace.

Screenshot showing the accounting firm search field in Retool

Step 5

Choose the accounting firm

Pick the firm that should grant the user admin-level access before you assign their role.

Screenshot showing the selected accounting firm in Retool

Step 6

Open the role picker

This exposes the firm-level roles available for the selected user within the chosen accounting firm.

Screenshot showing the role selector in Retool

Step 7

Choose Admin

Use the Admin role when the user needs full accounting firm permissions instead of a lower-access role.

Screenshot showing the Admin role selected in Retool

Step 8

Add the user to the company

Save the firm-level assignment so the user can switch into that accounting firm workspace.

Screenshot showing the Add User to Company action in Retool

Step 9

Confirm the switch

Wait for the success message before leaving Retool so you know the firm assignment was applied.

Screenshot showing the company switch success message in Retool

Step 10

Return to Truewind

Move back into the accounting firm workspace in Truewind to verify the user now appears in the firm context.

Screenshot showing the Members page in Truewind

Step 11

Review Members

Use the Members list to confirm the user is present before you assign them to a client account.

Screenshot showing the user in the Members list in Truewind

Step 12

Open Members

Keep the firm-level Members page active while you verify the new admin account and prepare to assign client access.

Screenshot showing Members selected in the Truewind sidebar

Step 13

Open the sidebar

Use the sidebar to move from firm-level members into the client list for the next access assignment.

Screenshot showing the Truewind sidebar open

Step 14

Open Clients

This takes you to the client list where the user can be granted admin access on a specific company.

Screenshot showing Clients selected in the Truewind sidebar

Step 15

Choose the client

Pick the client company that should grant this user admin access in addition to the firm-level assignment.

Screenshot showing the selected client in Truewind

Step 16

Search for the user

Filter the client member picker so you can attach the correct existing user to the selected client.

Screenshot showing the client member search field in Truewind

Step 17

Choose the user

Select the same user you added at the firm level so the client permission is applied to the right account.

Screenshot showing the selected user in the client member picker

Step 18

Review the current role

Check the existing client role before changing it so you know whether the user is being upgraded from a lower permission.

Screenshot showing the current client role in Truewind

Step 19

Choose Admin

Set the client role to Admin when the user needs full access on that specific company.

Screenshot showing the Admin client role selected in Truewind

Step 20

Add the member

Save the client-level assignment only after the selected user and role look correct.

Screenshot showing the Add member action in Truewind

Step 21

Confirm the success message

Use the success state as the final check that the user now has admin access on the client.

Screenshot showing the member added successfully message in Truewind

Step 22

Review the final state

Confirm the client assignment completed cleanly before you leave the page or continue onboarding other users.

Screenshot showing the completed client member assignment in Truewind

Before you start

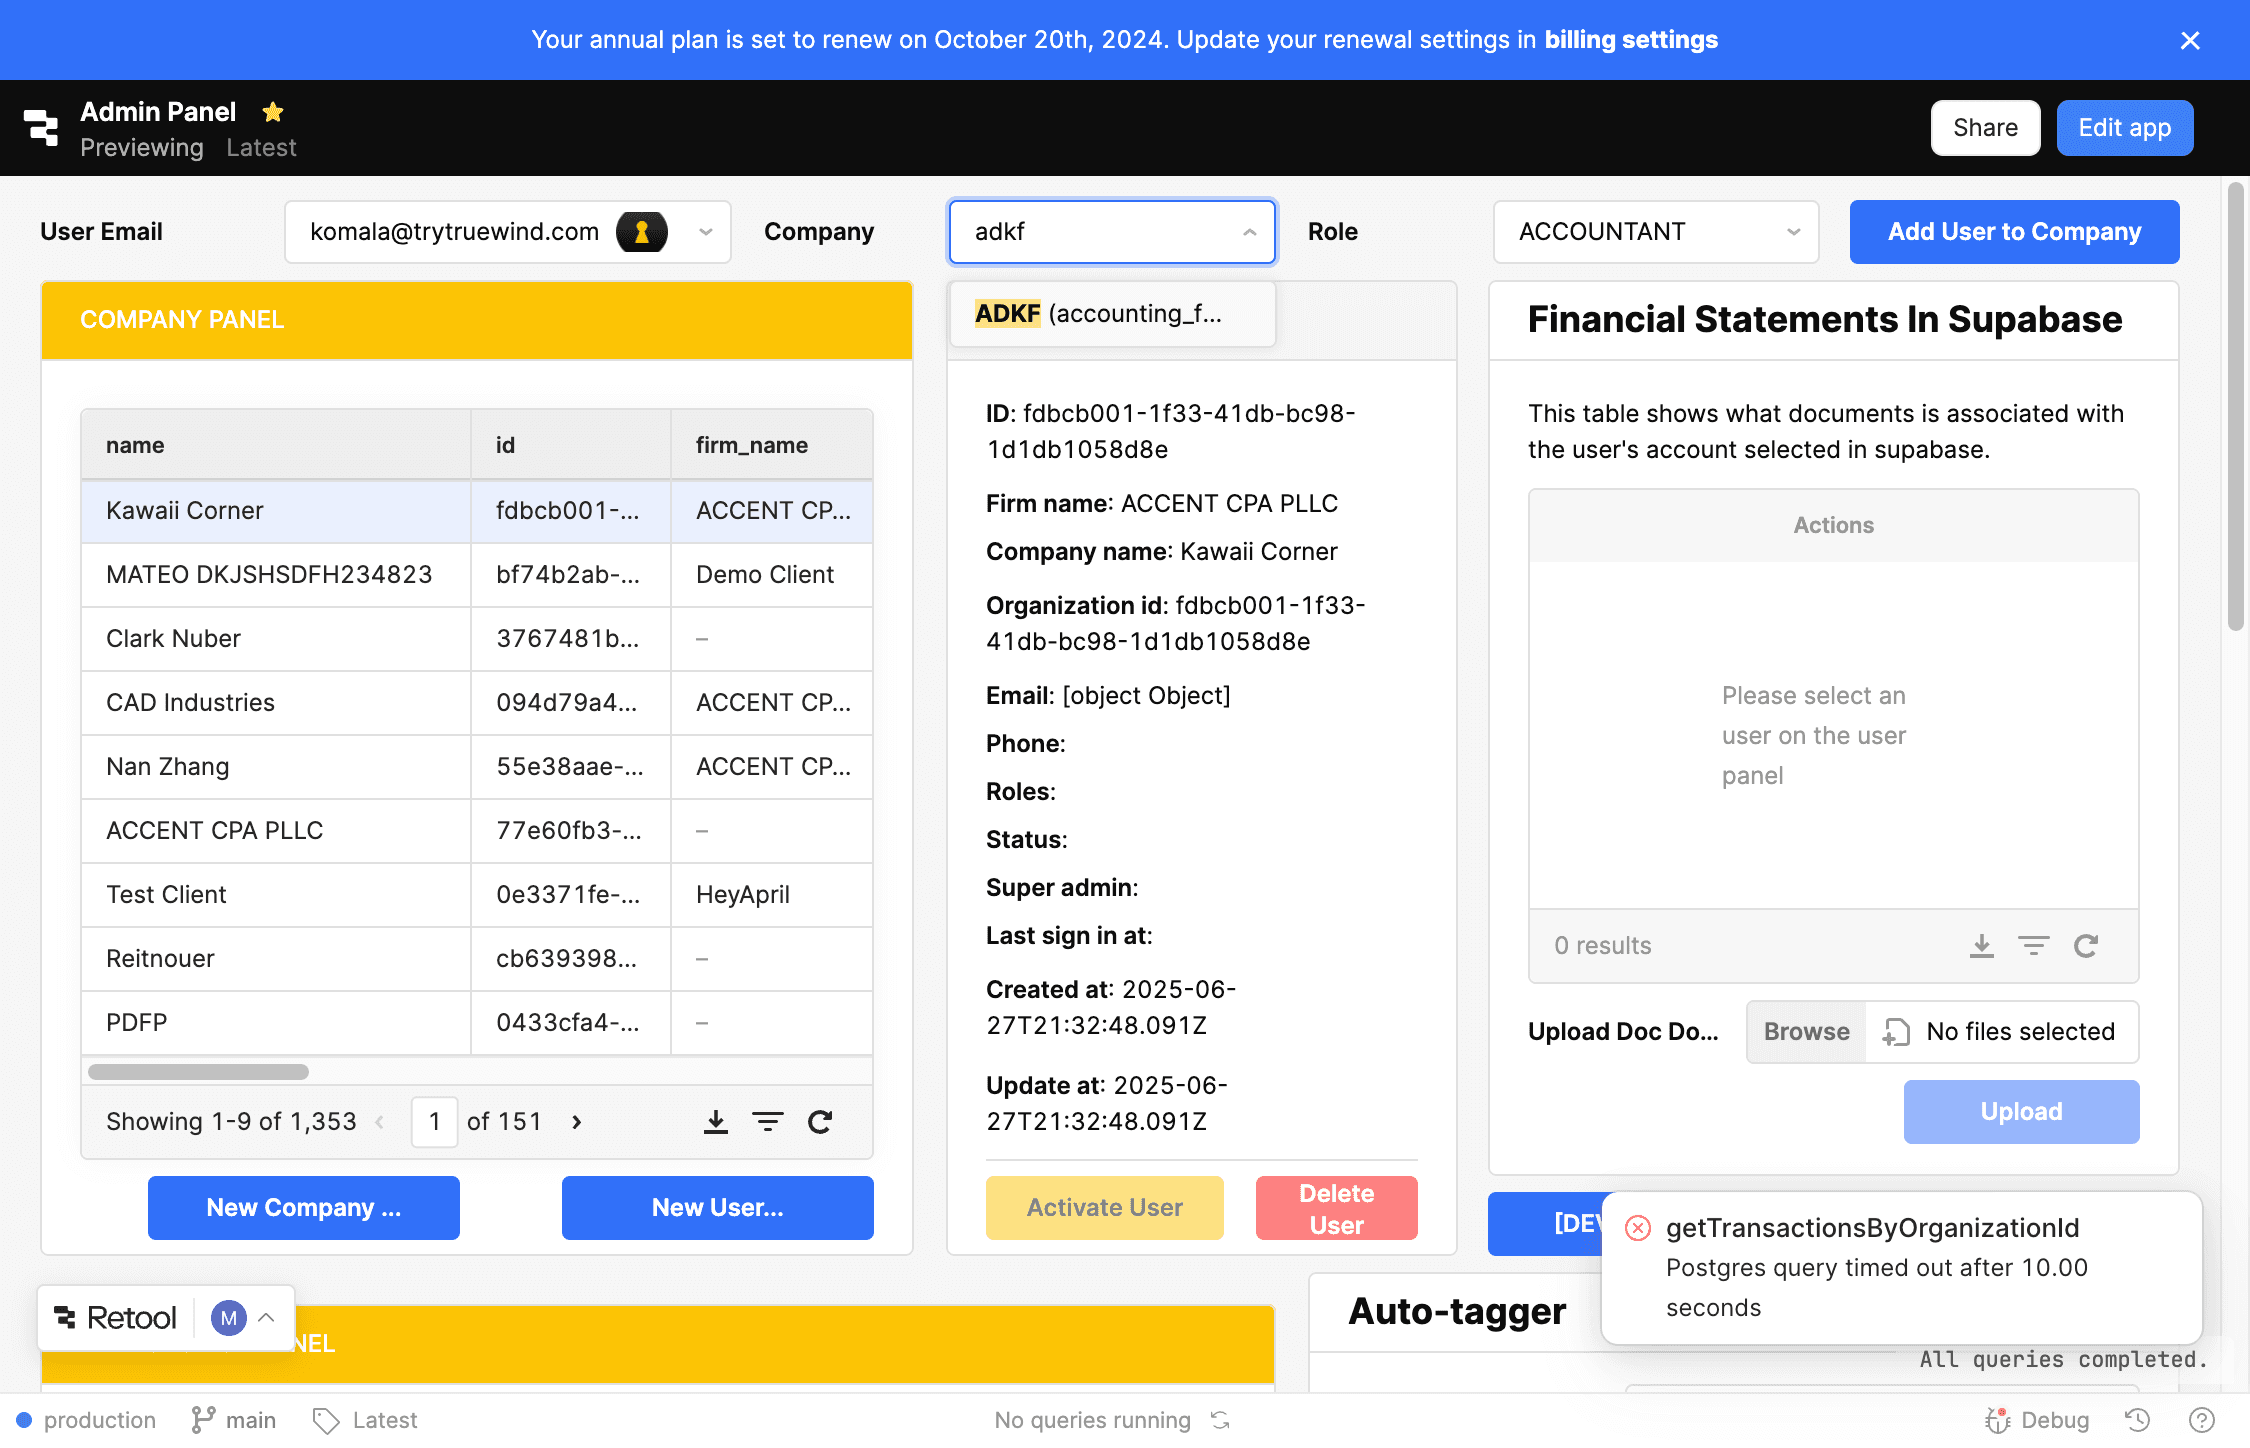
  • The user account must already exist.
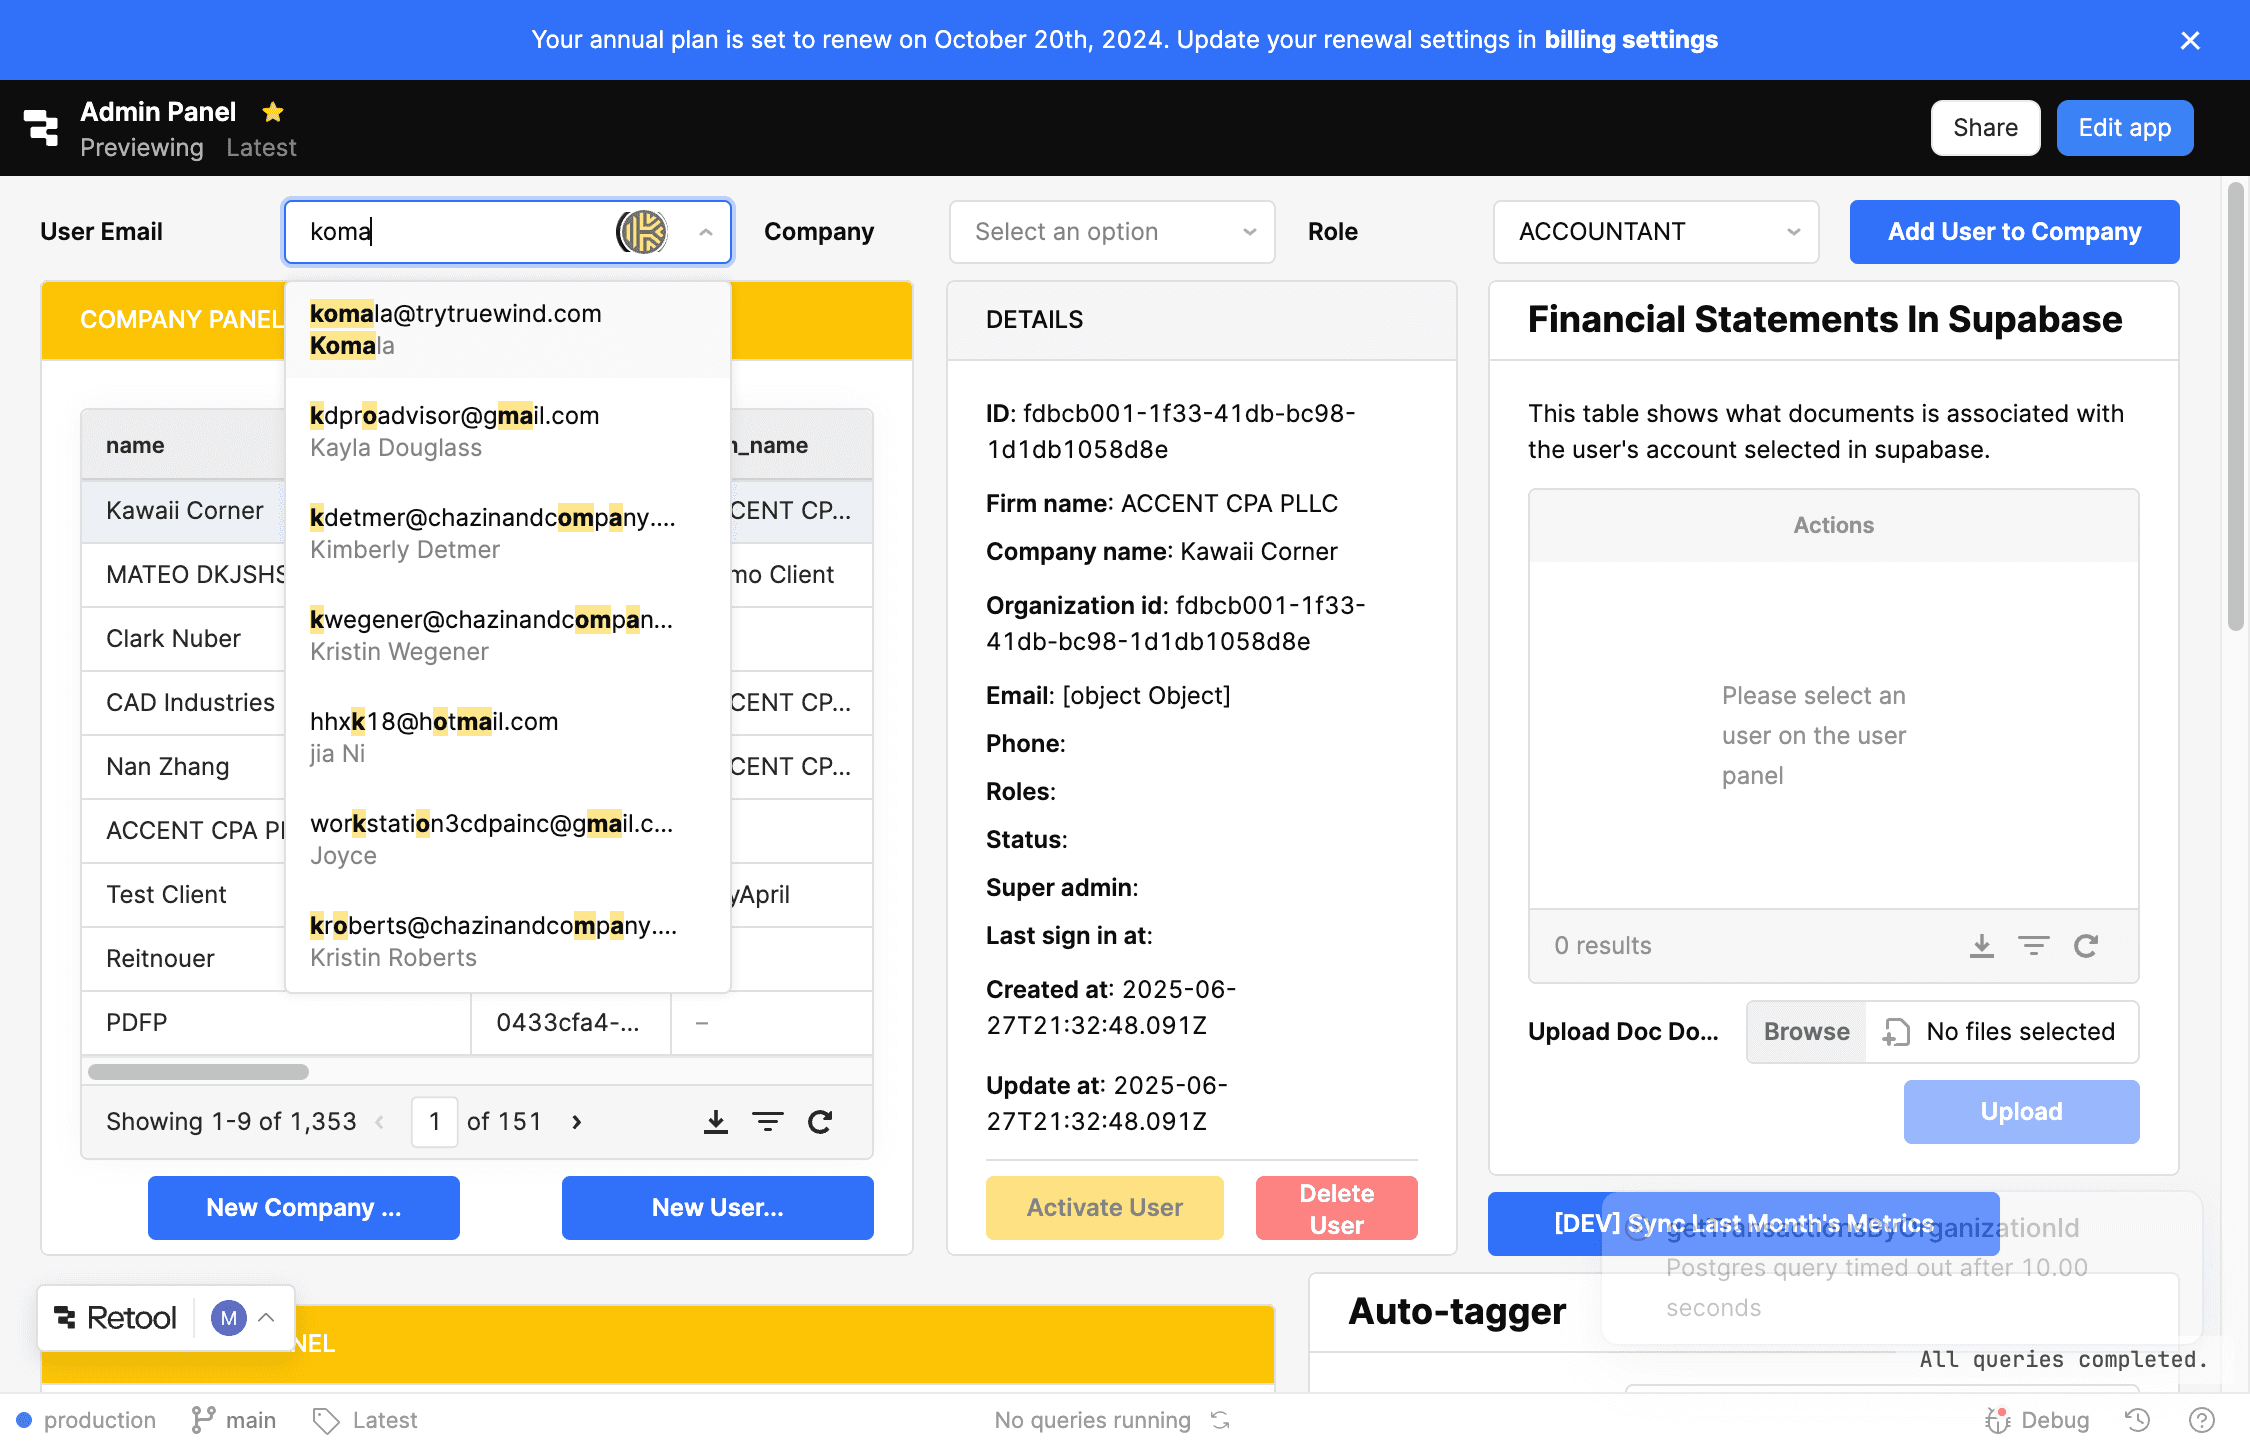
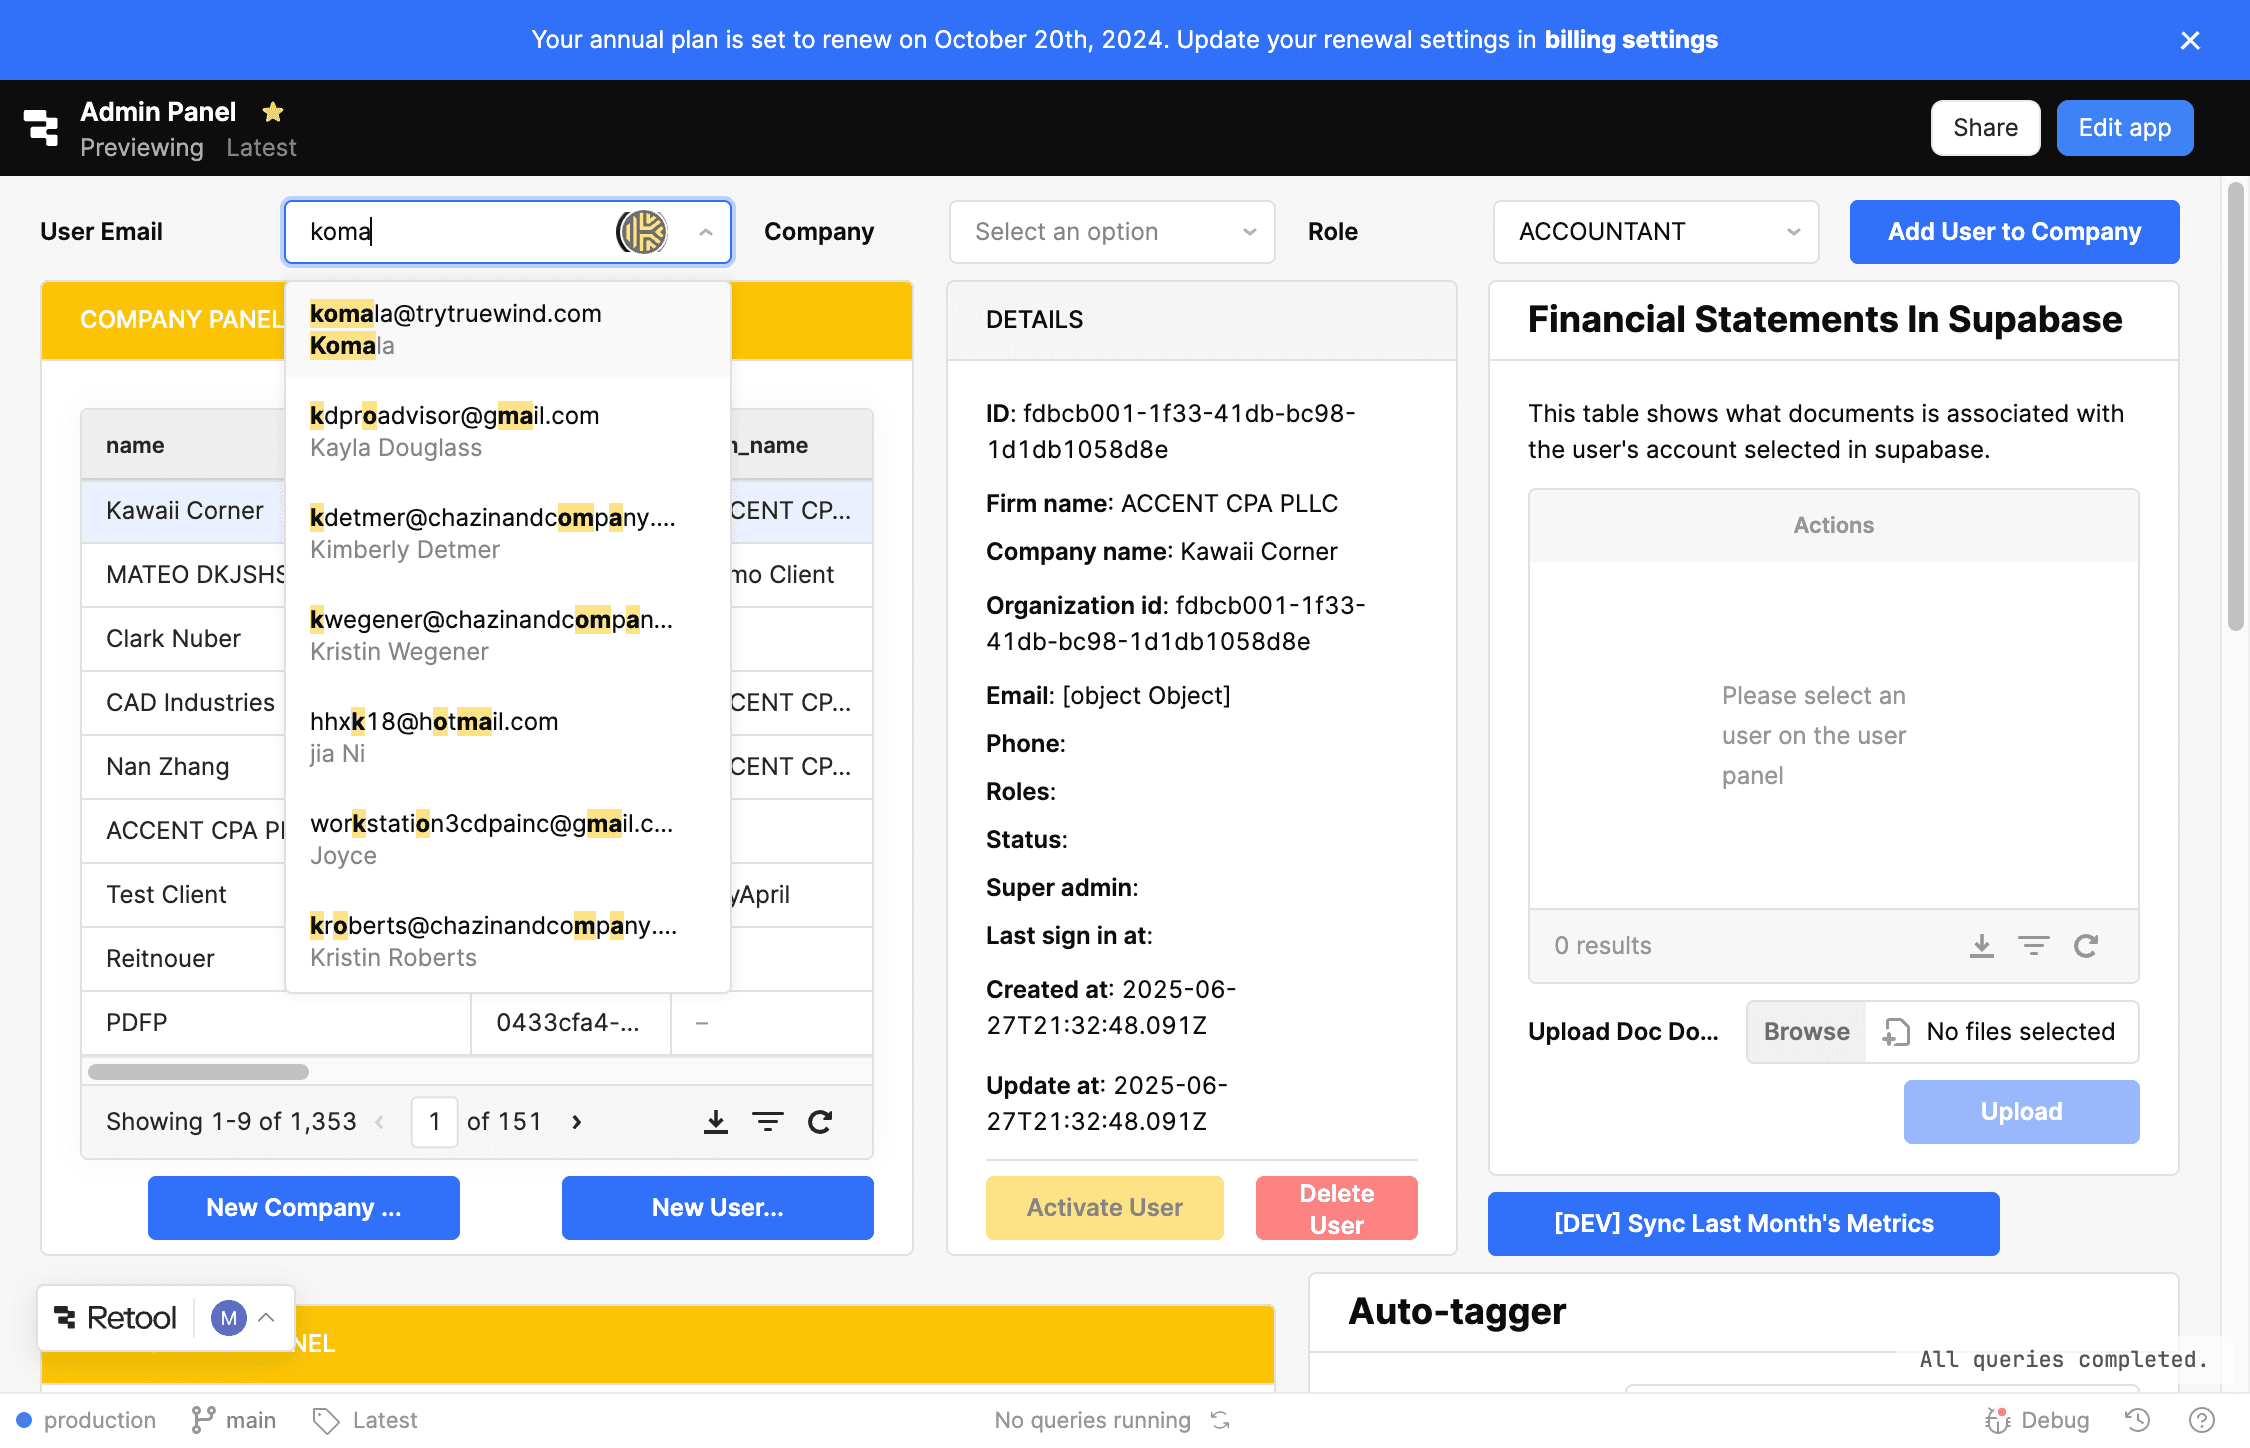
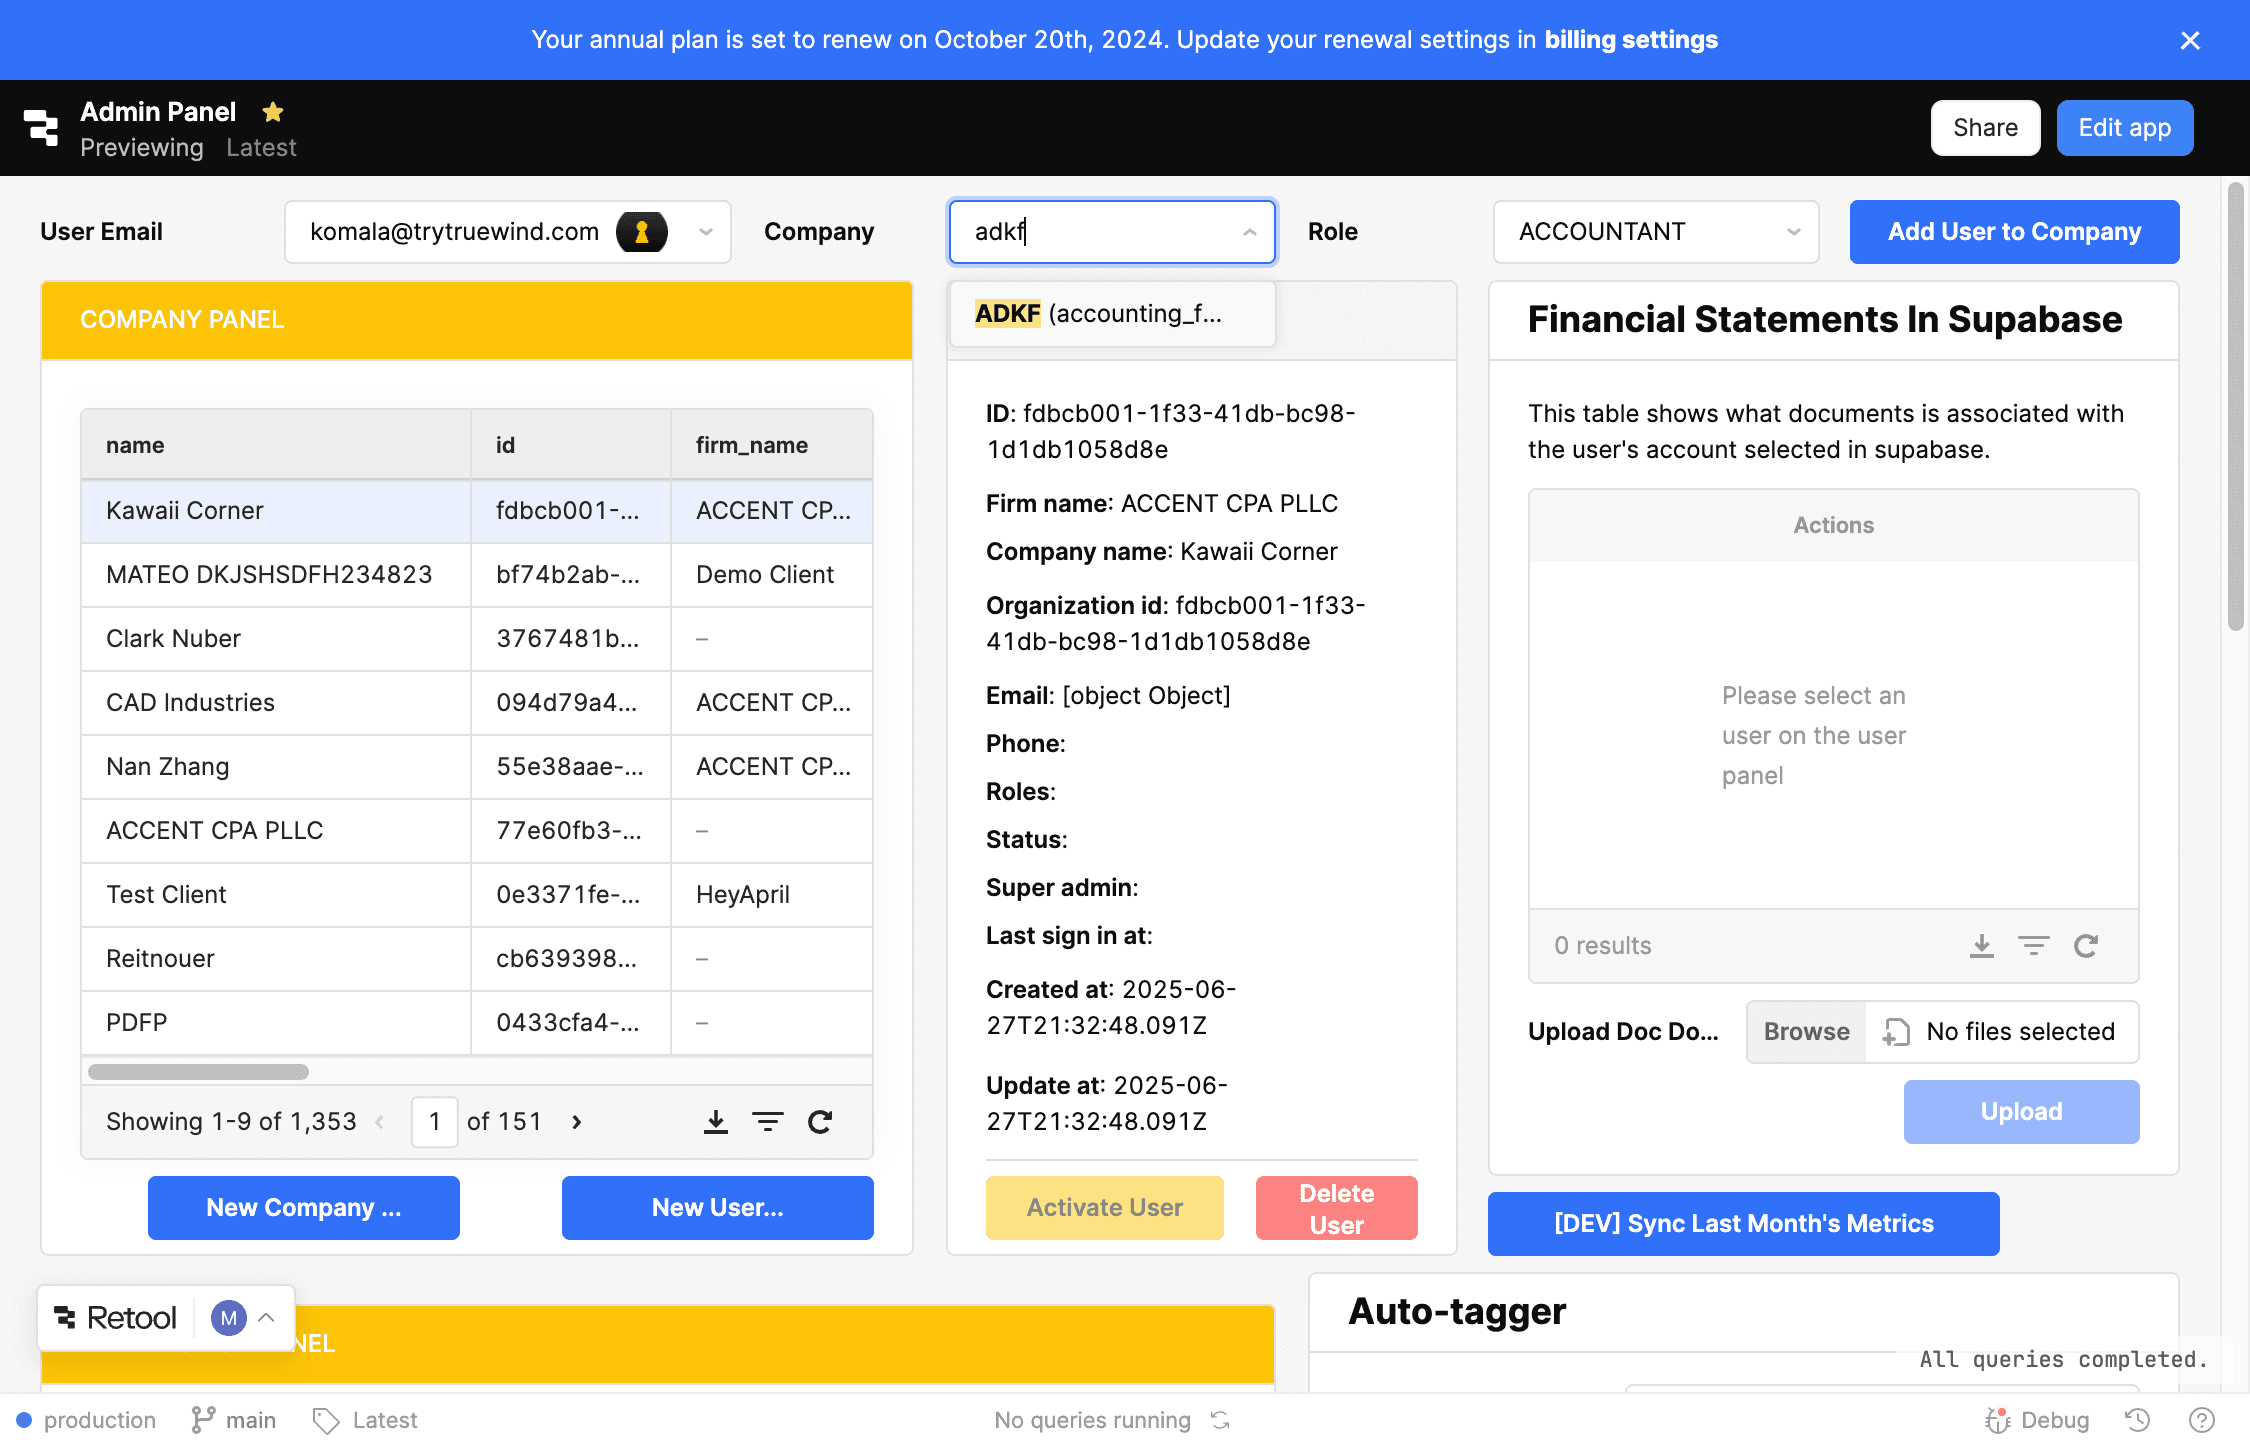
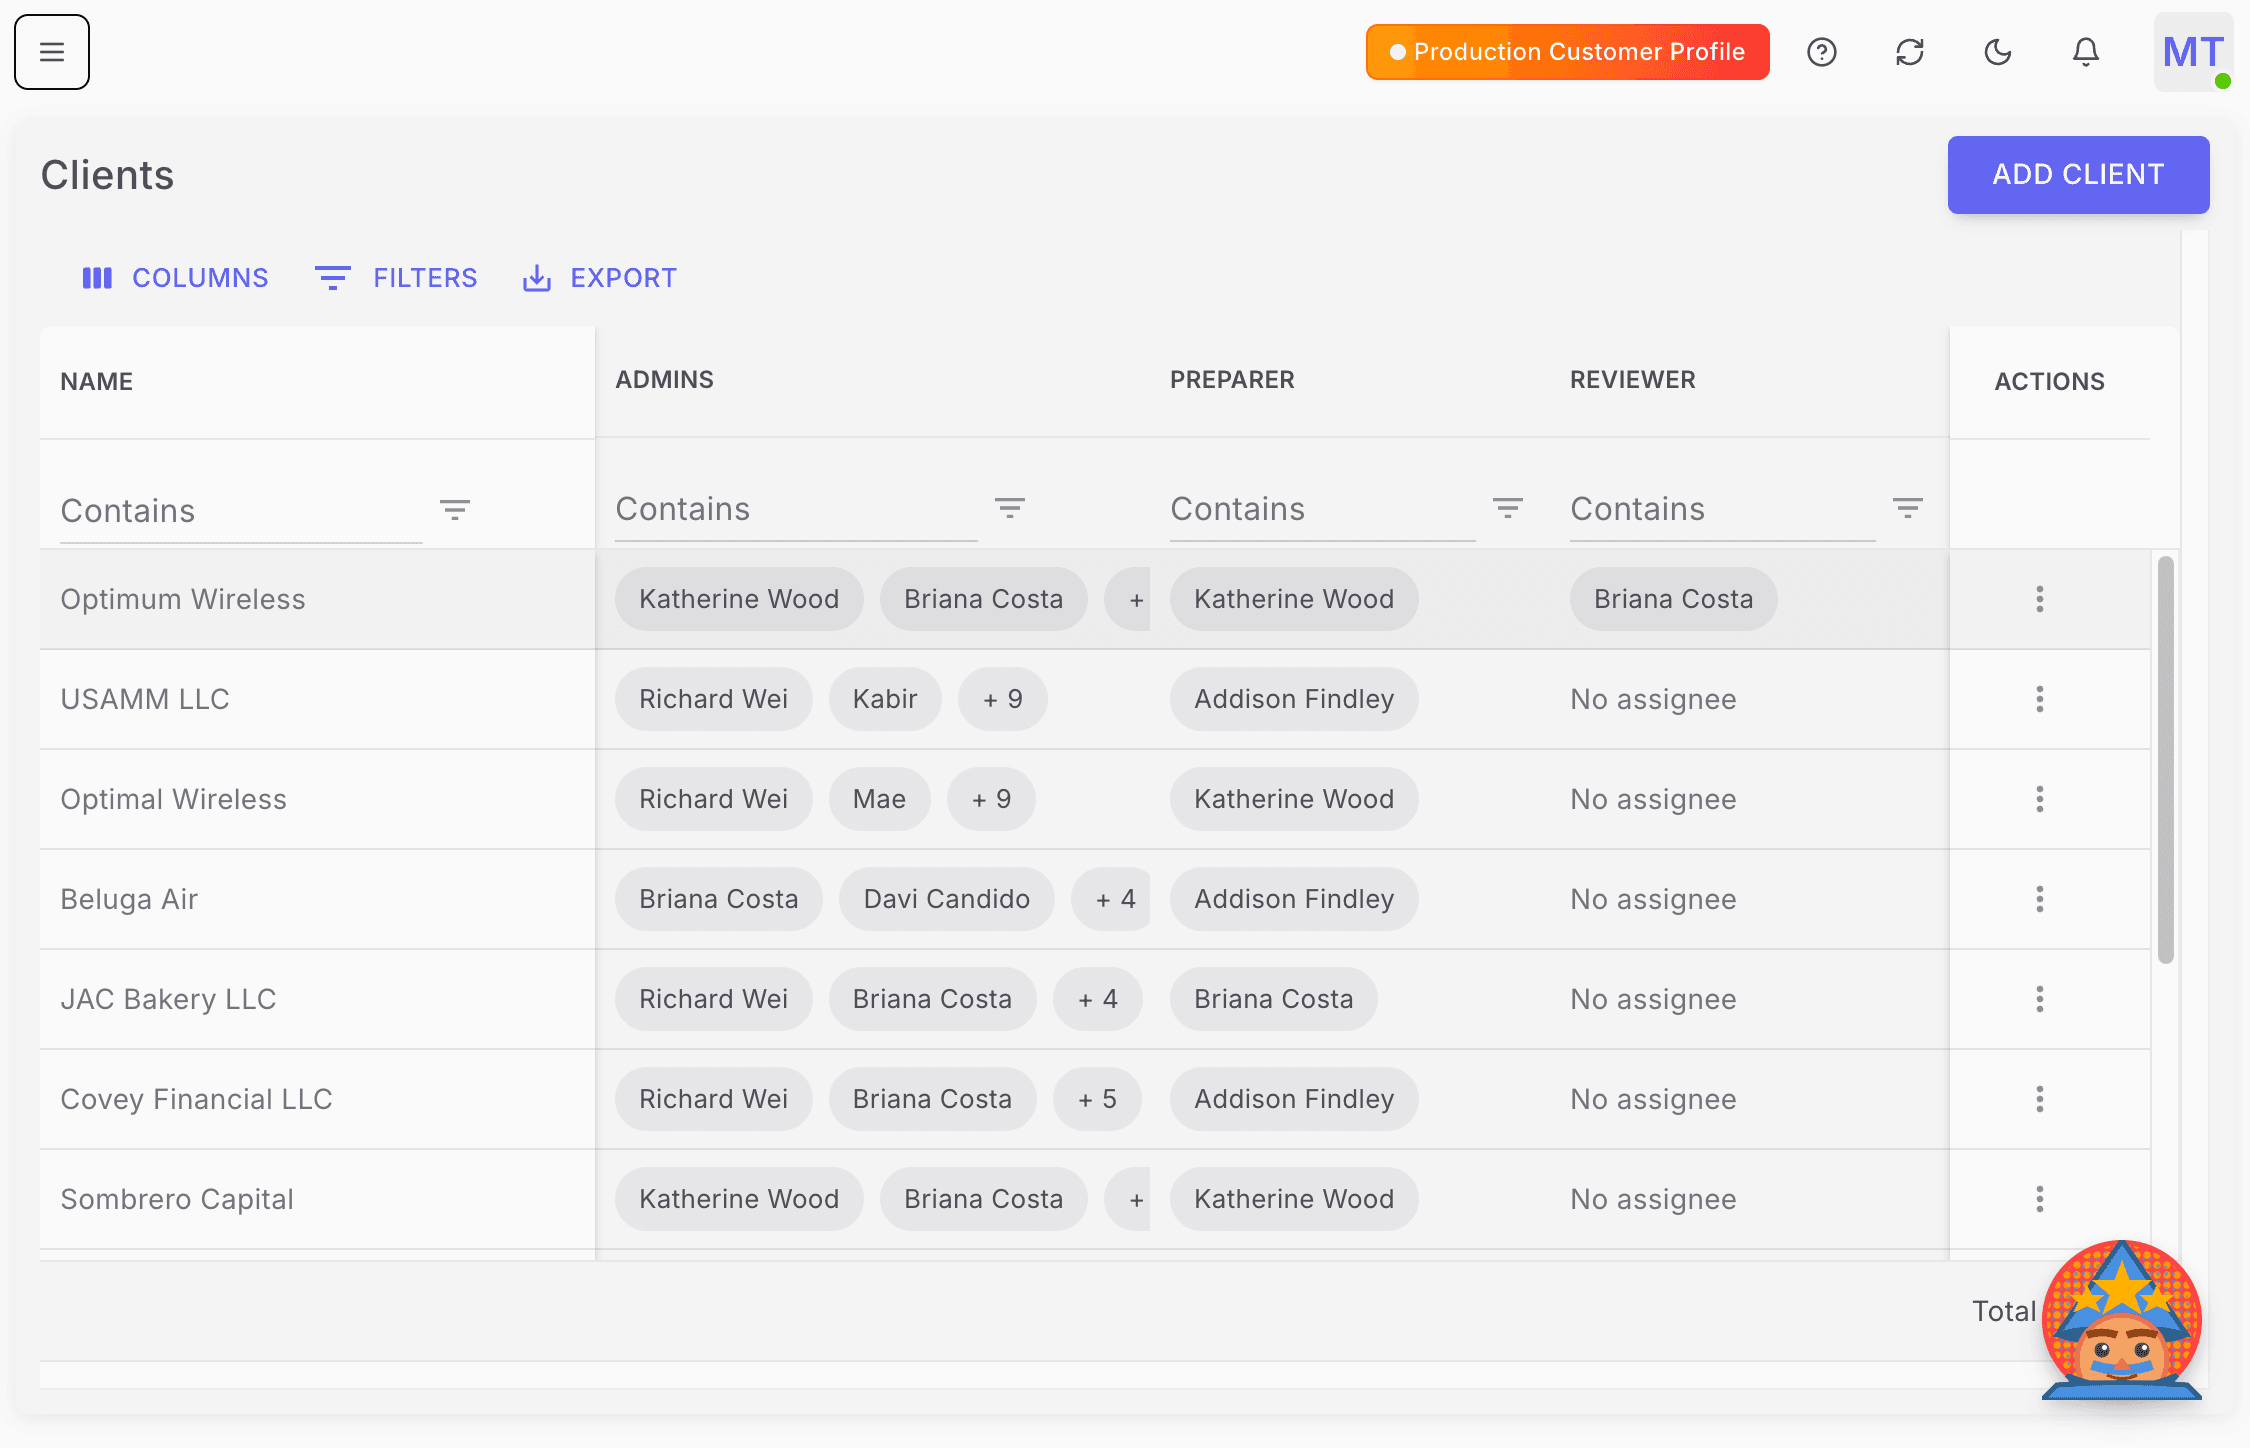
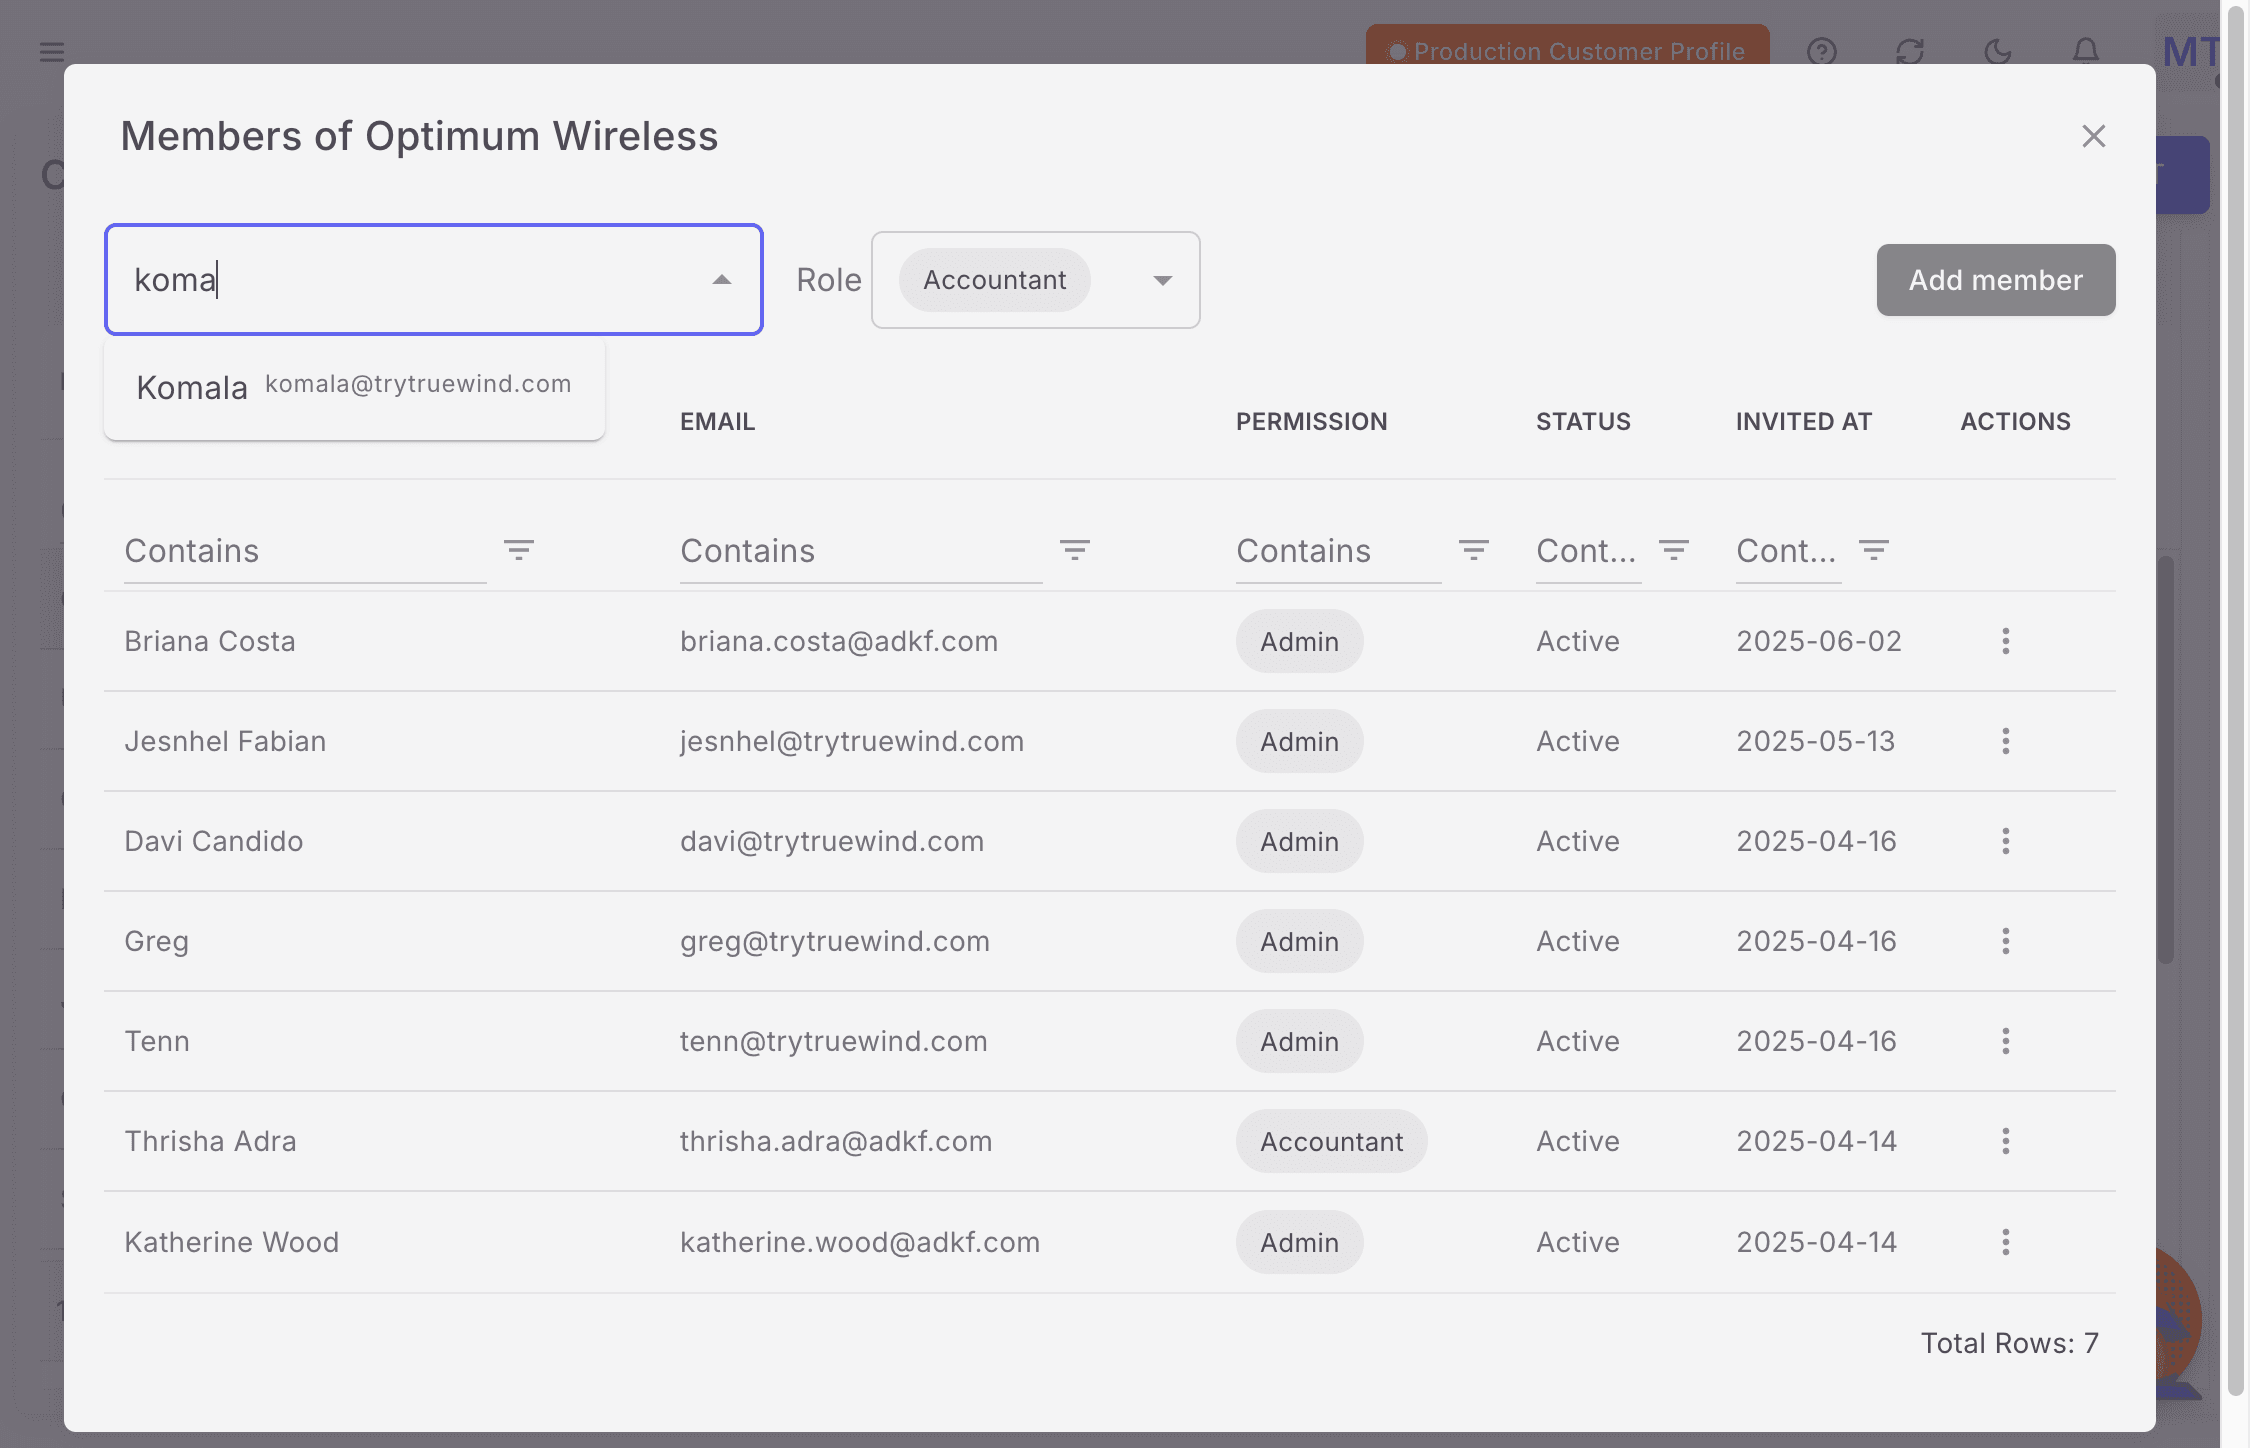
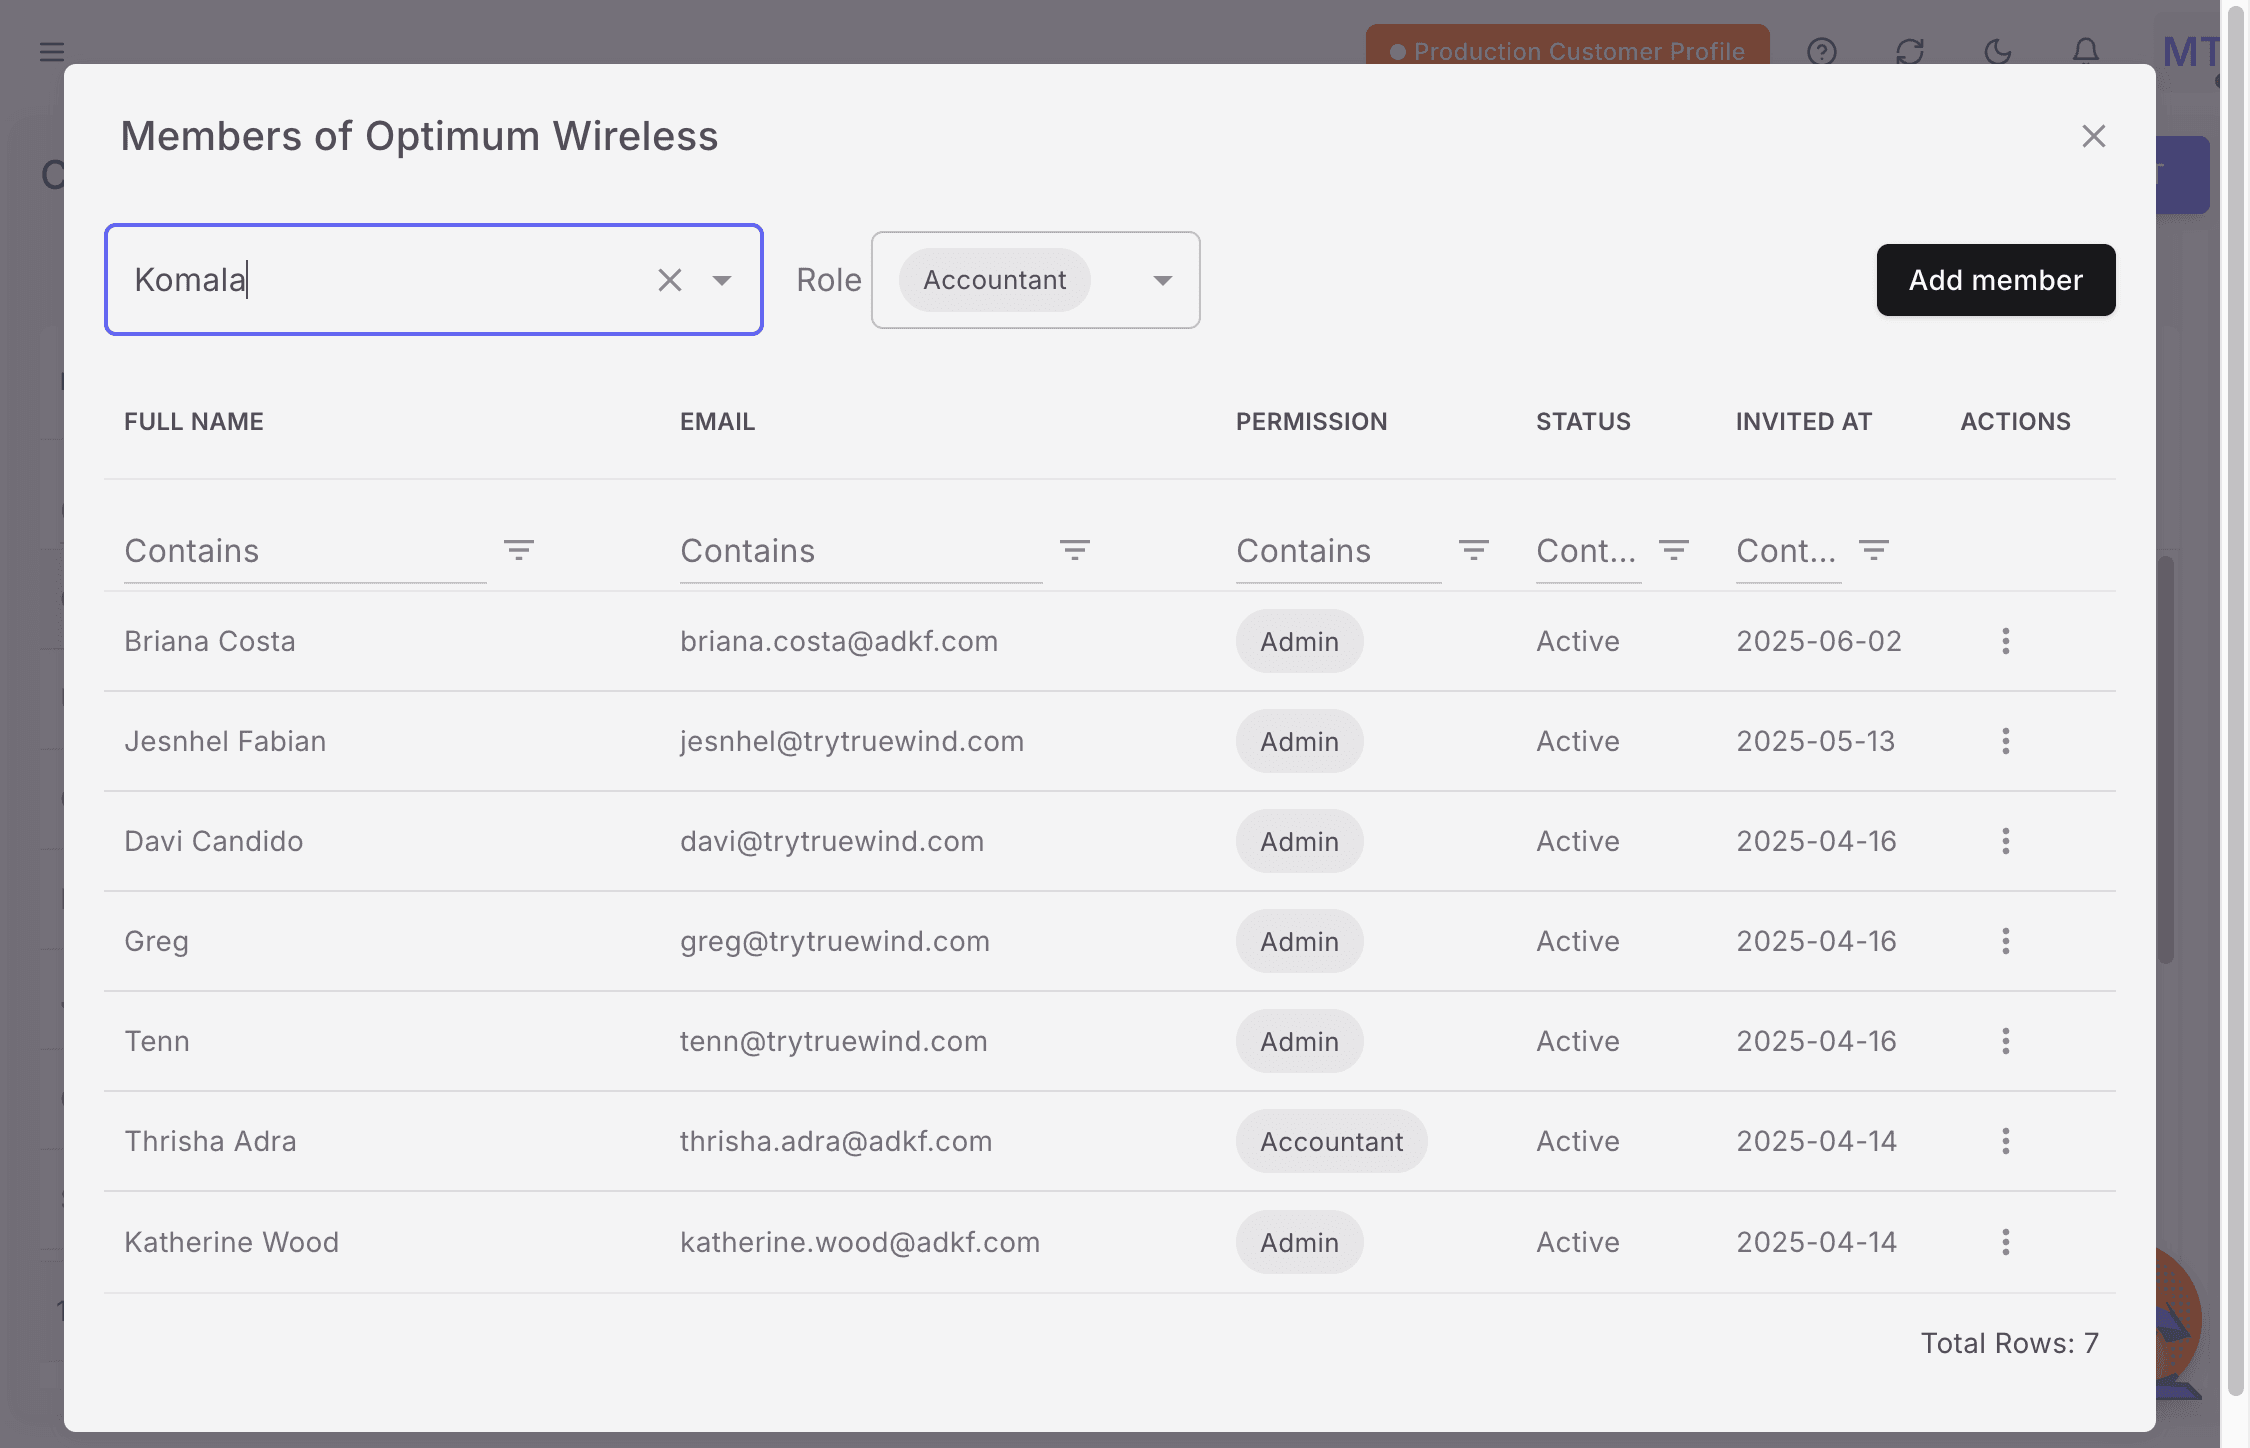
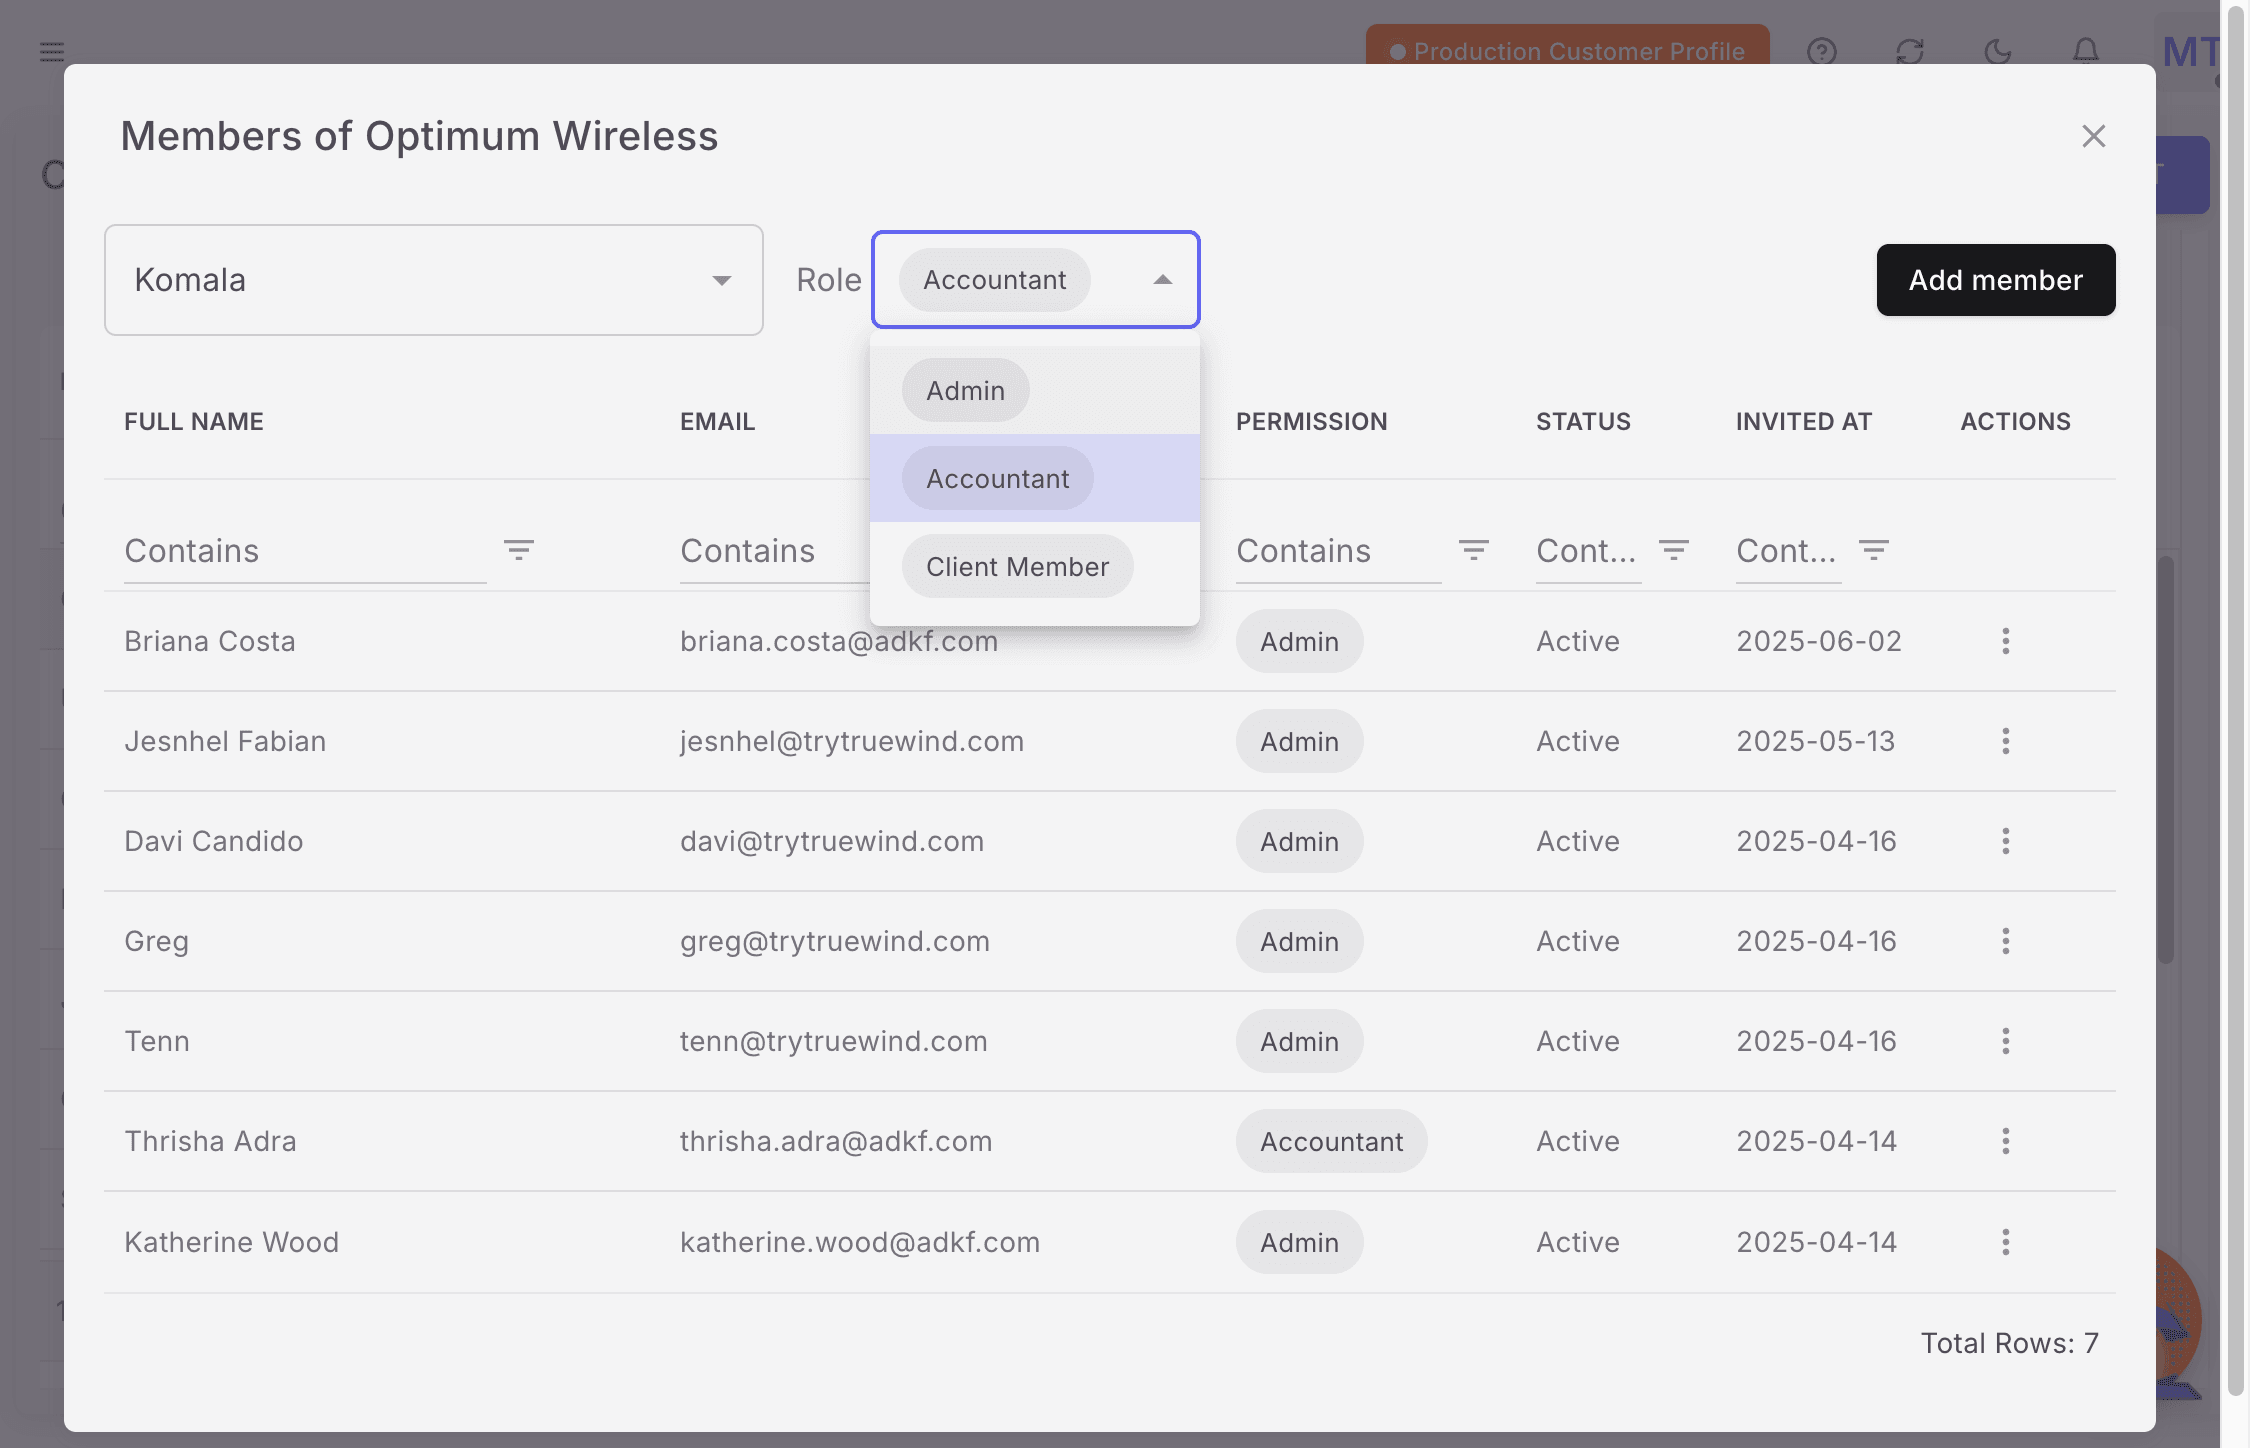
  • You need access to the Retool Admin Panel and the target accounting firm in Truewind.

What to verify after setup

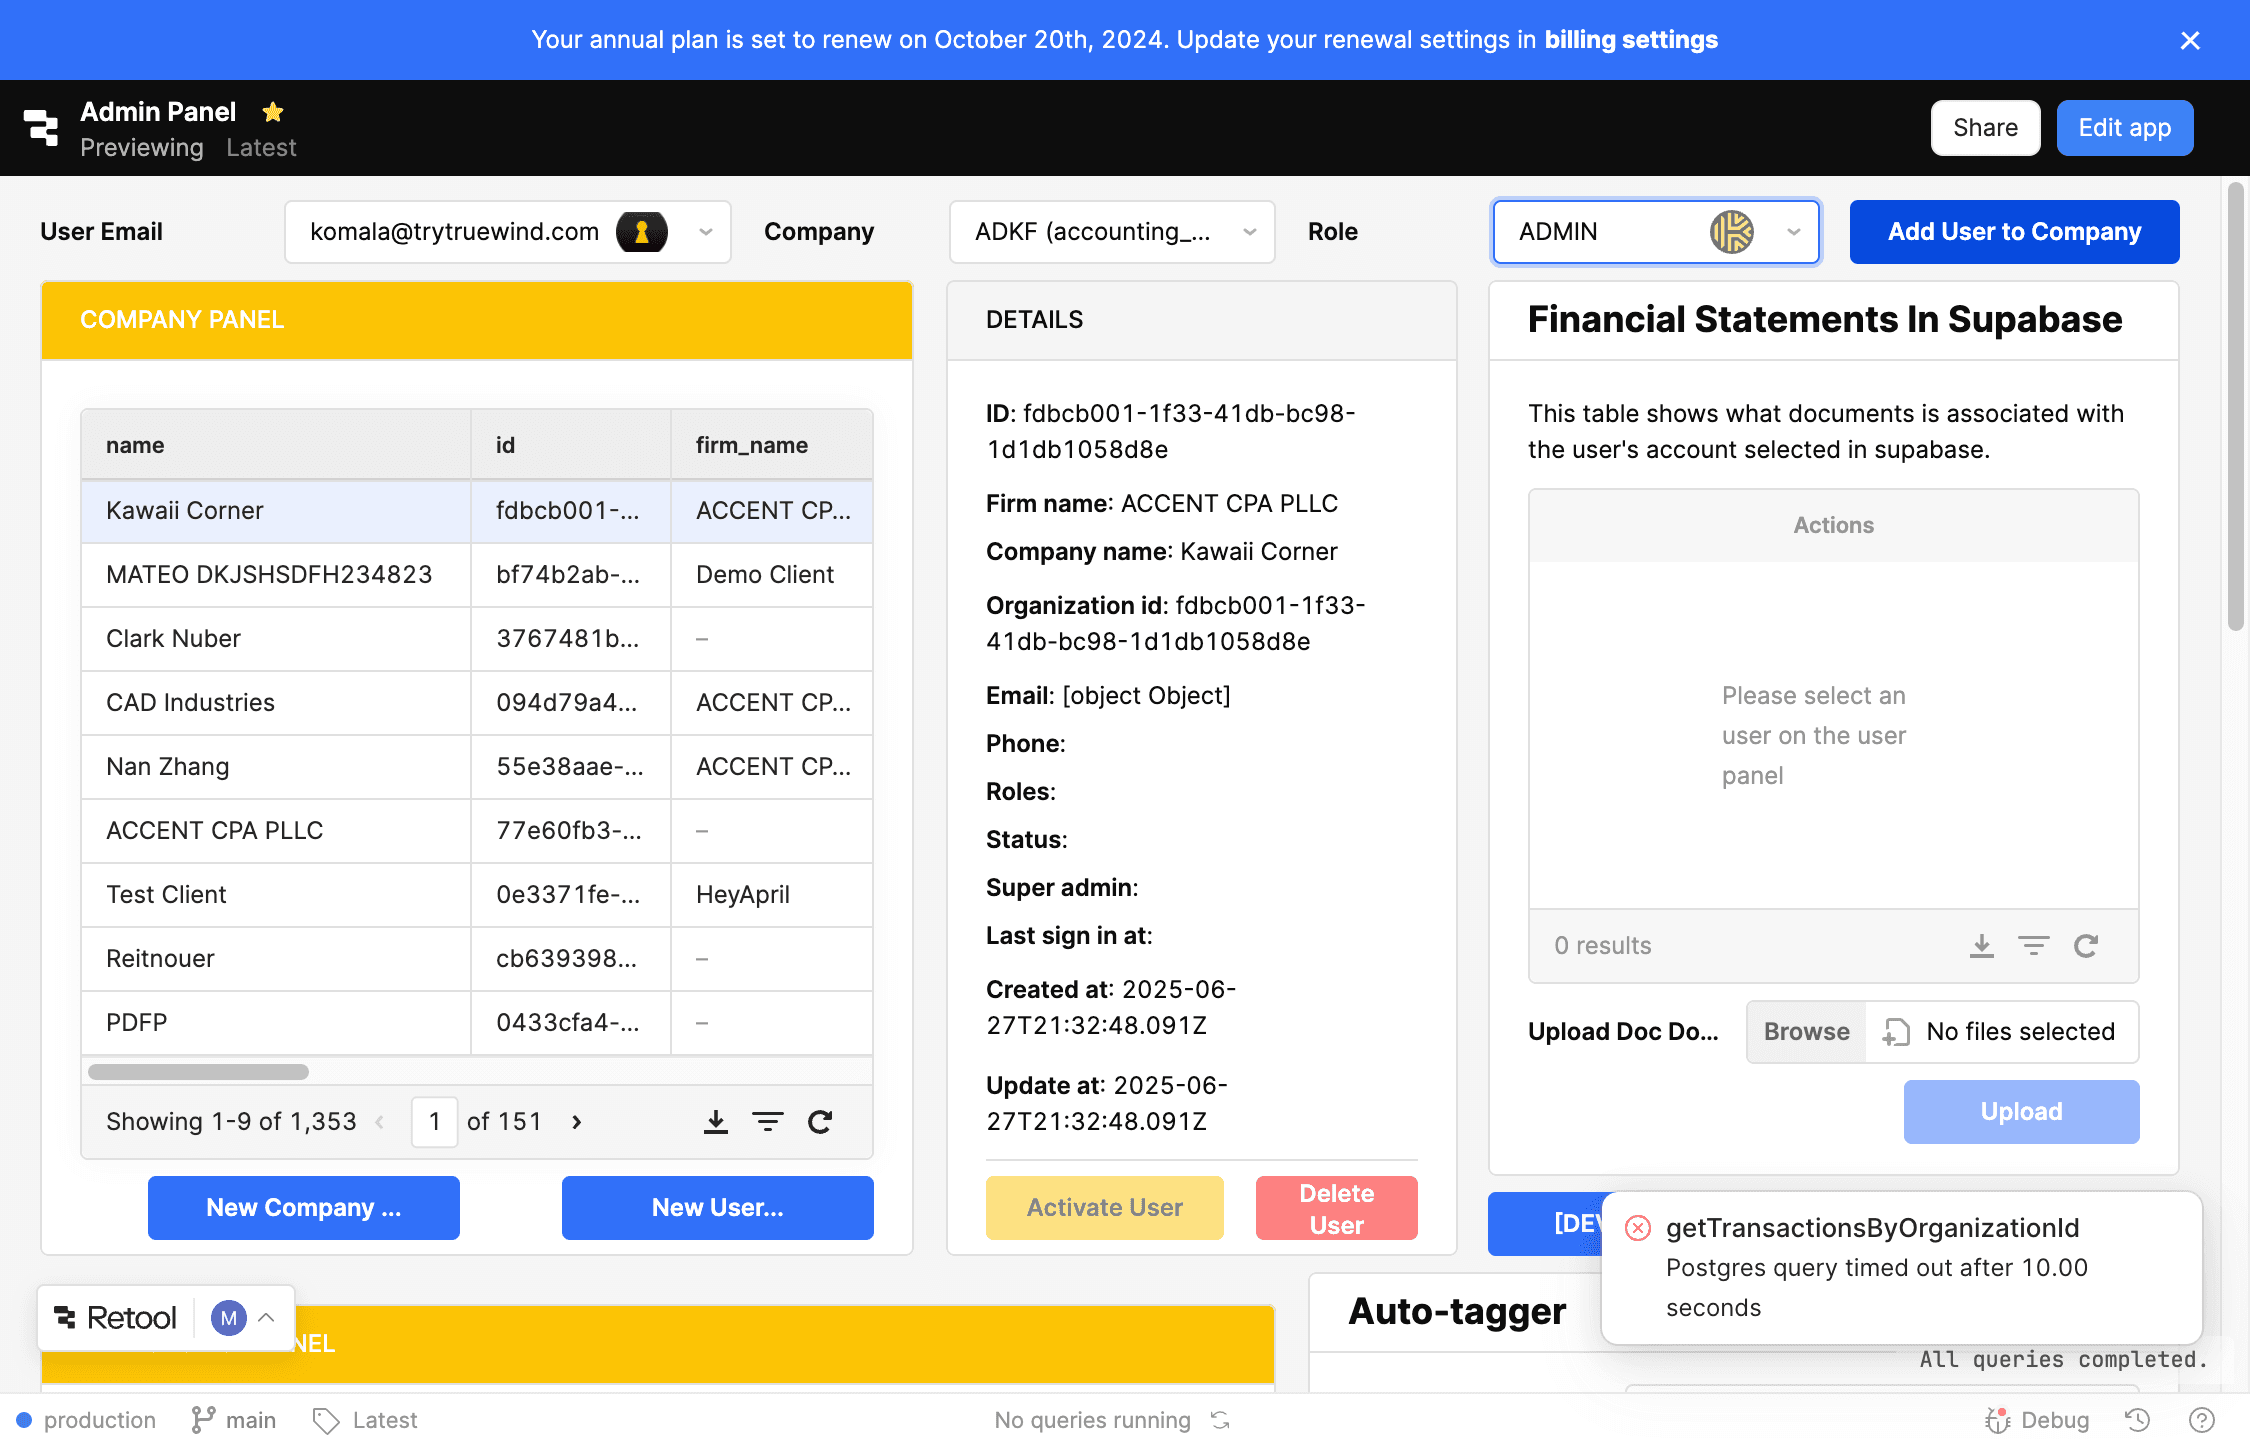
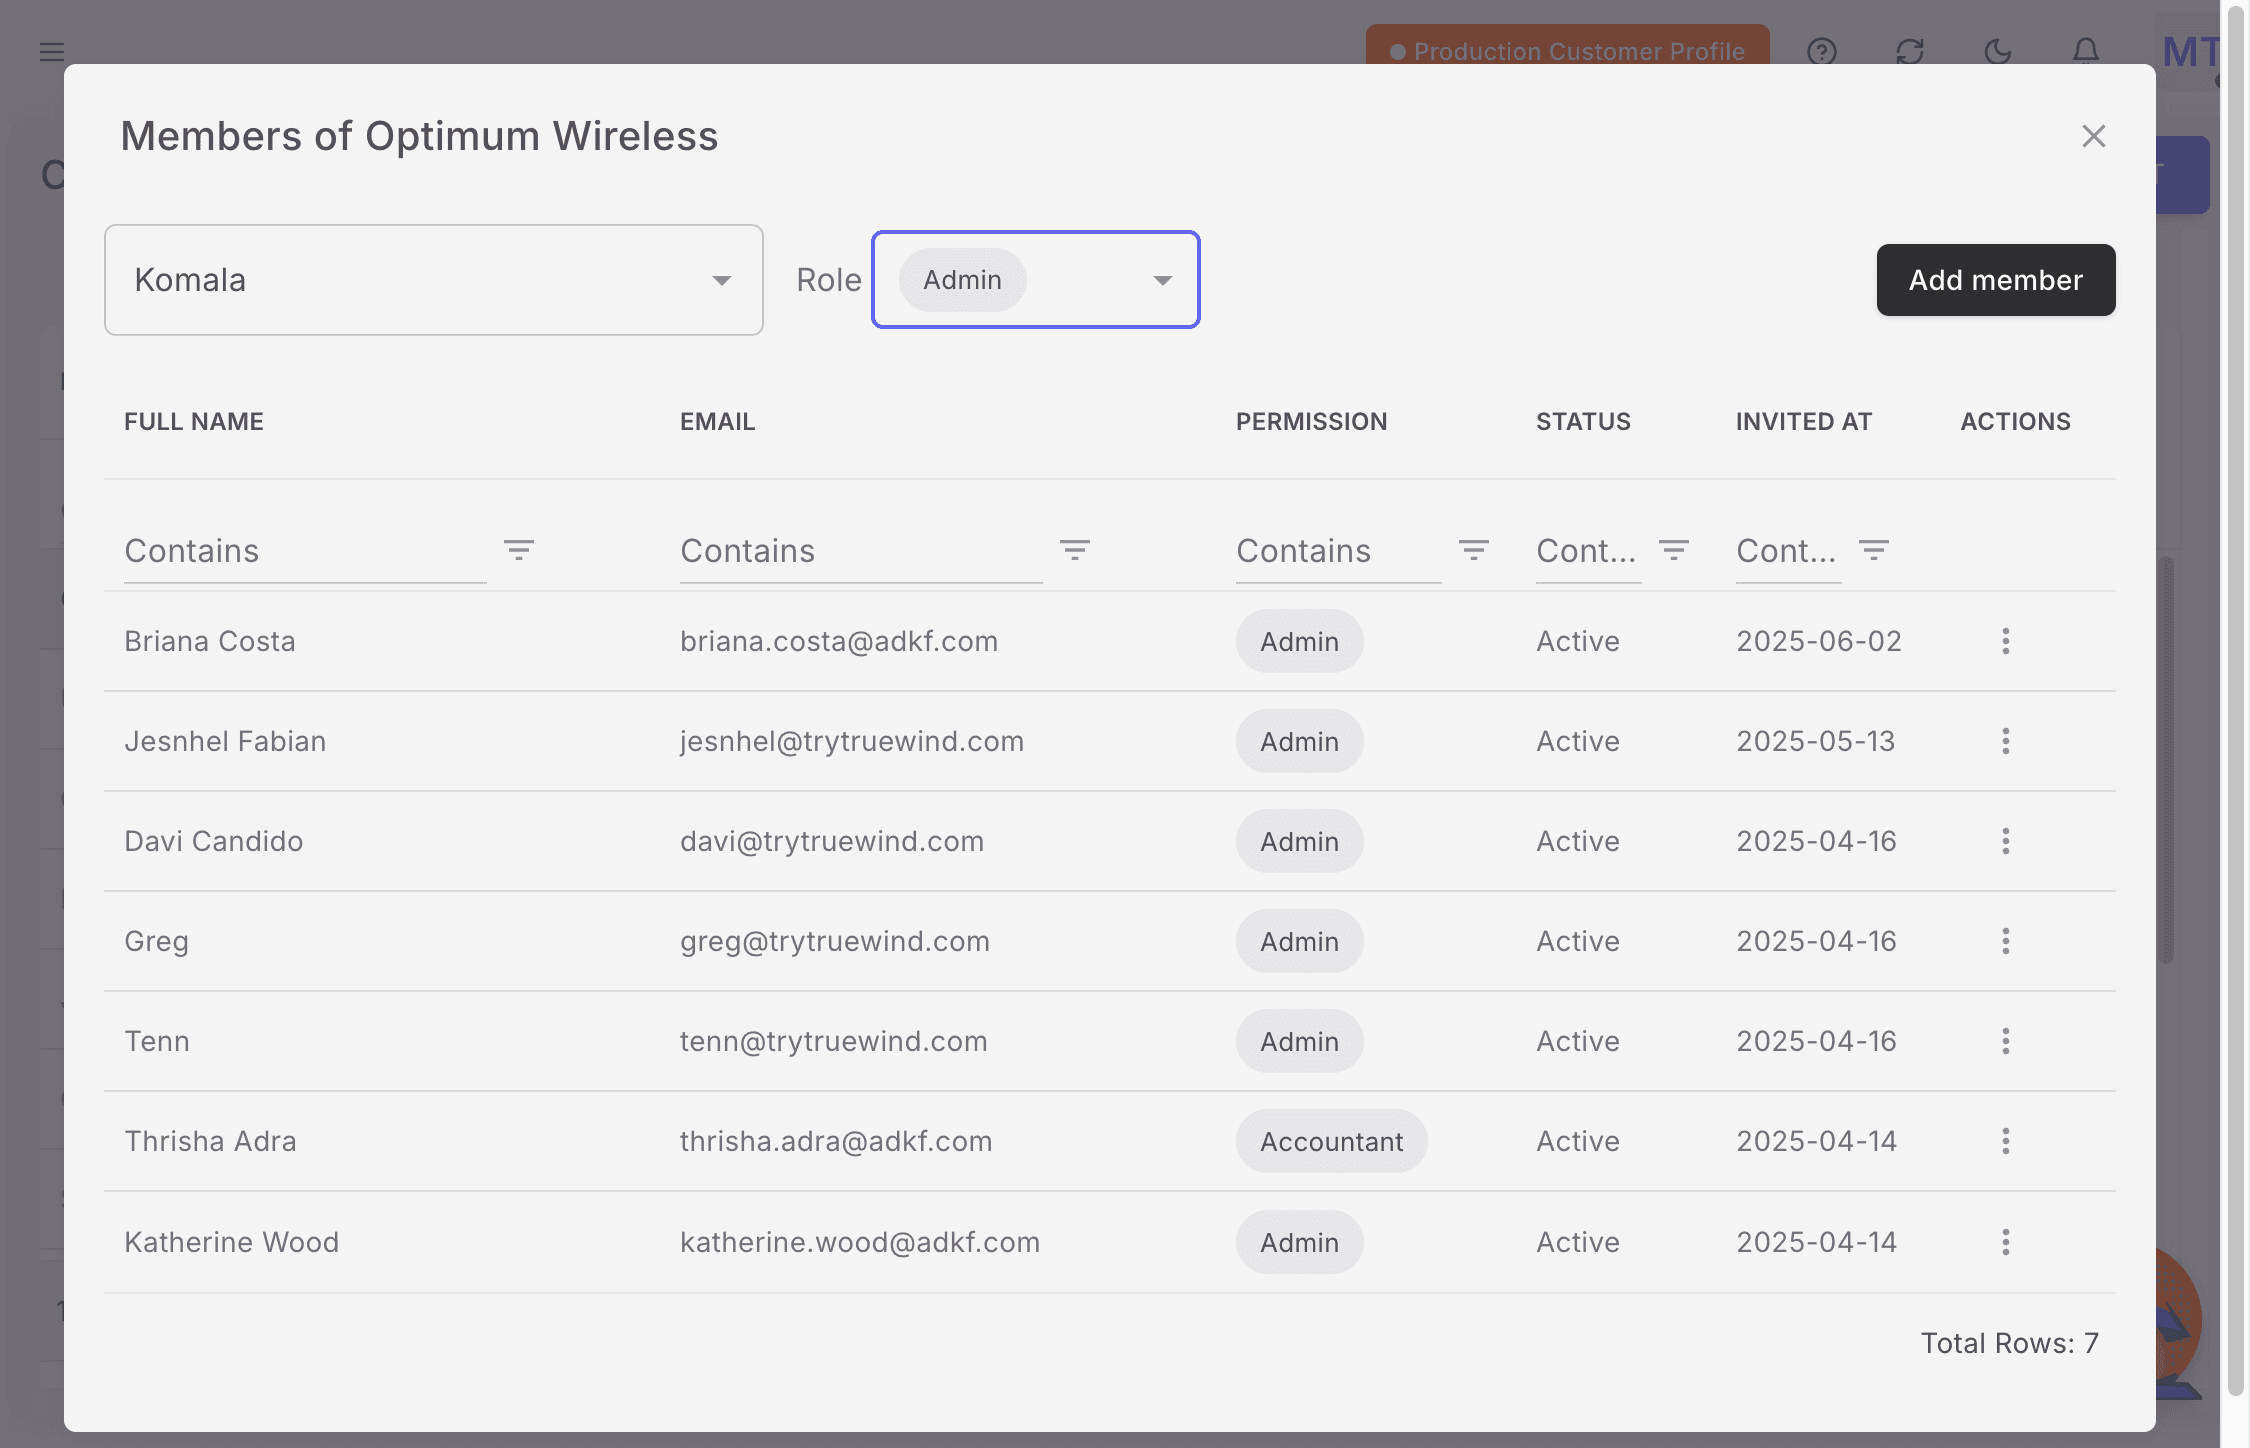
  • The user appears as an Admin at the accounting firm level.
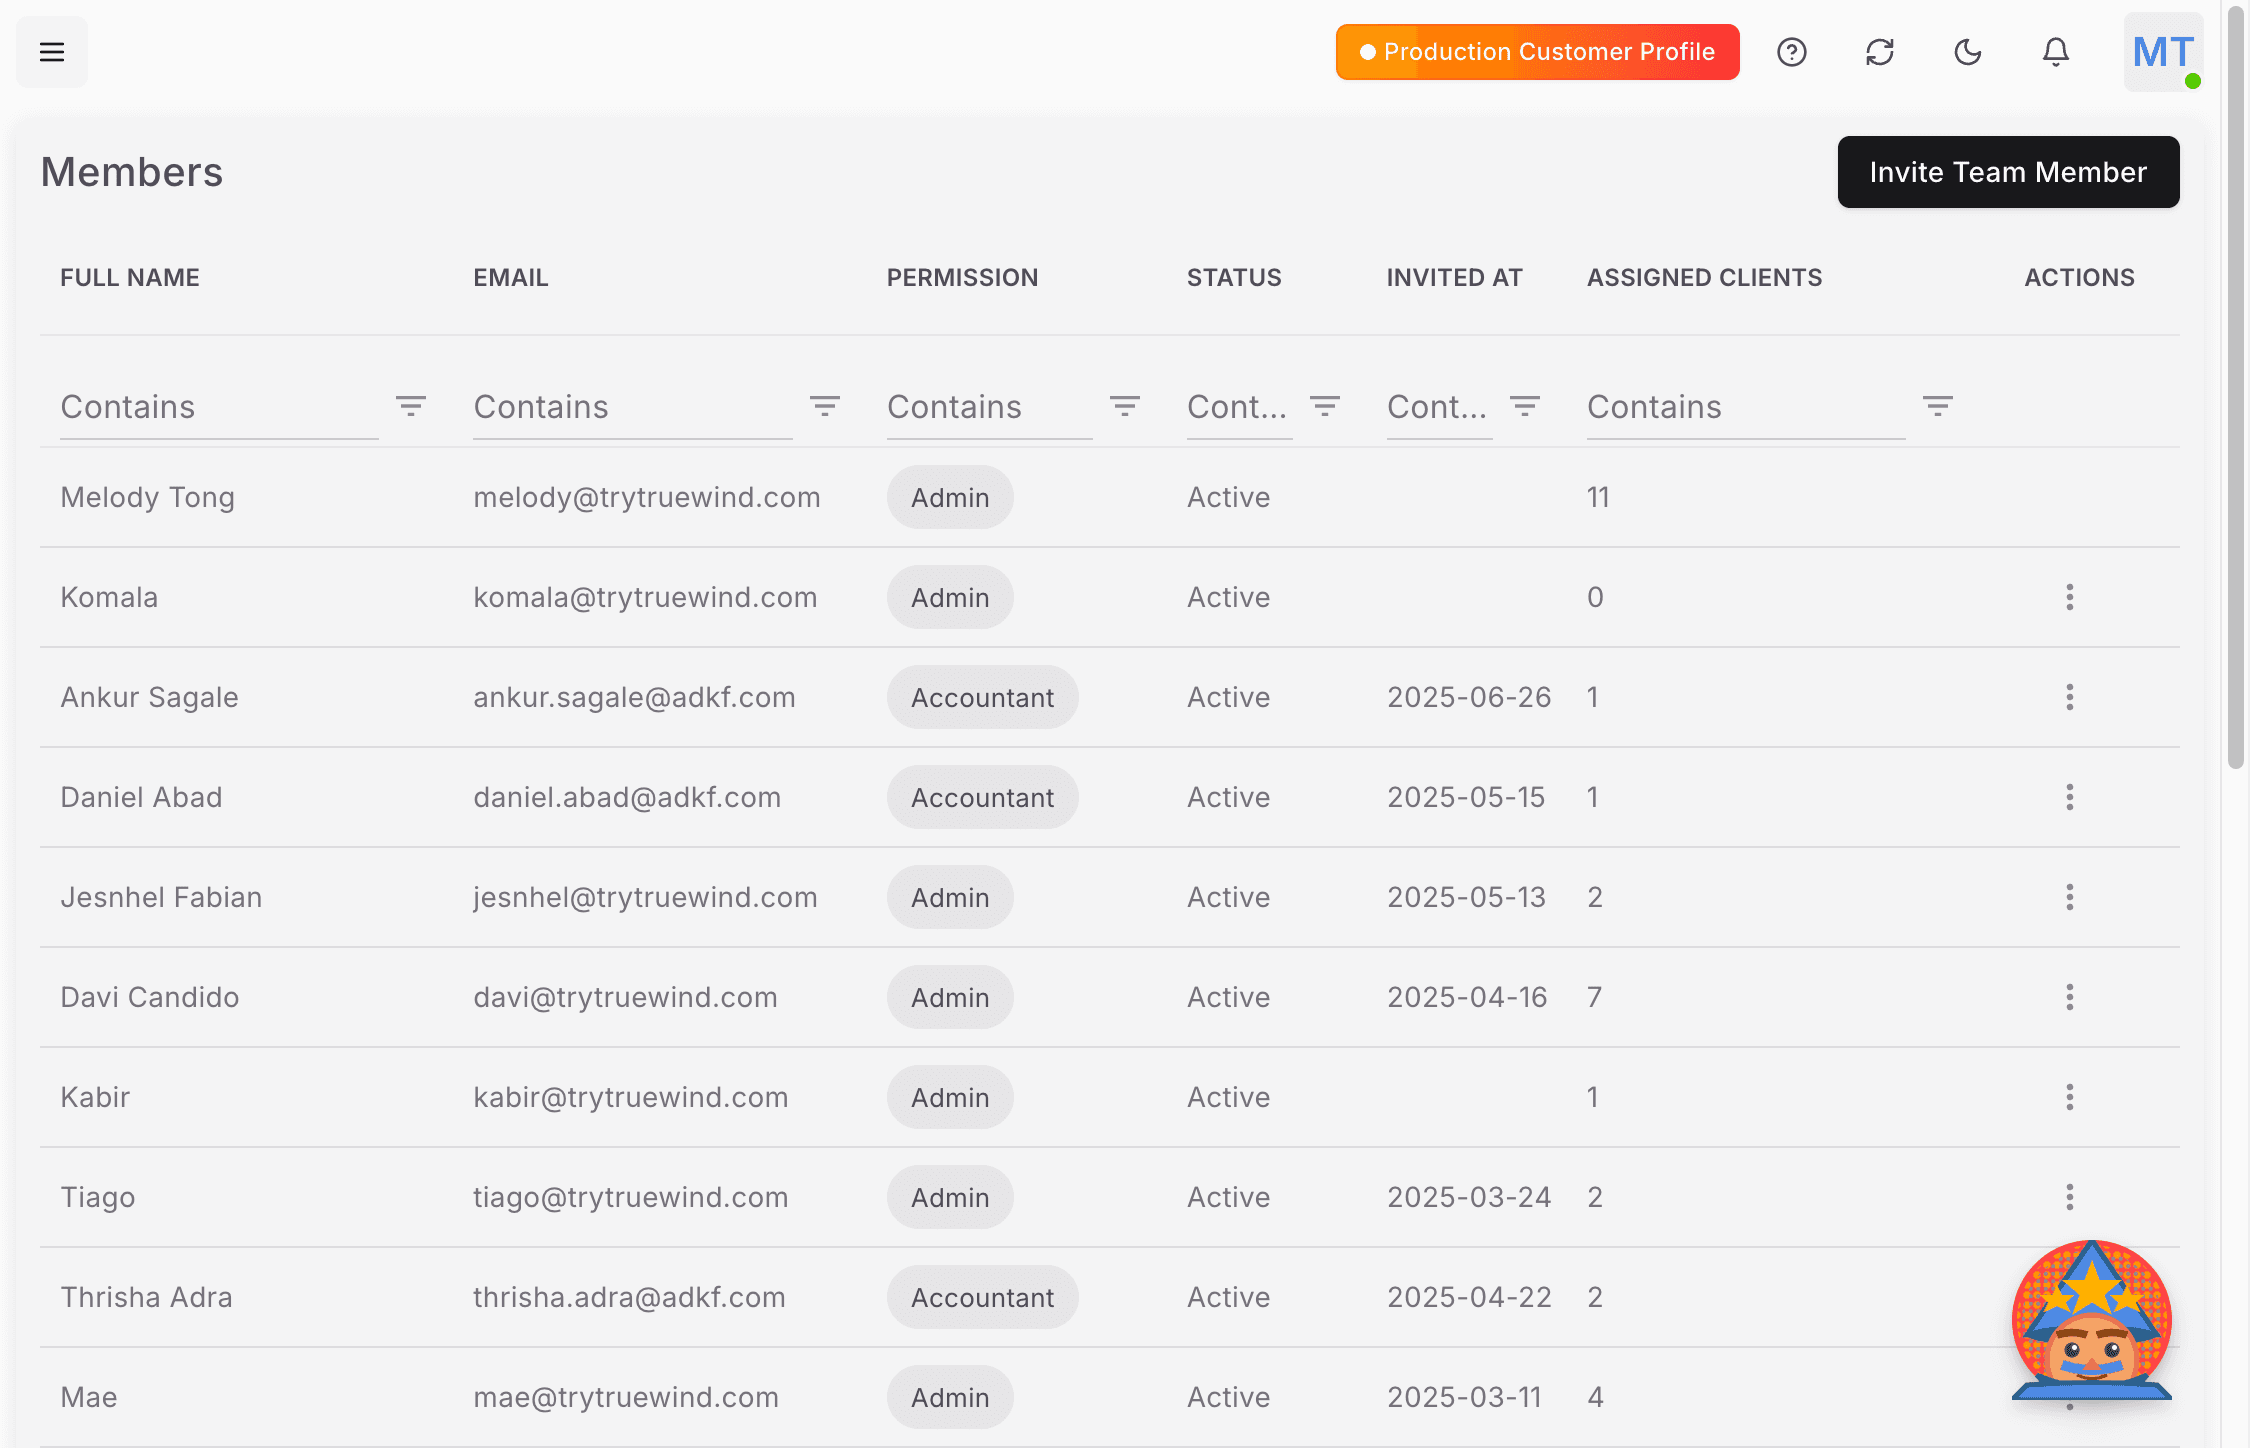
  • The same user appears as an Admin on the selected client.
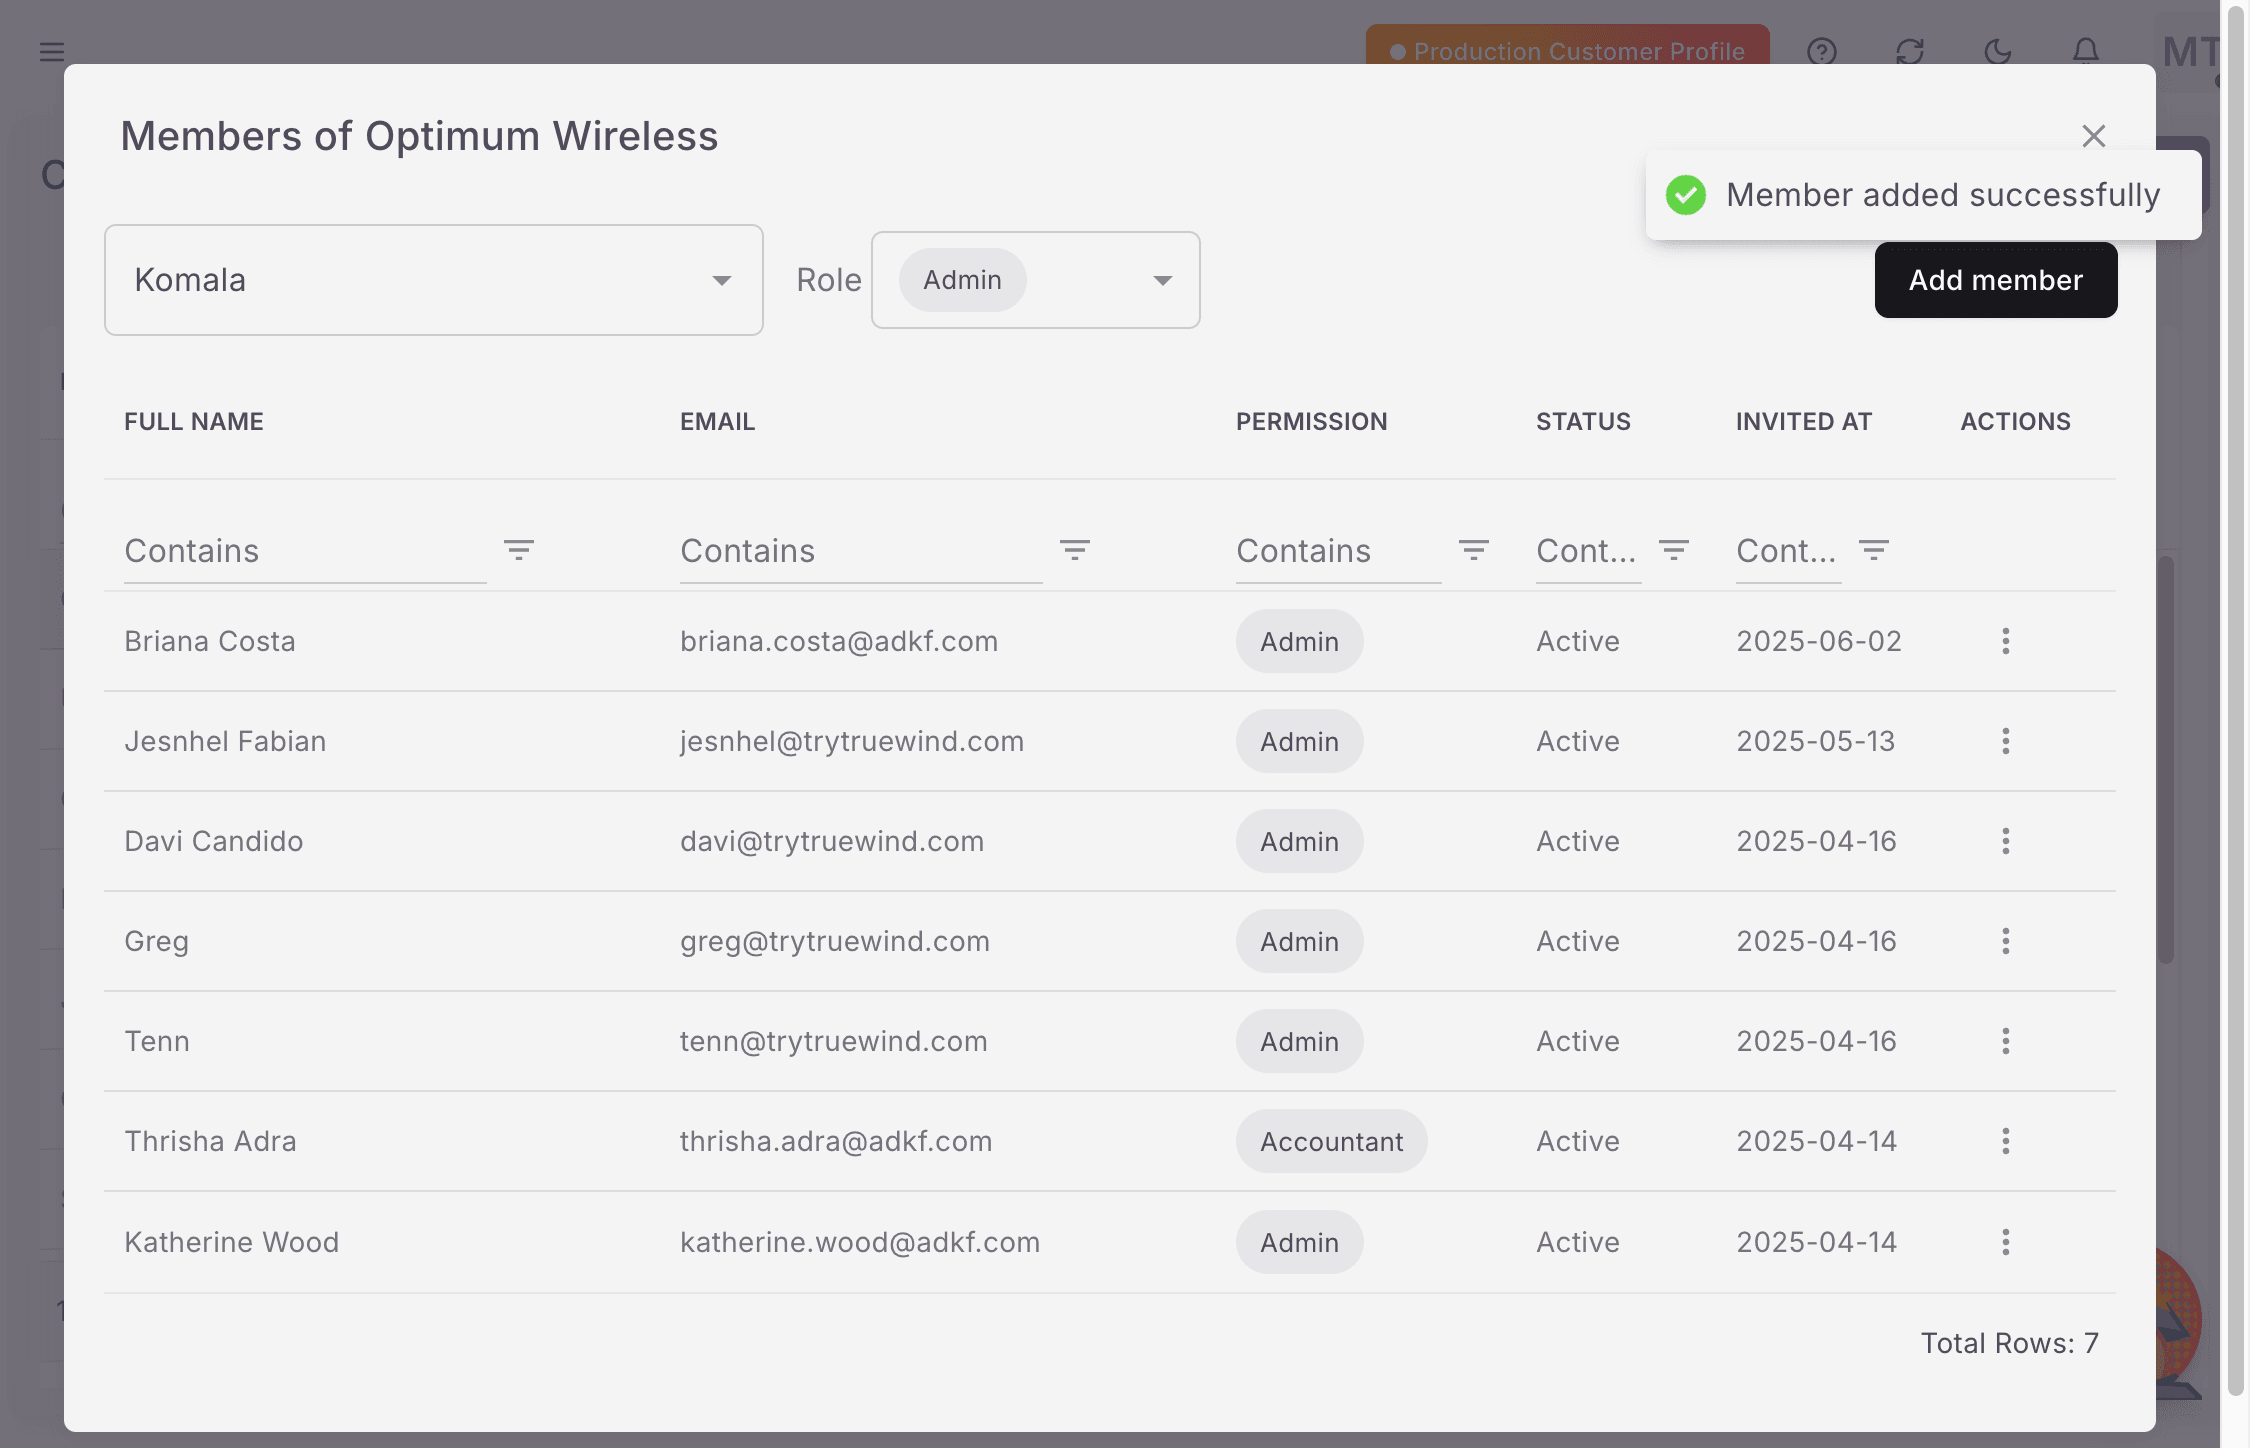
  • The final success message appears in Truewind.

Was this helpful?

Need more help?

Ask for human help about this article and provide any feedback.