What to verify
- The workflow completes with the expected result.
- The screenshots match the current product flow.
Ask the support agent
Just ask a direct question or search related articles from the Knowledge Base.
Support Center / Onboarding / Create accounts
Create a company organization account when you need a new client organization under an accounting firm, resulting in the company appearing in the client list with initial staff assignments.
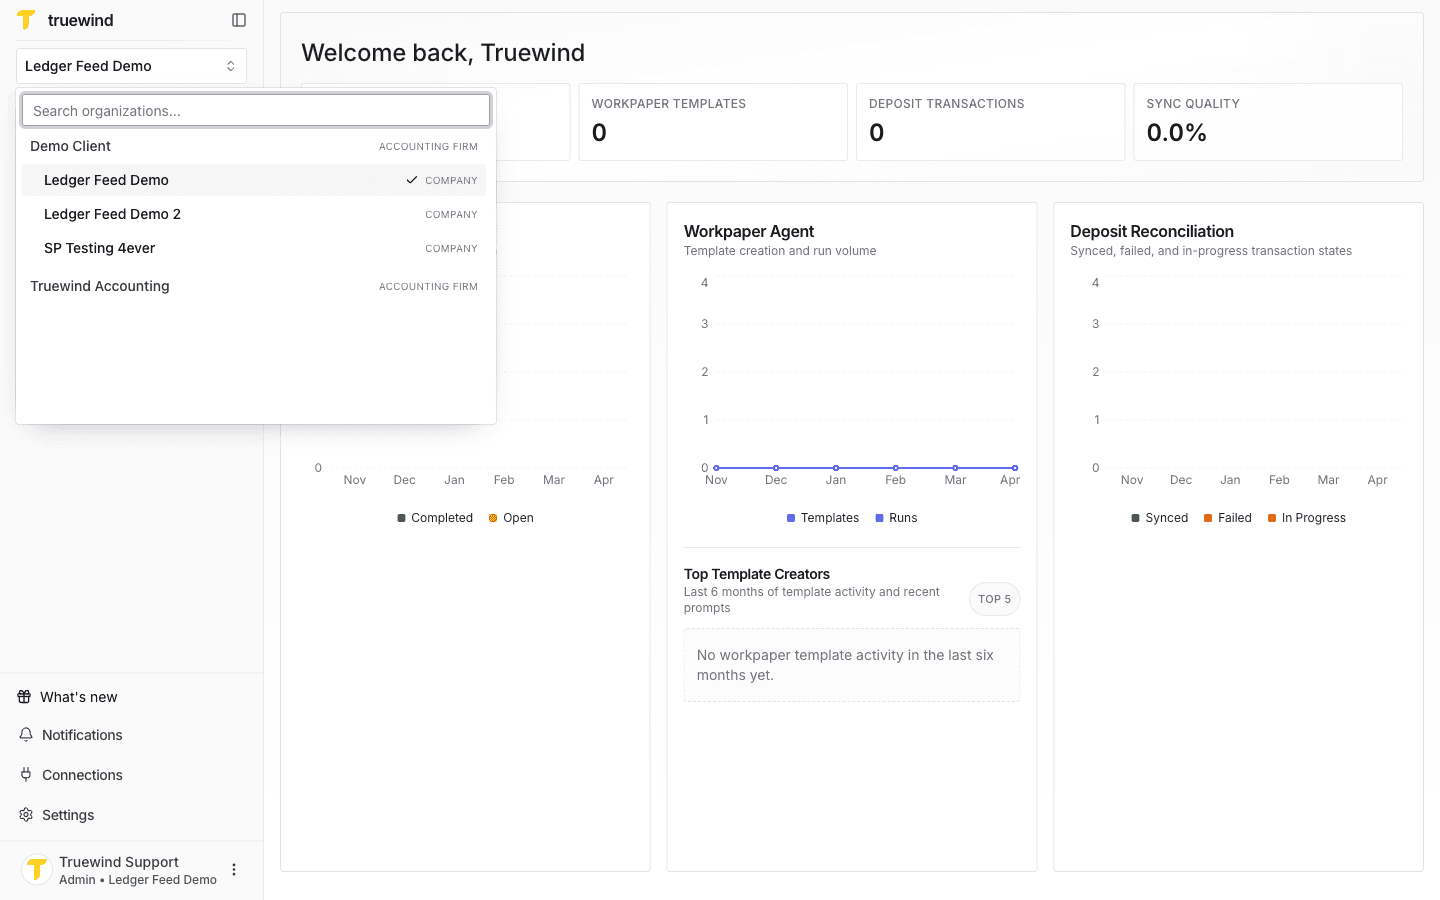
Step 1
Use the organization switcher to move into the accounting firm that should own the new client account.
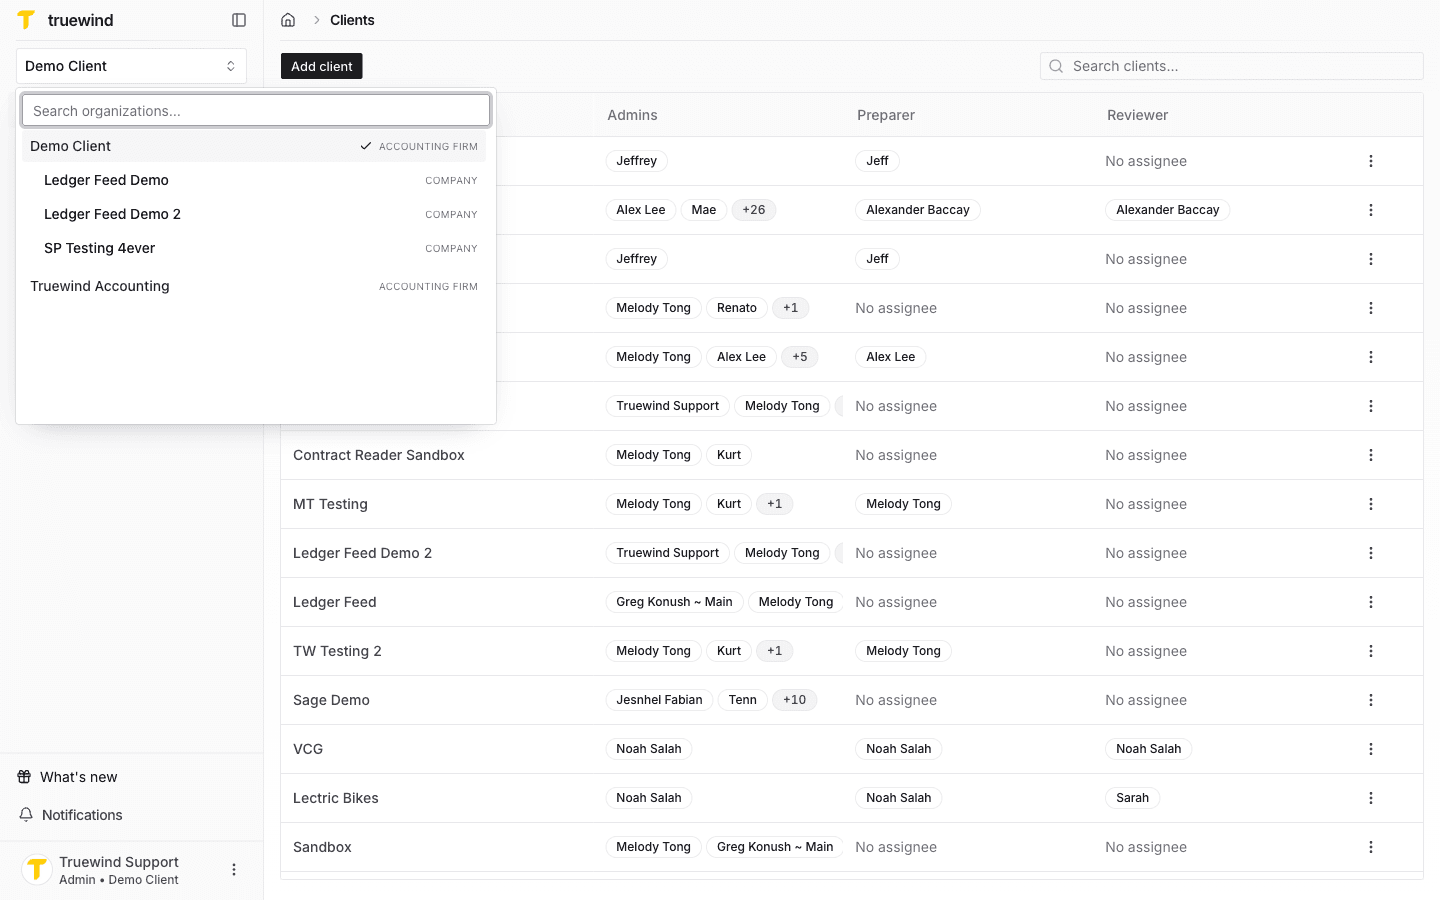
Step 2
Pick the firm that should own the client so the new company appears in the correct workspace and access model.
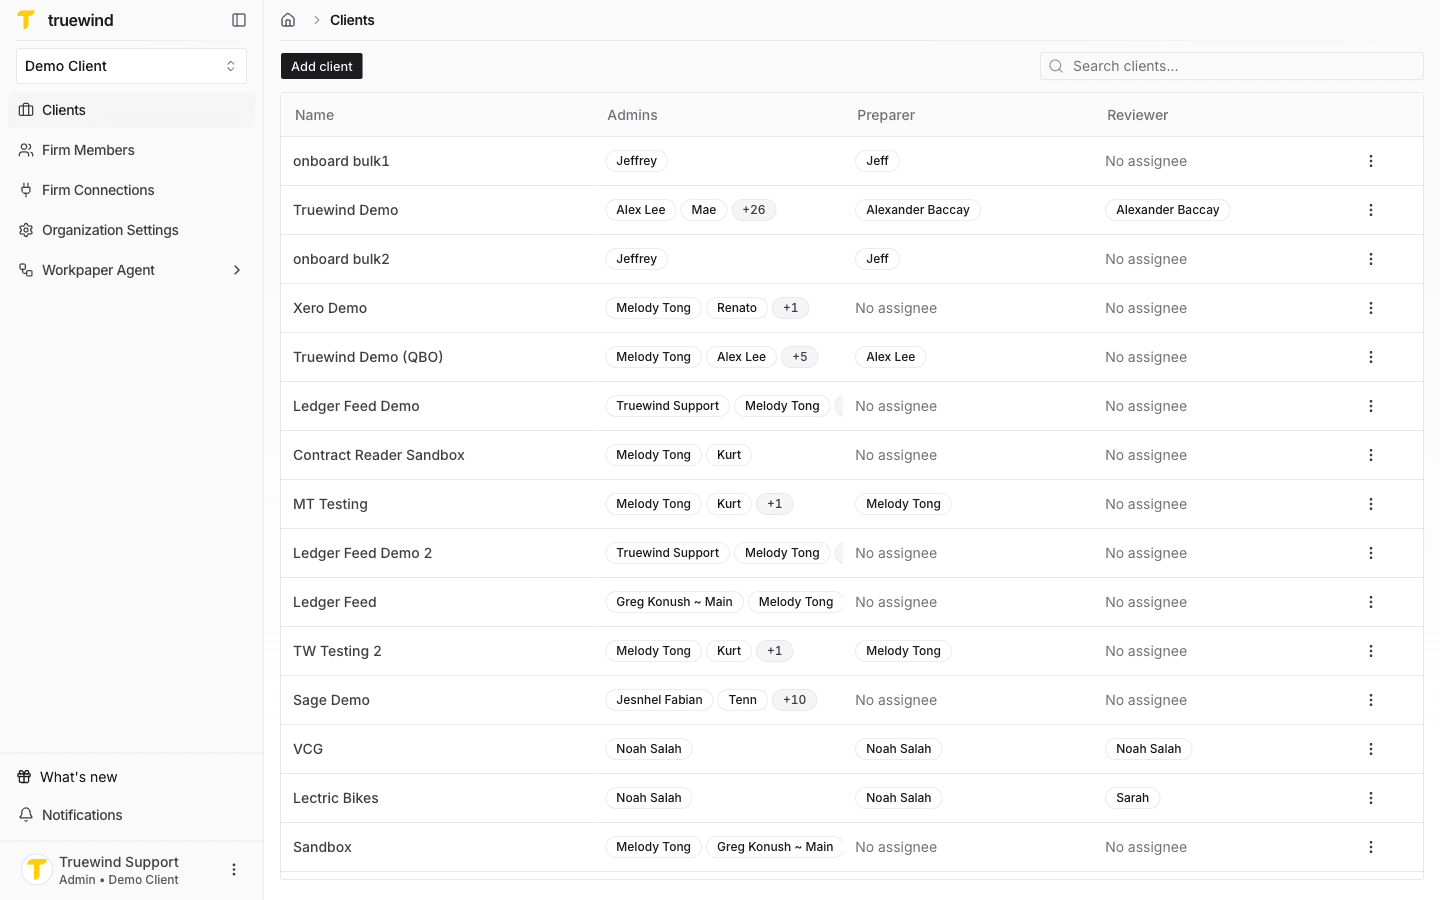
Step 3
This takes you to the client list where new company accounts are created and assigned.
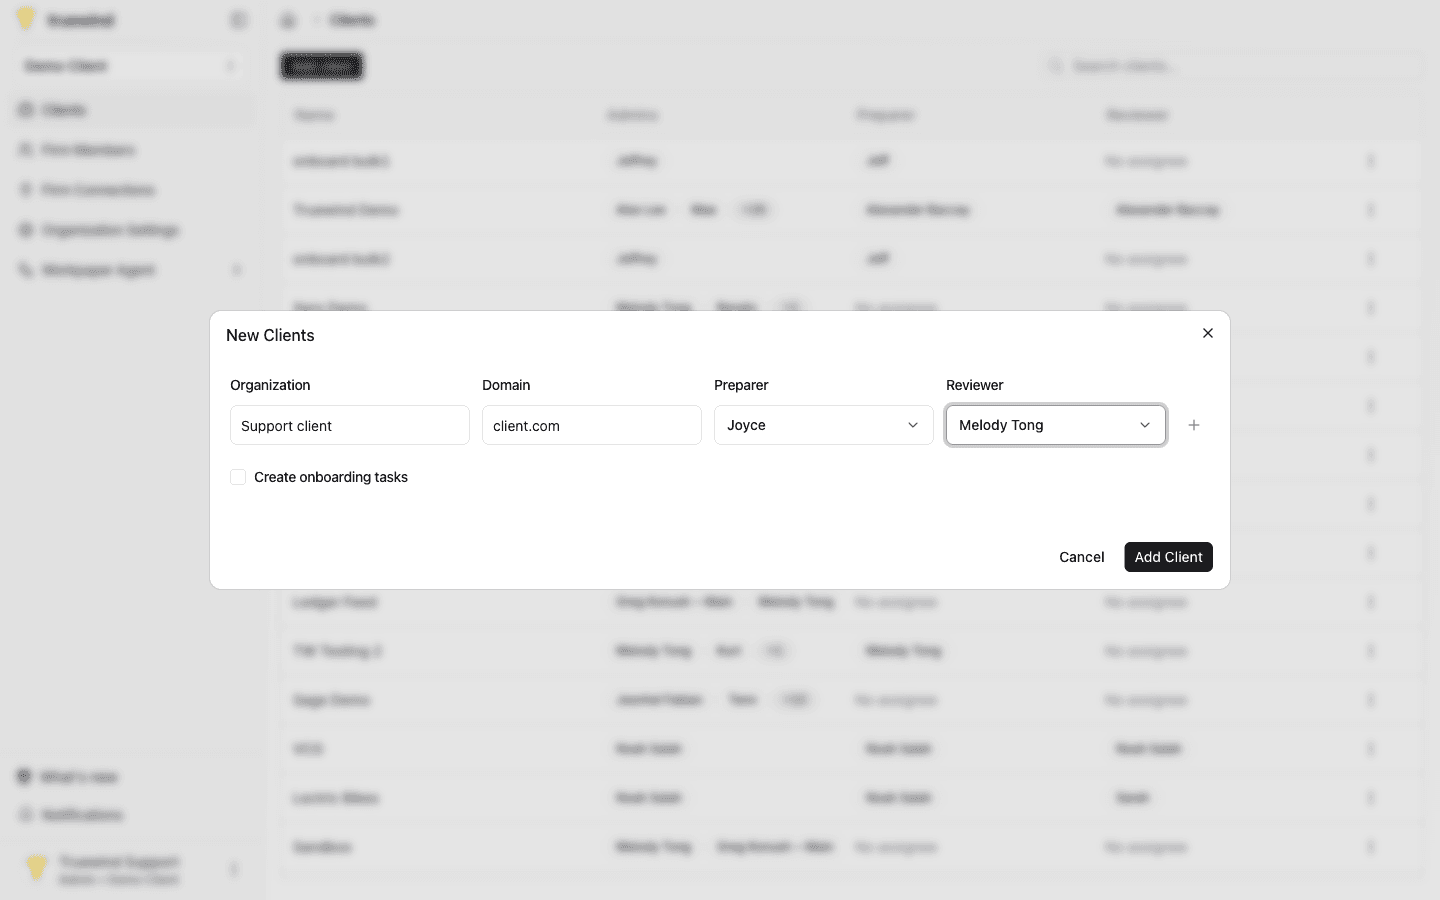
Step 4
Click on Add client button, then enter all details for the client. The organization name and the primary Preparer are mandatory field. You can optionally provide a domain, a primary Reviewer and select to create onboarding tasks. Once ready, click on Add client.
Step 5
Use the search box to find the new client and click on it.

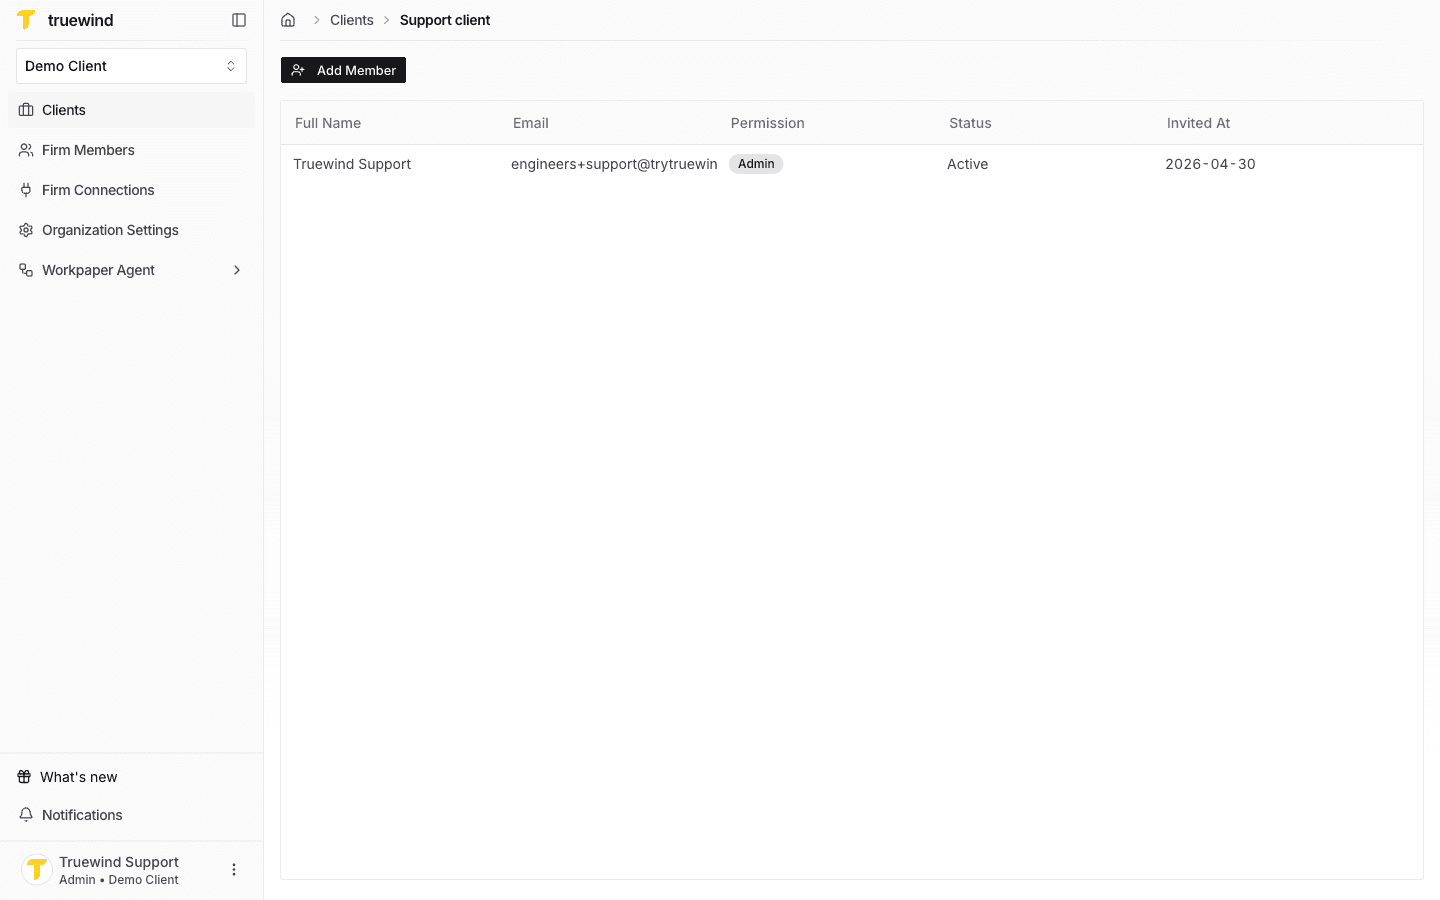
Step 6
On the client members page, click on Add member button.
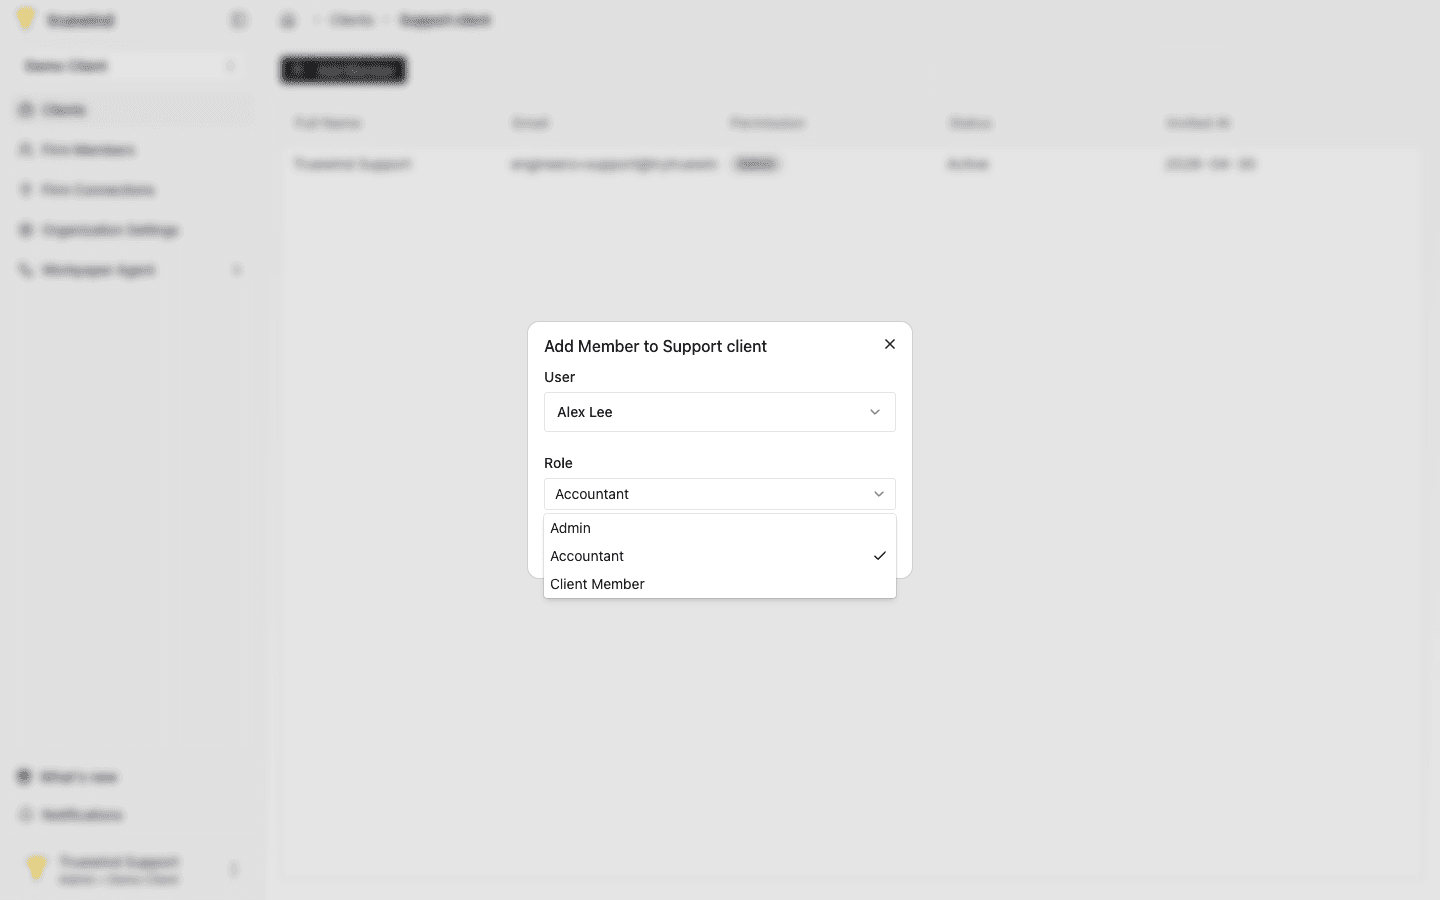
Step 7
Select the user to be added as new member, pick its role and then click on Add member to complete this process.
Was this helpful?
Need more help?
Ask for human help about this article and provide any feedback.