What to verify
- the clearing account exists in Sage
- the Deposit Reconciliation account maps to that Sage account
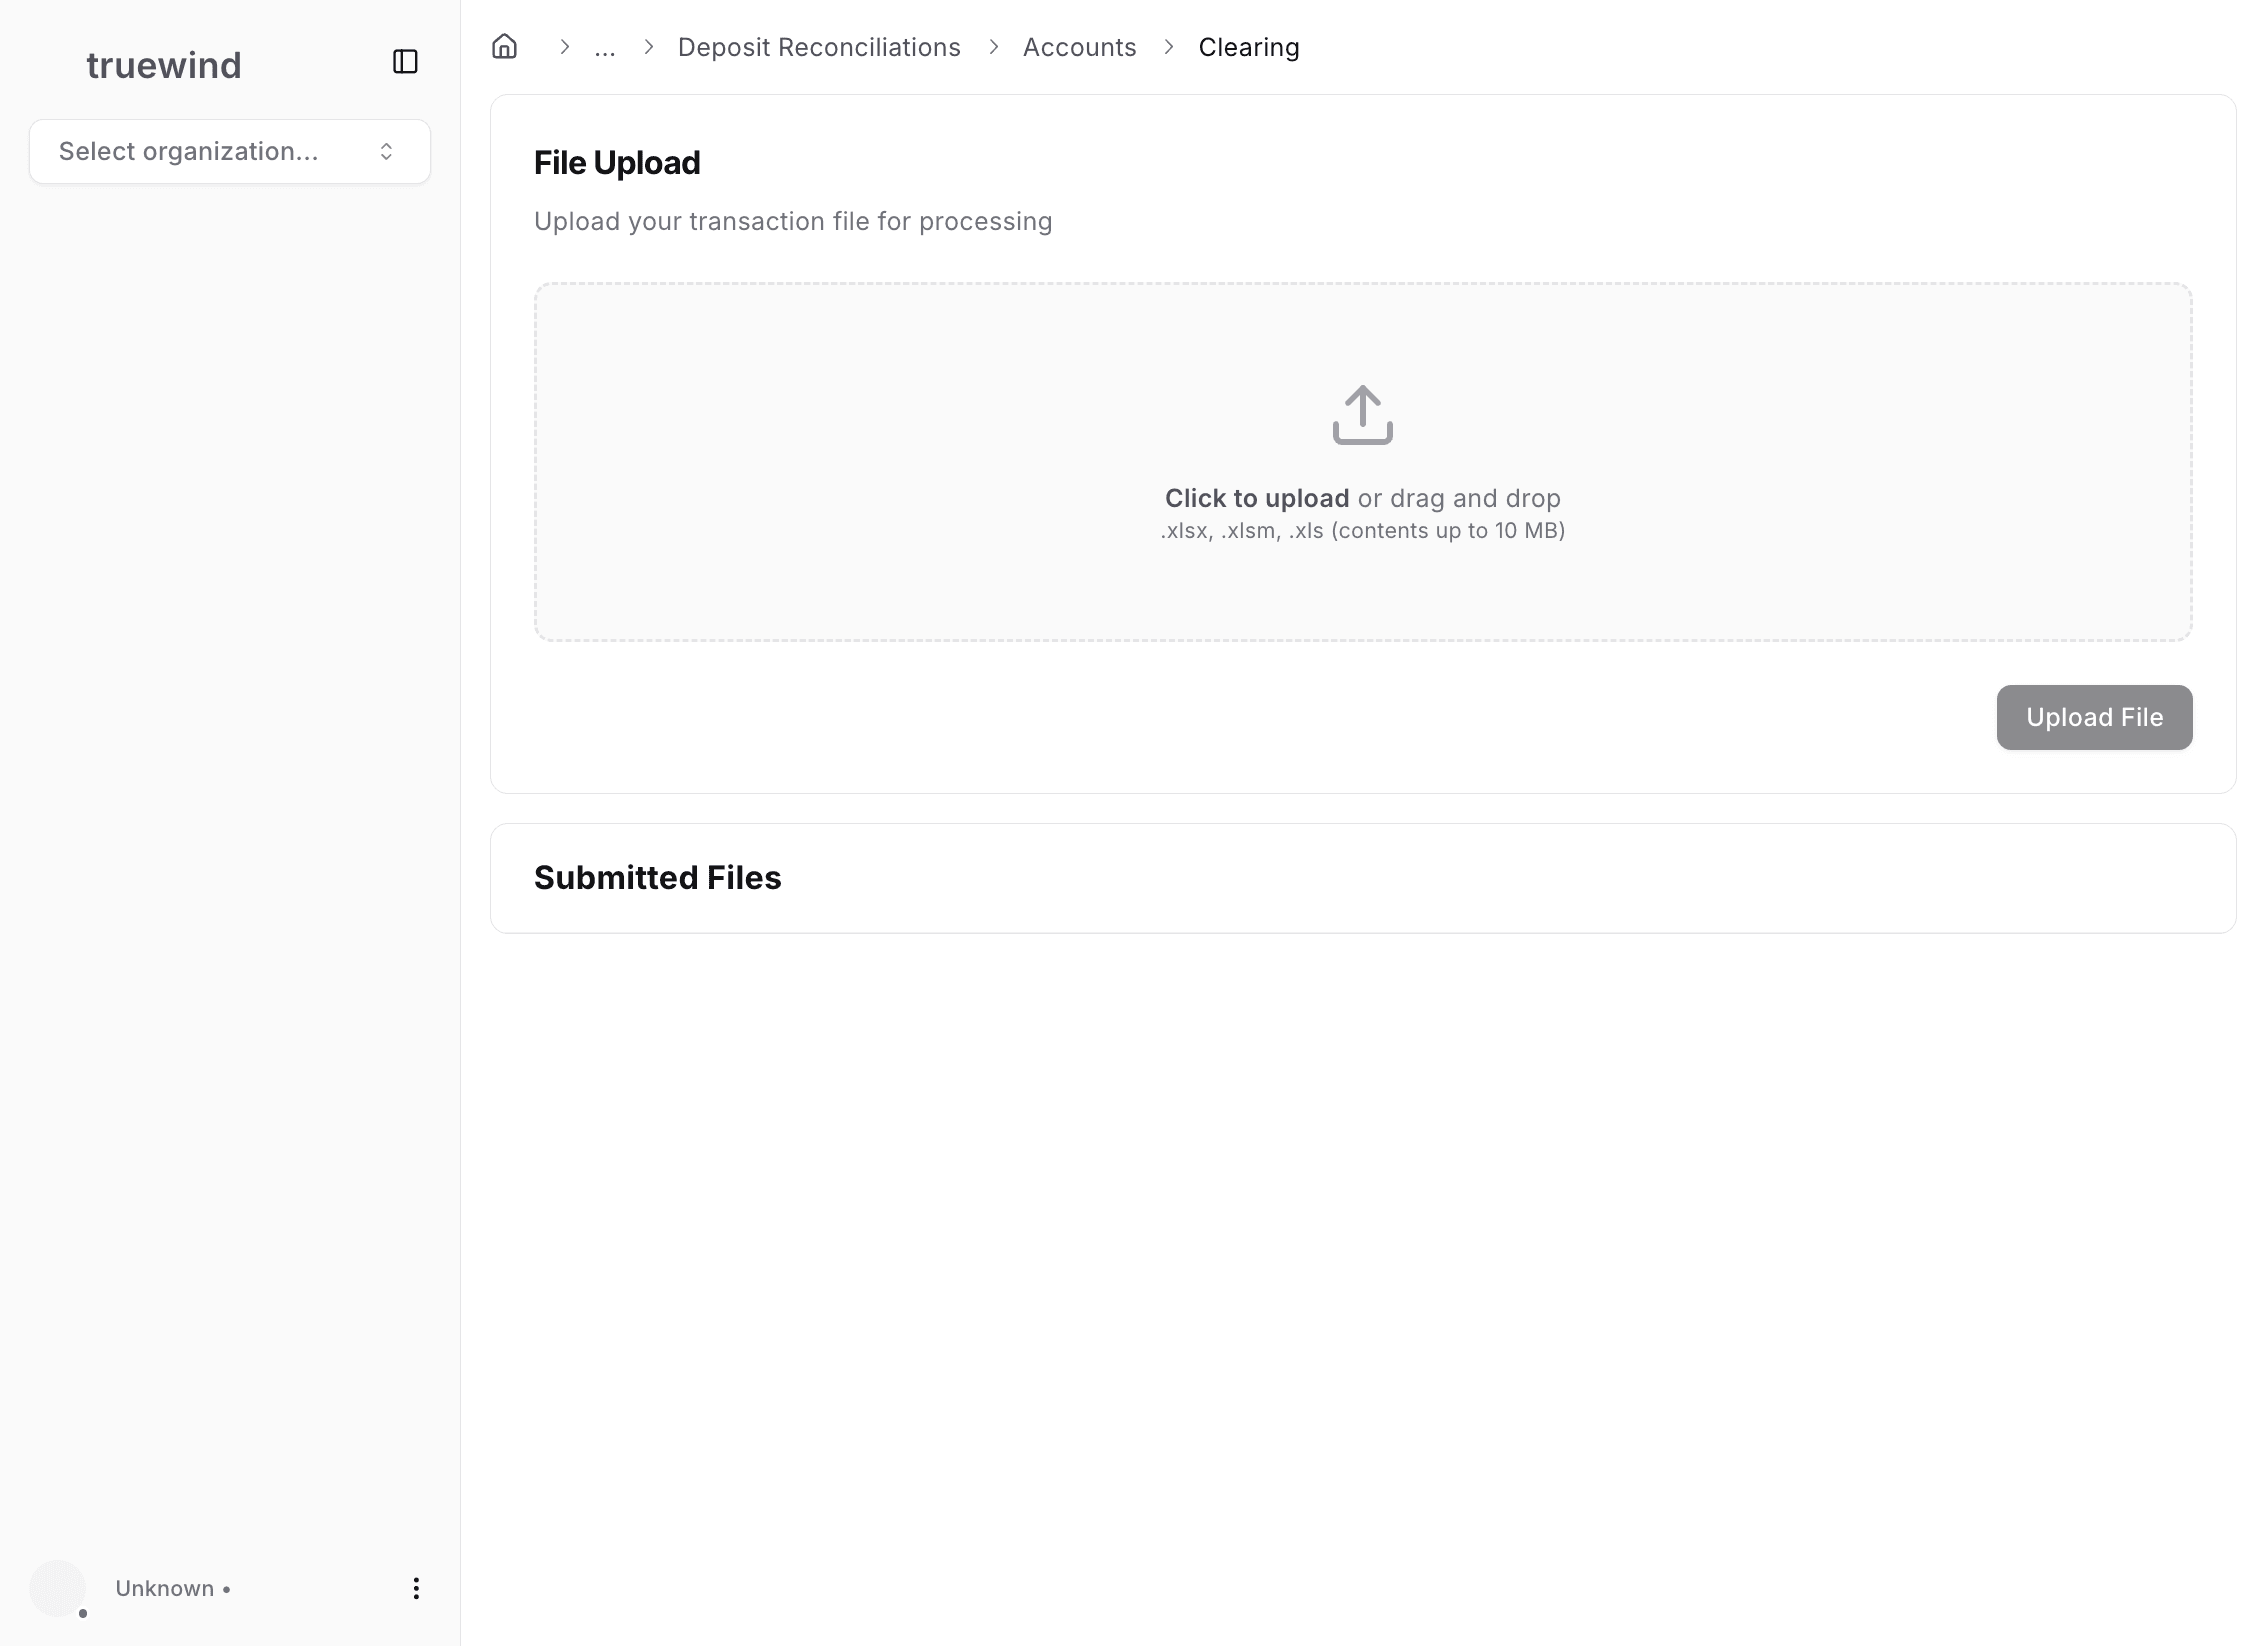
- the file upload step opens for the selected account
Ask the support agent
Just ask a direct question or search related articles from the Knowledge Base.
Support Center / Deposit Reconciliation / Setup
Create and map a clearing account in Sage when Deposit Reconciliation needs a destination account, resulting in a clearing account that can be selected during account setup and file import.
Step 1
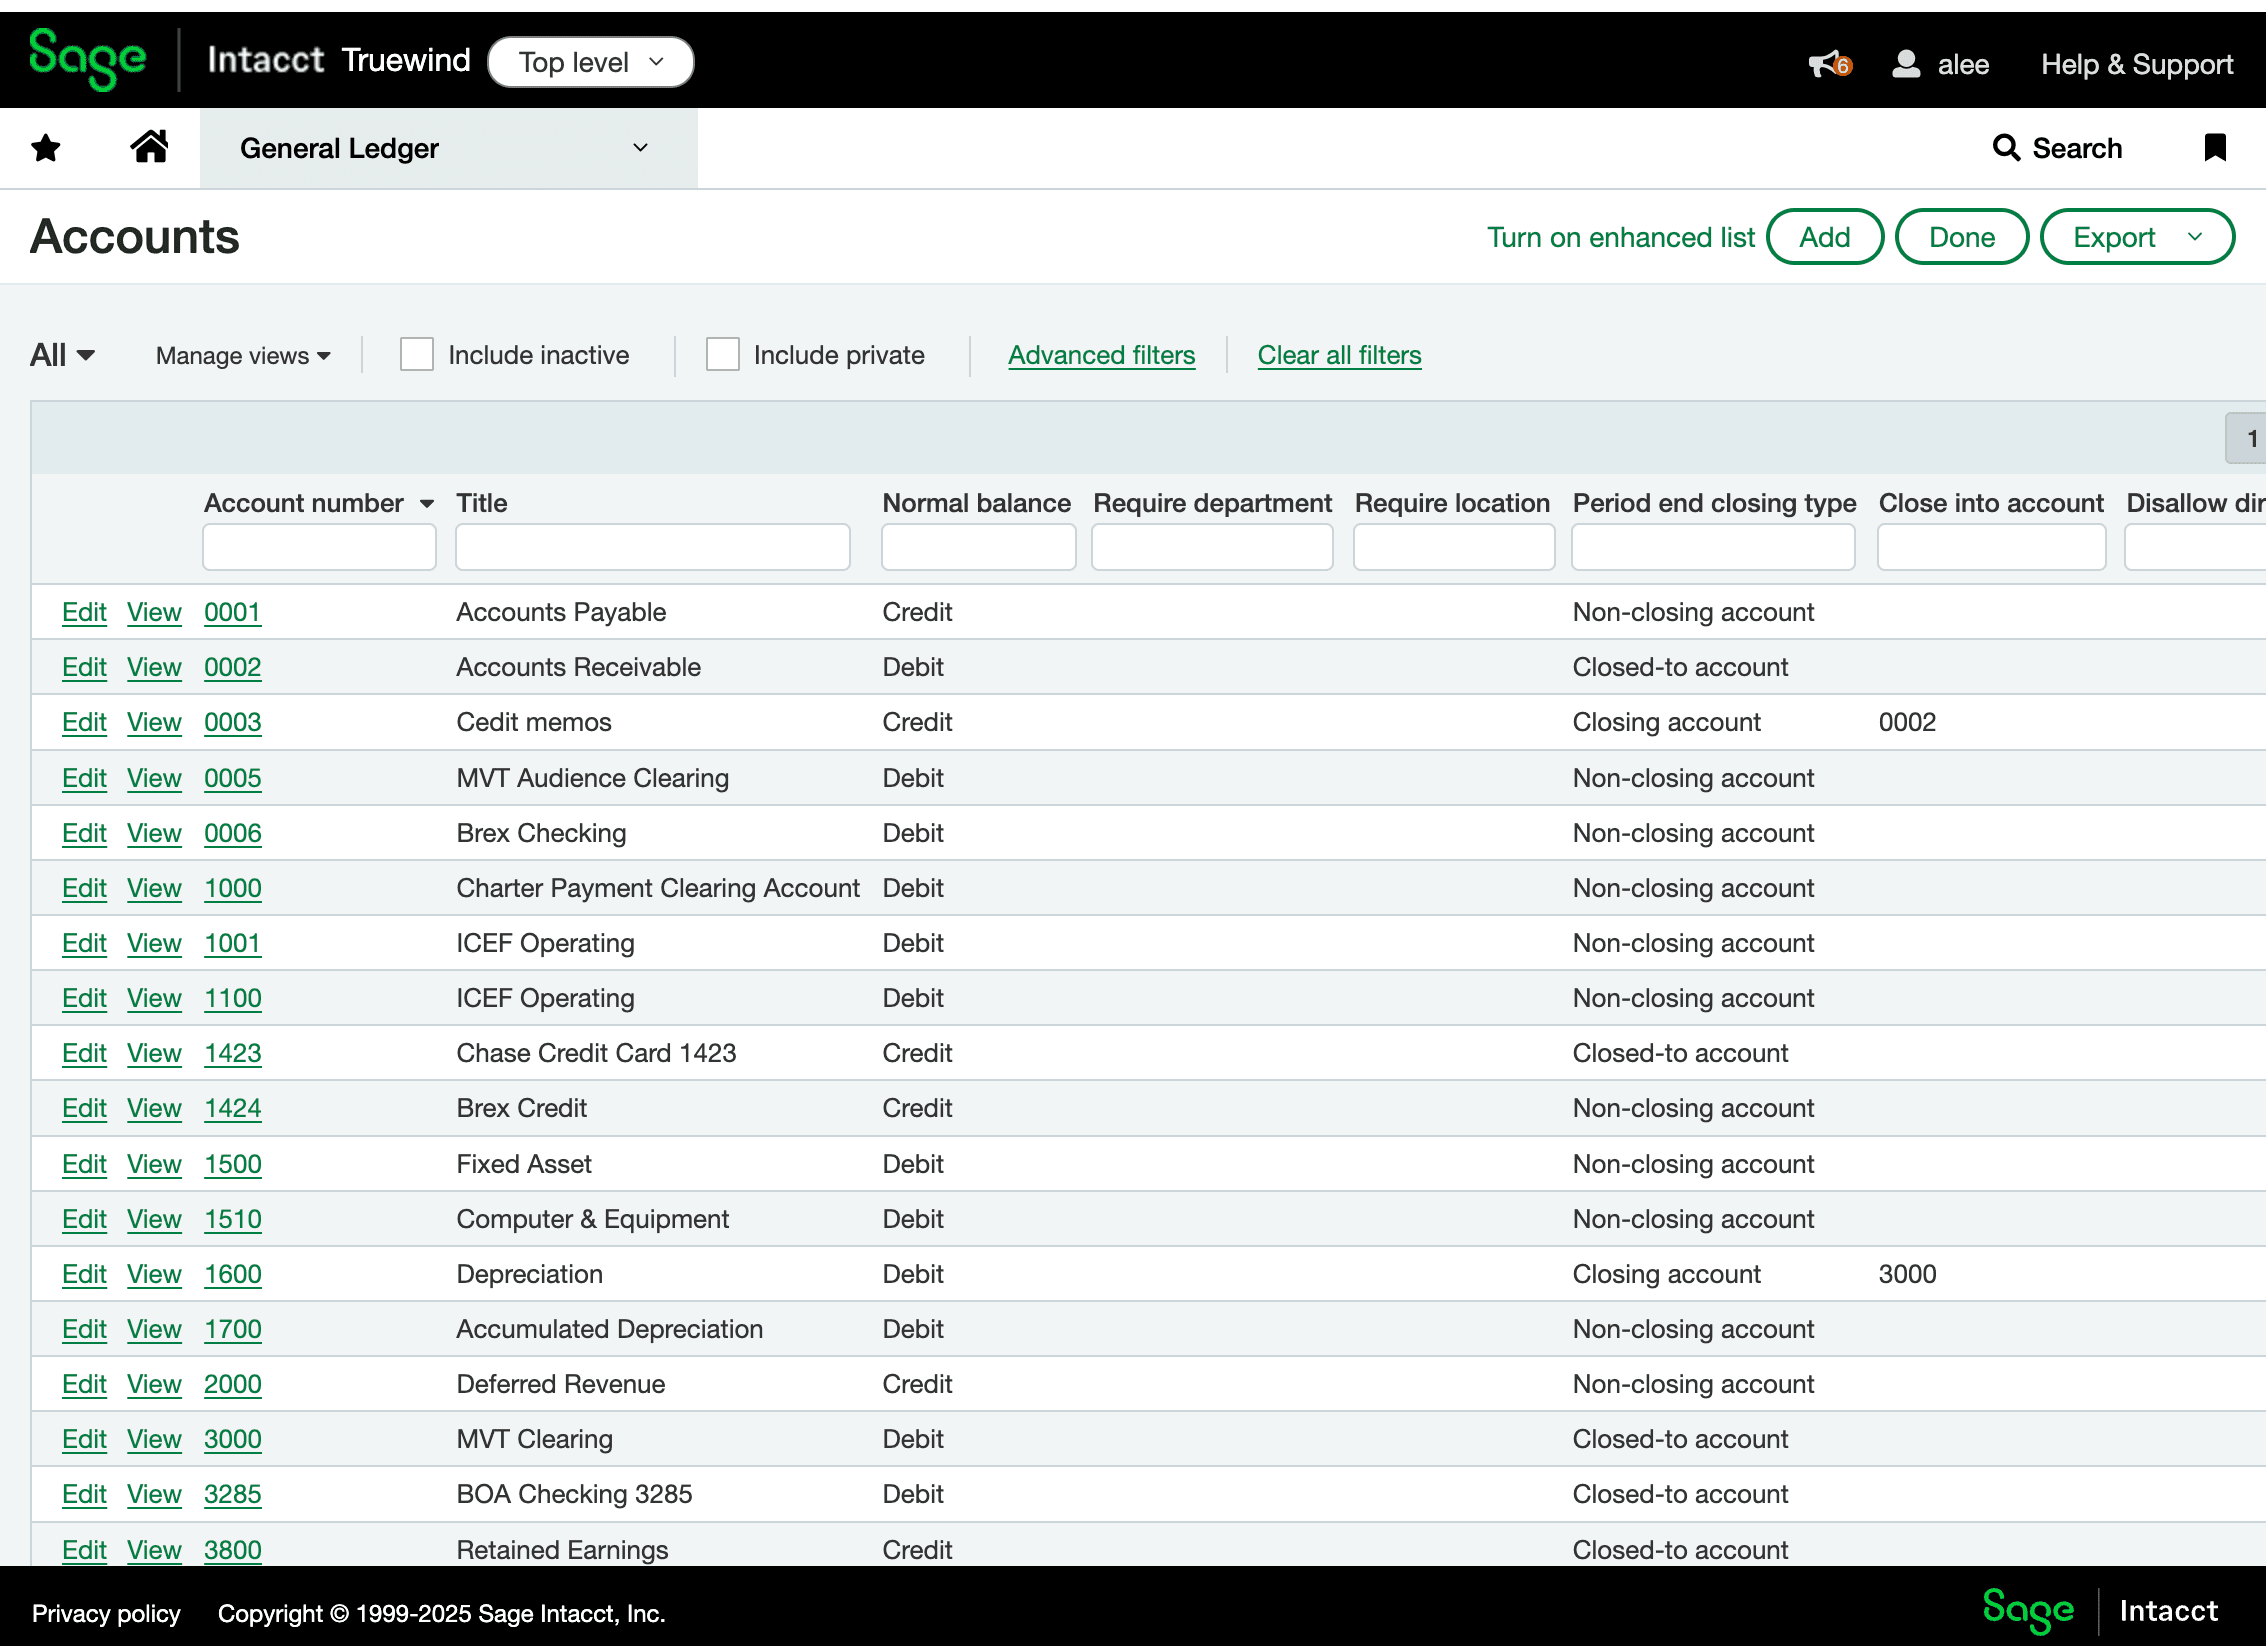
Start in Sage on General Ledger so you can create the clearing account in the chart of accounts first.
Step 2
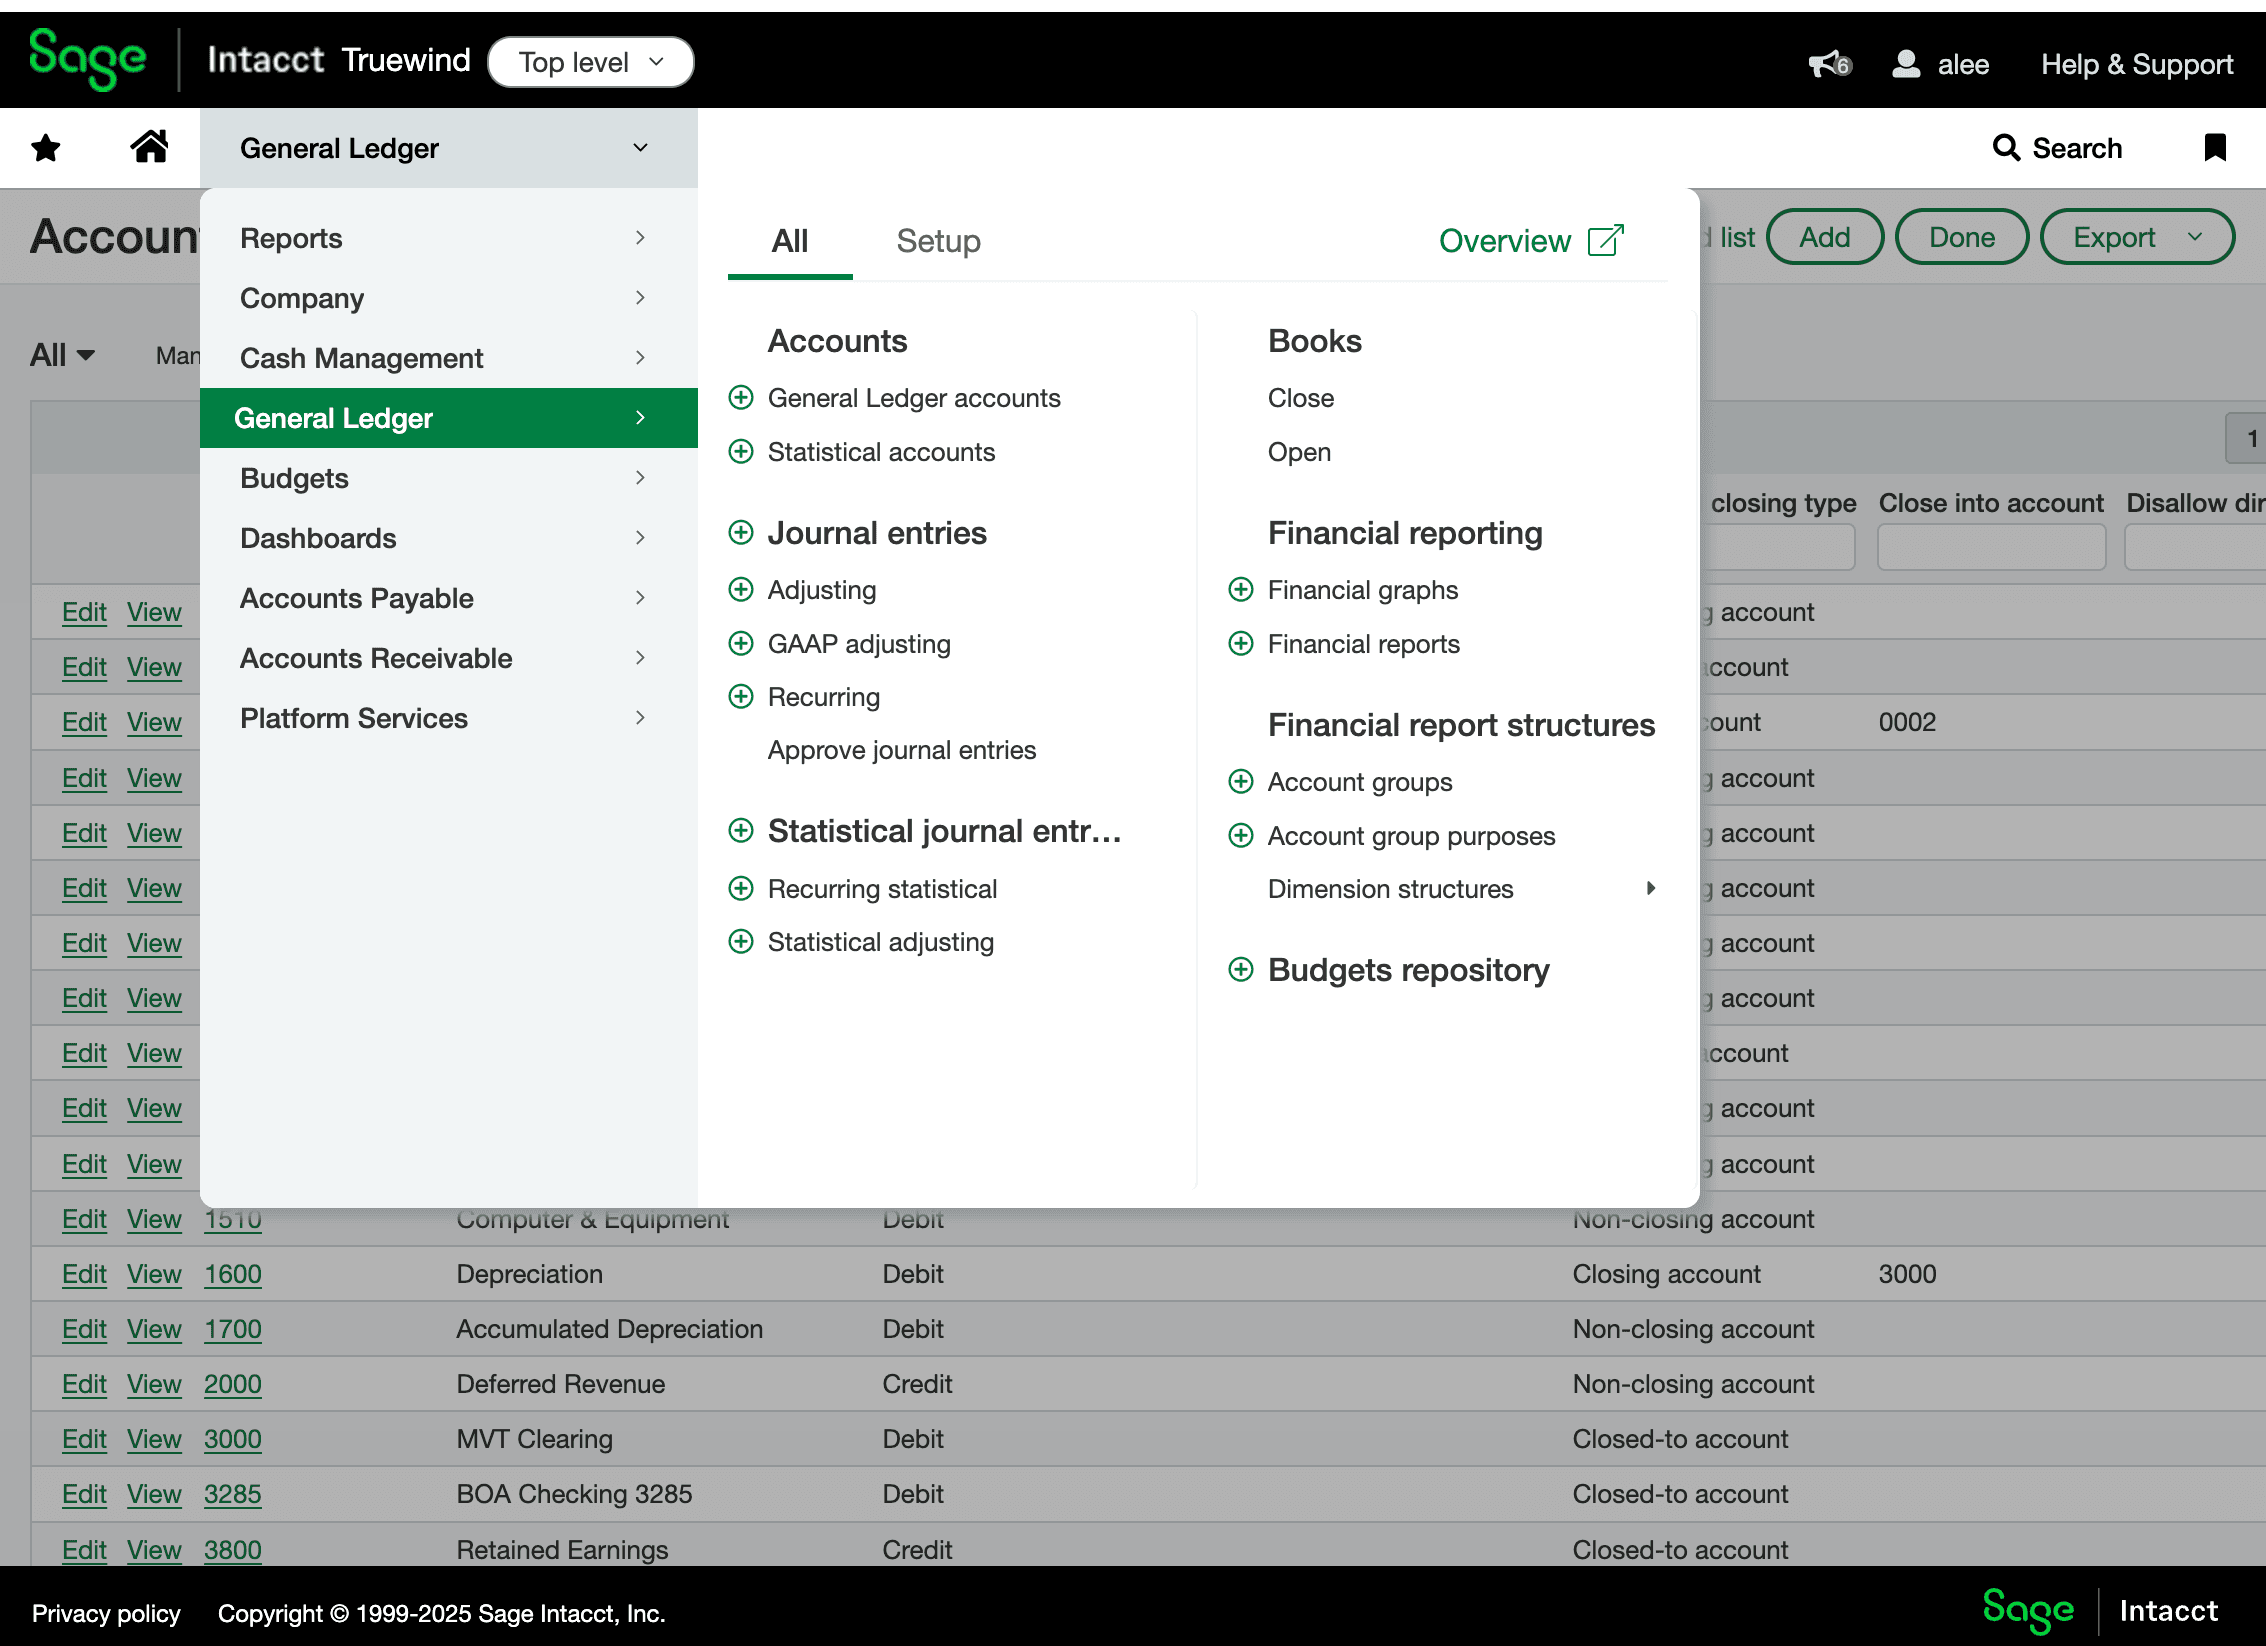
Stay in the General Ledger area until the account-management options are visible.
Step 3
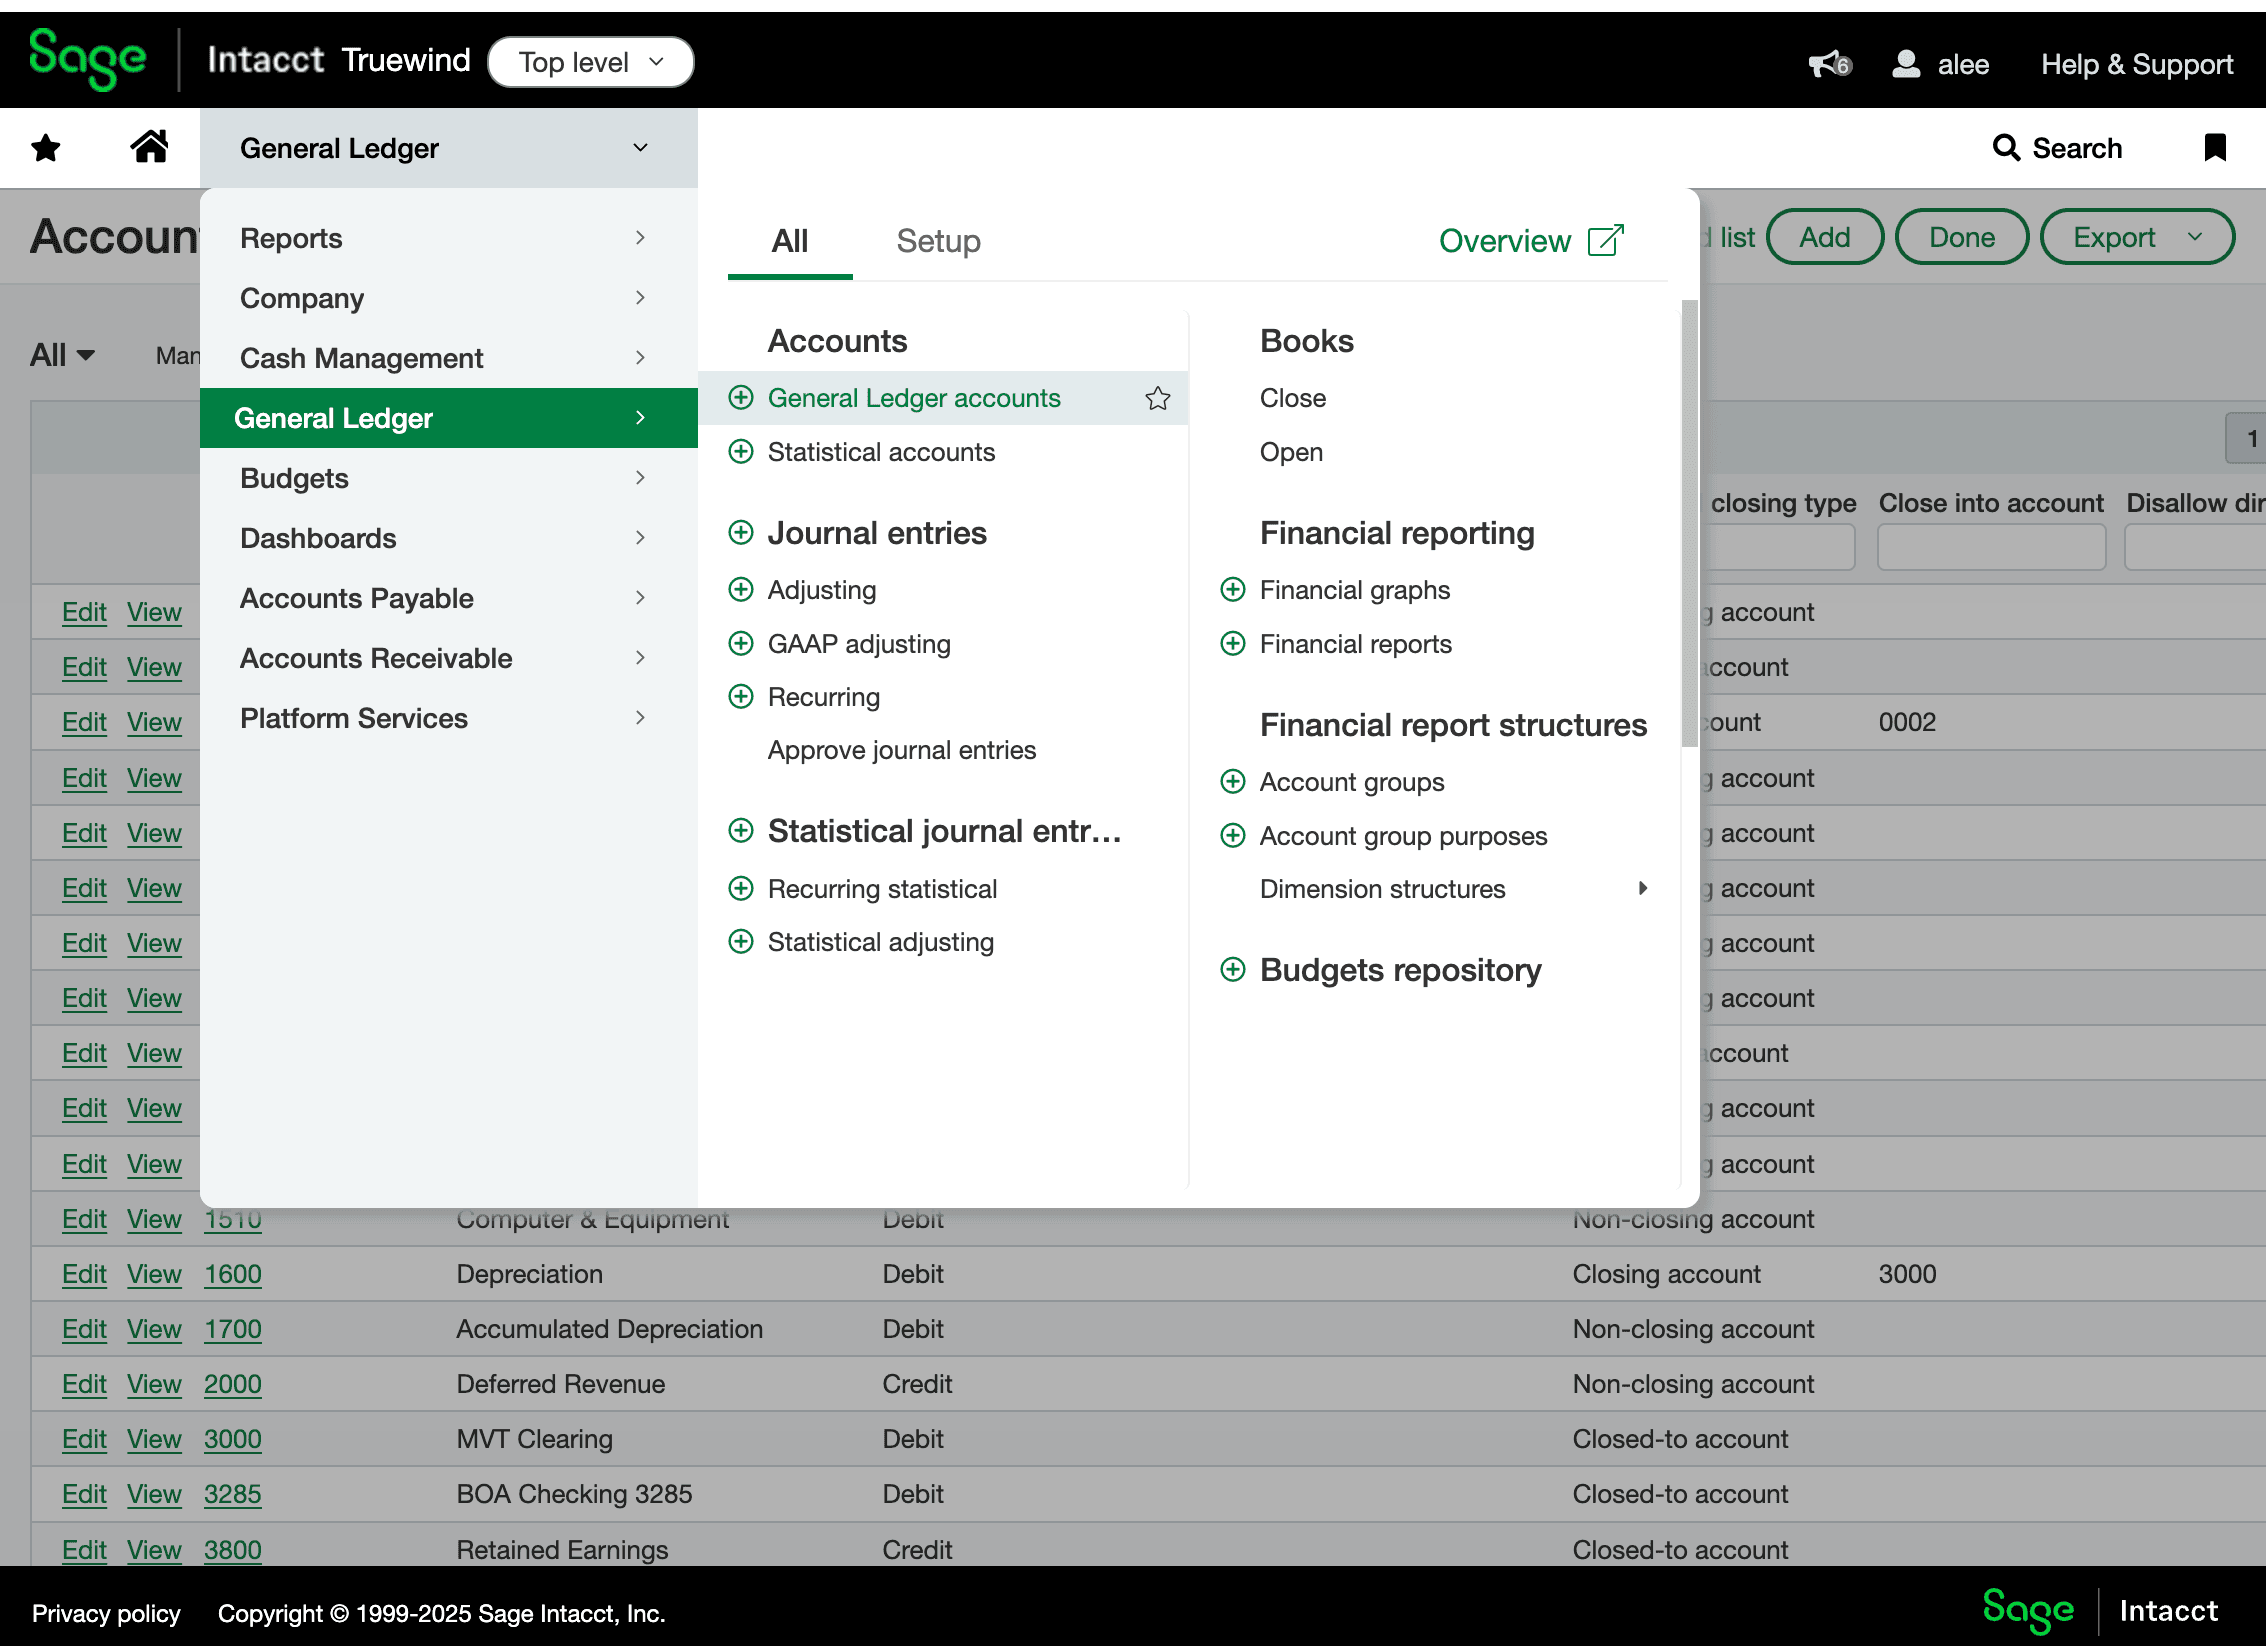
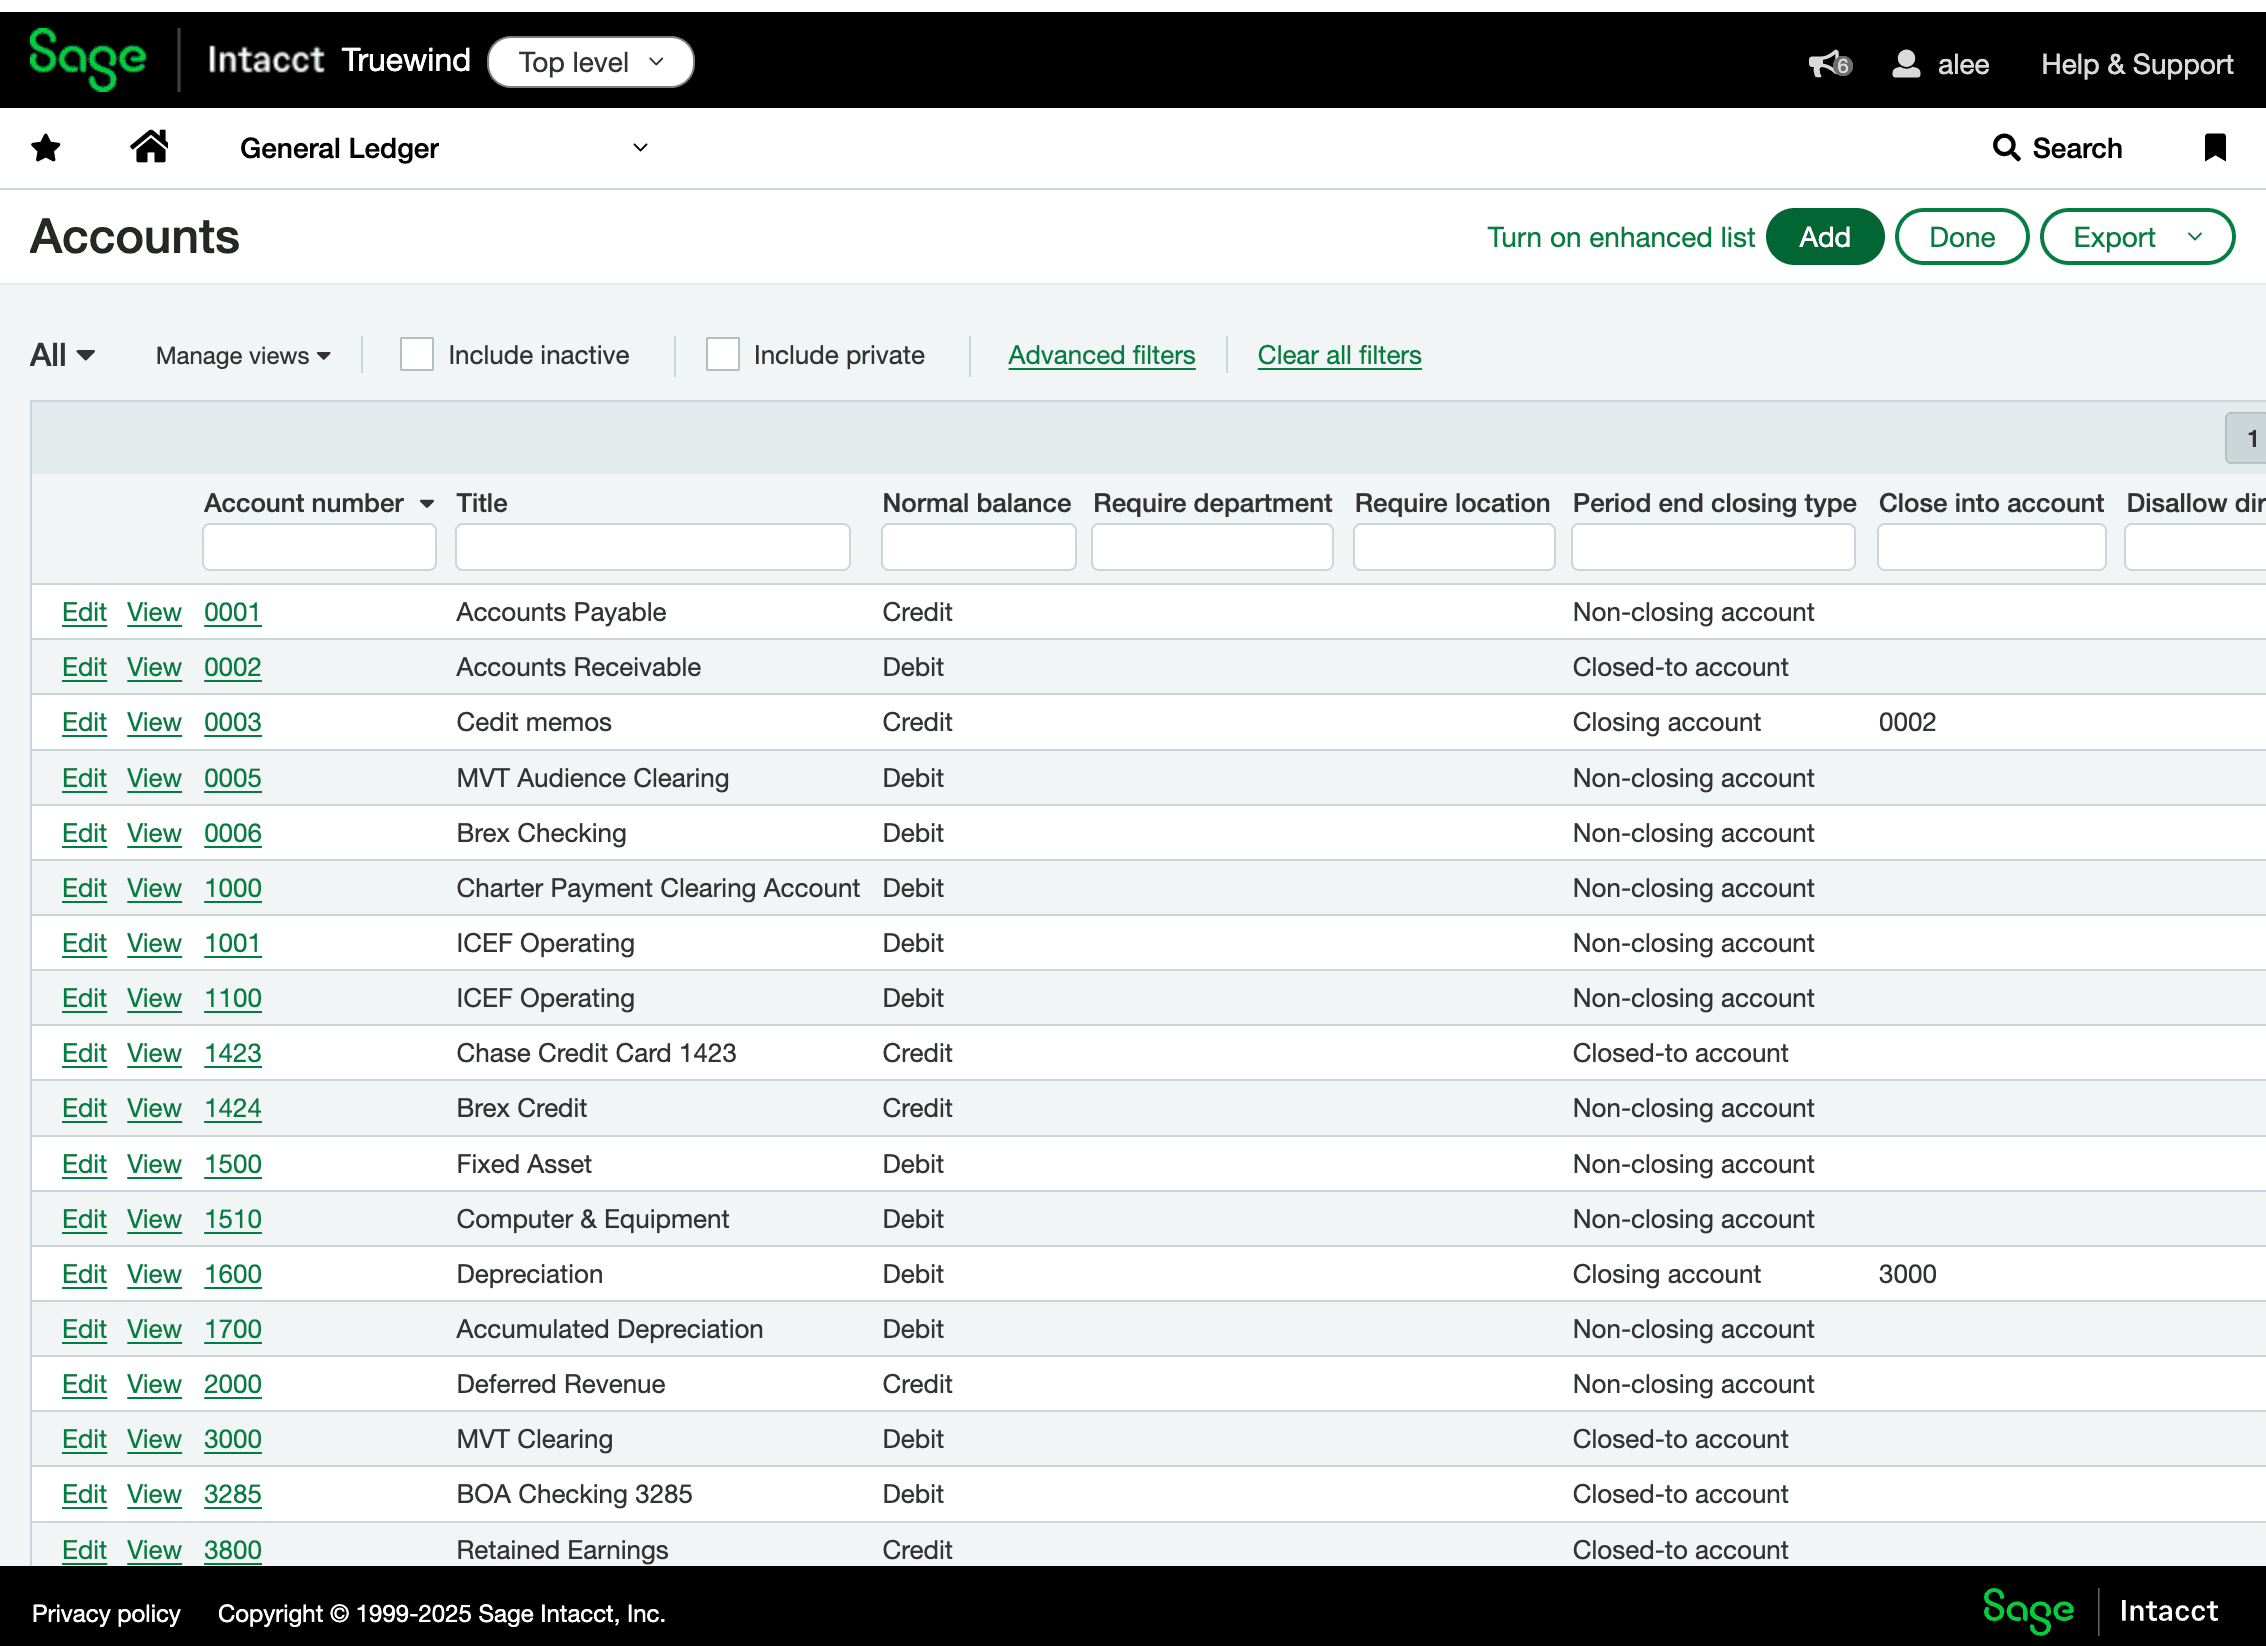
Use the accounts list to create the new clearing account instead of trying to map an account that does not exist yet.
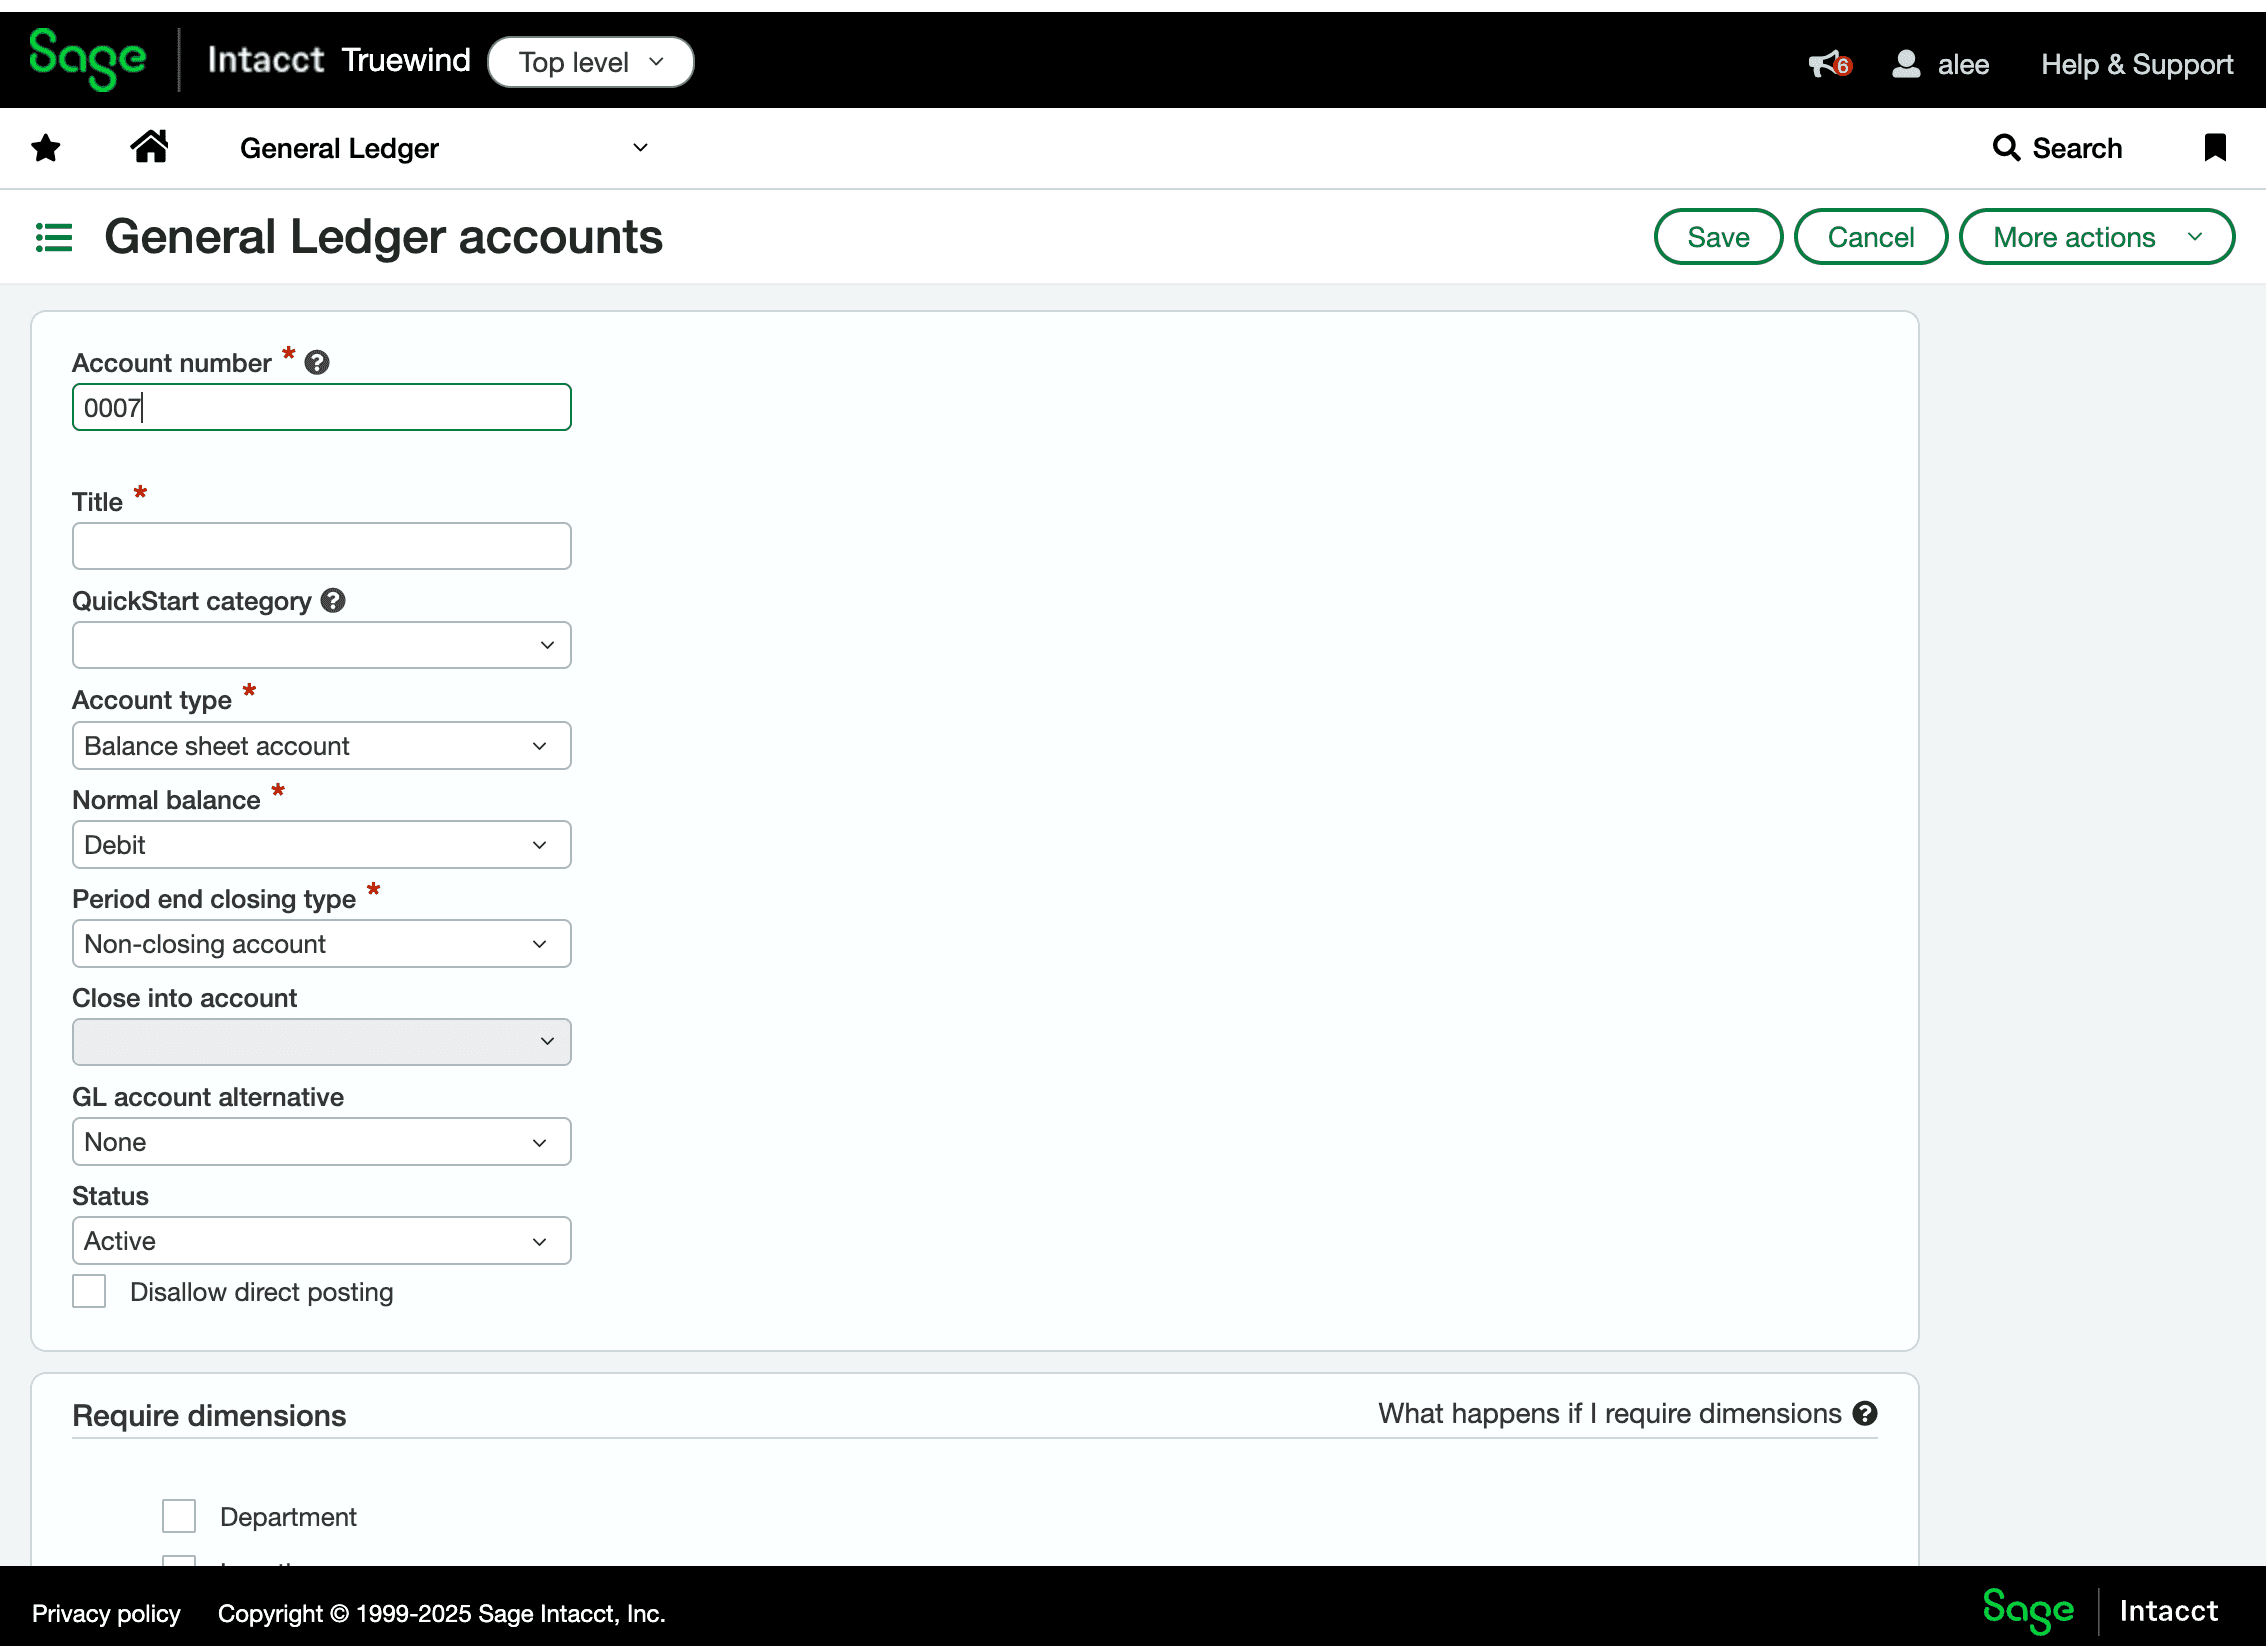
Step 4
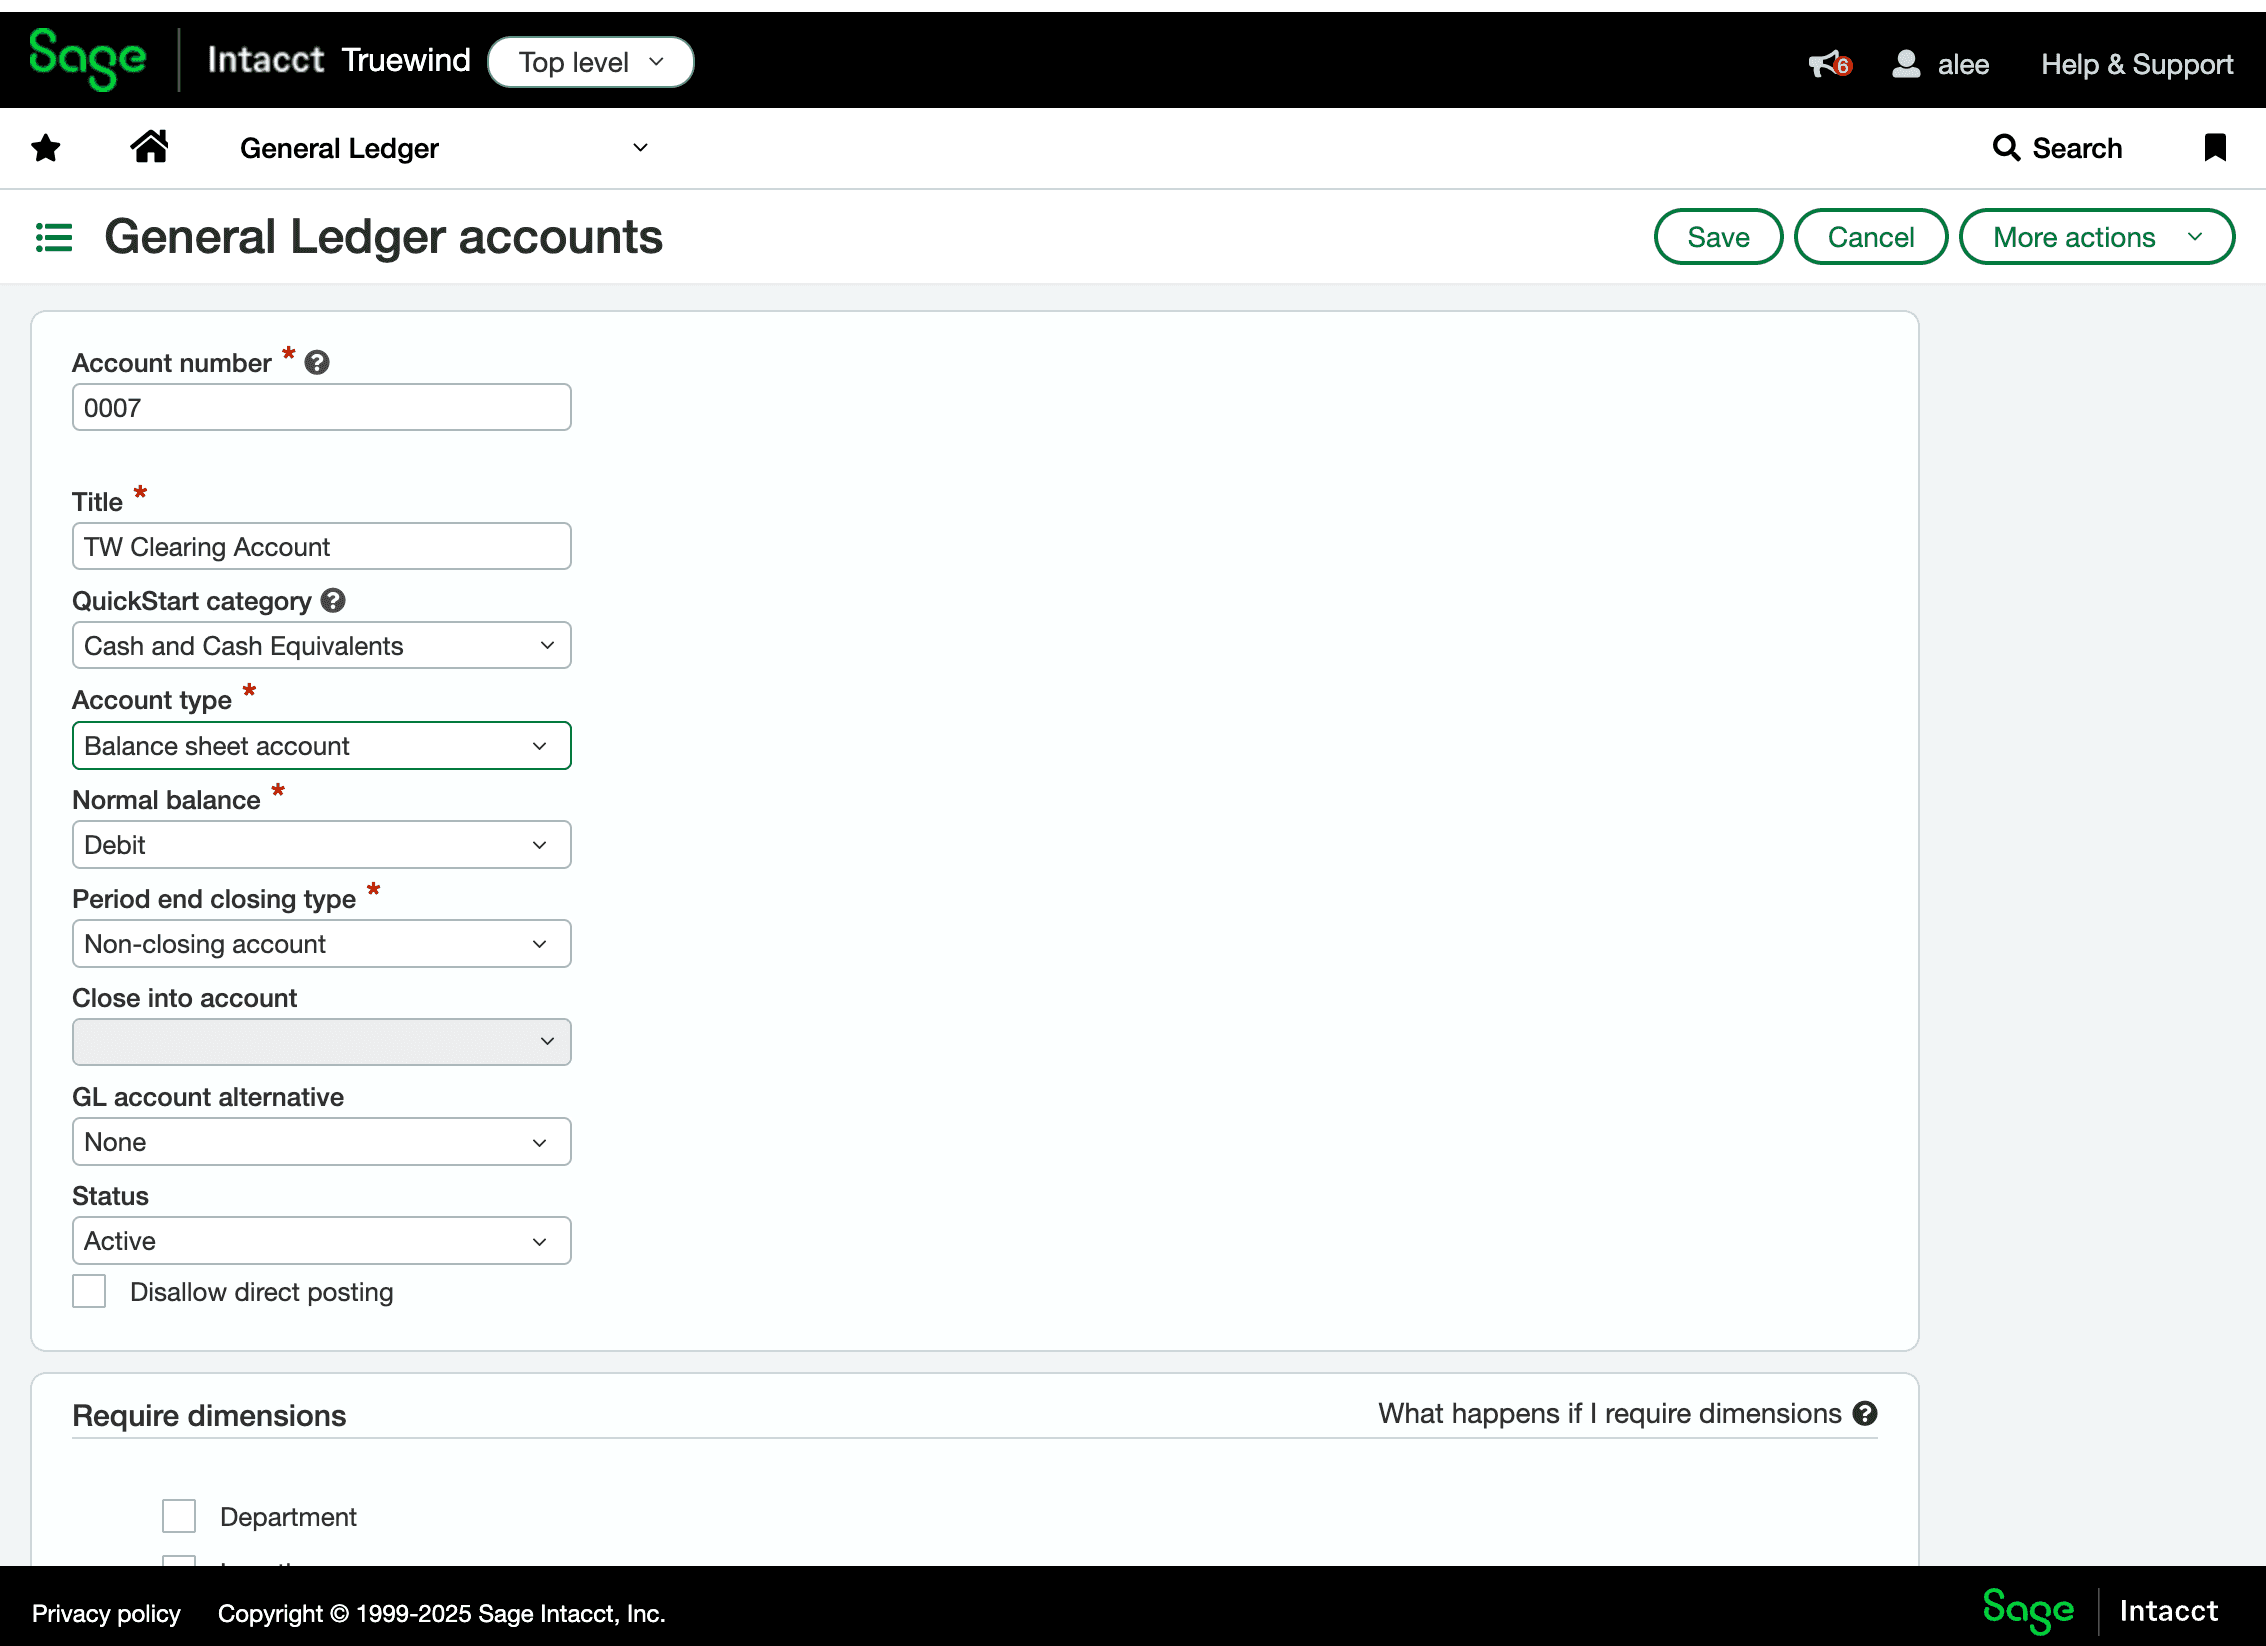
Start a new account record in Sage before entering the account details.
Step 5
Use the number your team wants for the clearing account so it fits the existing chart-of-accounts structure.
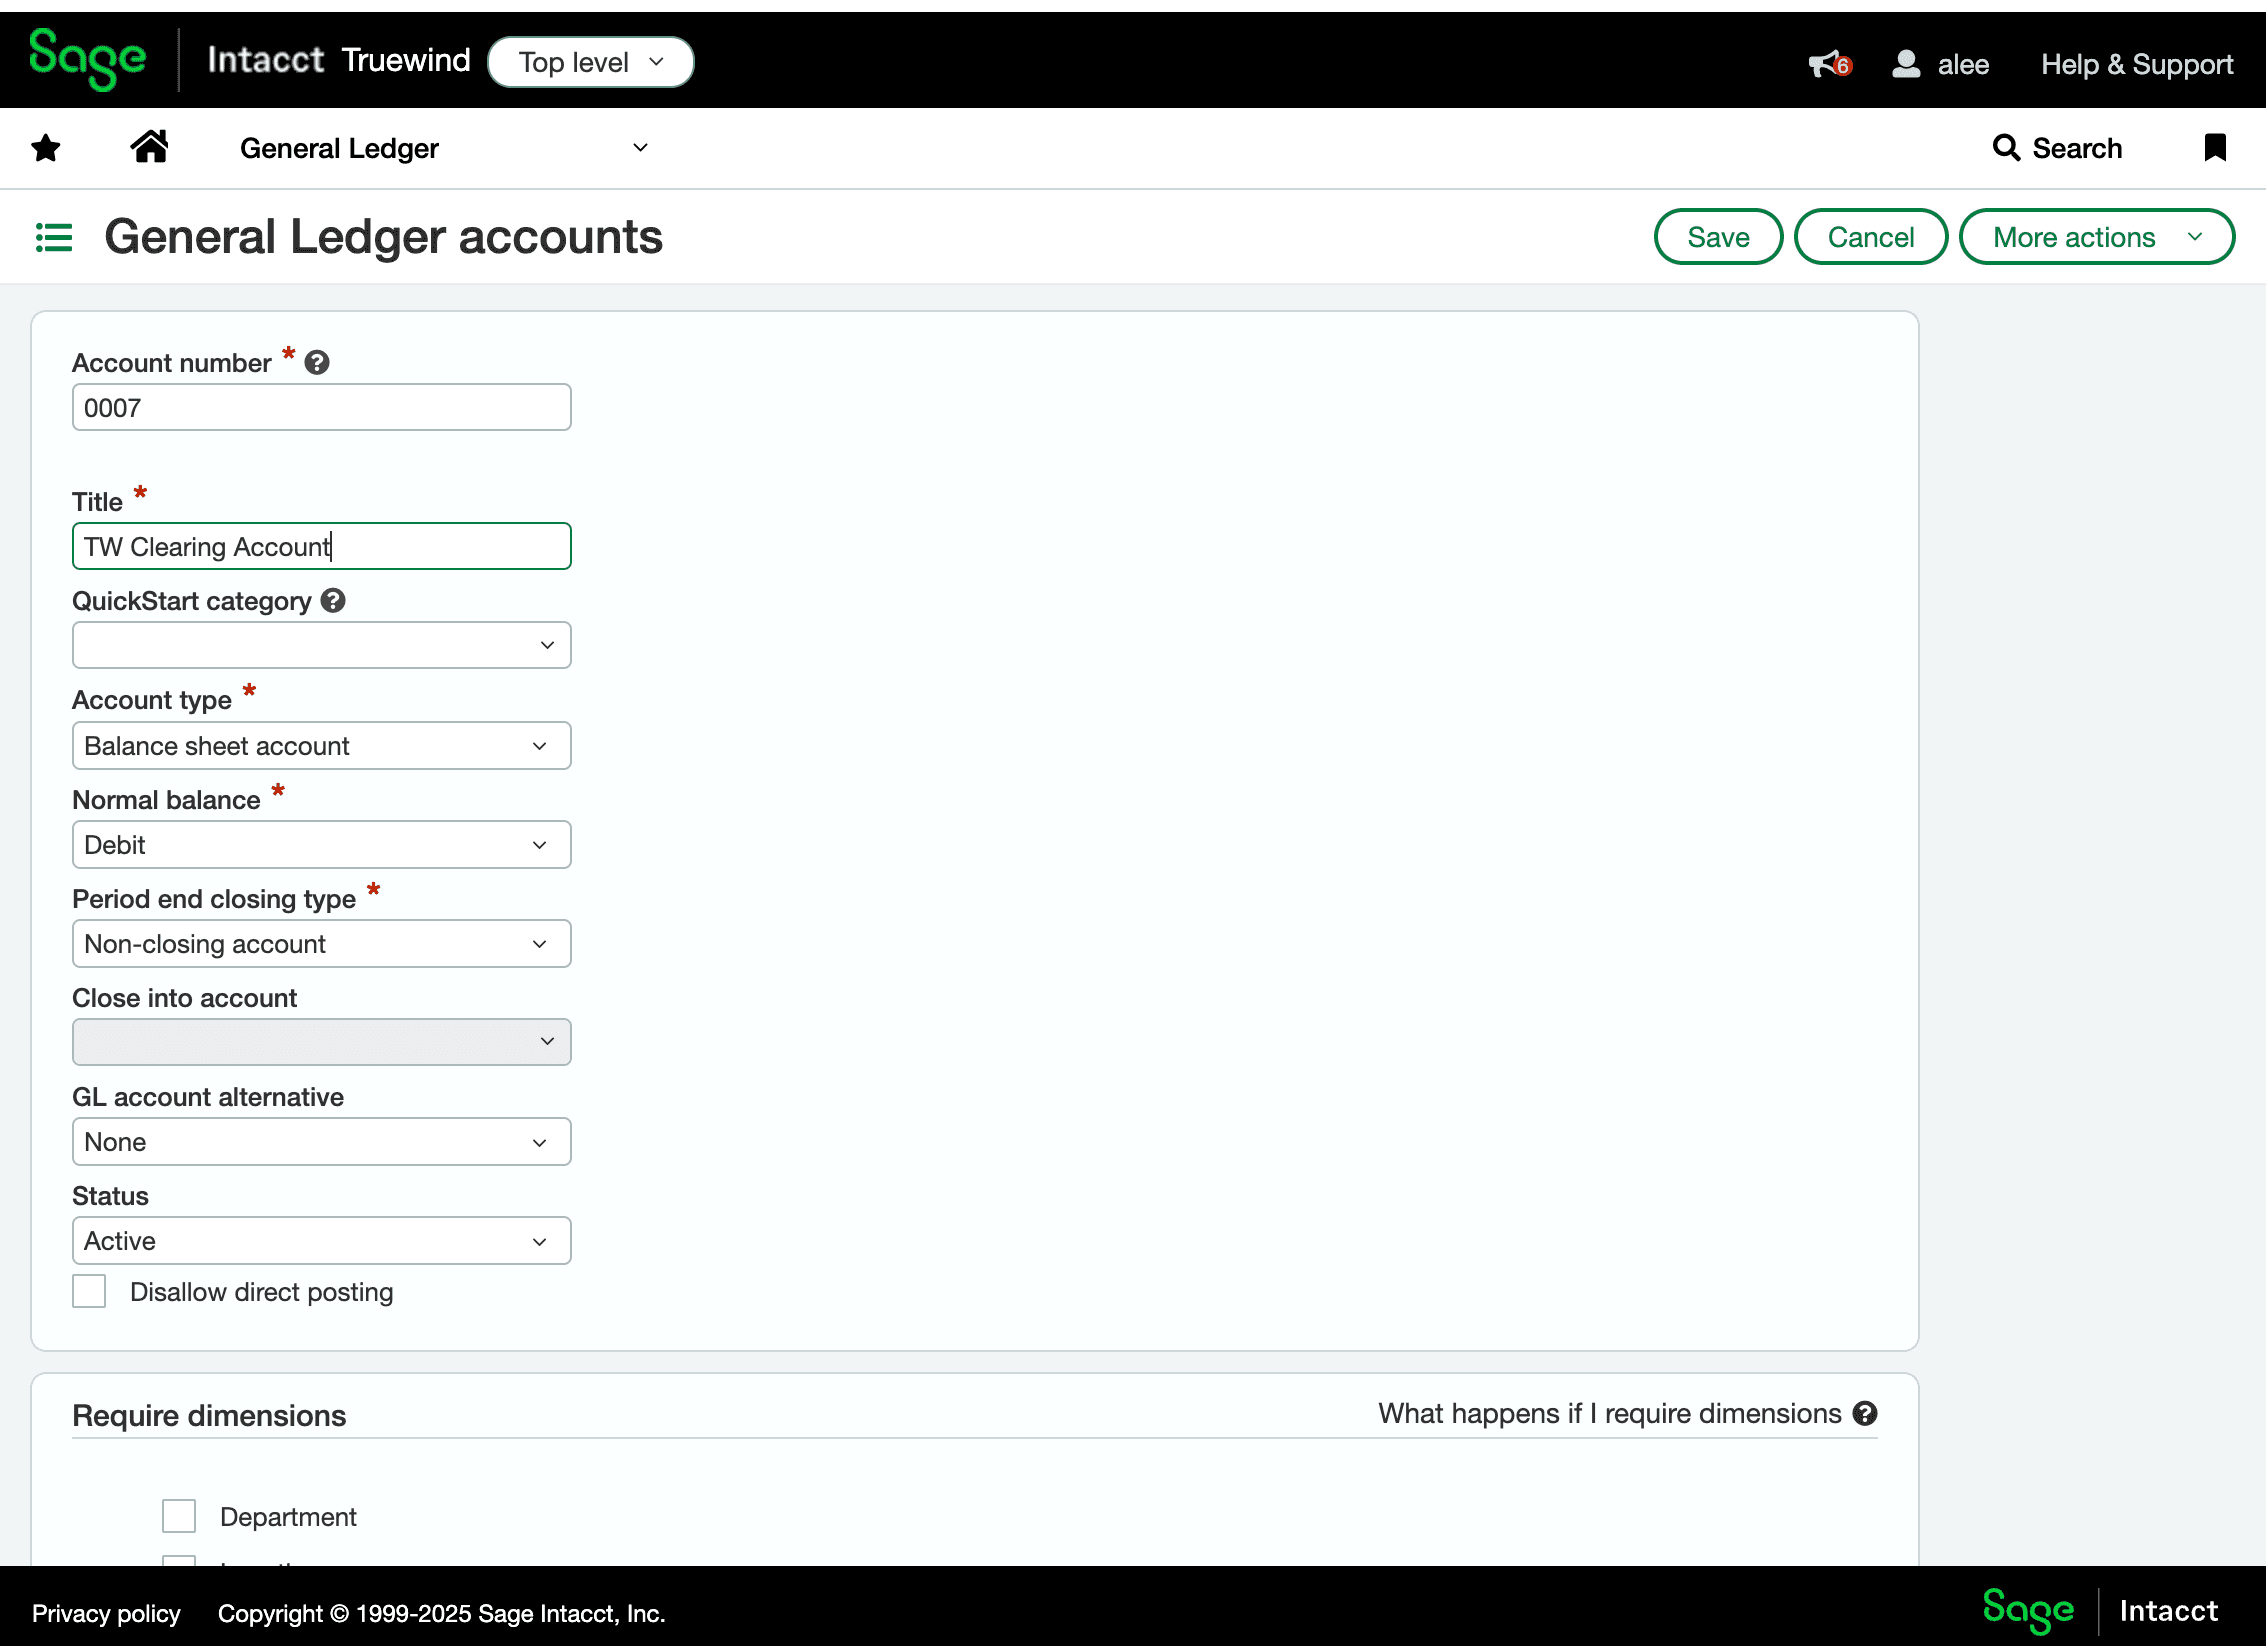
Step 6
Name the account clearly so it is easy to recognize later in Deposit Reconciliation.
Step 7
Use the code Sage expects for this ledger record so the account can be saved without validation errors.
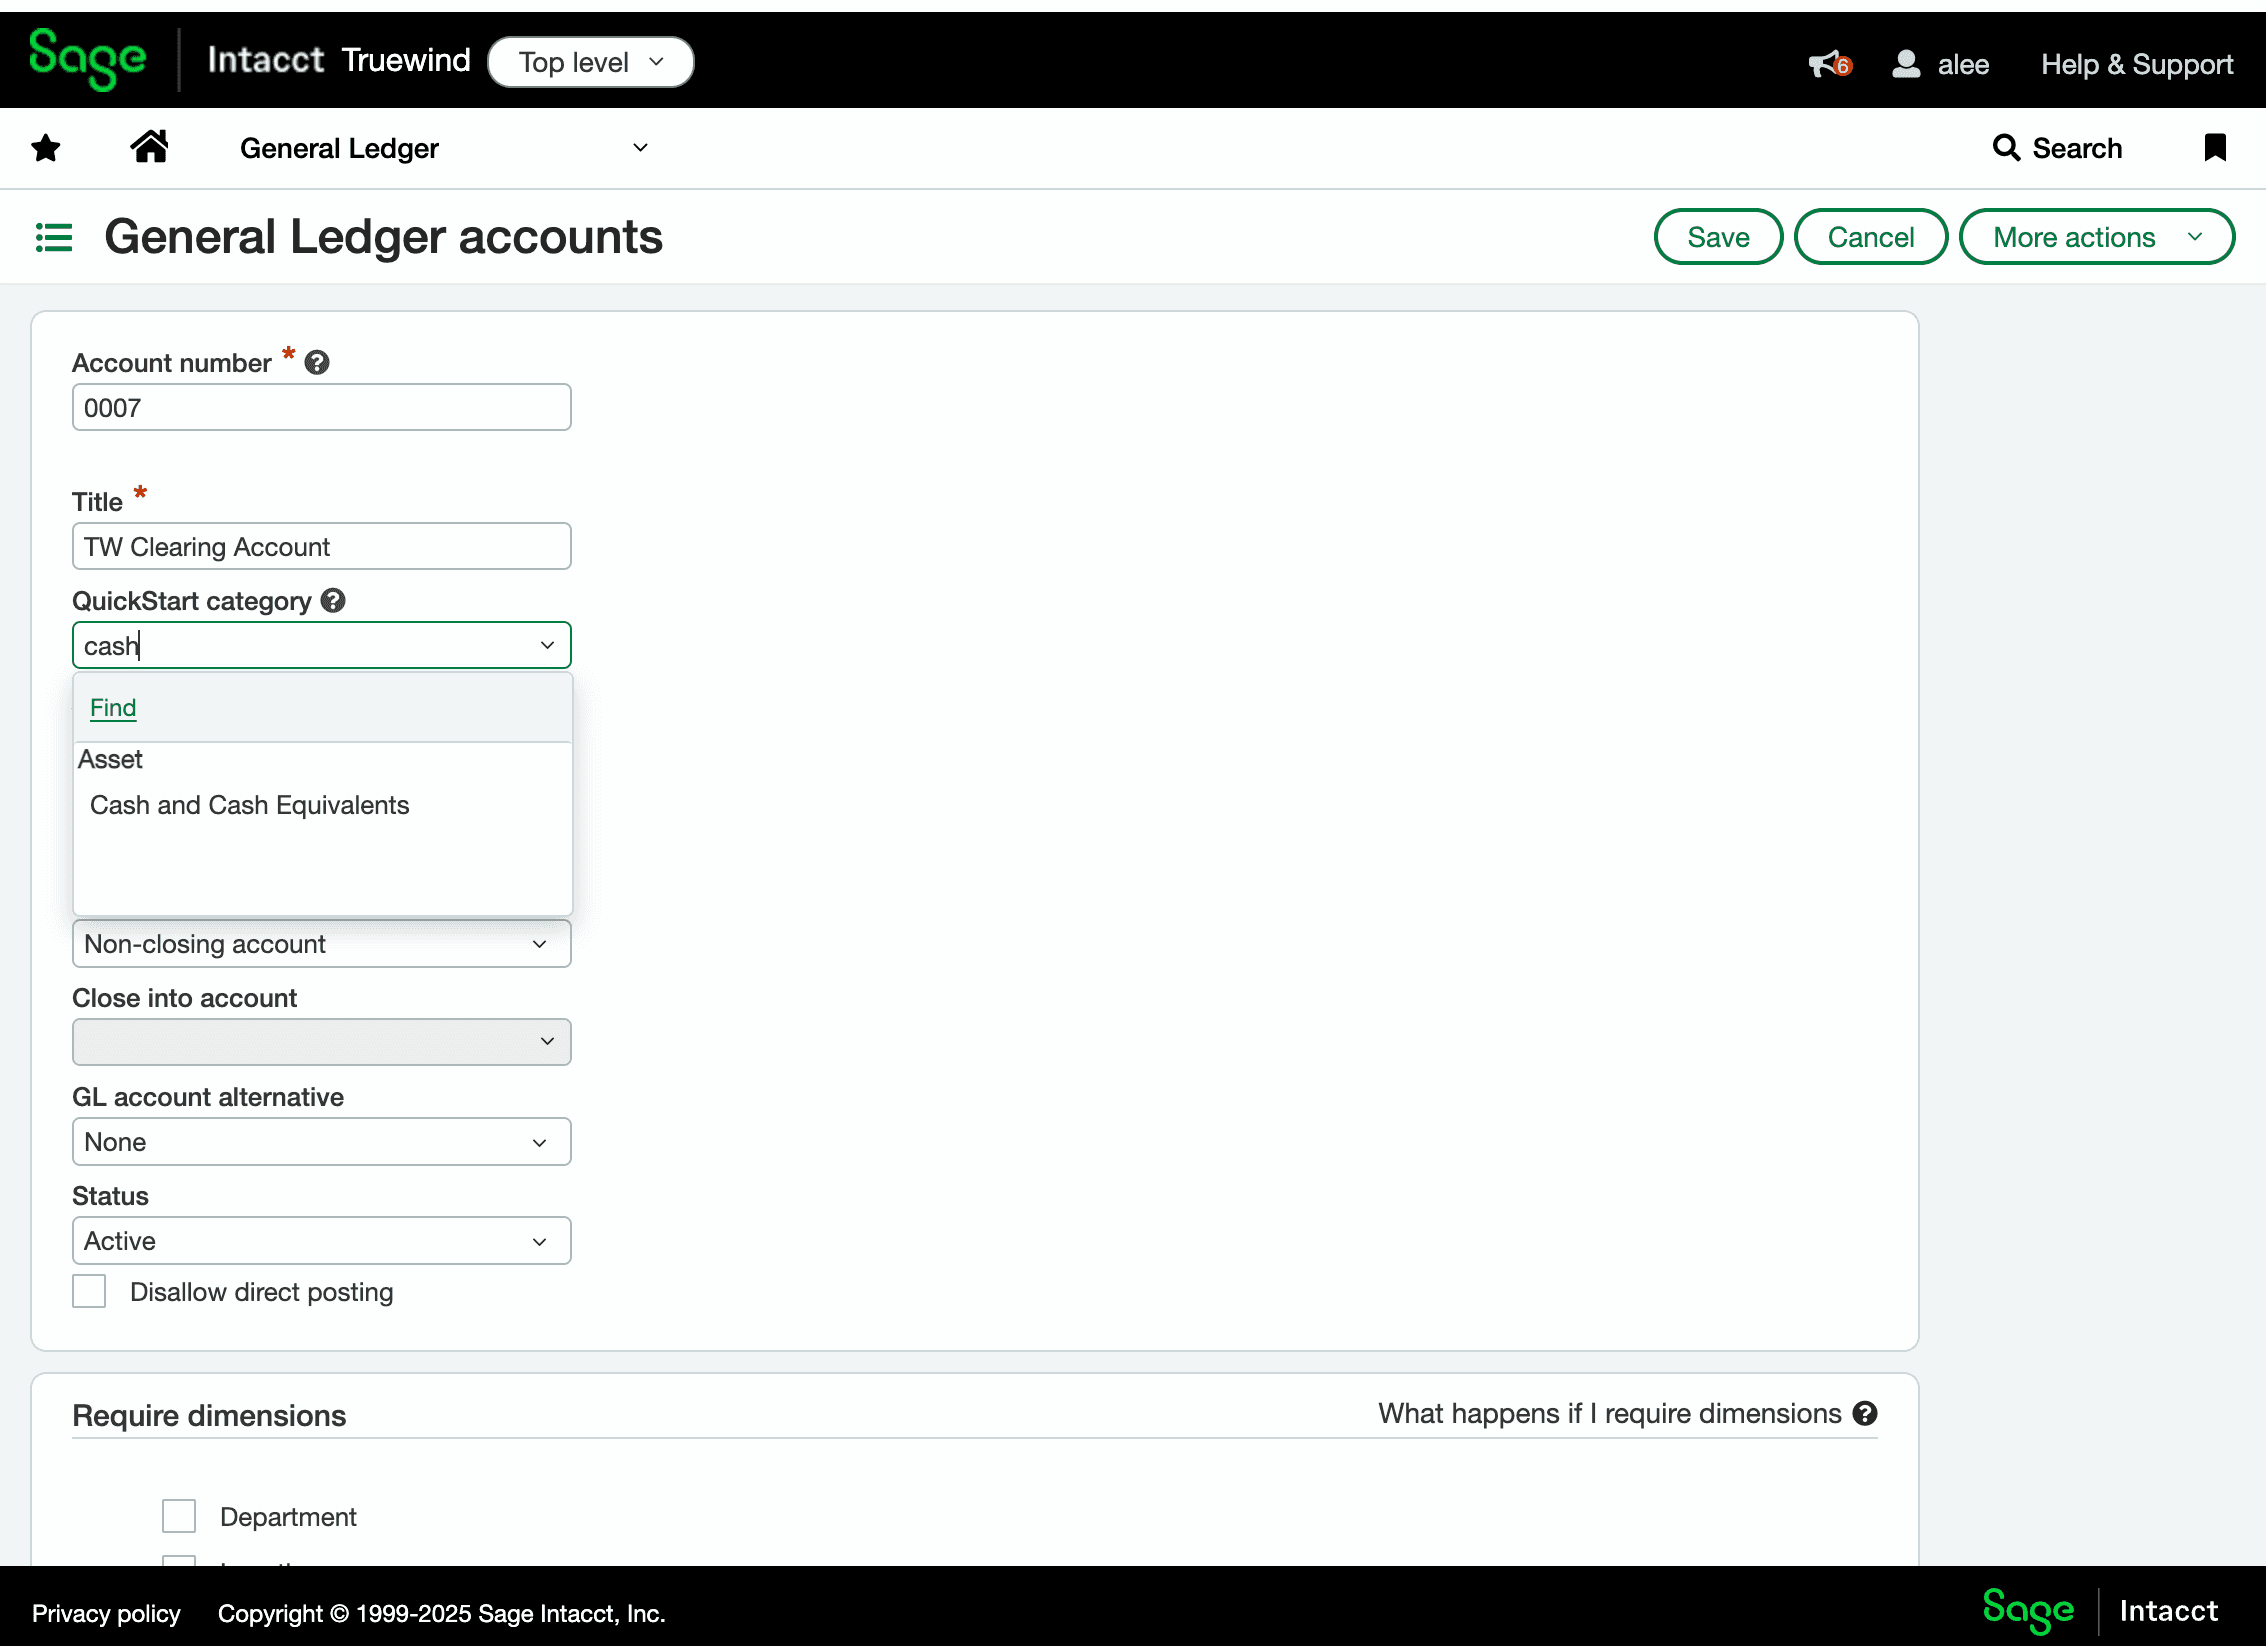
Step 8
Set the account classification correctly so Deposit Reconciliation maps to the right balance-sheet bucket.
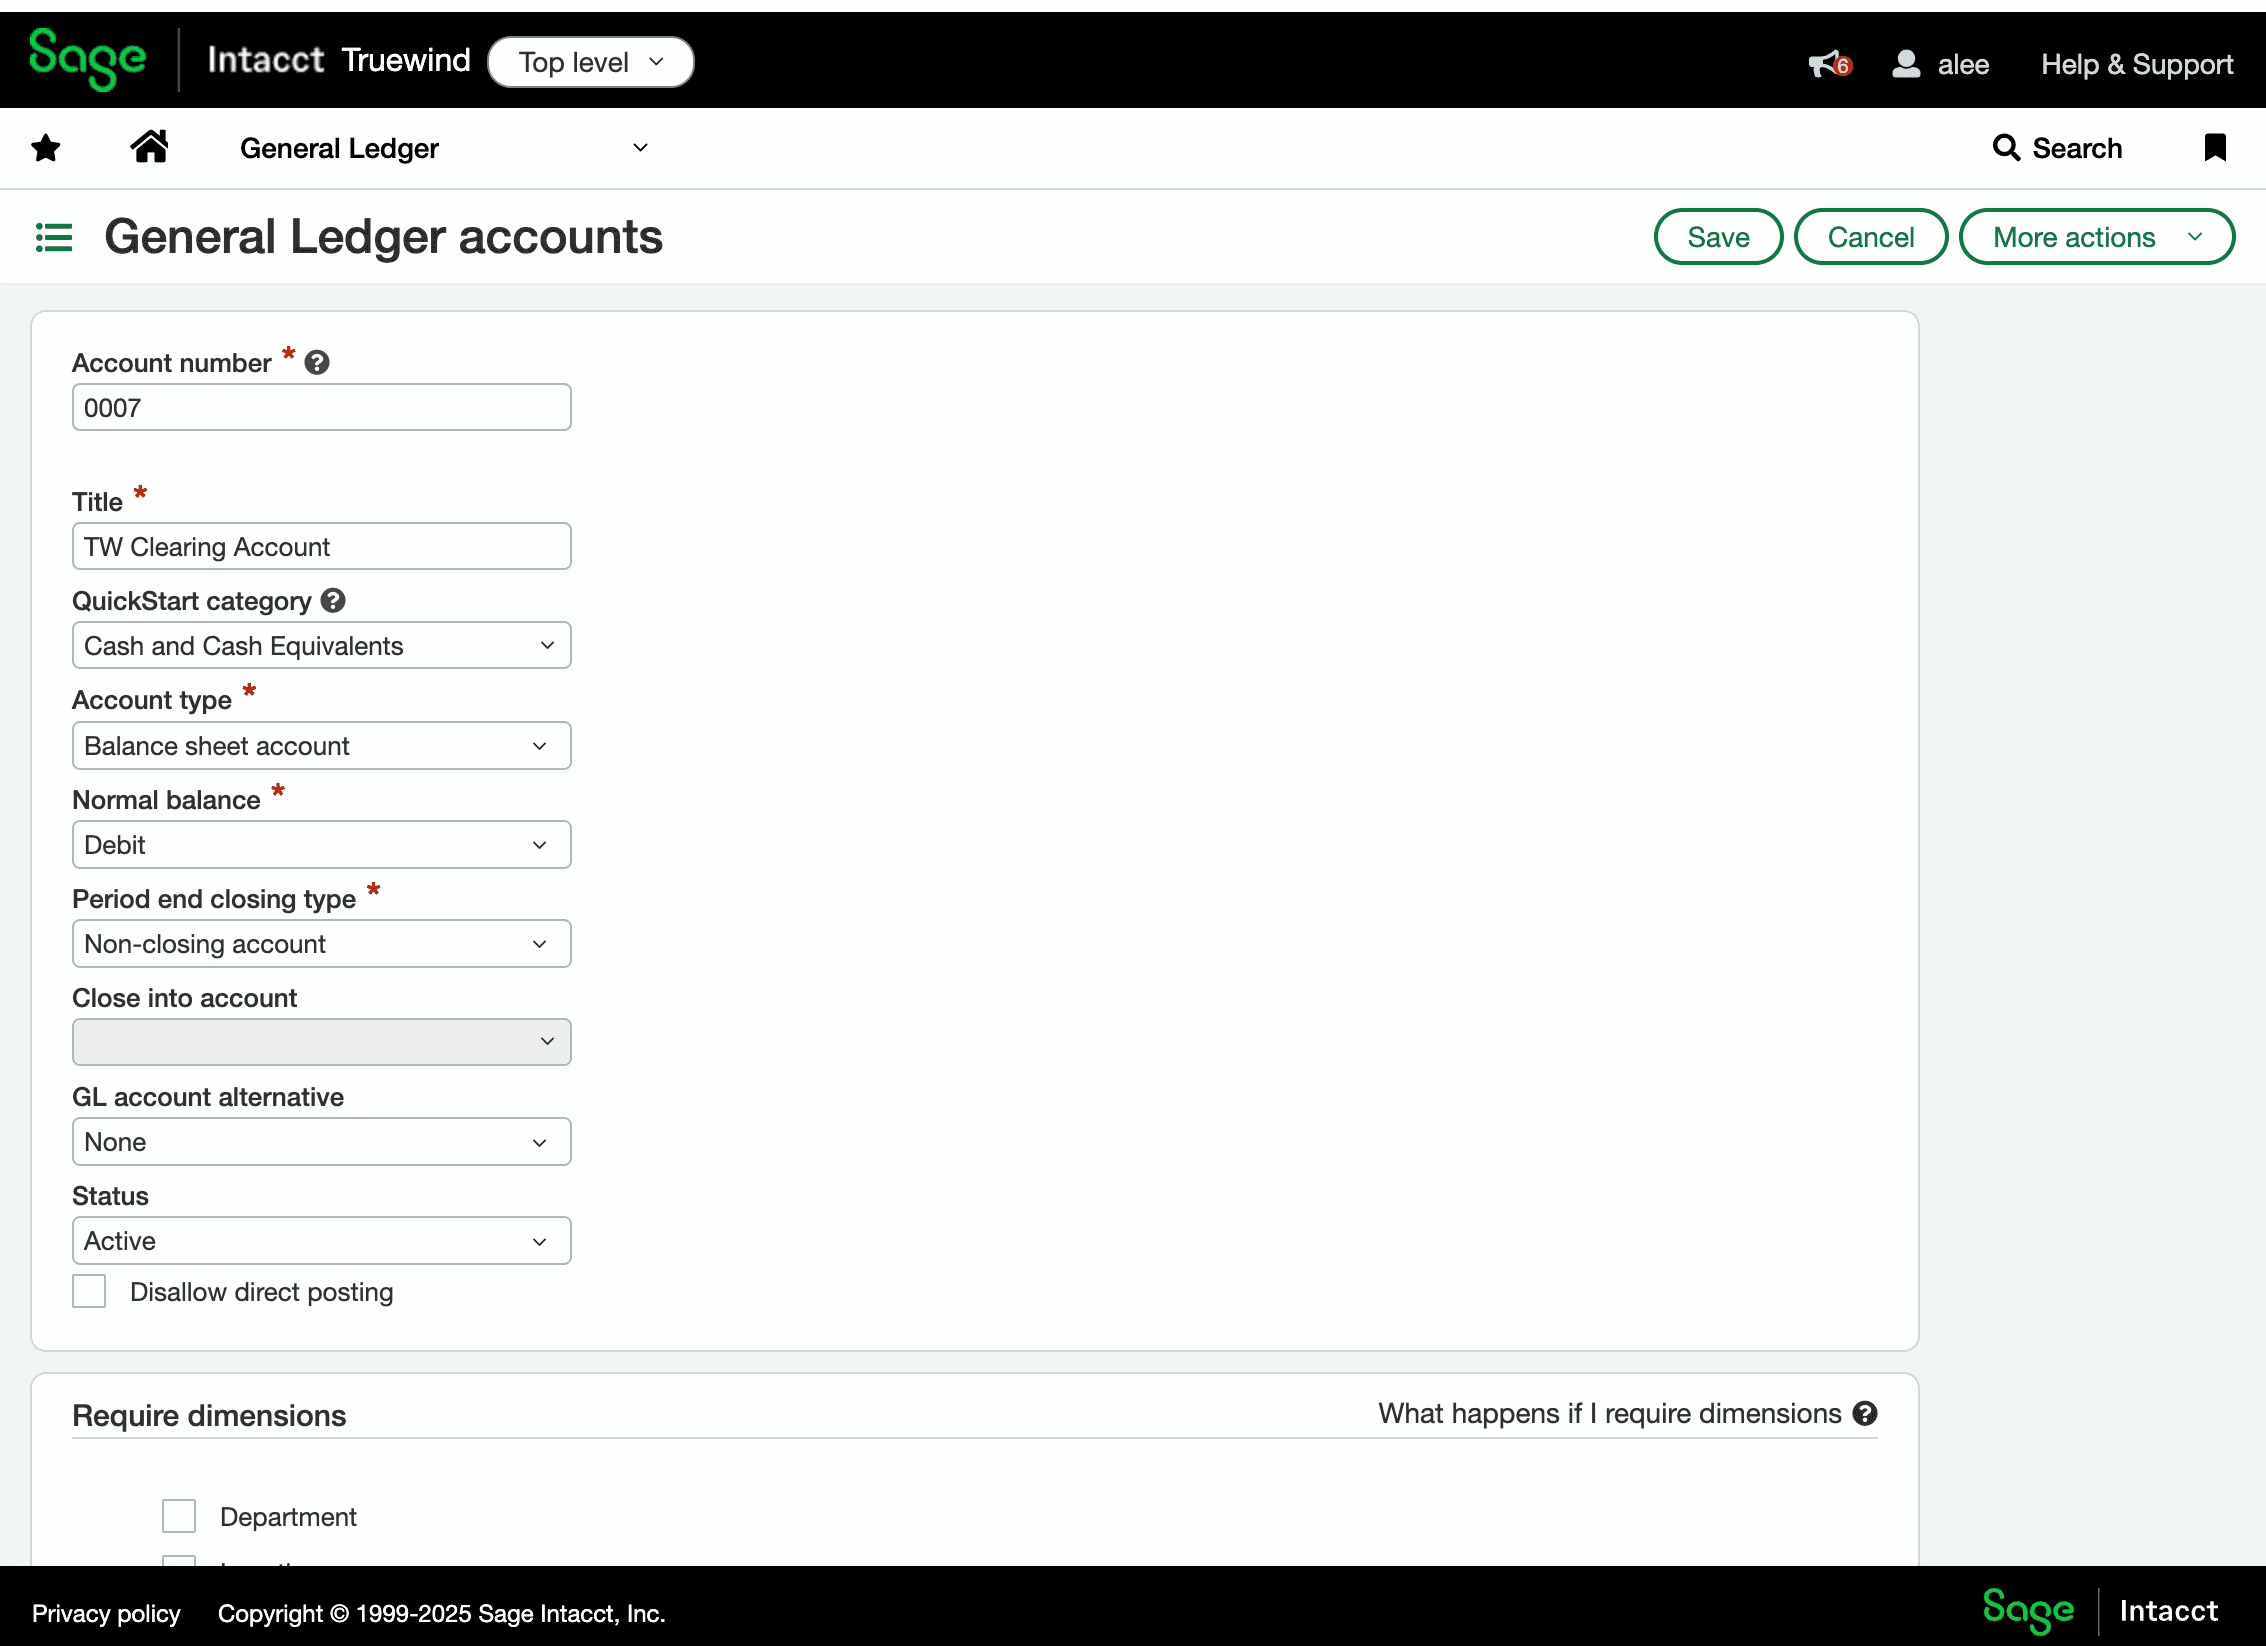
Step 9
The clearing account should sit on the balance sheet rather than the income statement.
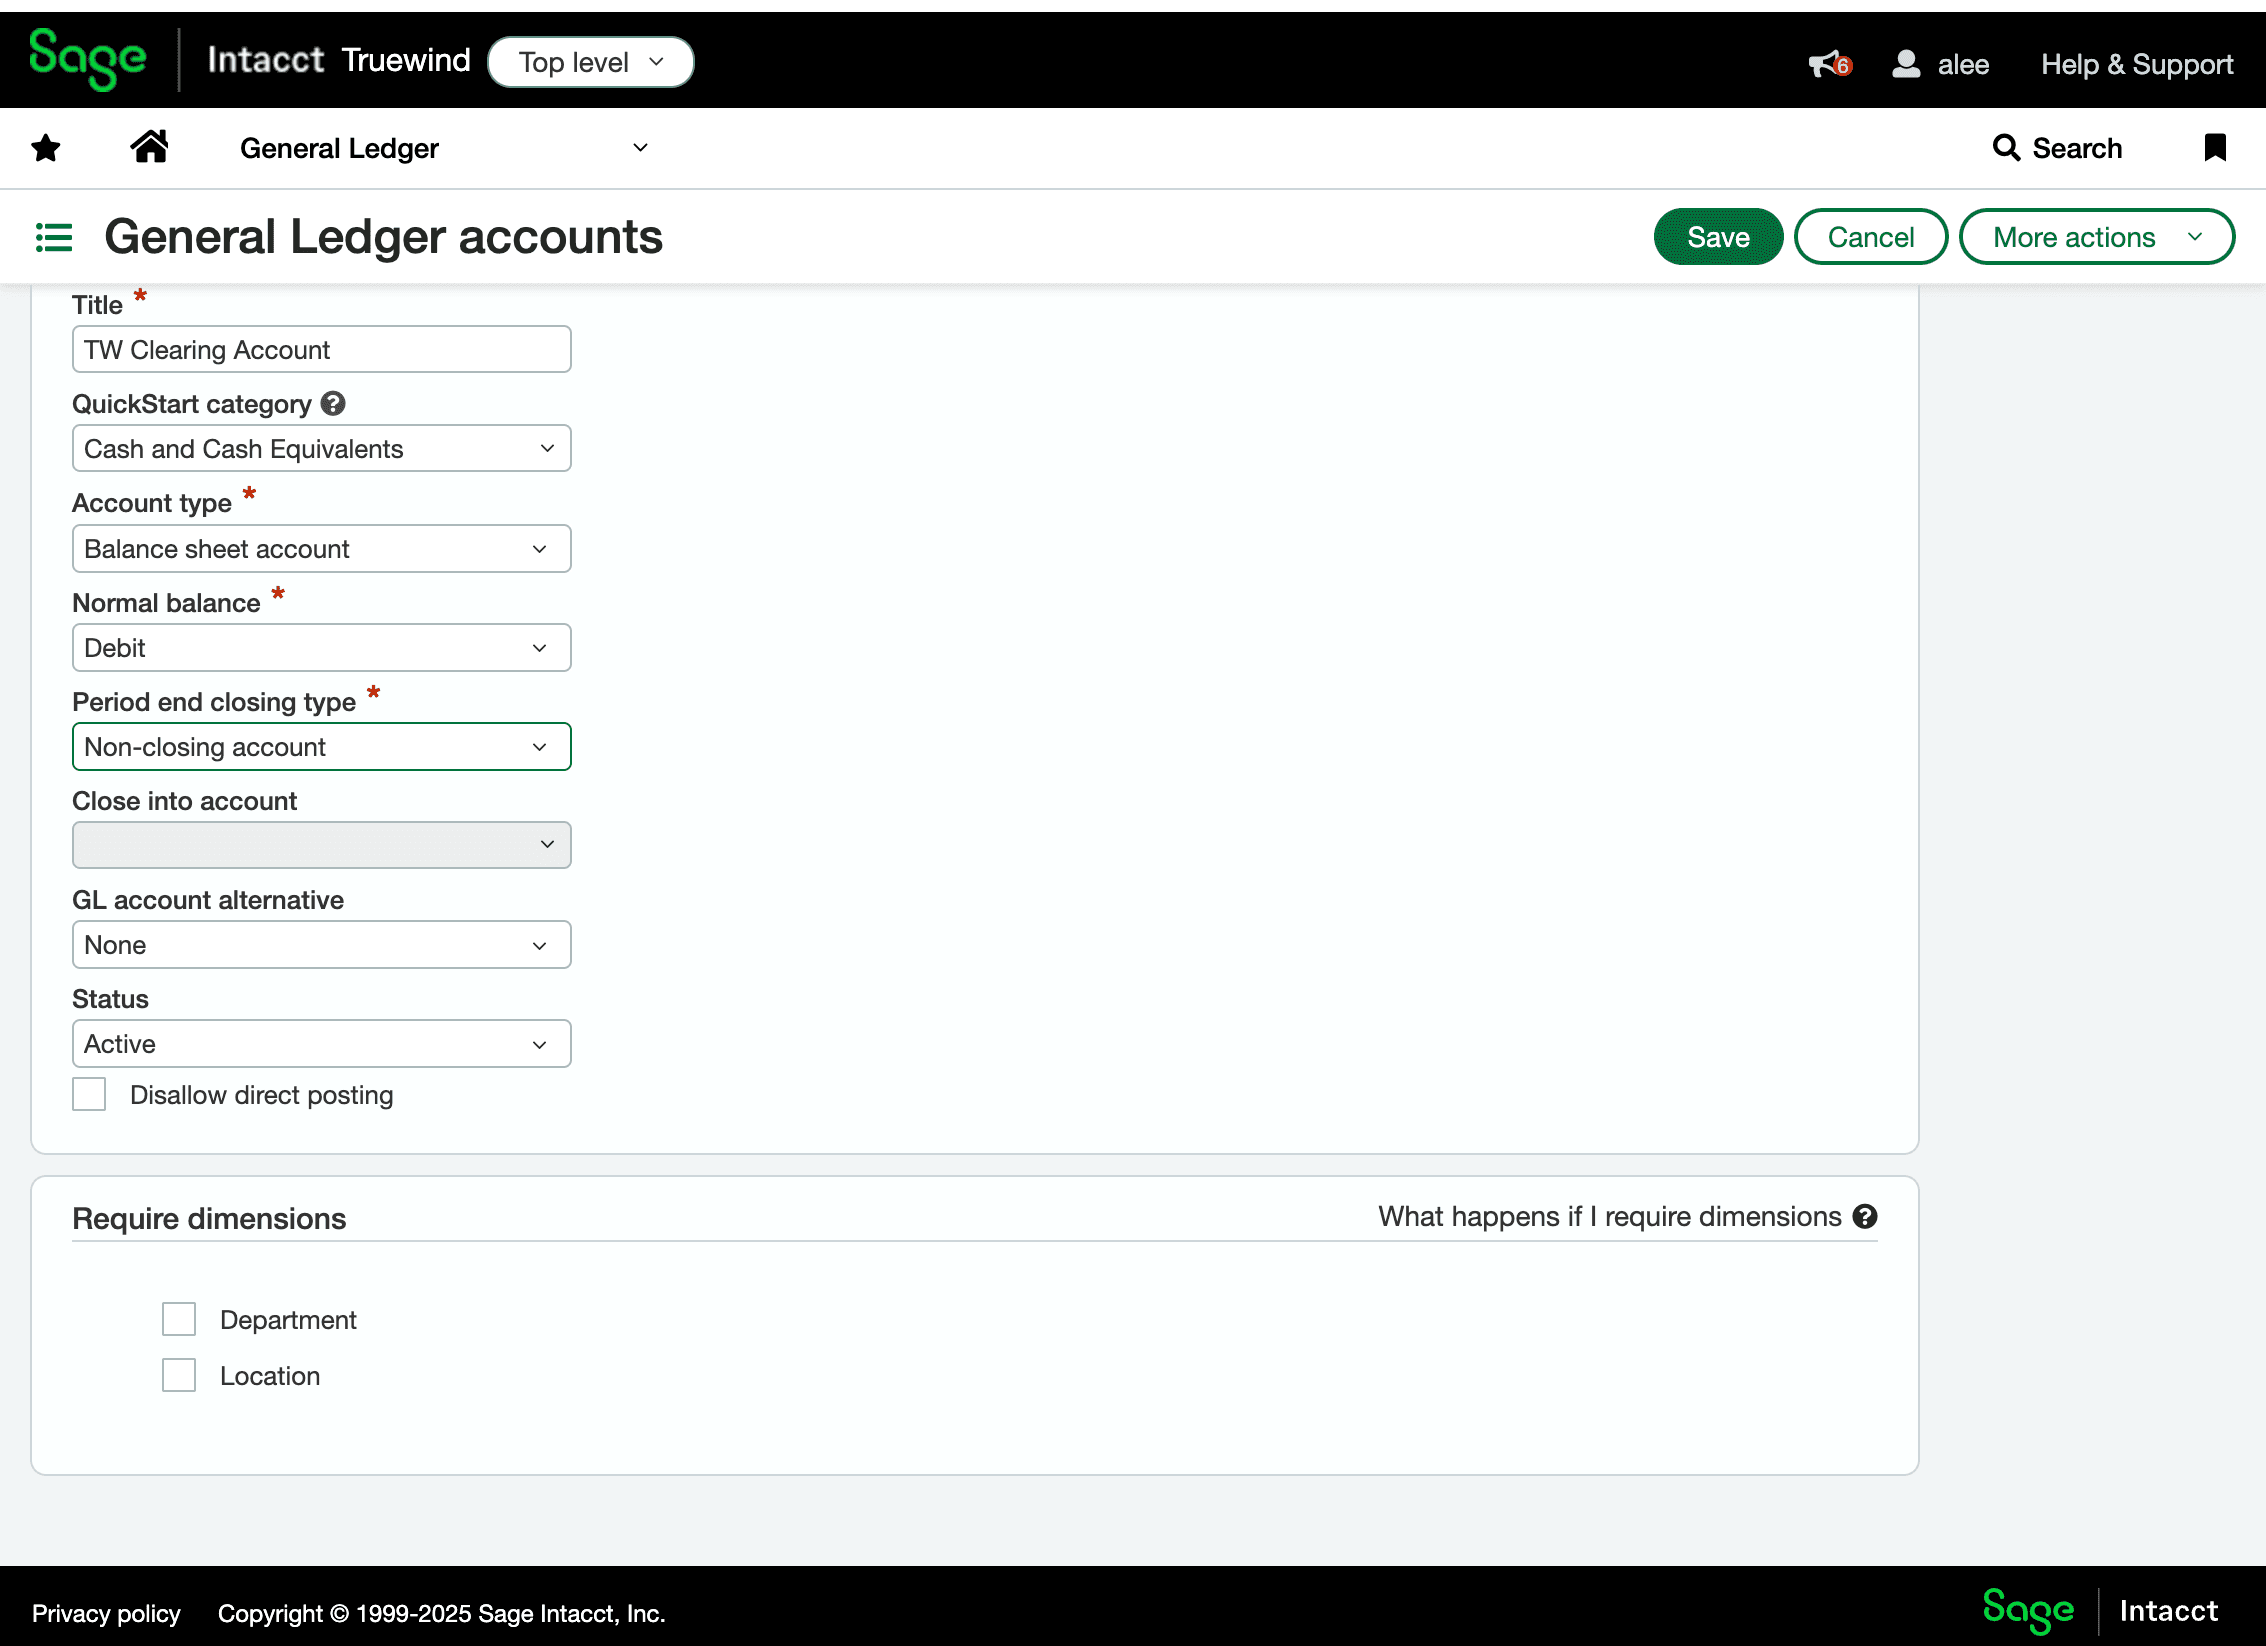
Step 10
This keeps the clearing account open across close periods for ongoing reconciliation activity.

Step 11
Create the Sage account before you return to Deposit Reconciliation.
Step 12
Return to Truewind and open Deposit Reconciliation so you can use the new clearing account there.
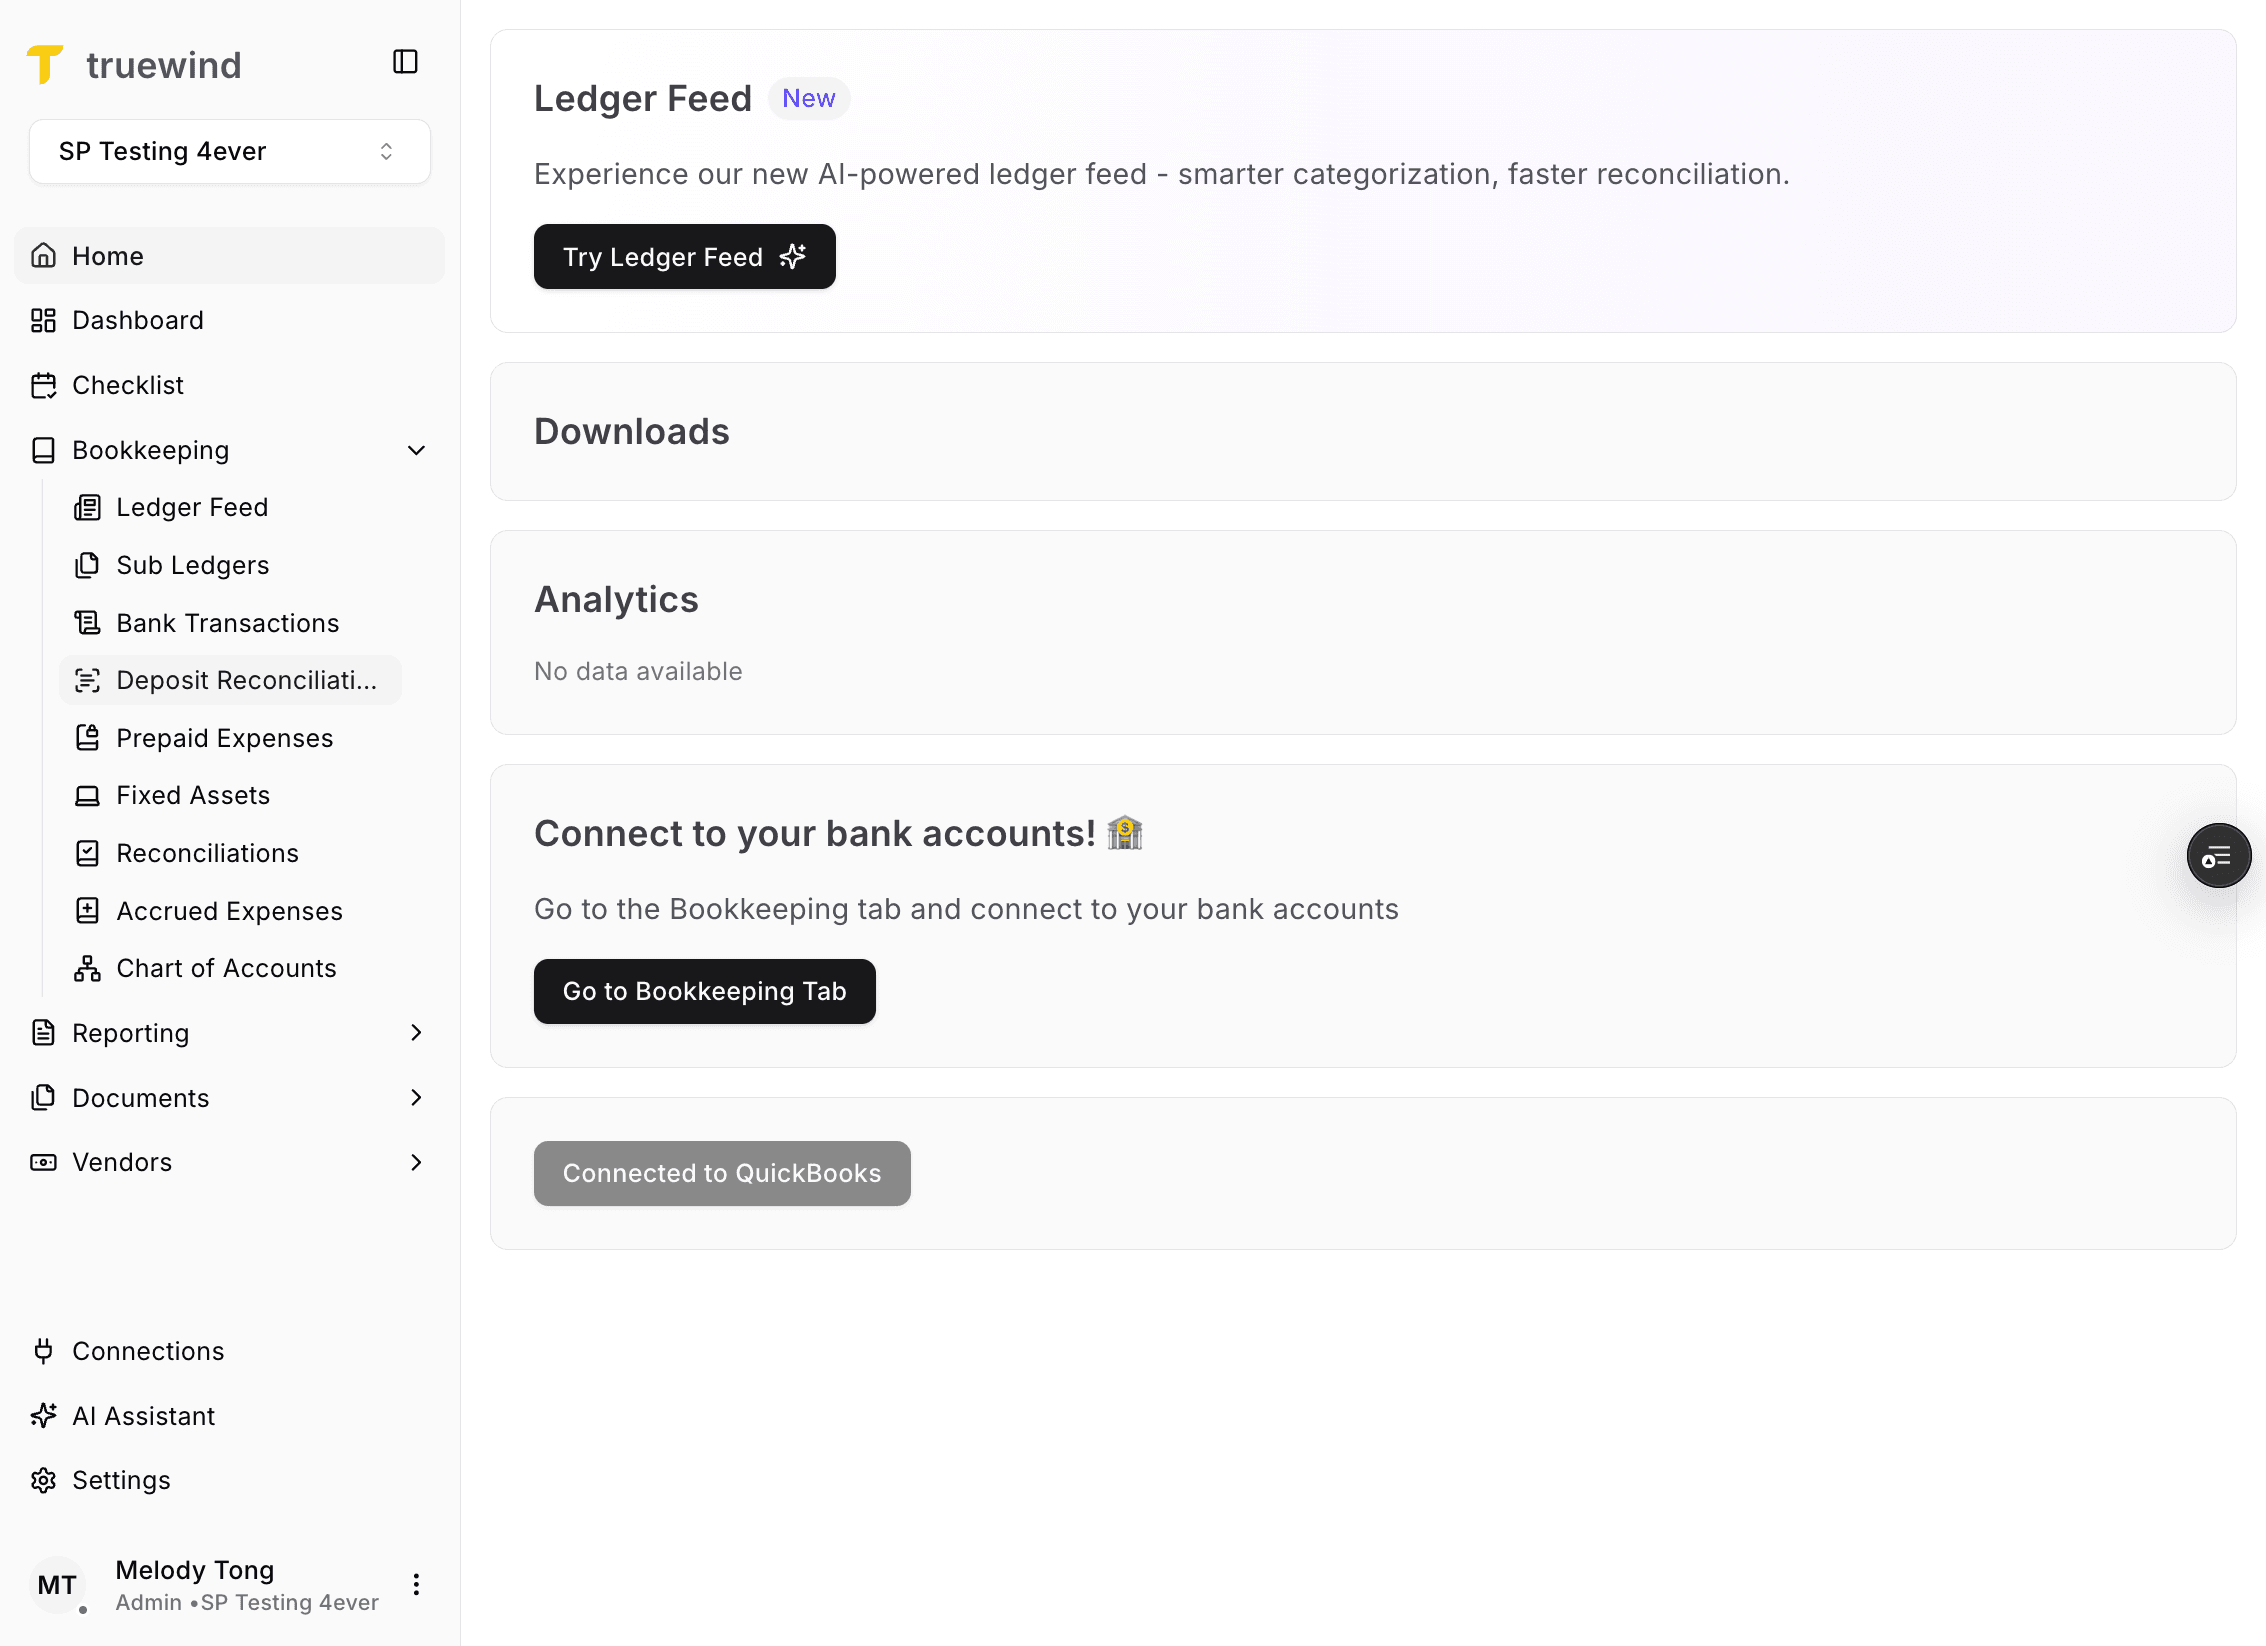
Step 13
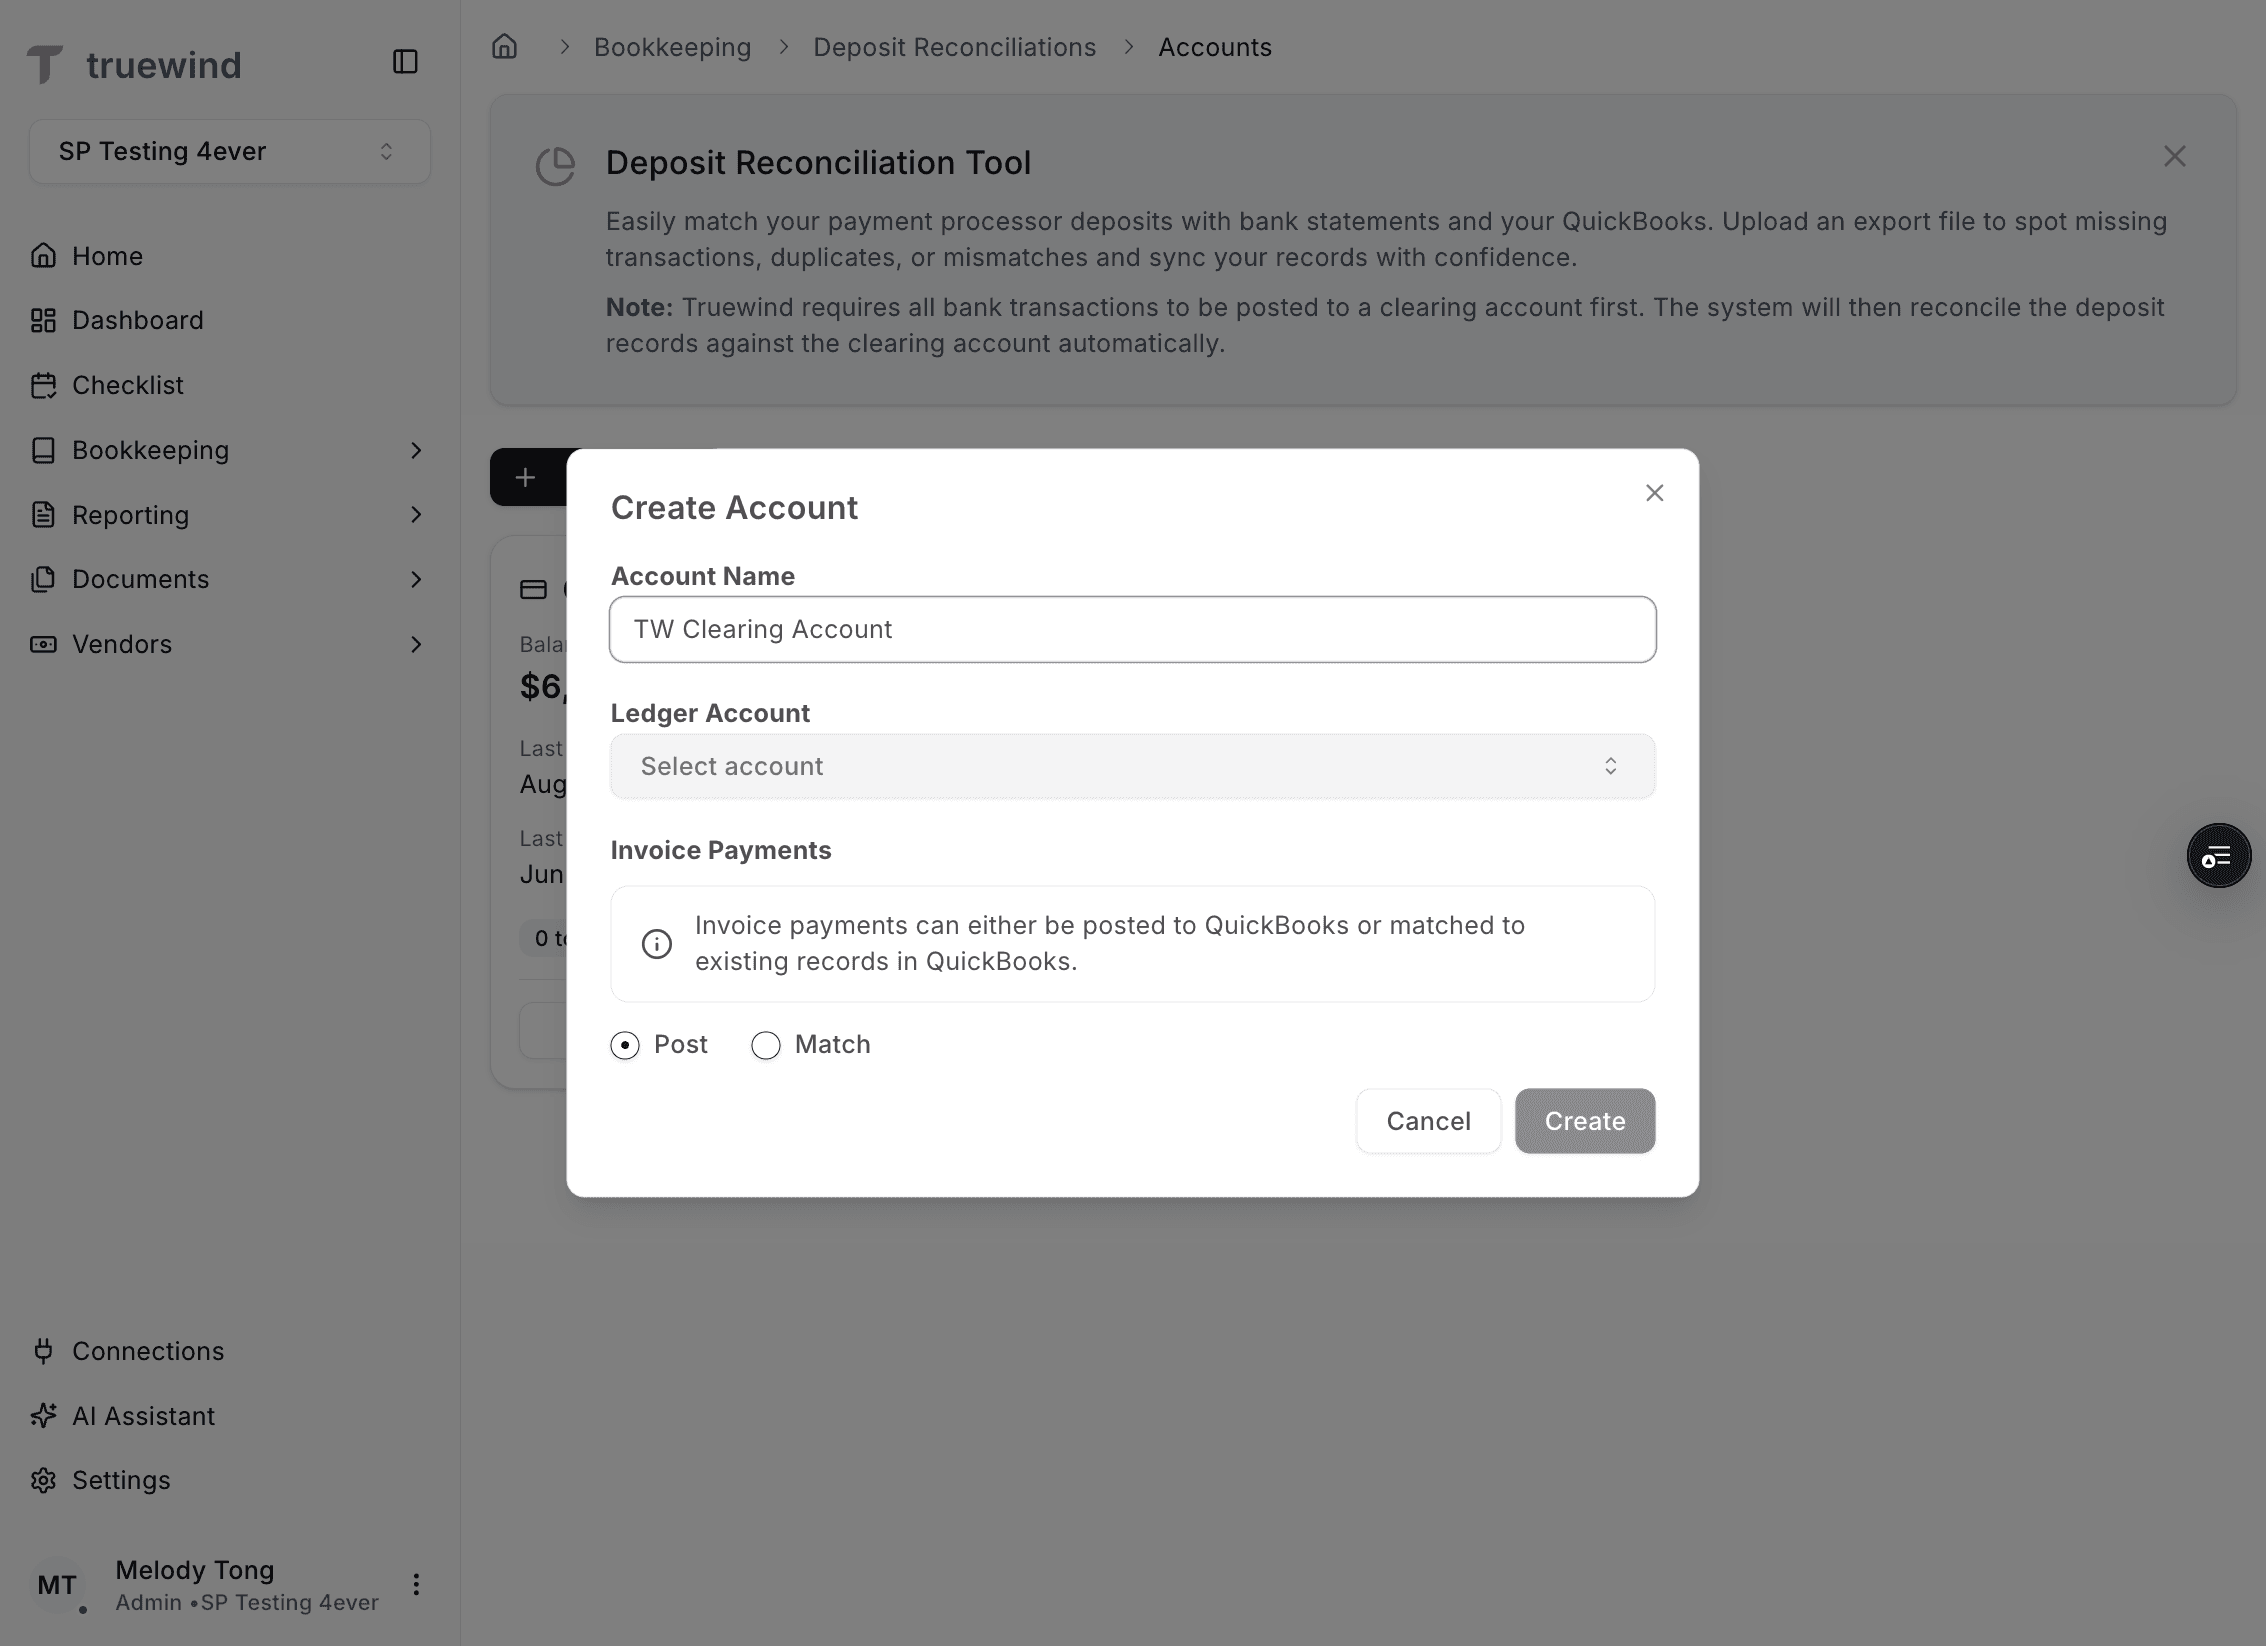
Start a Deposit Reconciliation account record before mapping the new clearing account.
Step 14
Use the same or a recognizable name so the Deposit Reconciliation account matches the Sage clearing account.

Step 15
This lets you connect the Deposit Reconciliation account to the Sage clearing account in the chart of accounts.
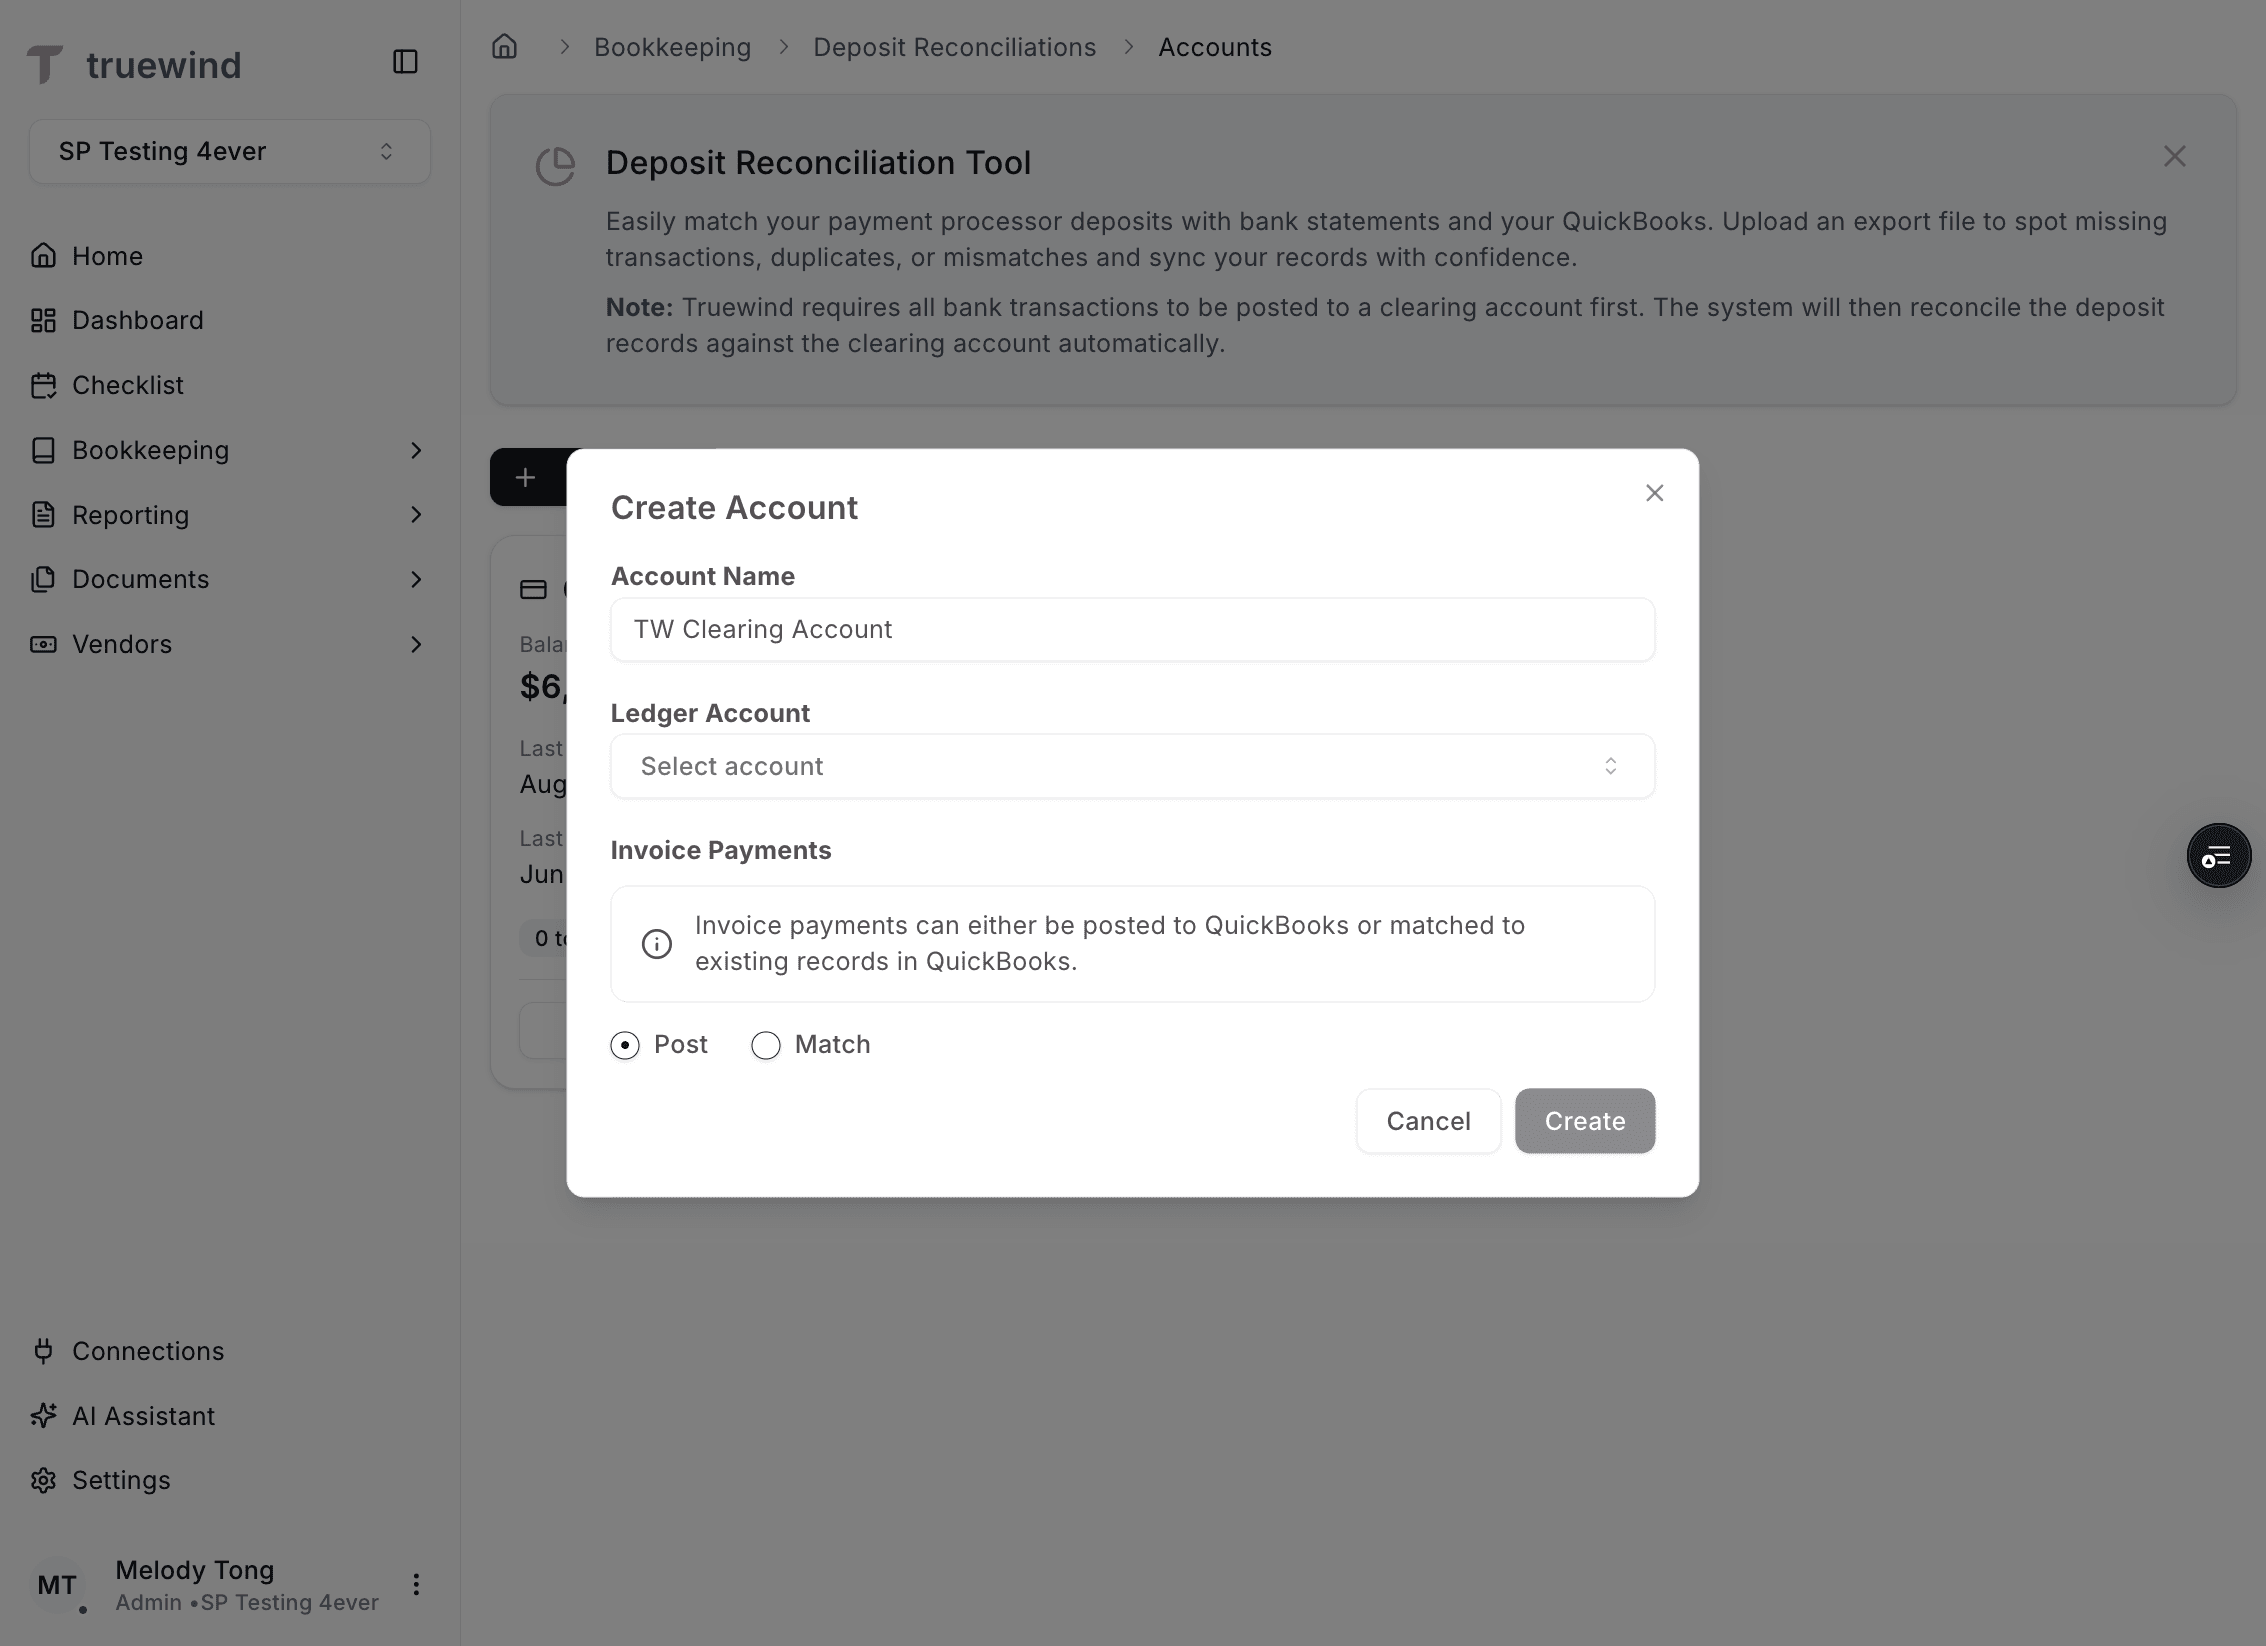
Step 16
Pick the exact Sage account you created so imported deposits land in the intended ledger.

Step 17
Save the Deposit Reconciliation account after the ledger mapping looks correct.
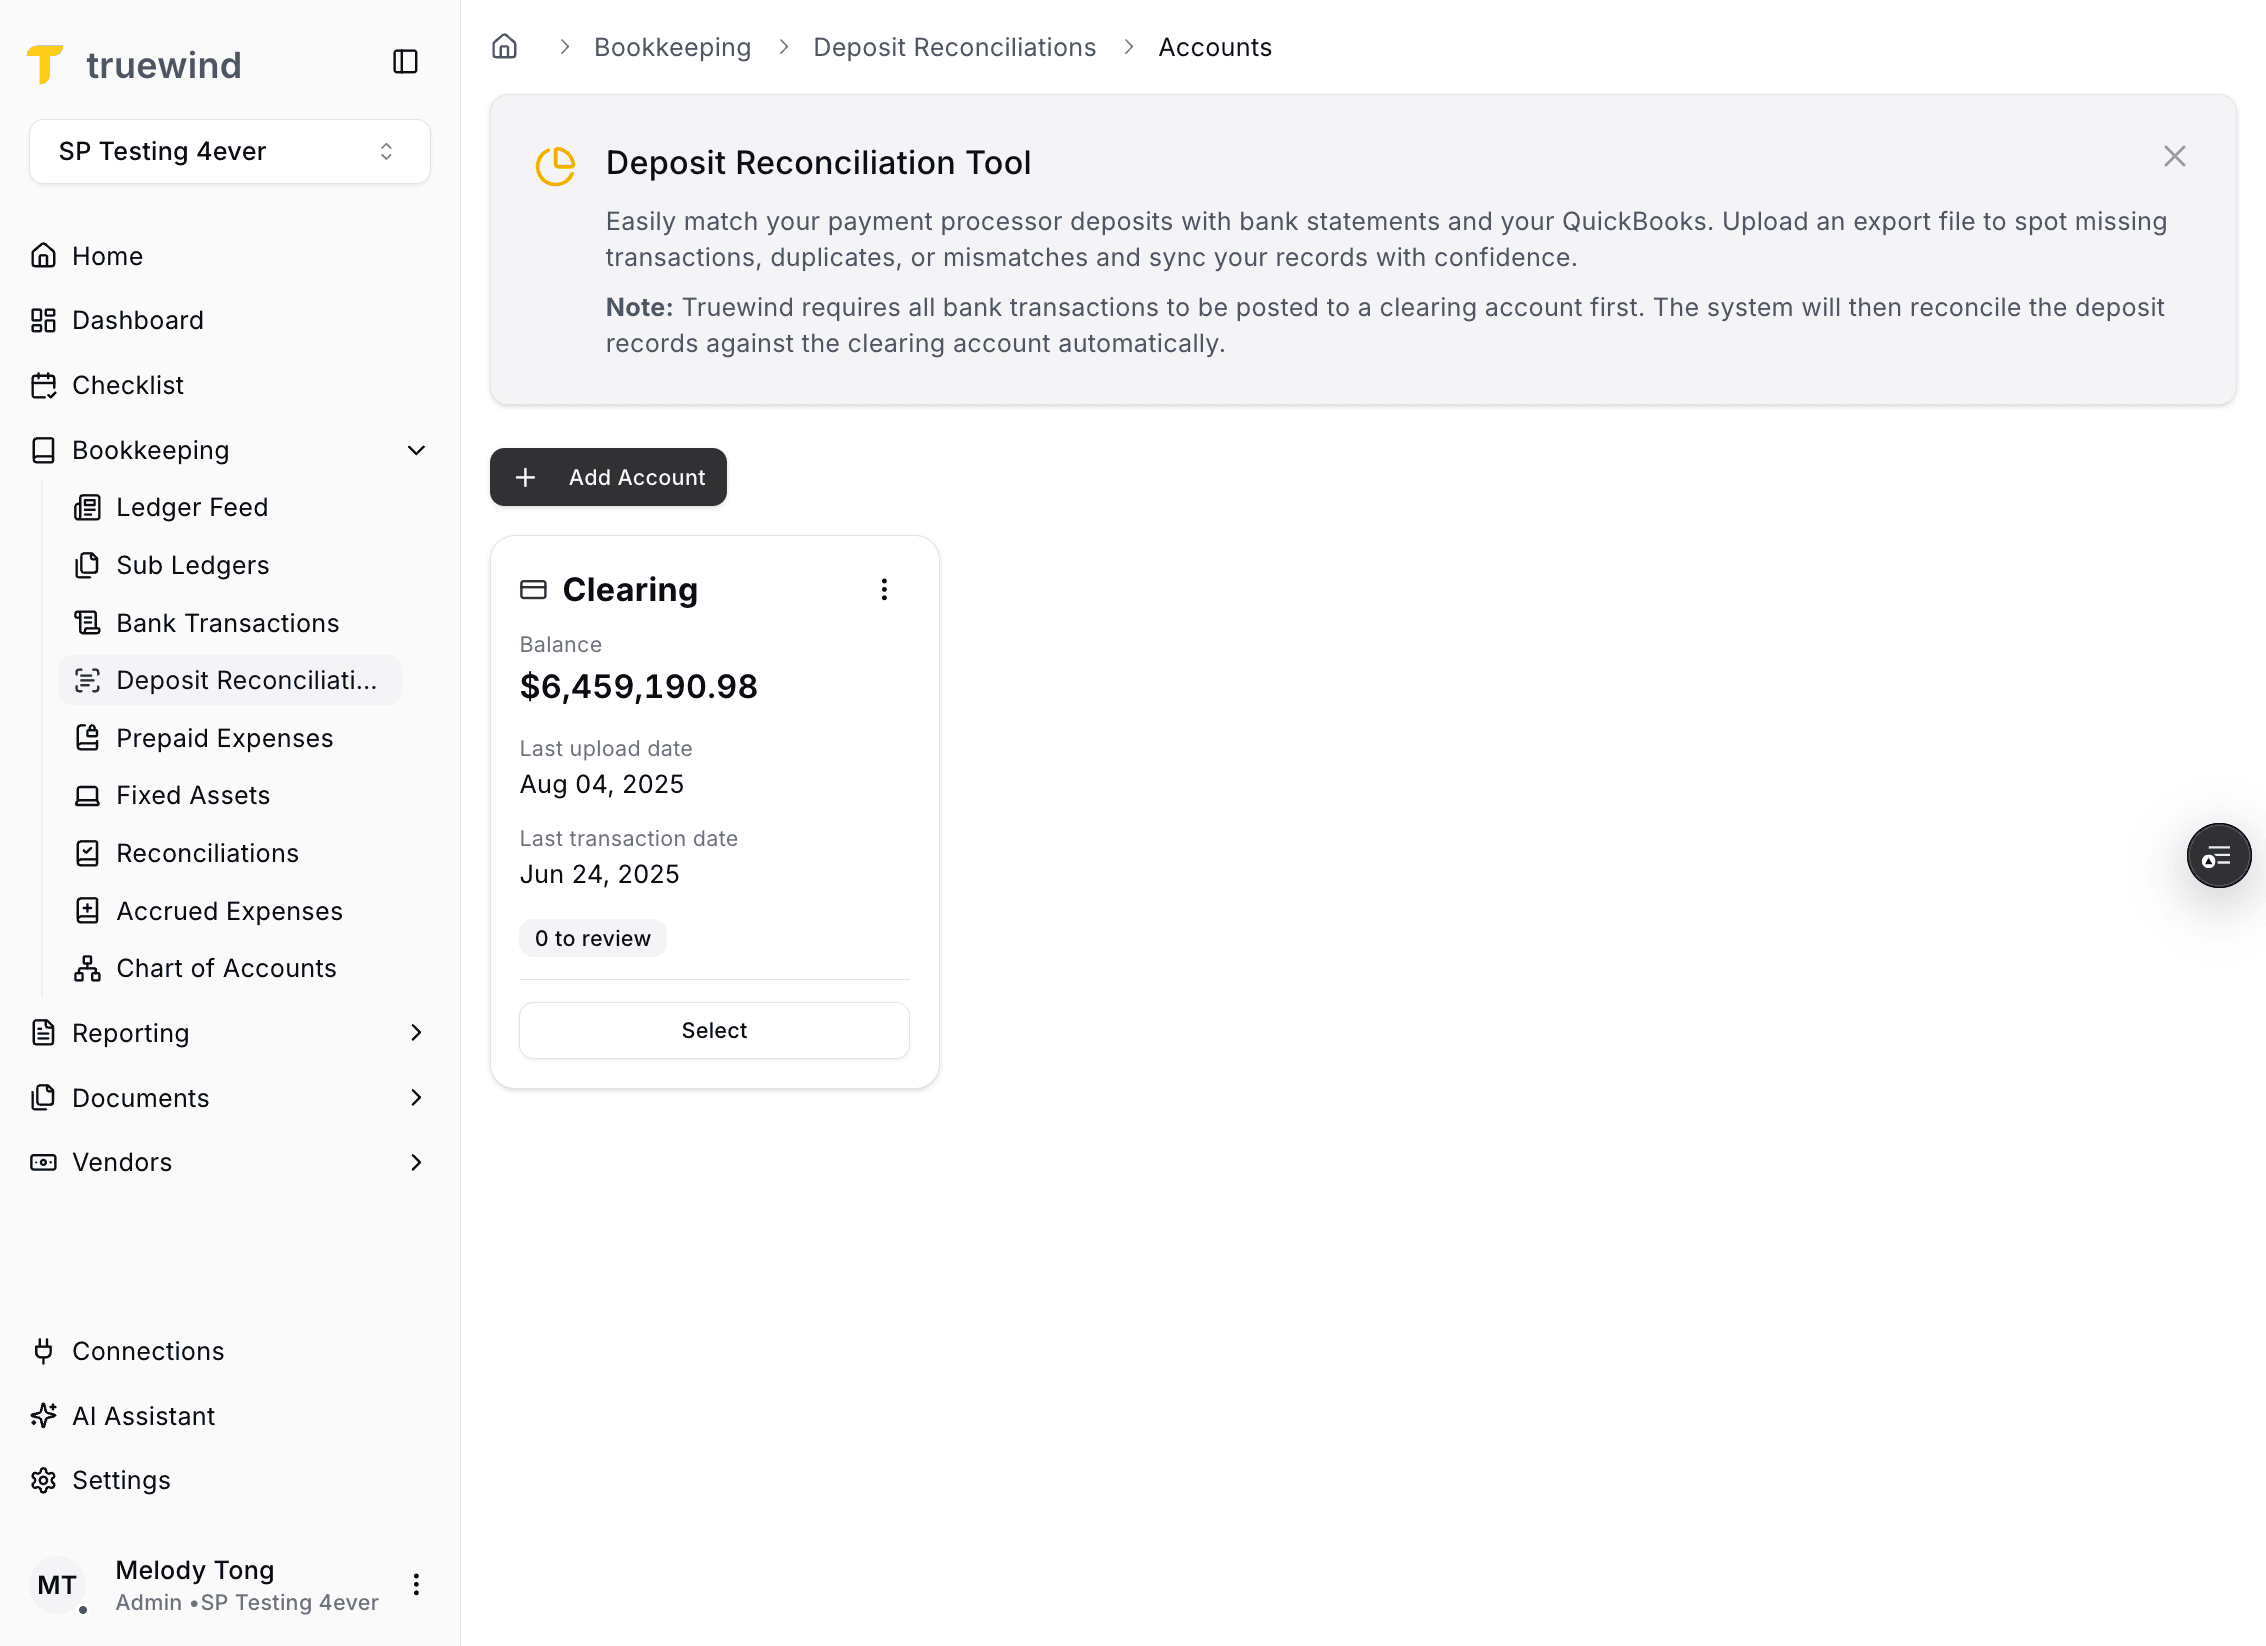
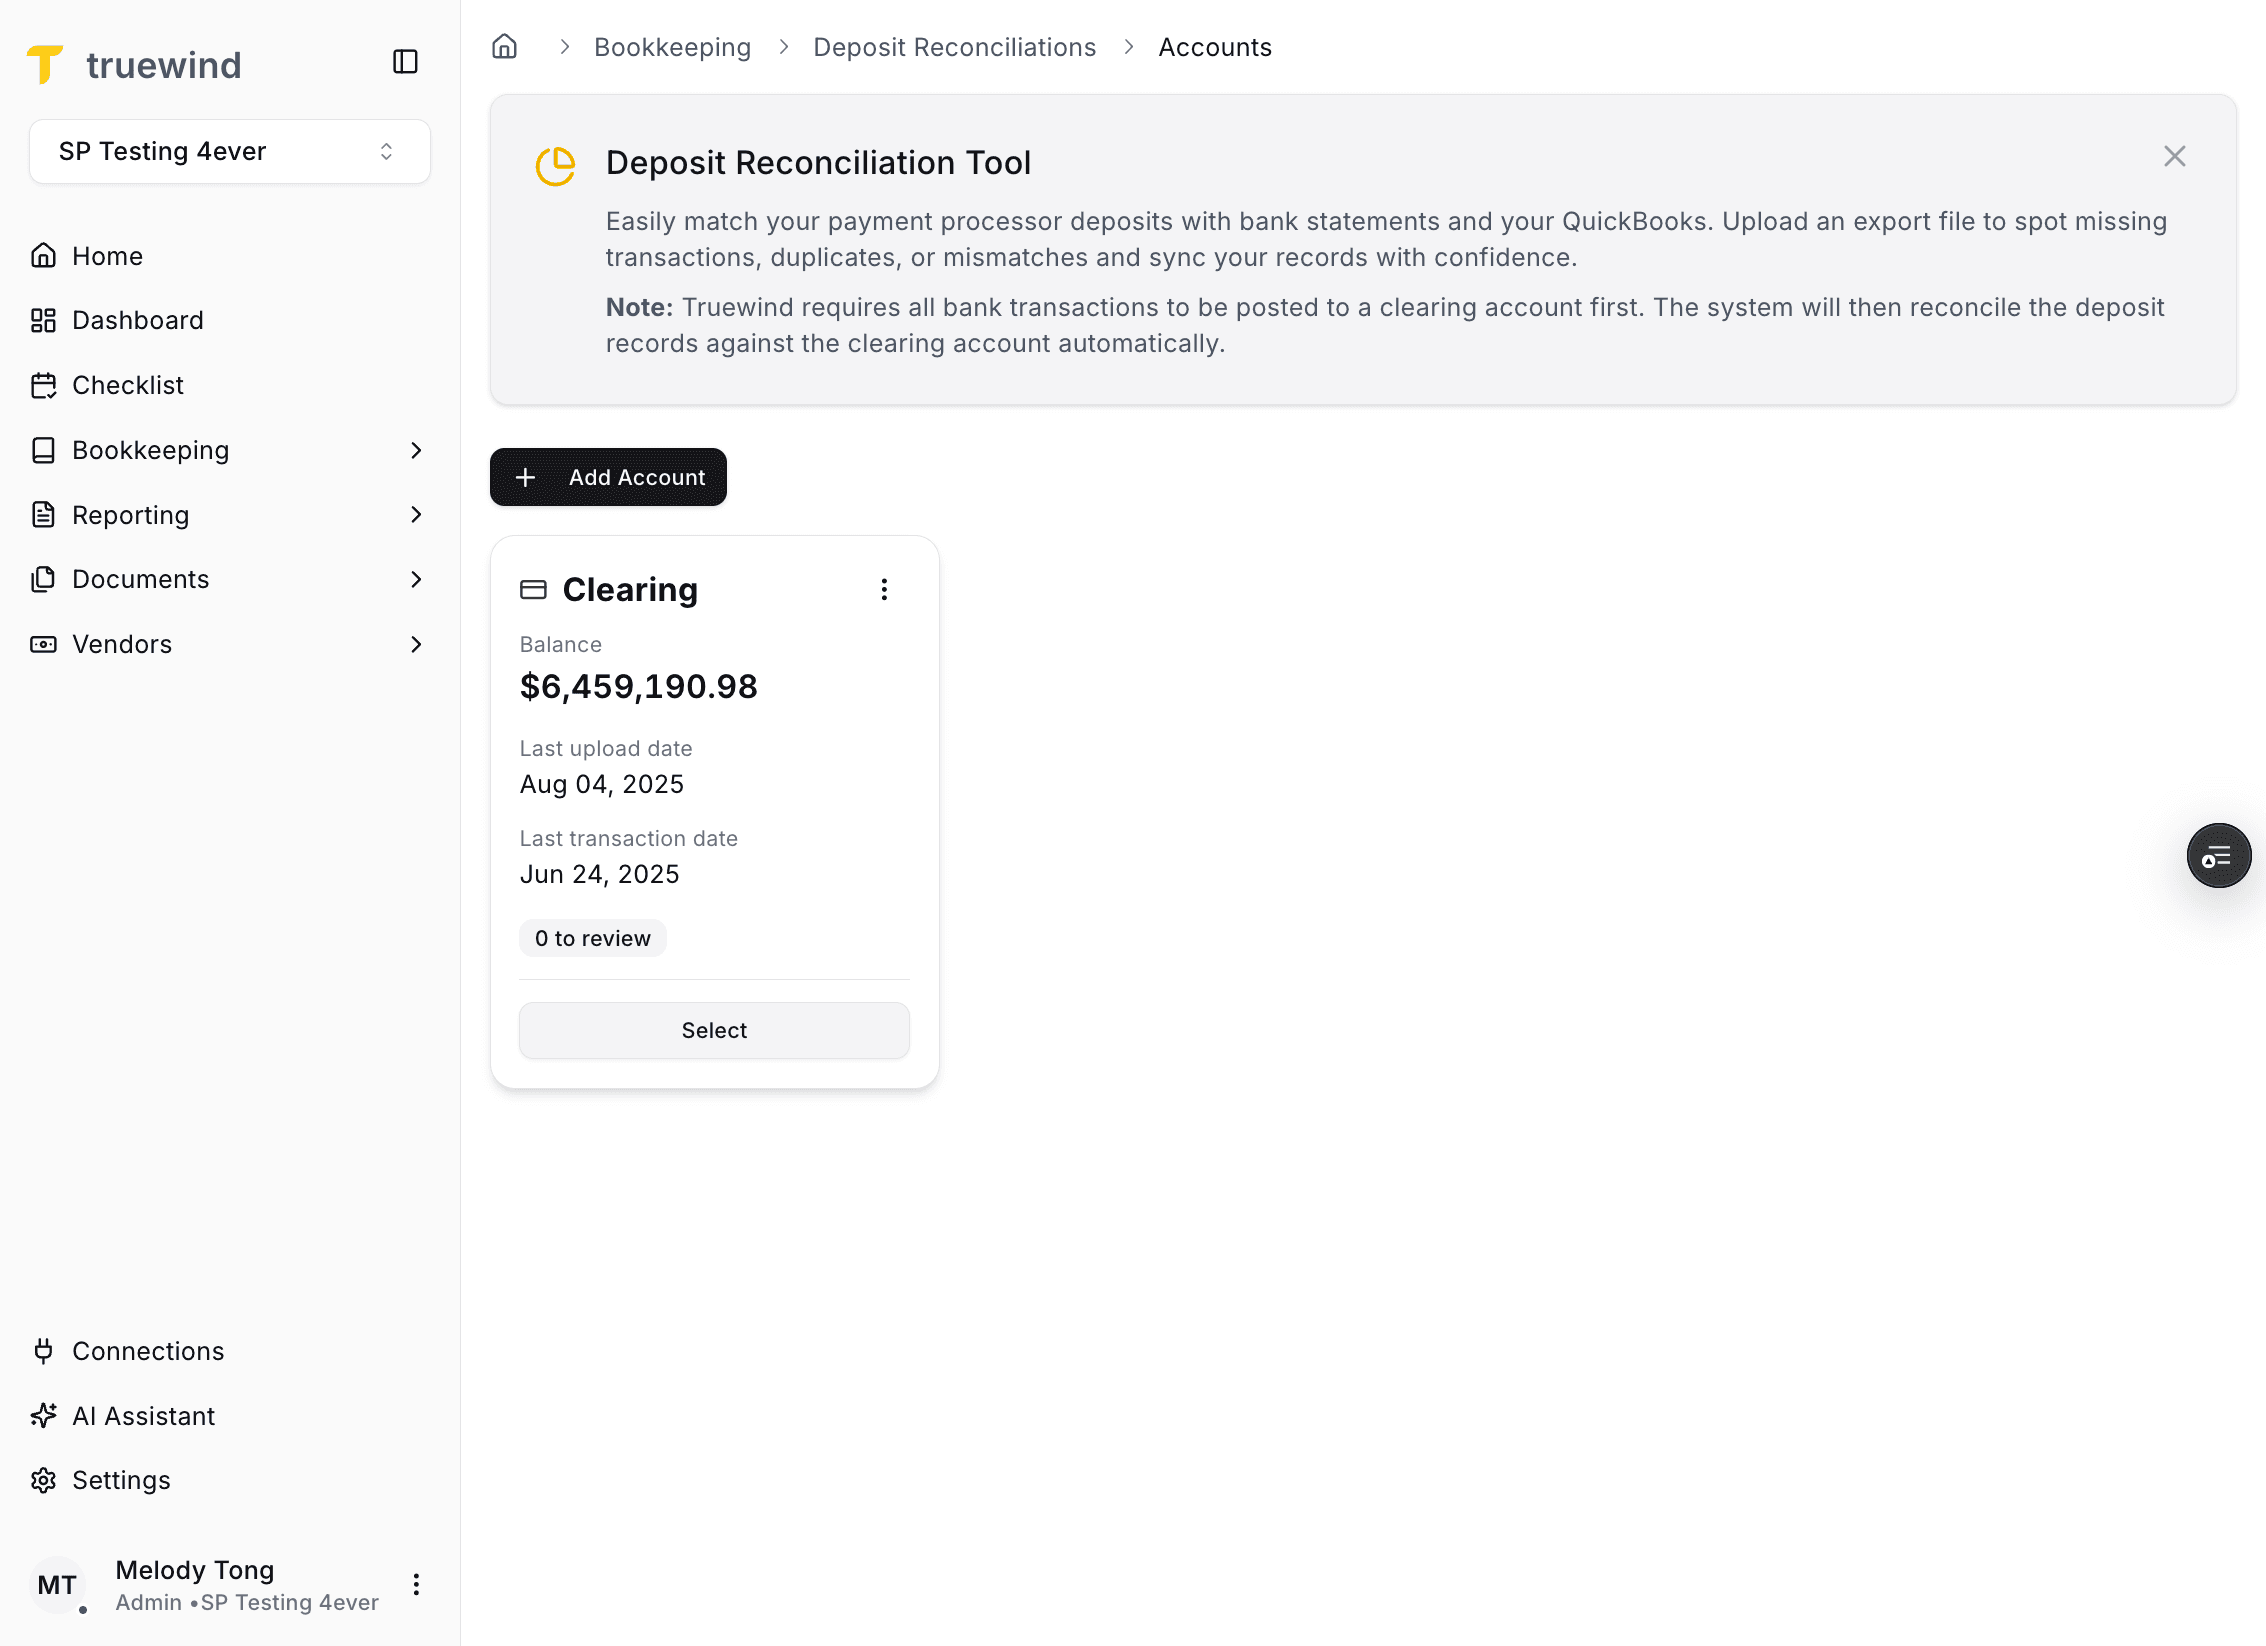
Step 18
Review the created account directly to confirm it is available for the next import step.

Step 19
Confirm the correct clearing account is selected before you proceed to upload a file.
Step 20
The account is ready once you can move into the file-upload step for the selected clearing account.
Deposit Reconciliation needs a mapped clearing account so imported deposits can post to the correct ledger account.
You cannot finish the Deposit Reconciliation account setup until the clearing account exists in the Sage chart of accounts.
Confirm the account was saved in Sage and then refresh the Deposit Reconciliation account picker before trying again.
Was this helpful?
Need more help?
Ask for human help about this article and provide any feedback.